
Once you experience the simplicity and superior flavor of making your own homemade pumpkin puree, you’ll likely never return to the store-bought canned variety!
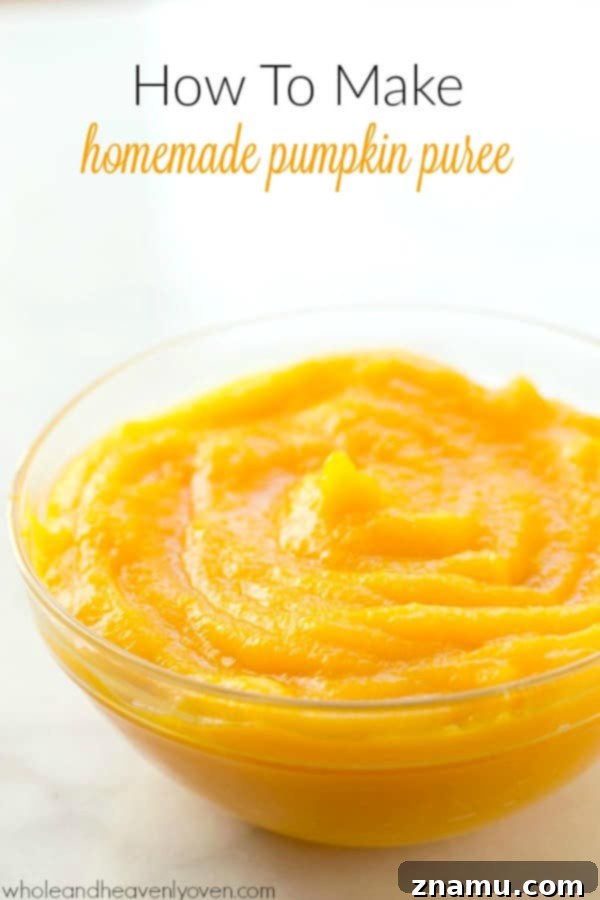
Kitchen how-to’s are making a grand return, and we couldn’t be more excited! After a brief hiatus, and with a wealth of new insights gained from culinary school, I’m thrilled to share an abundance of awesome kitchen tips and tricks with you. Get ready to elevate your cooking game!
Today, our focus is on pumpkin puree, and I’m here to declare that homemade pumpkin puree has become my absolute favorite kitchen staple. It’s a game-changer that brings unparalleled freshness and flavor to all your fall recipes.
It’s evident that I’ve been embracing my domestic side wholeheartedly lately. From perfecting homemade coffee products to now crafting this beautiful, vibrant orange goodness entirely from scratch. It was only a matter of time before I tackled this essential ingredient.
Why Choose Homemade Pumpkin Puree?
There’s a significant difference between homemade and canned pumpkin puree, and it goes beyond just the vibrant color. Making your own pumpkin puree ensures you get the purest flavor, free from any additives, preservatives, or sweeteners often found in commercial products. The taste is remarkably fresher, sweeter, and more intensely pumpkin-like, which truly makes a difference in your recipes. Plus, it’s incredibly satisfying to create such a versatile ingredient from scratch, knowing exactly what goes into it.
The Simple Process: From Whole Pumpkin to Smooth Puree
Are you ready to walk through the incredibly simple process of making your own pumpkin puree? It’s genuinely straightforward and surprisingly quick, transforming a humble pie pumpkin into a culinary treasure in under an hour.
1. Selecting Your Pumpkin
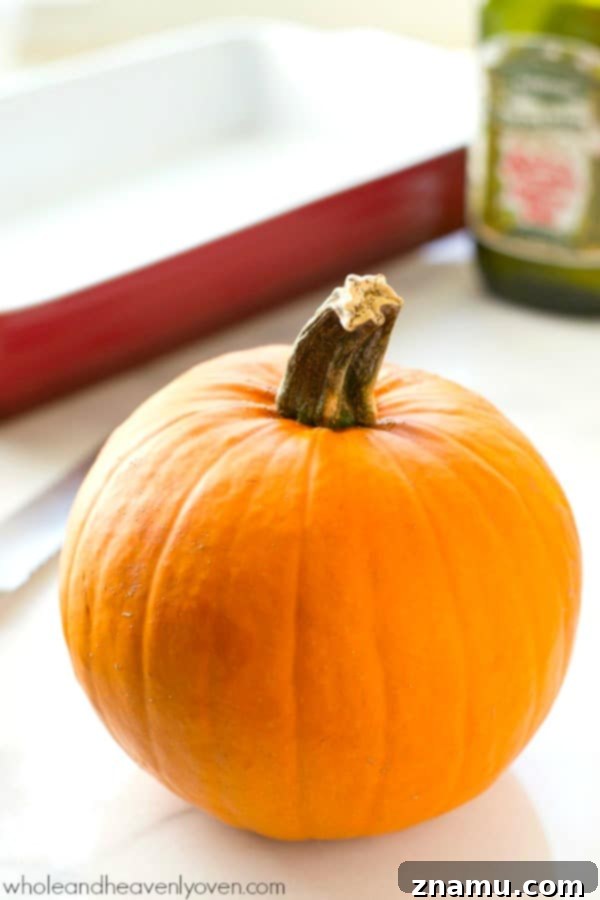
First things first, you’ll need to grab the right kind of pumpkin. Look for a “pie pumpkin” or “sugar pumpkin,” which are typically smaller and rounder than the large carving pumpkins. A nice, medium-sized pie pumpkin is ideal for this recipe, as it’s easier to handle, cut, and will roast more uniformly and quickly, ensuring a perfectly tender result. Avoid the larger, stringier carving pumpkins as they have less flavor and a watery texture, making them unsuitable for puree.
2. Preparing the Pumpkin for Roasting
Once you have your perfect pumpkin, the preparation begins. Start by carefully cutting off the stem. This can sometimes be a bit tough, so use a sturdy, sharp knife and apply steady pressure. Next, cut the entire pumpkin in half. This is often the trickiest part, so be cautious and ensure your pumpkin is stable on a cutting board.
3. Scooping Out Seeds and Pulp
With the pumpkin neatly halved, it’s time to scoop out the seeds and all the stringy, fleshy “guts” from the center. A large spoon or an ice cream scoop works wonderfully for this task, making it quick and efficient. Here’s a pro tip: whatever you do, DON’T throw out those seeds! Save them! They’re perfect for making delicious roasted pumpkin seeds, an excellent snack for any time of day, especially midnight munchies.
4. Prepping for Roasting
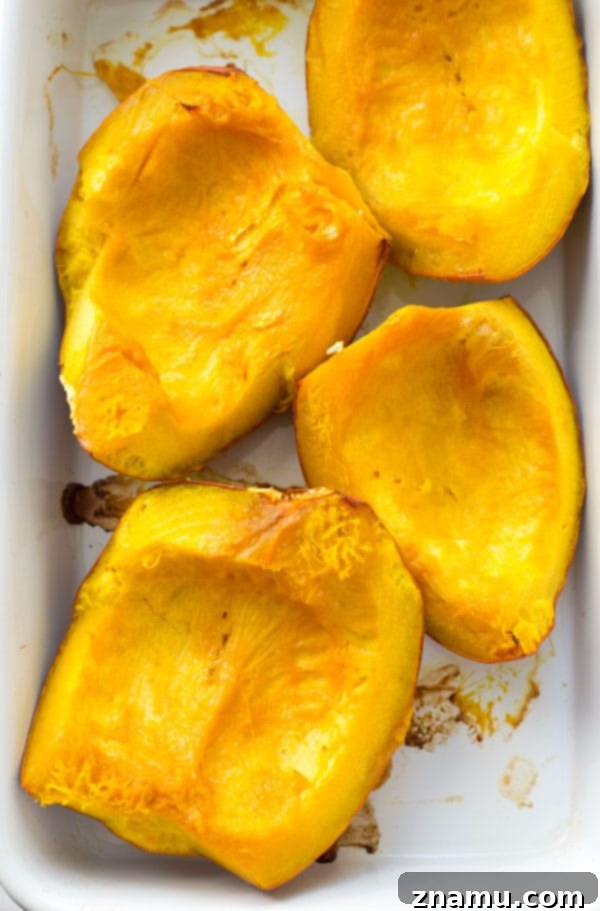
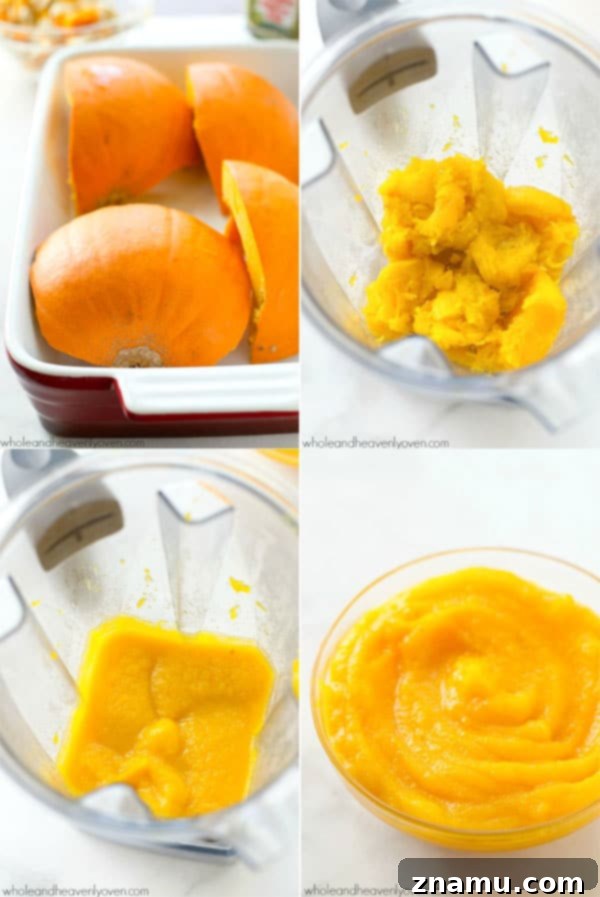
Once the pumpkin insides are clean and free of strings, cut each half into two, so you have four manageable pieces in total. This ensures even cooking. Now, lightly rub a thin layer of olive oil over the cut sides of each pumpkin piece. This helps the pumpkin caramelize slightly and prevents it from sticking to the pan. Arrange the oiled pumpkin pieces cut side-down in a baking pan. This method allows the pumpkin flesh to steam slightly as it roasts, leading to a softer, more tender result.
5. Roasting to Perfection
Now it’s time for the magic of roasting! Preheat your oven to 350°F (175°C). Roast the pumpkin pieces for approximately 45-50 minutes. The key is to roast until the pumpkin is very fork-tender. This means that a fork should easily slide in and out of the pumpkin flesh with minimal resistance. This level of softness is crucial for achieving an incredibly smooth and lump-free puree. If it’s not tender enough, continue roasting for a few more minutes until it reaches the desired consistency. Each oven can vary, so keep an eye on it!
6. Cooling, Peeling, and Blending
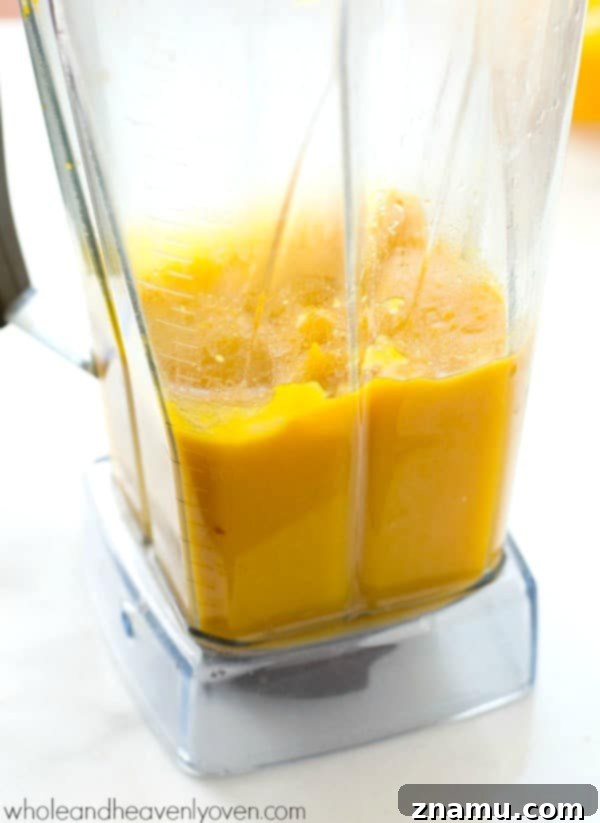
Once roasted, remove the pumpkin from the oven and let it cool down slightly until it’s safe and easy to handle. When cool enough, you should be able to effortlessly peel the skin right off each piece. The skin will be soft and come away cleanly. Discard the skin, then transfer the soft, cooked pumpkin flesh directly into your blender or food processor. Add just a few tablespoons of water – typically 2-3 tablespoons, or enough to help your blender break down the pumpkin and achieve a smooth consistency. Start with a smaller amount and add more if needed. You want a thick, creamy puree, not a watery one.
Vroom, vroom! Blend it on high speed a few times until it’s completely smooth and velvety. And just like that, you have homemade pumpkin puree in under an hour! It’s truly that simple and satisfying.
Storing Your Homemade Pumpkin Puree
One of the great advantages of making your own puree is its versatility in storage. You can use it immediately in your favorite recipes, or prepare larger batches to keep on hand.
- Refrigeration: For immediate use, store your homemade pumpkin puree in an airtight container in the refrigerator for up to one week.
- Freezing: For longer storage, pumpkin puree freezes beautifully. Portion it into freezer-safe bags or containers, leaving a little headspace for expansion, and freeze for up to three months. You can even freeze it in ice cube trays for smaller, single-serving portions, then transfer the frozen cubes to a larger freezer bag. Thaw in the refrigerator overnight before use.
The Vibrant Difference: Homemade vs. Canned
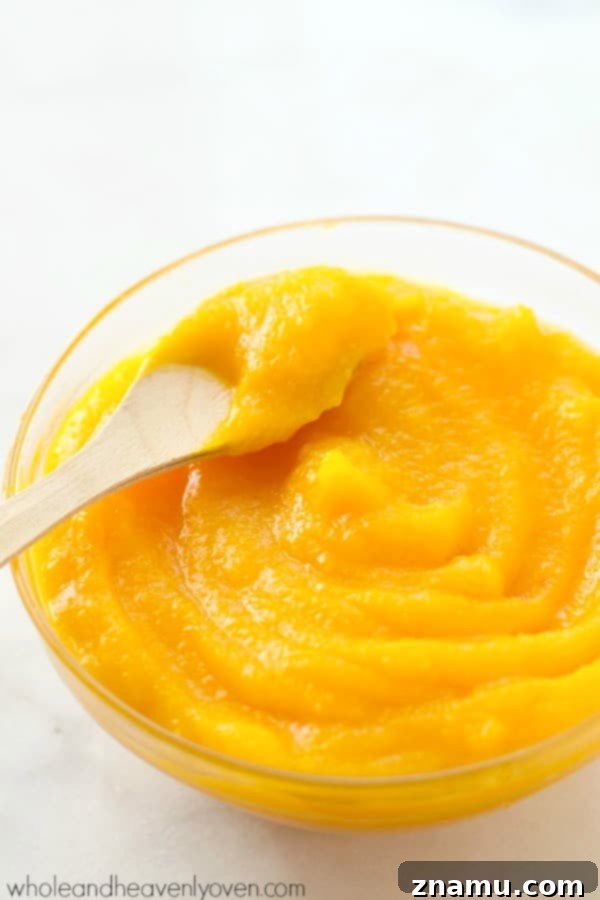
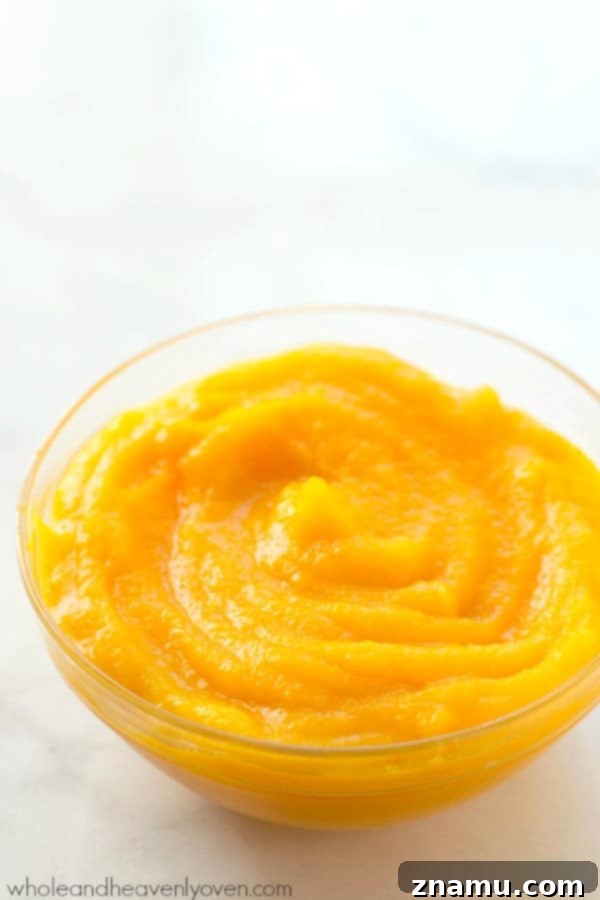
Don’t be alarmed by how beautifully bright and intensely orange your homemade pumpkin puree looks. This vibrant hue is a hallmark of its freshness. Remember, we are making the “fresh of the fresh,” and natural pumpkin puree is going to be brilliantly colored and appealing!
Honestly, isn’t that the most gorgeously appetizing orange color you’ve ever seen? There’s simply no comparison to the often dull, muted, and sometimes brownish-orange color of canned pumpkin. Once you’ve tasted and seen the difference, you’ll understand why I’ve become a total pumpkin puree snob. The depth of flavor and radiant color truly elevate any dish it graces.
Unleash Your Culinary Creativity: Uses for Pumpkin Puree
With a batch of fresh, homemade pumpkin puree at your fingertips, the culinary possibilities are endless, especially during the autumn season. Beyond the classic pumpkin pie, here are just a few ideas to inspire your kitchen adventures:
- Baked Goods: Incorporate it into muffins, breads, cookies, scones, or even pancakes for a delightful fall twist.
- Soups and Stews: Add a creamy, rich texture and subtle sweetness to pumpkin soups, chili, or even curries.
- Lattes and Drinks: Blend it into homemade pumpkin spice lattes, smoothies, or milkshakes for a comforting treat.
- Desserts: From custards and cheesecakes to puddings and trifles, pumpkin puree is a dessert powerhouse.
- Savory Dishes: Mix it into risotto, pasta sauces, or even mashed potatoes for an unexpected depth of flavor.
- Baby Food: A natural, wholesome, and nutritious first food for babies.
- Hummus: Create a unique and flavorful pumpkin hummus.
Please excuse me while I promptly head to my grocery store to acquire the remainder of their pie pumpkins. You should too!
Whew, are we all pumpkin-ed out after that exhaustive, yet incredibly rewarding, journey? I sincerely hope not, because guess what’s coming your way tomorrow? An absolute must-try recipe that is, literally, the BEST way I can possibly think of to utilize that perfect, freshly-made pumpkin puree. Get excited!

Save To Recipe BoxSaved!
Print
Pin
How To Make Homemade Pumpkin Puree
This recipe may included paid links. As an Amazon Associate, I earn a commission from qualifying purchases.
5
45
50
3 -4 cups pumpkin puree
Ingredients
- 1 medium pie pumpkin
- 1 tablespoon olive oil
- 2-3 tablespoons water
Instructions
-
Cut the stem off the pumpkin. Cut the pumpkin in half and scoop out the inside flesh and seeds (remember to save the seeds for another delicious use!). Cut each pumpkin half into quarters and rub each piece lightly with olive oil. Place the quarters cut side-down in a greased baking pan.
-
Roast the pumpkin at 350°F (175°C) for 45-50 minutes, or until the flesh is very fork-tender. Once the pumpkin is cool enough to handle, carefully peel off the skin and discard it. Transfer the cooked pumpkin flesh into a blender and add 2-3 tablespoons of water. Blend on high speed until it’s completely smooth and pureed to your desired consistency.
-
Allow the pumpkin puree to cool slightly before transferring it to an airtight container for refrigeration or freezing.
Notes
Tried this recipe?
Leave a comment and rating below. Feel free to share a picture on Instagram and tag @wholeandheavenlyoven or hashtag it #wholeandheavenlyoven
If you make this incredible homemade pumpkin puree recipe, please be sure to tag your photo #wholeandheavenlyoven on Instagram. And don’t forget to follow me so we can stay connected and share more delicious kitchen adventures! ♥