
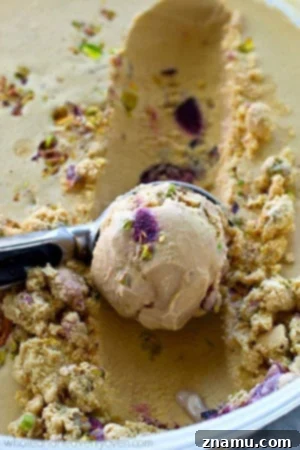
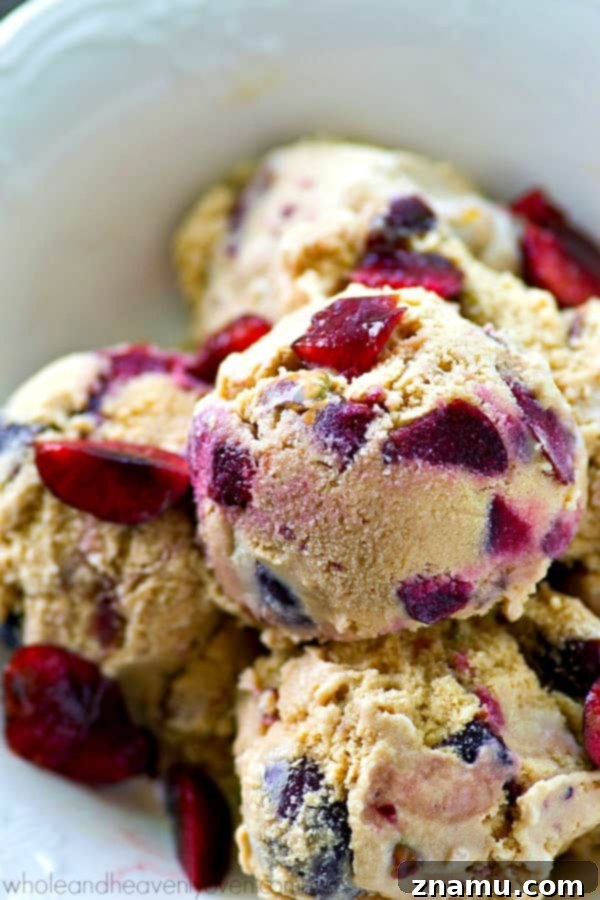
This creamy vanilla ice cream, generously loaded with succulent roasted cherries and delightfully crunchy pistachios, stands out as the ultimate summer indulgence, especially when paired with a decadent hot fudge sauce!
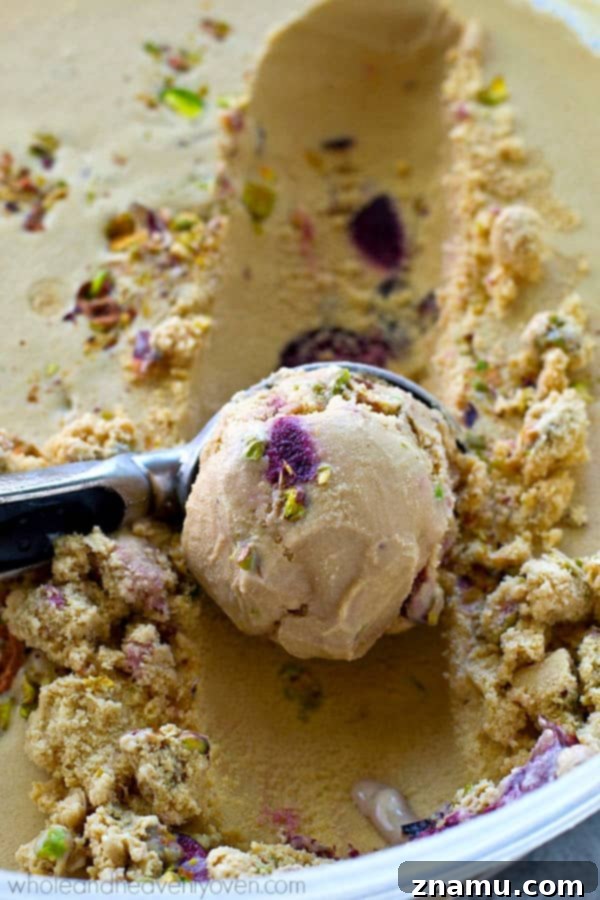
Indulge in Homemade Roasted Cherry Pistachio Ice Cream: Your Perfect Summer Treat!
Prepare yourselves, fellow dessert enthusiasts, for the arrival of the ice cream we’ve collectively anticipated all summer long. While the calendar might officially mark summer’s inception, the true season of sunshine and sweet treats truly begins when this heavenly Roasted Cherry Pistachio Ice Cream makes its grand appearance. It’s more than just a dessert; it’s an experience, a celebration of summer’s bounty, and a truly unforgettable homemade delight.
This isn’t just a weekend treat; it’s an any-day, every-day kind of joy, perfectly suited for a laid-back Thursday or a bustling Tuesday. There’s something inherently delightful about a scoop (or ten!) of rich, creamy ice cream on a warm day, and with a flavor combination this exquisite, you’ll find yourself reaching for it constantly. Who needs an excuse when the result is this irresistibly delicious?
The Allure of Homemade Ice Cream: A Sweet Escape
There’s a unique charm to homemade ice cream that simply cannot be replicated by store-bought varieties. The process, from whisking the custard base to watching it churn into a velvety smooth frozen dessert, is a rewarding culinary journey. It allows for complete control over ingredients, ensuring only the freshest, highest-quality components make it into your bowl. This results in a depth of flavor and a superior texture that elevates the humble ice cream into a gourmet experience. Homemade ice cream is not just food; it’s a labor of love, a cherished memory in the making, and an unparalleled way to enjoy the season’s best ingredients.
My Journey to the Perfect Scoop: A New Ice Cream Maker
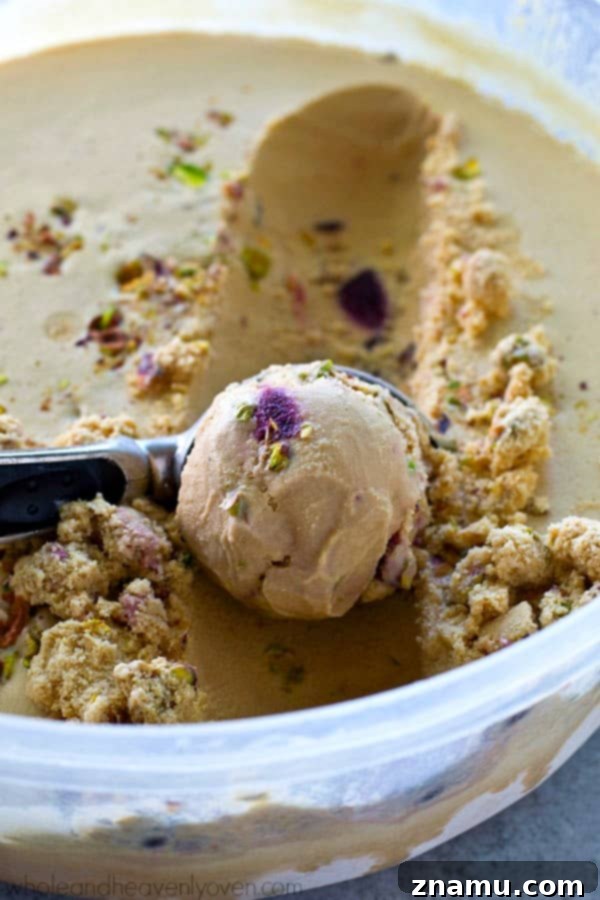
Today marks a momentous occasion in my ice cream making adventures! I’ve finally retired my old, rather rusty, and frankly, unreliable ice cream maker. It had served its time, but its inconsistency often left me yearning for a smoother, faster churning process. The upgrade? A brand-new, shiny Kitchen Aid ice cream maker attachment. And let me tell you, this is truly a game-changer!
This attachment has revolutionized my homemade ice cream game. It fits seamlessly onto my stand mixer, making the churning process incredibly simple and efficient. The consistency it achieves is nothing short of perfection – ultra-creamy, perfectly smooth, and ready to be loaded with delicious mix-ins. Investing in this attachment has been one of the best kitchen decisions I’ve made, and it promises endless possibilities for future frozen treats. This Roasted Cherry Pistachio Ice Cream was the very first recipe to christen my new machine, and it did so with flying colors. The success was so profound that I immediately celebrated by enjoying two generous bowls of this glorious creation. Some days are simply meant for indulging in your new favorite vanilla ice cream – and that’s an undeniable truth.
Unpacking the Flavor Profile: Cherries, Pistachios, and Vanilla Bliss
Let’s delve into the spectacular elements that make this ice cream an absolute showstopper. The harmony of flavors and textures in this recipe is meticulously crafted to deliver a truly memorable dessert experience.
The Magic of Roasted Cherries
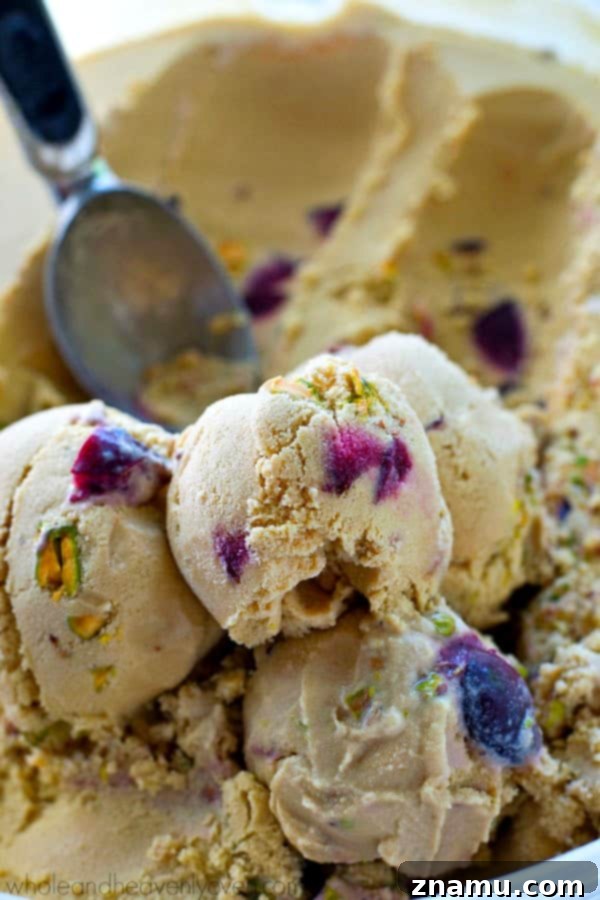
First in line are the sensational roasted cherries. These aren’t just any cherries; they’re roasty, juicy, and seriously bursting with an intensified sweetness. The secret lies in roasting them before adding them to the ice cream base. This simple step works wonders, as the heat caramelizes their natural sugars, deepens their flavor, and softens them to a delightful tenderness. As they roast, their juices concentrate, creating a rich, syrupy essence that infuses the entire ice cream with an unparalleled cherry goodness. Choosing ripe, sweet cherries is key; look for plump, firm fruit with a deep red color. Pitting them can be a bit tedious, but the effort is well worth it for the explosion of flavor you’ll get.
Crunchy Pistachios: A Perfect Counterpart
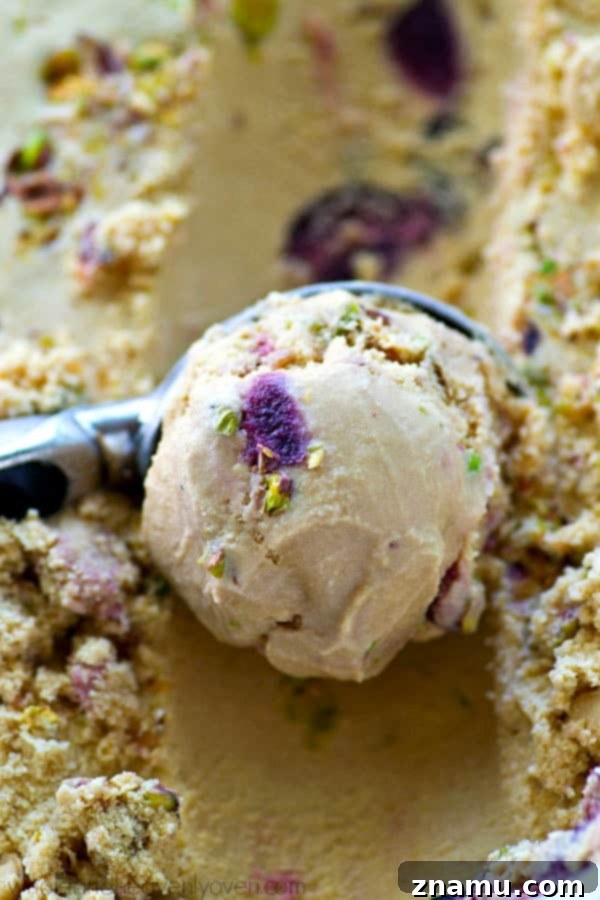
Next up, we have the toasted pistachios, which provide an absolutely indispensable element of crunch and nutty depth. Toasting the pistachios before incorporating them brings out their full, rich flavor and enhances their natural crispness. This textural contrast against the smooth, creamy ice cream and soft, juicy cherries is what truly makes this dessert sing. The combination of sweet cherries and savory, earthy pistachios is a classic pairing that creates a sophisticated and utterly delicious symphony of flavors. Make sure to chop them finely enough to distribute evenly throughout the ice cream, ensuring every bite offers that delightful nutty crunch.
The Classic Vanilla Base: Foundation of Flavor
Underneath all these magnificent additions lies a rich, creamy vanilla ice cream base. This isn’t just a plain canvas; it’s a meticulously crafted custard, made with whole milk, half-and-half cream, and egg yolks, infused with a generous amount of high-quality vanilla extract. The classic vanilla flavor provides the perfect, comforting backdrop, allowing the vibrant roasted cherries and nutty pistachios to truly shine. The careful tempering of the egg yolks ensures a silky-smooth texture, free from any iciness, making for a truly luxurious mouthfeel.
The Essential Hot Fudge Drizzle
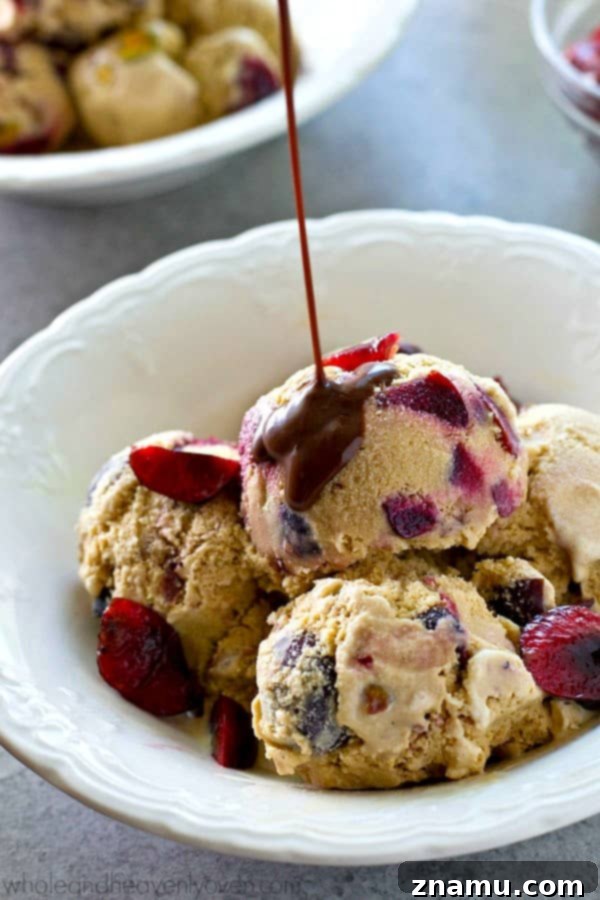
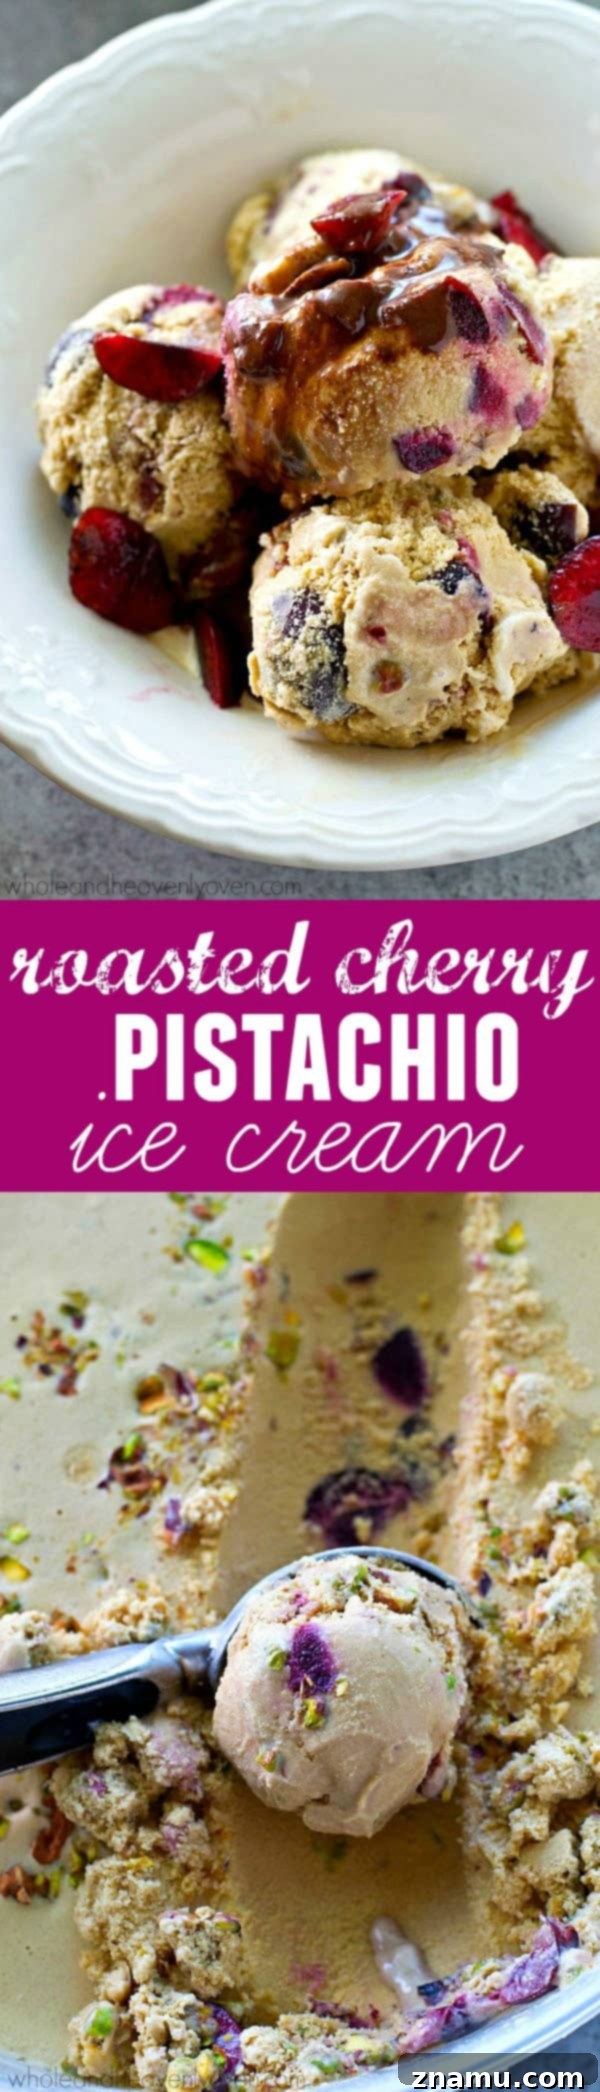
Last but certainly not least, we have the magnificent hot chocolate fudge sauce. While some might consider this an optional addition, in reality, it is absolutely essential. A generous drizzle of warm, rich hot fudge cascading over every scoop transforms this already incredible ice cream into an even more decadent masterpiece. The slightly bitter notes of the chocolate perfectly complement the sweetness of the cherries and the nuttiness of the pistachios, adding an extra layer of indulgence that is simply irresistible. Seriously, just look at that scoop! It’s impossible to resist, and you might find yourself “accidentally” consuming far more than you intended.
And let’s be honest, nobody’s counting if you decide to take a spoon directly to the ice cream container. After all, it doesn’t truly count as a bowl of ice cream if the ice cream never actually makes it to the bowl, right? Enjoying this treat is all about embracing that carefree summer spirit!

Save To Recipe BoxSaved!
Print
Pin
Roasted Cherry Pistachio Ice Cream
This recipe may included paid links. As an Amazon Associate, I earn a commission from qualifying purchases.
Ingredients
- 2 cups milk
- 2 cups half and half cream
- 1 cup coconut sugar or brown sugar
- 6 large egg yolks
- 1 tablespoon vanilla extract
- 2 cups fresh pitted cherries finely chopped
- 1 tablespoon agave syrup
- 3/4 cup roasted pistachios finely chopped
- Hot fudge sauce for serving optional
Instructions
-
In a large saucepan over medium heat, gently heat the milk, half and half cream, and sugar until the mixture is just simmering and the sugar has dissolved. Be careful not to boil. In a separate, heatproof bowl, thoroughly whisk the egg yolks until they are light yellow and creamy. To temper the egg yolks, slowly whisk in 1 tablespoon of the hot milk mixture into the egg yolks. Repeat this process a total of 4 times, continuously whisking the egg yolks to prevent scrambling. This gradual addition raises the temperature of the yolks gently. Once tempered, pour the egg yolk mixture back into the saucepan with the remaining hot milk mixture, whisking constantly until smooth. Continue to cook over low heat, stirring frequently, until the mixture slightly thickens to a custard-like consistency that coats the back of a spoon. Do not boil. Remove the pan from heat and stir in the vanilla extract. Transfer the custard base to a clean bowl, cover, and cool completely in the refrigerator for at least 3 hours, or preferably overnight, to ensure it is thoroughly chilled.
-
While the custard base is chilling, prepare the roasted cherries. Toss the pitted and finely chopped cherries with agave syrup in a bowl until evenly coated. Spread the cherries in a single layer on a foil-lined baking sheet. Roast the cherries in a preheated oven at 400°F (200°C) for 15-20 minutes, or until they have softened and begun to release their flavorful juices. The roasting process will deepen their sweetness and create a more intense cherry flavor. Once roasted, remove from the oven and allow them to cool completely at room temperature, along with any accumulated juices on the baking sheet.
-
Once the ice cream base is fully chilled, pour it into your ice cream maker and churn according to your machine’s instruction manual. This usually takes about 20-30 minutes, depending on your model. During the last 10 minutes of the churning cycle, add the cooled roasted cherries (including all their delicious juices from the pan) and the finely chopped roasted pistachios to the ice cream. Continue churning until the ice cream is thick and has reached a soft-serve consistency. Once churning is complete, transfer the freshly made ice cream to an airtight plastic container. Freeze for an additional 2-3 hours, or until it becomes firm enough for scooping.
-
When you’re ready to enjoy this delightful treat, scoop the firm ice cream into individual serving bowls. For the ultimate indulgence, generously drizzle each serving with warm hot fudge sauce. Serve immediately and savor every spoonful of this incredible roasted cherry pistachio ice cream. Enjoy!
Nutrition
Tips for Ice Cream Perfection
Crafting the perfect homemade ice cream is an art, but a few key tips can elevate your results. Always ensure your ice cream base is thoroughly chilled before churning; this is crucial for a smooth, creamy texture and prevents the formation of ice crystals. When adding mix-ins like the roasted cherries and pistachios, introduce them during the final stage of churning. This helps distribute them evenly and prevents them from sinking to the bottom. For optimal firmness, allow the ice cream to “cure” in the freezer for at least 2-3 hours after churning. If your ice cream becomes too hard, let it sit at room temperature for a few minutes before serving to achieve that ideal scoopable consistency. And don’t forget to use high-quality vanilla extract – it makes a noticeable difference in the overall flavor profile.
Serving Suggestions and Variations
While the hot fudge sauce is highly recommended, feel free to get creative with your toppings! A sprinkle of extra chopped pistachios, a dollop of fresh whipped cream, or a drizzle of caramel sauce would also be delightful. For variations, consider swapping out cherries for other roasted fruits like peaches or berries. Almonds or walnuts could replace pistachios for a different nutty twist. The beauty of homemade ice cream lies in its versatility, allowing you to tailor it to your exact preferences.