
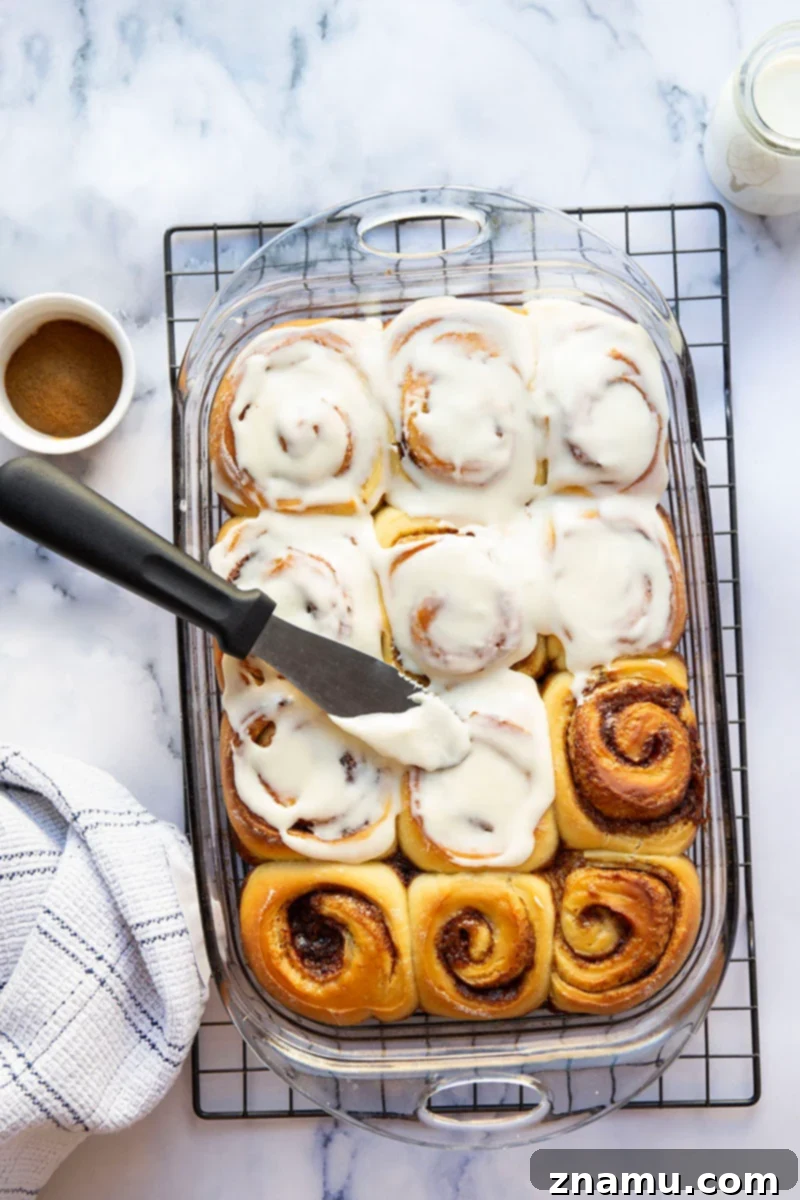
The Ultimate Overnight Cinnamon Rolls with Tangy Cream Cheese Frosting
Indulge in the heavenly delight of incredibly soft, melt-in-your-mouth overnight cinnamon rolls, generously slathered with luscious, tangy cream cheese frosting. This classic recipe offers a convenient make-ahead option, transforming your morning into an effortless celebration. Get ready for the ultimate breakfast indulgence!
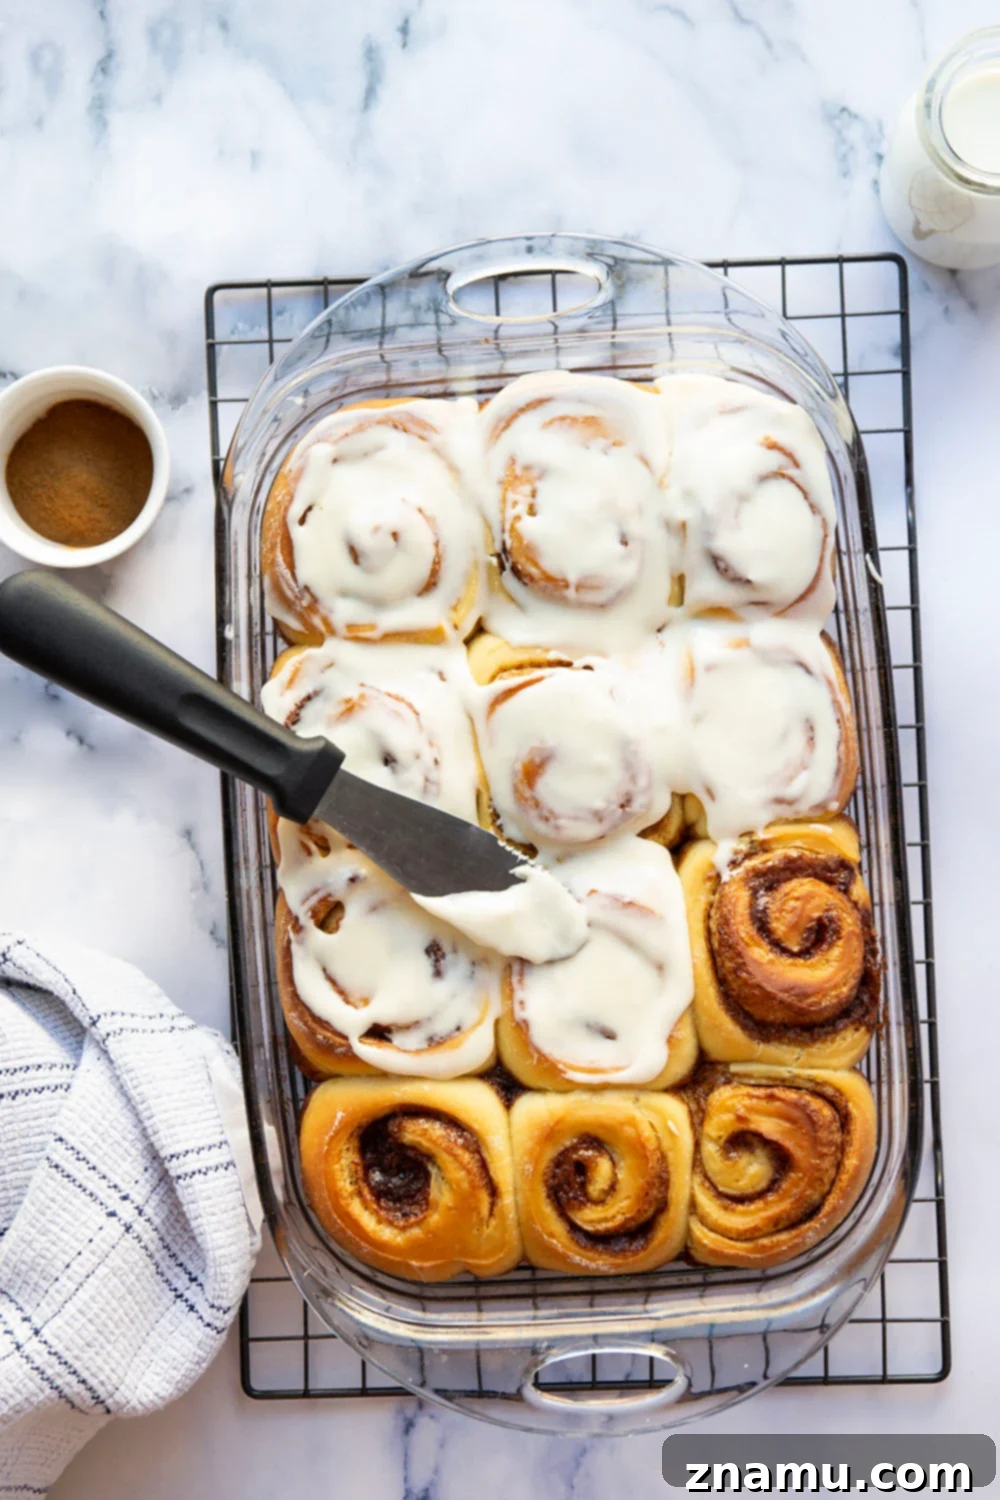
Few things in life compare to the comfort and pure joy of a warm, gooey cinnamon roll, freshly baked and glistening with sweet frosting. Imagine waking up to that aroma – without having to lift a finger in the morning! This recipe for overnight cinnamon rolls isn’t just a promise; it’s a guarantee for the best breakfast experience you could ever dream of. Forget complicated steps or early morning alarms; with our time-saving method, most of the work happens the night before, leaving you with a glorious, effortless morning treat.
These homemade cinnamon rolls truly have it all. We’re talking about that irresistible soft, pillowy texture that melts in your mouth, a rich and buttery cinnamon sugar swirl that’s perfectly spiced, and an ample, decadent layer of tangy cream cheese frosting. Each bite is a symphony of flavors and textures, striking the perfect balance between sweet, savory, and utterly satisfying. This isn’t just a recipe; it’s an invitation to elevate your breakfast game to an entirely new level of deliciousness.
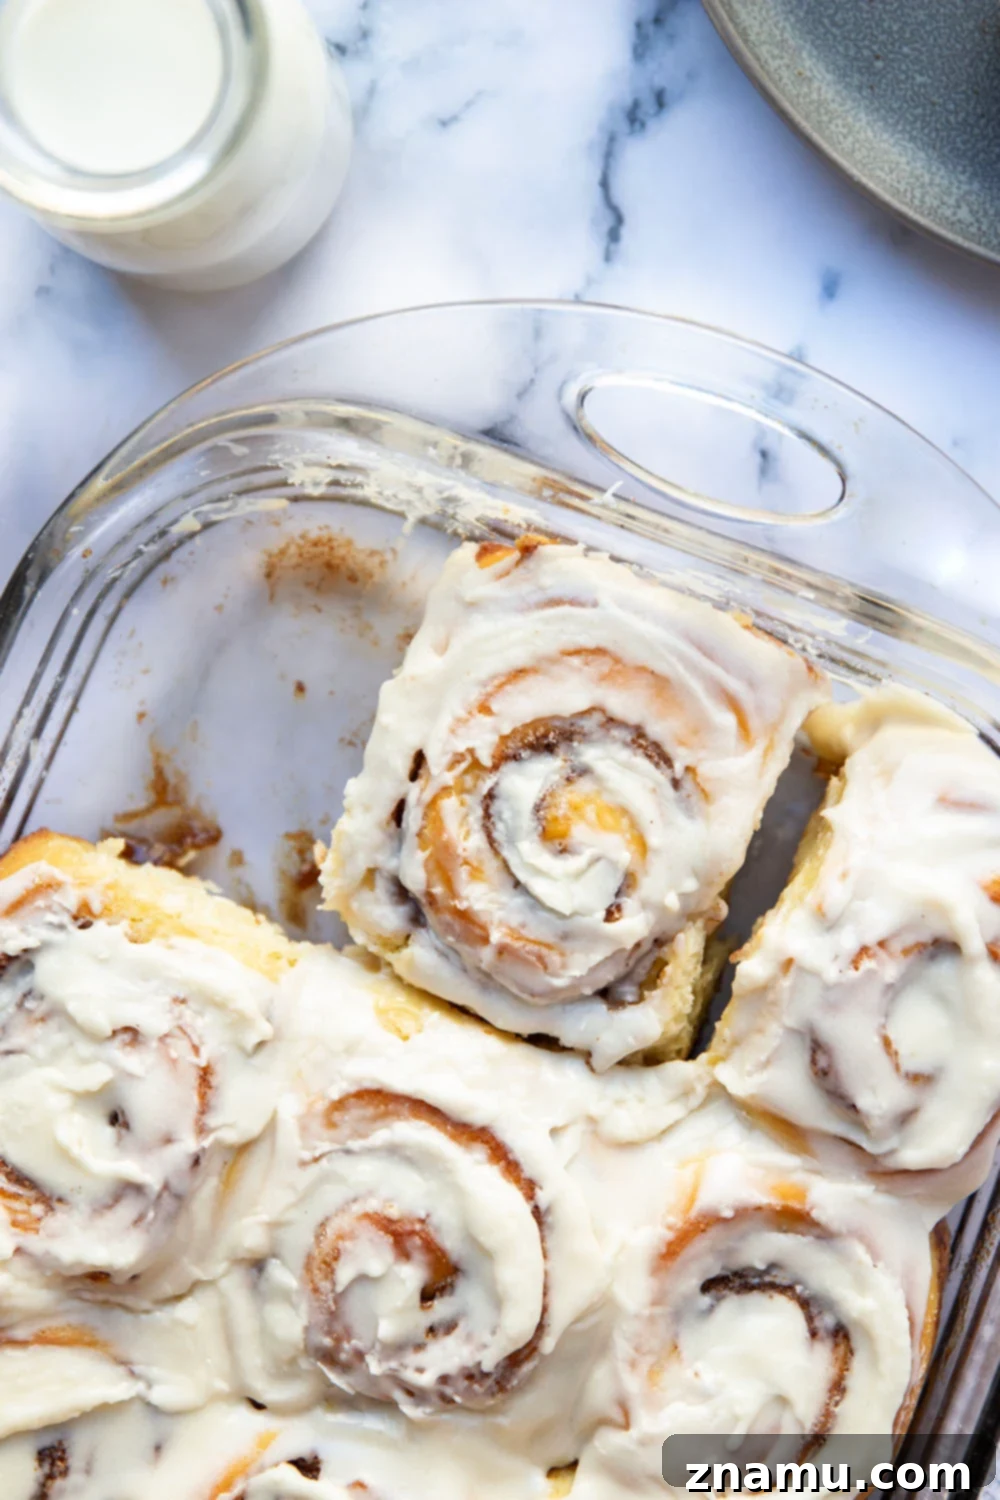
Seriously, just look at that pan – doesn’t it make you want to dive right in?
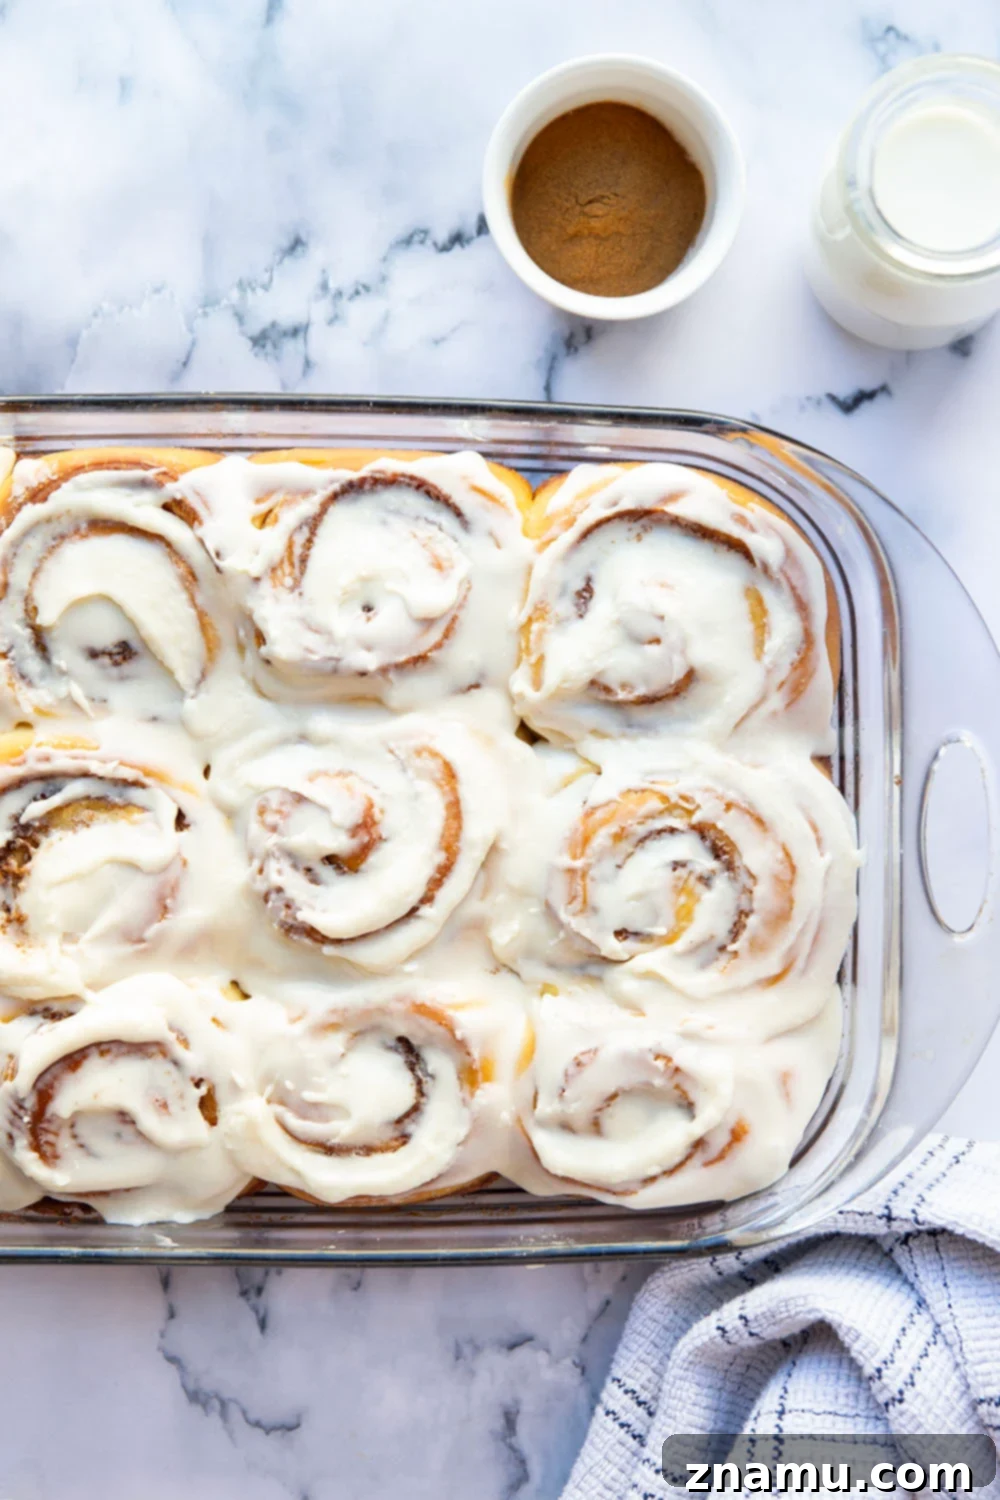
The real magic of this recipe lies in its convenience. By preparing the dough and shaping the rolls the evening prior, you minimize your morning effort, allowing the yeast to slowly develop flavor overnight in the refrigerator. This not only makes for a stress-free morning but also results in a deeper, more nuanced flavor and an even softer texture. You’ll wake up to a spectacular breakfast masterpiece just waiting for a quick bake and a generous dollop of frosting. It’s truly the perfect solution for weekend brunches, special occasions, or simply treating yourself to something extraordinary.
Why You’ll Fall in Love with These Overnight Cinnamon Rolls
- A **luxuriously soft, melt-in-your-mouth texture** that defines what a perfect cinnamon roll should be.
- A **gooey, rich cinnamon sugar filling** that caramelizes beautifully during baking.
- A **sweet and creamy, yet tangy, cream cheese frosting** that perfectly complements the spiced rolls.
- The ultimate **convenient overnight chilling option**, enabling effortless, fresh-baked goodness the very next day.
- **Simple, easy-to-follow steps** that guarantee success, even for novice bakers.
- An **impressive, crowd-pleasing dessert** or breakfast that will have everyone asking for the recipe.
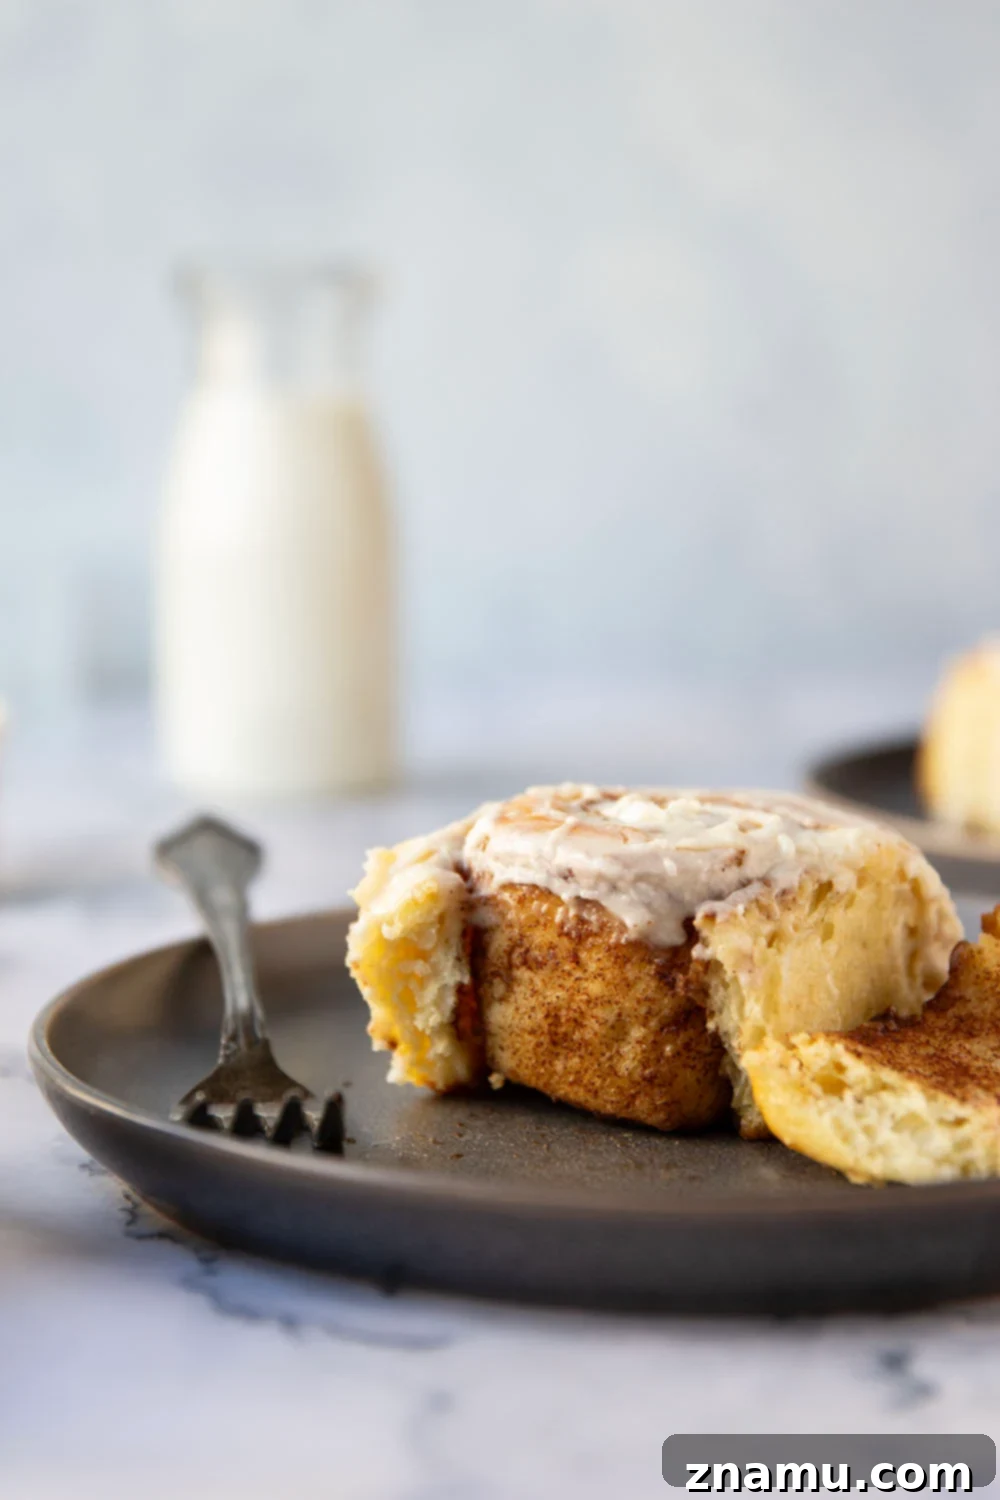
Crafting Your Cinnamon Roll Masterpiece
(For a detailed, step-by-step recipe card, please scroll to the bottom of this page.)
Making these sensational cinnamon rolls is a rewarding process, and with our clear instructions, you’ll find it surprisingly straightforward. From activating the yeast to achieving that perfect dough consistency, and finally, assembling the irresistible cinnamon sugar swirl, every step contributes to the ultimate indulgence. The beauty of this recipe is that it breaks down into manageable phases, making the entire baking journey enjoyable and virtually foolproof.
Essential Ingredients for Fluffy Perfection
Quality ingredients are the foundation of exceptional baking. Here’s what you’ll need to create these outstanding overnight cinnamon rolls:
- Buttermilk: Key for adding moisture, tenderness, and a slight tang to the dough.
- Active Dry Yeast: The leavening agent that gives our rolls their incredible rise and fluffiness.
- Honey: Adds a subtle sweetness and helps activate the yeast, contributing to the dough’s rich flavor.
- Eggs: Provide richness, structure, and a beautiful golden hue to the dough.
- Kosher Salt: Enhances the flavors in both the dough and the filling, balancing the sweetness.
- All-Purpose Flour: The primary structural component of our dough. Measuring correctly is crucial!
- Unsalted Butter: Used for both the dough and the irresistible cinnamon filling.
- Granulated Sugar: Essential for both the dough’s sweetness and the classic cinnamon sugar filling.
- Brown Sugar: Adds a deeper, molasses-rich sweetness and moisture to the filling, making it gooey.
- Cinnamon: The star spice, providing warmth and aromatic flavor to the filling.
- Powdered Sugar: The base for our smooth, creamy cream cheese frosting.
- Cream Cheese: Delivers the signature tangy flavor and creamy texture to the frosting.
- Vanilla Extract: Enhances the overall flavor profile, especially in the frosting.
- 2% or Skim Milk: Used to achieve the perfect drizzling consistency for the frosting.
Stand Mixer vs. Hand Mixing: Which Method is Right for You?
Whether you’re a seasoned baker with a trusty stand mixer or prefer a hands-on approach, this dough is forgiving and delicious either way. Both methods will yield beautifully soft and elastic dough; it simply comes down to personal preference and available equipment.
If you opt for the stand mixer route: Ensure you attach the dough hook. Mix the dough on low to medium speed for 5-7 minutes. During this time, the mixer works its magic, developing the gluten until the dough becomes wonderfully stretchy and elastic. This hands-off approach is perfect for busy bakers.
If you prefer to mix by hand: Grab a large sturdy mixing bowl and a wooden spoon. Combine your ingredients until a shaggy dough forms. Then, turn the dough out onto a lightly floured surface and prepare for about 10 minutes of kneading. The goal is to work the dough until it transforms into a smooth, pliable, and elastic ball. This method offers a satisfying tactile experience and a great arm workout!
Expert Tips for Unfailingly Perfect Cinnamon Rolls
Achieving bakery-quality cinnamon rolls at home is entirely possible with a few key techniques. Follow these expert tips for consistent success and truly spectacular results:
- Precisely Heat Buttermilk to 110°F: Yeast is sensitive to temperature. Using buttermilk that’s too hot will kill the yeast, preventing your dough from rising. Too cold, and the yeast won’t activate effectively. A quick check with a thermometer ensures optimal yeast activity for a perfect rise.
- Master the Spoon-and-Level Flour Measurement: Incorrect flour measurement is a common baking pitfall. Avoid over-measuring by using the spoon-and-level technique: lightly spoon flour into your measuring cup until it’s overflowing, then use the straight edge of a knife to level off the excess. This prevents a dense, dry dough.
- Ensure Proper Dough Kneading: Kneading is critical for gluten development, which gives the cinnamon rolls their signature chewy-yet-tender structure. Whether by hand or mixer, knead until the dough is smooth, elastic, and passes the “windowpane test” (you can stretch a small piece thin enough to see light through it without tearing).
- Allow Dough to Rise Until Doubled: Patience is a virtue in yeast baking. After kneading, place the dough in a greased bowl, cover it with plastic wrap, and let it rise in a warm, draft-free spot until it has visibly doubled in size. This usually takes 1 to 1-1/2 hours, depending on ambient temperature.
- Provide a Warm Rising Environment: Yeast thrives in warmth. Aim for a kitchen temperature of 75°F-80°F for optimal dough rising. If your kitchen is cool, you can create a warm environment by placing the bowl in a slightly warmed (turned off) oven with the door ajar, or near a warm appliance.
- Roll Dough to a 12×16-Inch Rectangle: This specific dimension ensures the ideal dough-to-filling ratio for beautifully proportioned rolls with plenty of luscious cinnamon swirl. Use a ruler to guide your rolling for precision.
- Spread Filling to Within 1/2-Inch of Edges: When spreading the softened butter and cinnamon sugar mixture, leave a small border around the edges. This prevents the filling from oozing out during rolling and baking, keeping your rolls neat and delicious.
- Roll Cinnamon Rolls Tightly: A snug roll is key to achieving those iconic, well-defined cinnamon swirls. Start rolling from one long side and keep it tight and even throughout the process. A tight roll also helps the rolls hold their shape during proofing and baking.
- Slightly Underbake for Gooey Softness: The secret to truly melt-in-your-mouth cinnamon rolls is to pull them from the oven when they’re just lightly golden brown around the edges, but still appear slightly soft in the center. This ensures a wonderfully gooey interior rather than a dry, crumbly one.
- Cool Rolls Slightly Before Frosting: Resist the urge to frost immediately! Allow the freshly baked rolls to cool on a wire rack for about 20 minutes. This prevents the cream cheese frosting from completely melting and running off, allowing it to set into a beautiful, thick layer.
Exciting Recipe Variations to Explore
While these classic overnight cinnamon rolls are perfect as is, they also serve as an excellent canvas for creative twists. Don’t hesitate to experiment with these delicious ideas:
- Add a Chocolatey Surprise: For chocolate lovers, sprinkle about 3/4 cup of semisweet chocolate chips over the cinnamon sugar filling before rolling. The melting chocolate will add another layer of rich indulgence.
- Experiment with Different Frostings: While our tangy cream cheese frosting is divine, feel free to customize. A simple powdered sugar glaze (powdered sugar + milk) can be flavored with a variety of extracts like almond, maple, or even a touch of orange zest for a bright, refreshing change.
- Nutty Crunch: Fold in 1/2 cup of finely chopped pecans or walnuts into your cinnamon filling for added texture and a rich, nutty flavor.
- Spiced Apple Delight: For an autumn-inspired twist, mix a quarter cup of finely diced, sautéed apples (tossed with a pinch of nutmeg) into your cinnamon filling.
Mastering the Overnight Chill: Your Key to Morning Ease
The overnight chilling process is what makes this recipe truly revolutionary. It allows for convenience without compromising on flavor or texture. Once you’ve shaped your cinnamon rolls and arranged them snugly in your baking pan, cover them tightly with plastic wrap. Place the pan in the refrigerator for at least 8 hours, and up to 16 hours. This slow, cold proofing develops deeper flavors and a more tender crumb.
On baking day, remove the pan from the refrigerator approximately 1.5 to 2 hours before you plan to bake. This crucial step allows the rolls to come to room temperature and complete their final rise, ensuring they become beautifully puffy and light in the oven. Do not rush this step, as proper room temperature proofing is essential for optimal texture.
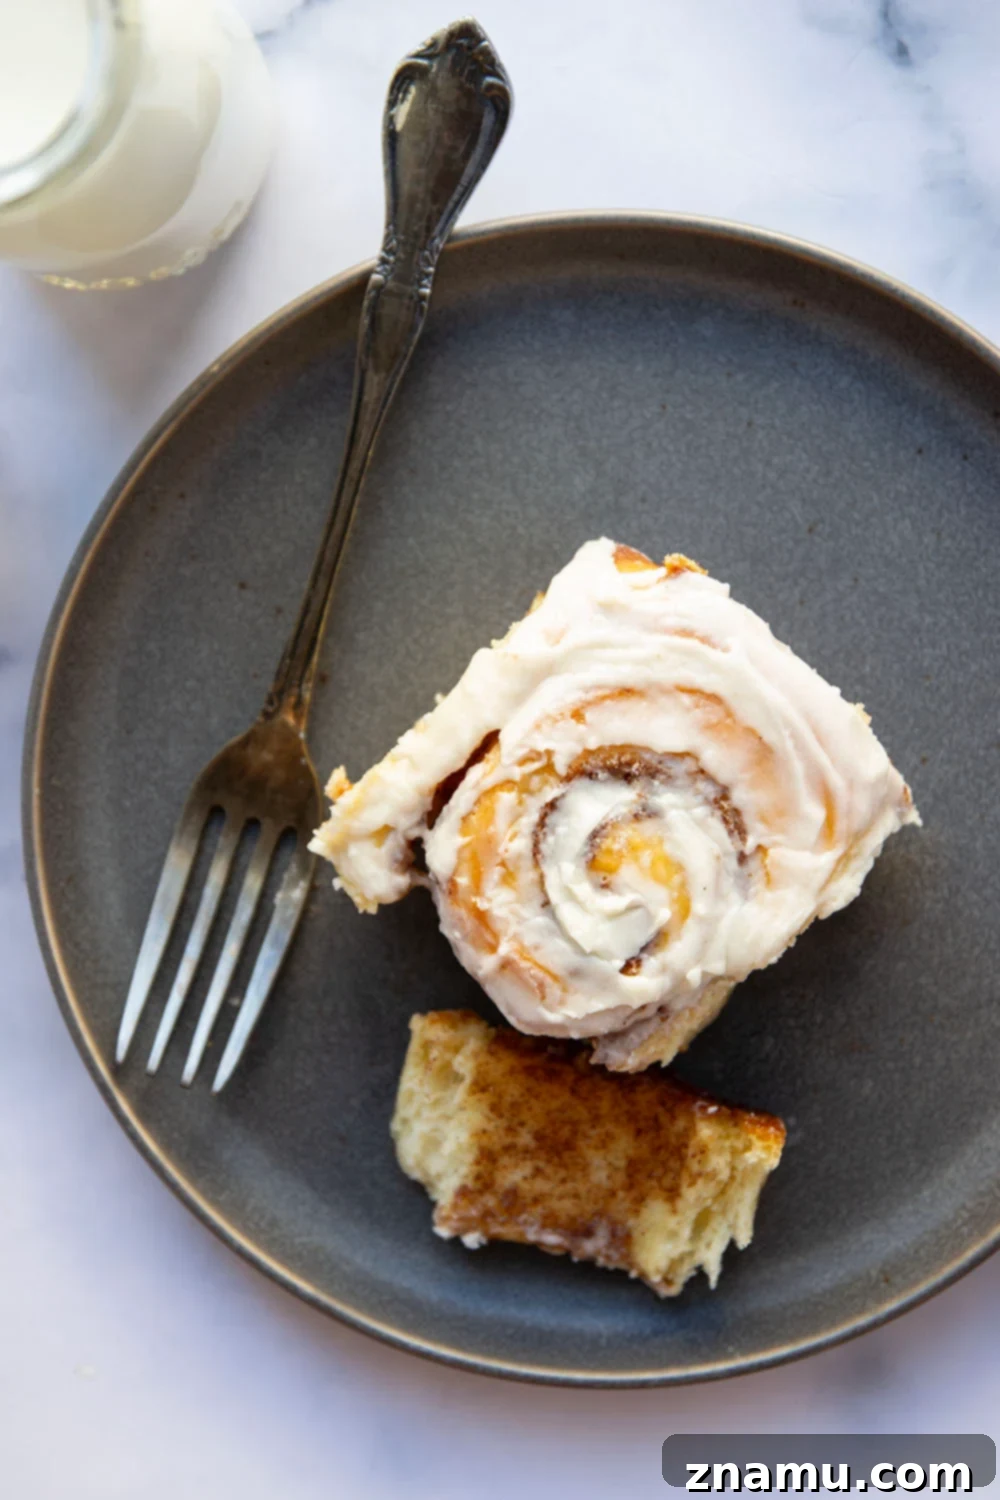
Seriously, once you try this recipe, you’ll be convinced there’s no other way to make cinnamon rolls. The combination of the impossibly soft, gooey texture and that perfect balance of cinnamon and tangy cream cheese is like something straight out of a dream. It’s a guaranteed hit and the best breakfast ever to wake up to – no contest!
Don’t forget to save this incredible recipe! Use the ‘save to recipe box’ button below to keep it handy. If you bake these delightful rolls, please share your experience! We’d love for you to leave a comment and a star rating below. Even better, snap a photo and tag it on Instagram with #wholeandheavenlyoven so we can see your beautiful creations.
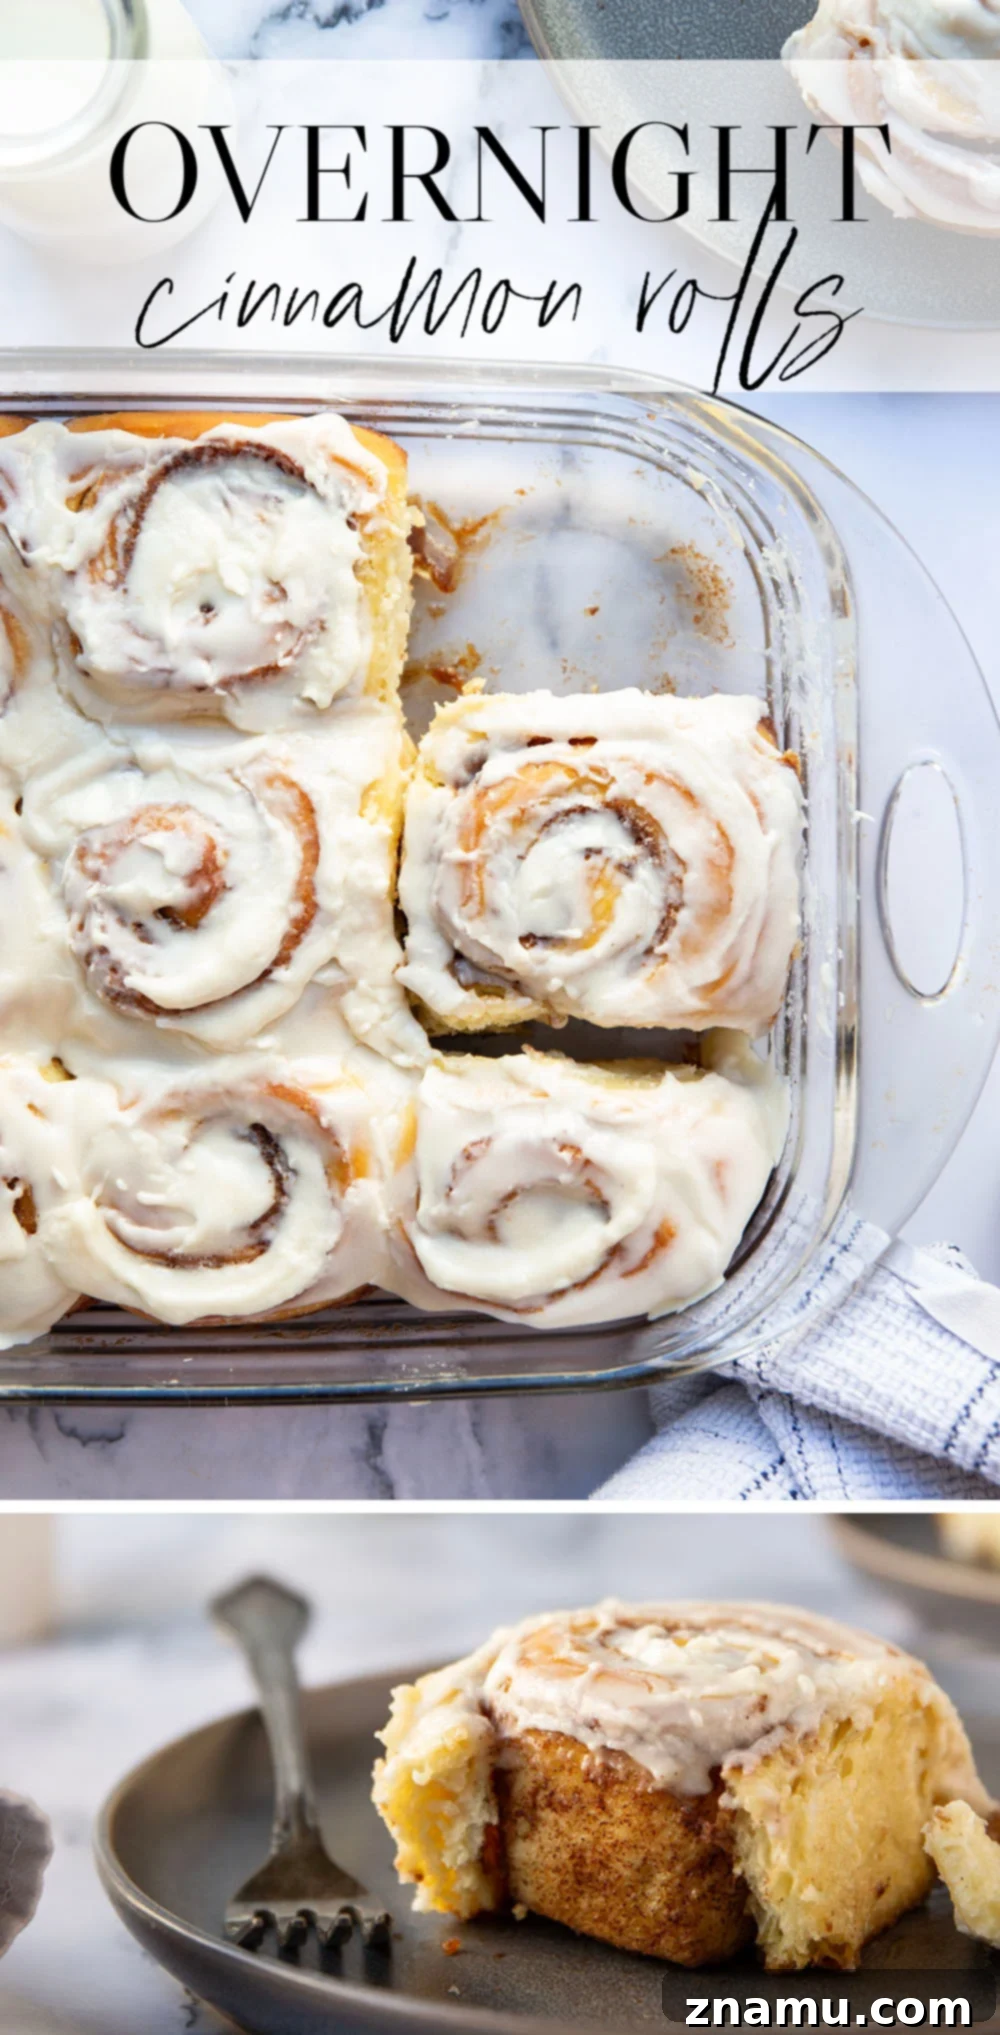
Discover more visual steps and baking tips for these cinnamon rolls on our Google Web Stories.
Craving More Sweet Breakfasts? Try These Next!
- Decadent Banana Chocolate Chip Pumpkin Bread
- Charming Mini Dutch Baby Pancakes
- Irresistible Cream Cheese Morning Buns with Coffee Glaze

Save To Recipe BoxSaved!
Print
Pin
Overnight Cinnamon Rolls
This recipe may include paid links. As an Amazon Associate, I earn a commission from qualifying purchases.
Ingredients
Yeast Dough
- 1 cup buttermilk, warmed to 110F
- 2-1/4 teaspoons active dry yeast
- 1/4 cup honey
- 3 large eggs, lightly beaten
- 1-1/2 teaspoons kosher salt
- 3-1/2 to 4 cups all-purpose flour (spooned and leveled)
- 3 tablespoons unsalted butter, softened
Cinnamon Filling
- 1/3 cup granulated sugar
- 1/3 cup light brown sugar
- 1 tablespoon ground cinnamon
- 6 tablespoons unsalted butter, softened
Cream Cheese Icing
- 1-1/2 cups powdered sugar
- 3 oz cream cheese, softened
- 1-1/2 teaspoons vanilla extract
- 1-2 tablespoons 2% or skim milk
Instructions
-
In the bowl of a stand mixer fitted with a dough hook, or a large mixing bowl, combine the warm buttermilk. Sprinkle the active dry yeast over the buttermilk and let it stand for 5 minutes until it becomes foamy, indicating the yeast is active.
-
Add the honey, lightly beaten eggs, and kosher salt to the yeast mixture. Mix until everything is well combined and smooth. Gradually add 3-1/2 cups of all-purpose flour to the bowl. Mix on low speed (if using a stand mixer) or with a wooden spoon (if mixing by hand) until the dough begins to pull away from the sides of the bowl, approximately 2 minutes. If the dough seems excessively wet or sticky, add additional flour one tablespoon at a time until the desired consistency is reached.
-
Incorporate the softened unsalted butter into the dough. If using a stand mixer, add the butter one tablespoon at a time while the mixer is running on low speed. If mixing by hand, fold in the butter with a wooden spoon until it is fully combined and absorbed into the dough.
-
Now it’s time to knead! If using a stand mixer, continue kneading the dough on low speed for 5-7 minutes. The dough should become noticeably stretchy and elastic. If kneading by hand, turn the dough onto a lightly floured surface and knead for about 10 minutes, or until the dough is smooth, pliable, and elastic.
-
Transfer the kneaded dough to a clean, greased bowl, turning it once to ensure the top is also lightly greased. Cover the bowl tightly with plastic wrap and let the dough rise in a warm, draft-free place at room temperature for 1 to 1-1/2 hours, or until it has visibly doubled in size.
Cinnamon Filling
-
Lightly grease a 9×13 inch baking dish; set aside. In a small bowl, thoroughly combine the granulated sugar, light brown sugar, and ground cinnamon. This will be your irresistible cinnamon filling.
-
Once the dough has risen, gently punch it down to release the air. Turn the dough out onto a lightly floured surface. Roll the dough into a large 12×16 inch rectangle. Spread the softened butter evenly over the dough, leaving a 1/2-inch border around the edges. Then, generously sprinkle the prepared cinnamon sugar mixture over the butter, staying within the 1/2-inch border.
-
Starting from one of the long sides, tightly roll the dough up into a log. Pinch the ends firmly to seal the seam. Using a sharp knife or unflavored dental floss, cut the log into 12 even pieces. Arrange the cut rolls into your prepared 9×13 inch baking dish. Cover the pan tightly with plastic wrap and refrigerate for 8 hours, or up to 16 hours, for the overnight chill.*
-
When you’re ready to bake the rolls the next morning, remove the pan from the refrigerator. Allow the rolls to sit at room temperature for 1 to 1-1/2 hours. This gives them time to warm up and complete their final rise, becoming puffy and nearly doubled in size.
-
Preheat your oven to 350°F (175°C). Bake the cinnamon rolls for 25-30 minutes, or until they are a light golden brown around the edges. Remember, a slight underbake ensures they remain wonderfully soft and gooey. Once baked, transfer the pan to a wire cooling rack and allow the rolls to cool for about 20 minutes before frosting.
Cream Cheese Icing
-
While the rolls are cooling, prepare the cream cheese icing. In a medium bowl, beat together the powdered sugar and softened cream cheese until the mixture is smooth and creamy. Stir in the vanilla extract, then gradually add 1 to 2 tablespoons of 2% or skim milk, until you achieve a thick, drizzling consistency.
-
Generously spoon the prepared icing over the slightly cooled cinnamon rolls. Allow the frosting to set for about 10 minutes before serving. Enjoy your irresistible homemade overnight cinnamon rolls!
Notes
Storing Instructions
These cinnamon rolls are undeniably best when served immediately after baking. If you have any leftovers, refrigerate them in an airtight container for up to 2 days. Reheat gently in the microwave or oven before serving to restore their tender texture.
Nutrition
This post was updated with new recipe tips and photos on December 7, 2023.