
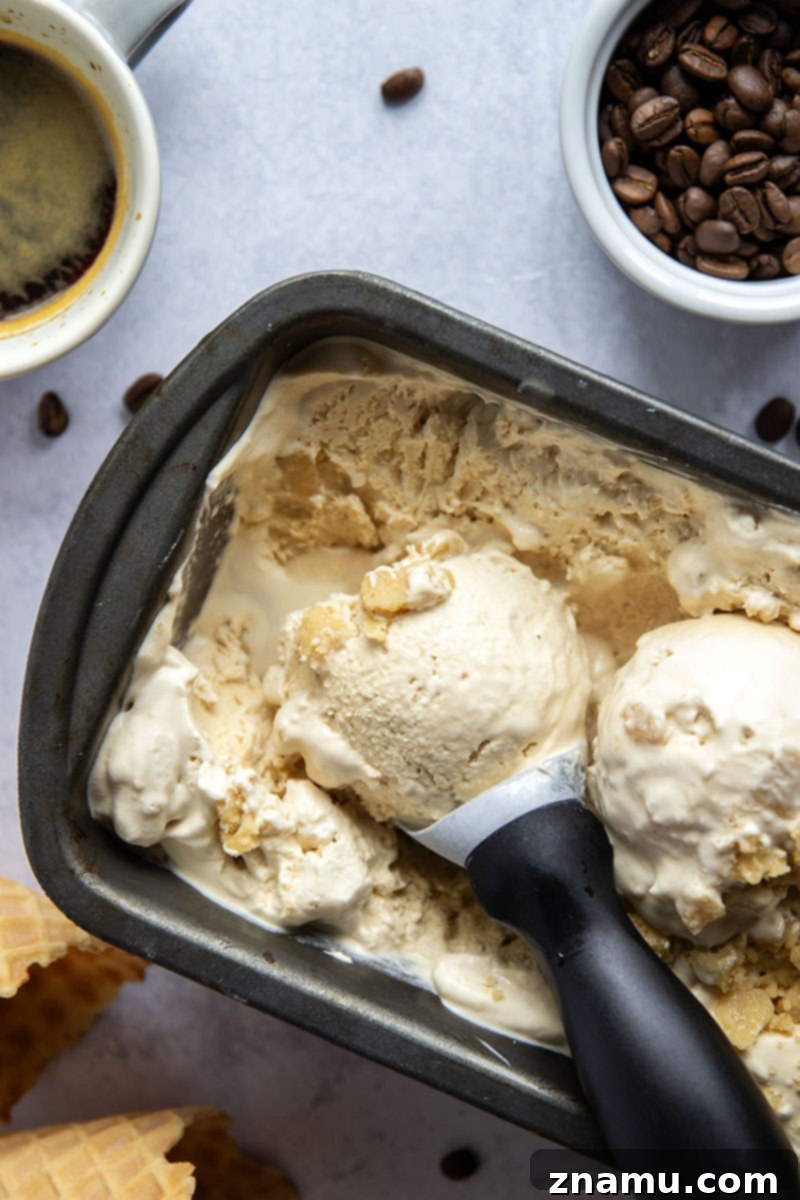
Indulge in the ultimate homemade dessert with this luxurious no-churn espresso ice cream, generously studded with crunchy, buttery homemade toffee bits. A coffee lover’s dream, no ice cream maker required!
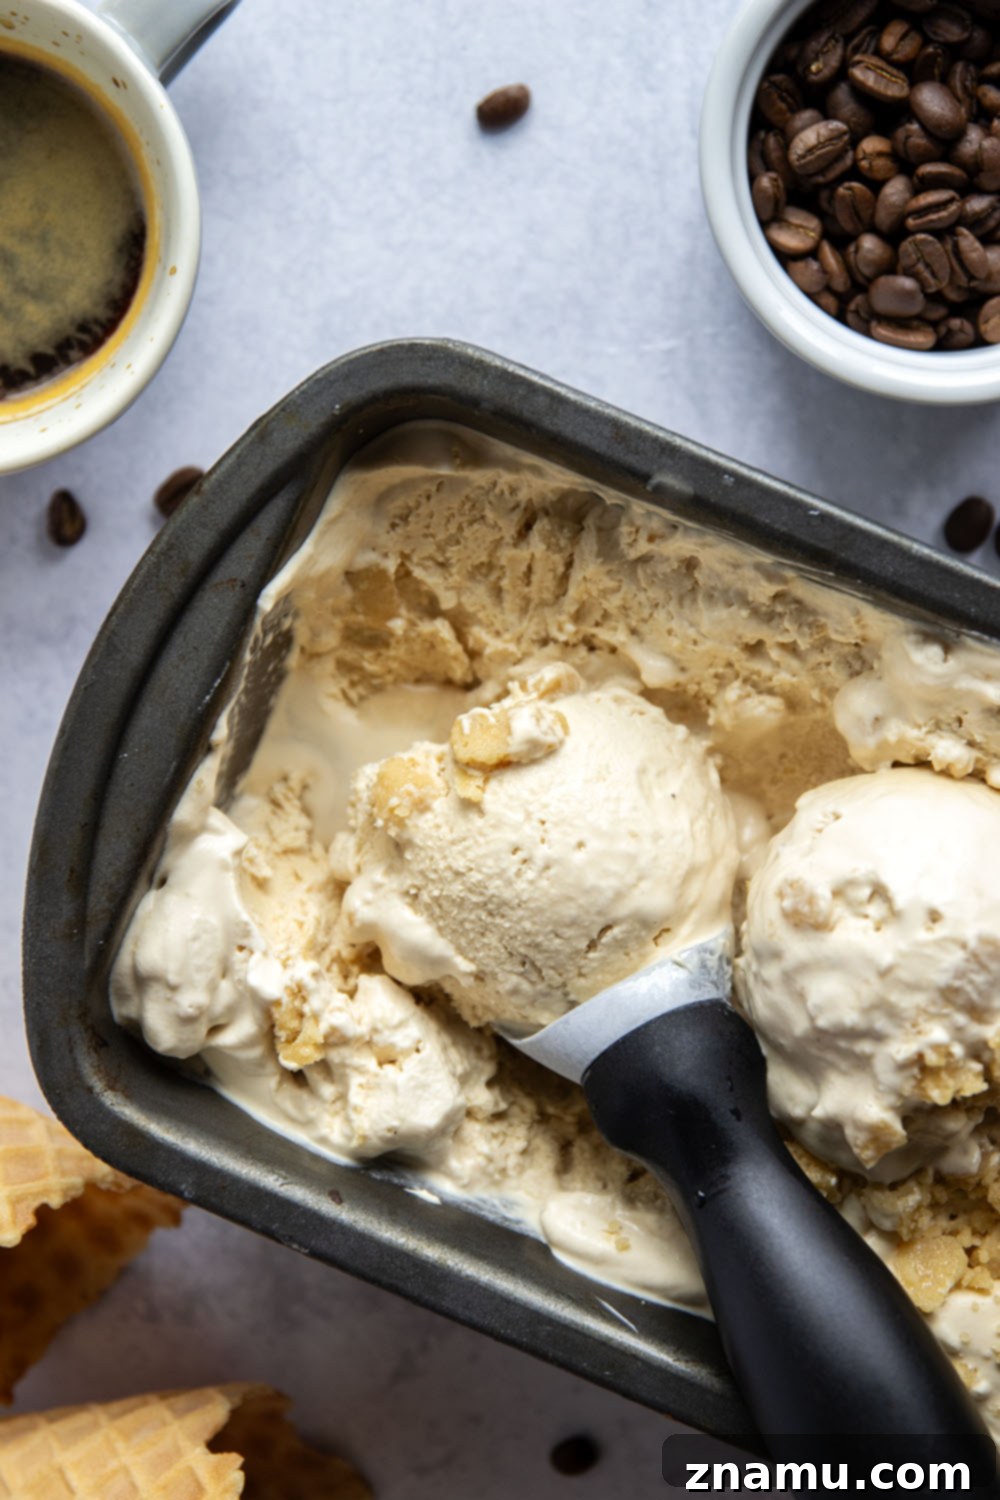
While some might argue that ice cream is a seasonal treat, true connoisseurs know that its delights transcend the calendar. Yet, as the sun graces us with warmer days, there’s an undeniable pull towards refreshing, creamy scoops. And for me, that means diving into generous portions of this extraordinary espresso ice cream.
Imagine the rich, deep aroma of your favorite coffee, perfectly captured in a frozen, velvety indulgence. This isn’t just any coffee ice cream; it’s an elevated experience designed for those who appreciate robust espresso flavor. What takes it to the next level? The delightful inclusion of crisp, buttery homemade toffee bits, adding an irresistible crunch and a hint of caramelized sweetness that complements the coffee beautifully.
The best part? This incredible dessert comes together effortlessly, requiring absolutely no specialized ice cream maker. That’s right – a truly no-churn recipe! This means less fuss, less equipment, and more time to enjoy pure bliss. Suffice to say, this particular espresso toffee ice cream is poised to be a staple on your dessert menu all season long, and quite possibly, year-round.
Effortless Indulgence: The No-Churn Advantage
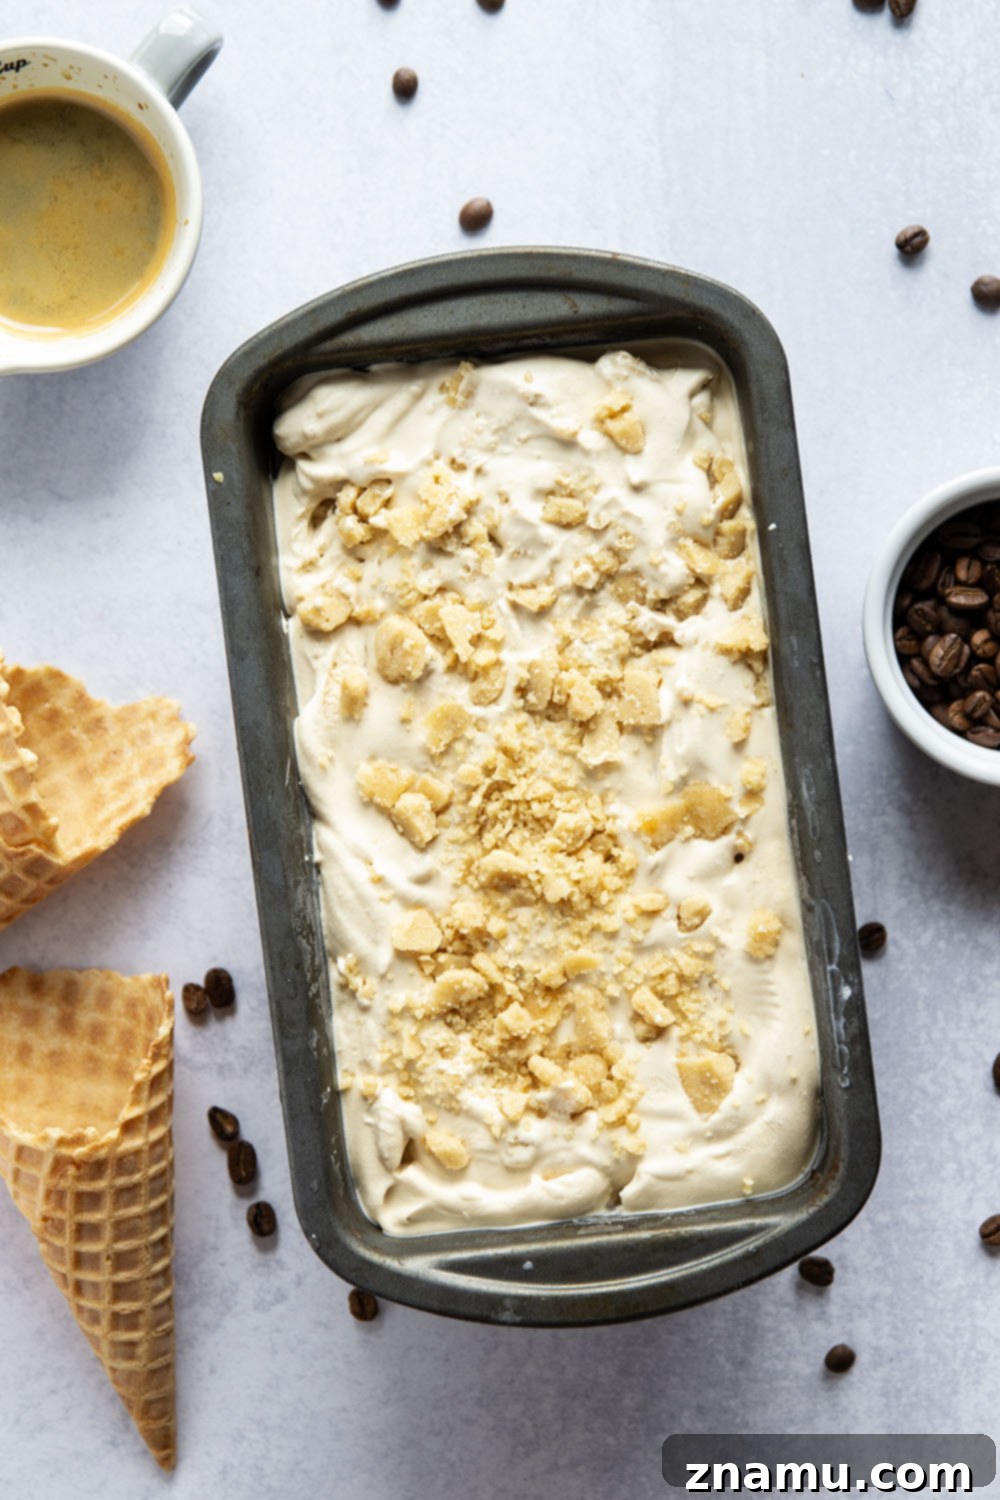
Today, we’re embracing simplicity without compromising on flavor or texture. This recipe is designed to be incredibly easy, utilizing common kitchen staples and requiring no complex equipment. We’re talking about just a handful of ingredients – seven, to be precise – minimal active preparation time, and then the waiting game while your freezer transforms liquid gold into a scoopable masterpiece. The majority of the process is hands-off, allowing you to relax while the magic happens.
Once frozen to perfection, you’ll find it nearly impossible to resist. One scoop quickly turns into two, and before you know it, you’ll be savoring every last spoonful of this creamy, crunchy delight. It’s the kind of homemade treat that tastes gourmet, yet is surprisingly simple to achieve in your own kitchen.
Why You’ll Fall in Love with This Espresso Toffee Ice Cream
- A wonderfully rich and velvety texture, generously infused with authentic espresso flavor.
- The delightful contrast of sweet, crunchy, and buttery homemade toffee bits scattered throughout.
- An incredibly straightforward no-churn method that eliminates the need for an ice cream maker, making it accessible for everyone.
- Mostly hands-off preparation, allowing for minimal effort and maximum reward.
- A sophisticated dessert that feels gourmet but is surprisingly easy to create at home.

Crafting Your Dream Ice Cream: A Simple Guide
Making this ice cream is a journey in two main parts: preparing the irresistible homemade toffee bits, and then assembling the creamy espresso base. Each step is straightforward, ensuring a perfect result every time. For the detailed, step-by-step recipe, please refer to the comprehensive guide at the bottom of this page.
Key Ingredients You Will Need
This recipe relies on a few core ingredients, each playing a crucial role in creating the perfect texture and flavor profile:
- Unsalted Butter: The foundation for our rich, homemade toffee. Unsalted allows you to control the seasoning.
- Brown Sugar: Provides deep caramel notes for the toffee, contributing to its signature chewiness and crunch.
- Kosher Salt: A touch of salt in the toffee balances the sweetness and enhances its flavor.
- Heavy Whipping Cream: This is the secret to our no-churn success. Whipped to stiff peaks, it incorporates air and creates that luscious, creamy texture without churning.
- Sweetened Condensed Milk: Adds sweetness and an incredibly smooth, dense consistency, also essential for the no-churn method.
- Espresso: The star of the show, delivering that bold, authentic coffee flavor.
- Vanilla Extract: A classic flavor enhancer that rounds out the sweetness and complements the espresso beautifully.
Selecting the Perfect Coffee for Your Ice Cream
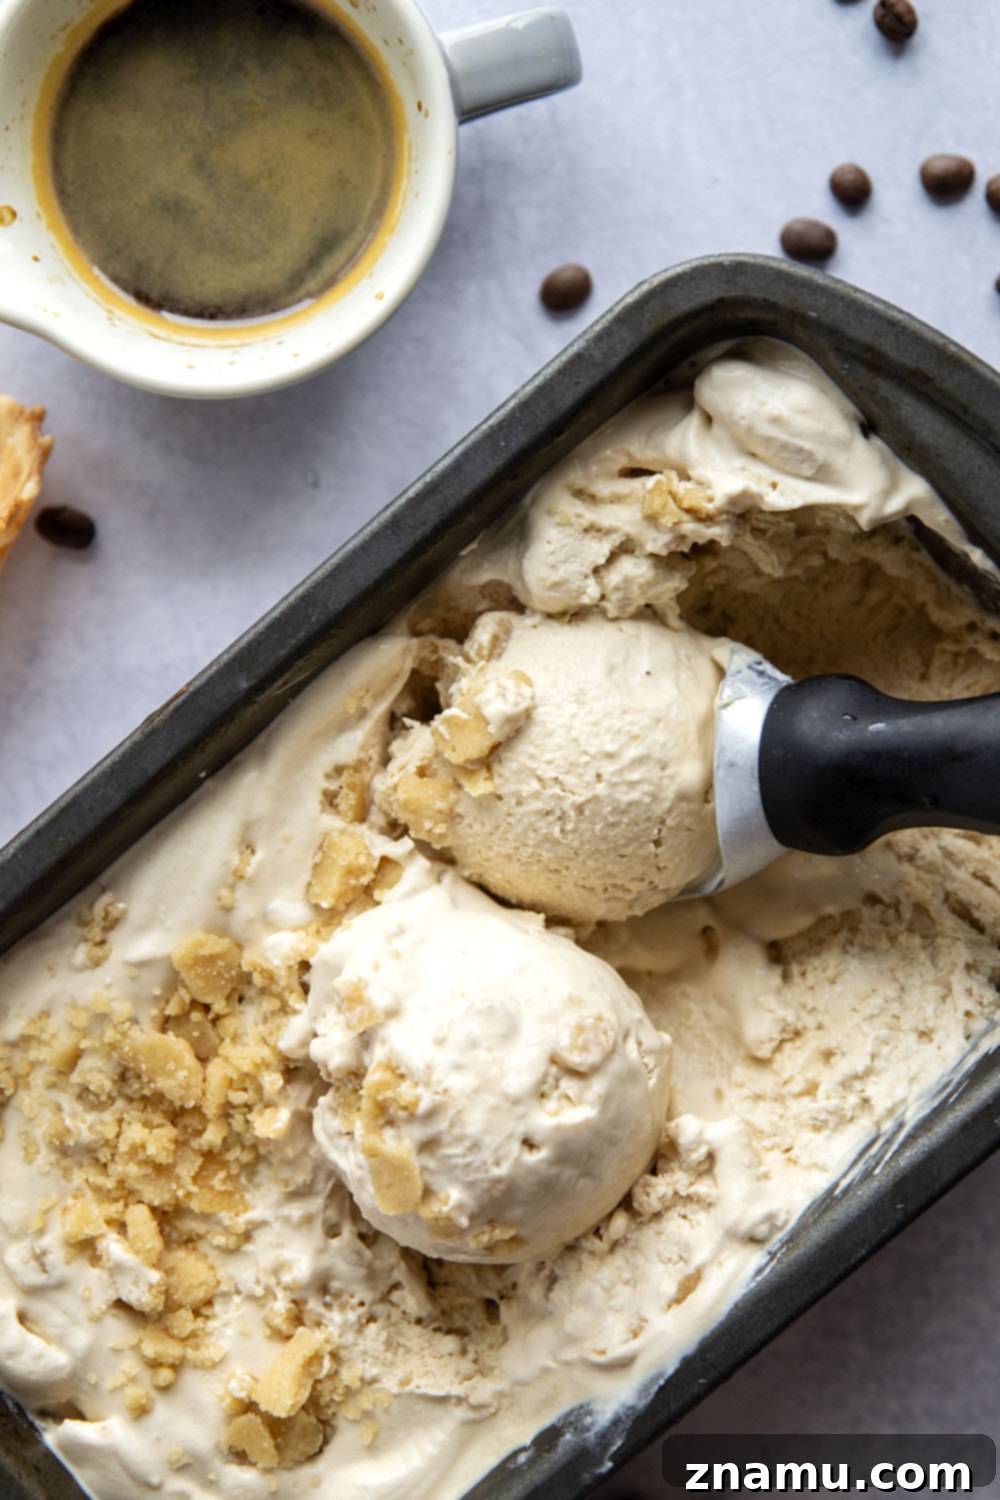
The quality of your coffee directly impacts the flavor of this ice cream. For the most authentic and robust coffee flavor, I highly recommend using freshly brewed espresso. You’ll need about 1/4 cup, which typically equates to two standard shots of espresso. This concentrated form of coffee provides an intense depth that truly shines in a frozen dessert.
However, if an espresso machine isn’t readily available or you prefer alternative methods, don’t worry, you have excellent options:
- Instant Espresso Powder: This is a fantastic substitute. Simply dissolve the powder in a small amount of hot water according to package directions to create a strong espresso-like concentrate. It’s quick, easy, and delivers a very similar flavor profile.
- Strong-Brewed Coffee: If you’re a regular coffee drinker, a very strong batch of your favorite brew can work wonderfully. Aim for a concentrated coffee that’s bolder than your usual cup to ensure the flavor doesn’t get lost in the creamy base. Consider using a French press or cold brew concentrate for maximum intensity.
Whichever method you choose, ensure the coffee is cooled completely before incorporating it into the ice cream base to prevent it from affecting the consistency of your whipped cream.
Expert Tips for Crafting Perfect No-Churn Ice Cream
Achieving that coveted creamy texture and ideal consistency in no-churn ice cream is all about technique. Follow these essential tips to ensure your espresso toffee ice cream turns out perfectly every time:
- Whip Heavy Cream to Stiff Peaks with Precision: This step is paramount. The whipped heavy cream acts as the aeration agent, trapping air bubbles that give the ice cream its light, yet rich texture, effectively replacing the churning process of an ice cream maker. Ensure your cream is very cold, and whip it until it forms firm, stable peaks that hold their shape when you lift the whisk. Be careful not to over-whip, which can turn it grainy.
- Gently Fold the Ice Cream Custard: Once your heavy cream is perfectly whipped, it’s crucial to maintain that airy volume. When combining the sweetened condensed milk, espresso, and vanilla mixture with the whipped cream, use a light hand and a spatula. Fold the ingredients together gently, lifting from the bottom of the bowl and turning over, rather than stirring vigorously. This technique prevents deflating the whipped cream, preserving the airy texture essential for no-churn success.
- Semi-Freeze Ice Cream Before Adding Toffee: To ensure your homemade toffee bits retain their delightful crunch and don’t become soggy or settle at the bottom, a crucial step is to partially freeze the ice cream base first. After the initial freezing period (usually about 4 hours, or until it’s firm around the edges but still soft in the center), remove the ice cream, fold in the toffee bits, and then return it to the freezer. This allows the ice cream to set slightly, holding the toffee bits in place and protecting their texture.
- Freeze Ice Cream 8 Hours Total Before Serving: Patience is a virtue, especially when it comes to homemade ice cream. While it might be tempting to dig in earlier, allowing the ice cream to freeze for a full 8 hours (or even overnight) ensures it is completely frozen solid and has the ideal firm, scoopable consistency. This extended freezing time also allows the flavors to meld beautifully, creating a more harmonious and delicious end product.
Creative Recipe Variations to Explore
While this espresso toffee ice cream is divine on its own, don’t hesitate to customize it with these exciting ideas to create your own unique twist:
- Utilize Pre-Made Toffee Bits for Speed: If you’re short on time or prefer a simpler approach, you can absolutely use store-bought packaged toffee bits. About 3/4 cup of pre-made toffee bits will work perfectly in place of the homemade variety, significantly cutting down on preparation time without sacrificing that essential crunchy element.
- Swirl in Decadent Hot Fudge: For the ultimate chocolate-coffee combination, consider adding a luscious hot fudge swirl. When you’re adding the toffee bits to the semi-frozen ice cream, gently swirl in a few generous spoonfuls of your favorite hot fudge sauce. The chocolate and espresso flavors are a match made in heaven, creating a rich, marbled effect.
- Incorporate Chocolate-Covered Coffee Beans: For an extra boost of coffee flavor and an intriguing texture, mix in a handful of finely chopped chocolate-covered coffee beans. These add a delightful bittersweet crunch and intensify the coffee essence, appealing to the most ardent coffee lovers.
- Add a Caramel Drizzle: Instead of or in addition to hot fudge, a swirl of homemade or store-bought caramel sauce would be absolutely divine. The buttery caramel notes would perfectly complement the toffee and espresso.
- Introduce a Nutty Dimension: For those who love nuts, consider folding in some finely chopped pecans or walnuts along with the toffee bits. The earthy, toasted flavor of nuts can add another layer of complexity.
Freezing and Storage Instructions
This homemade no-churn espresso toffee ice cream stores exceptionally well, allowing you to enjoy its delightful flavors for weeks to come. It will maintain its optimal freshness and texture in the freezer for up to about 1 month.
For best long-term storage, especially if you plan to keep it for more than a few days, I highly recommend transferring the ice cream from the loaf pan into a dedicated freezer-safe container with an airtight lid. This will prevent ice crystals from forming, protect it from absorbing freezer odors, and ensure it remains perfectly creamy and delicious until you’re ready for another scoop.
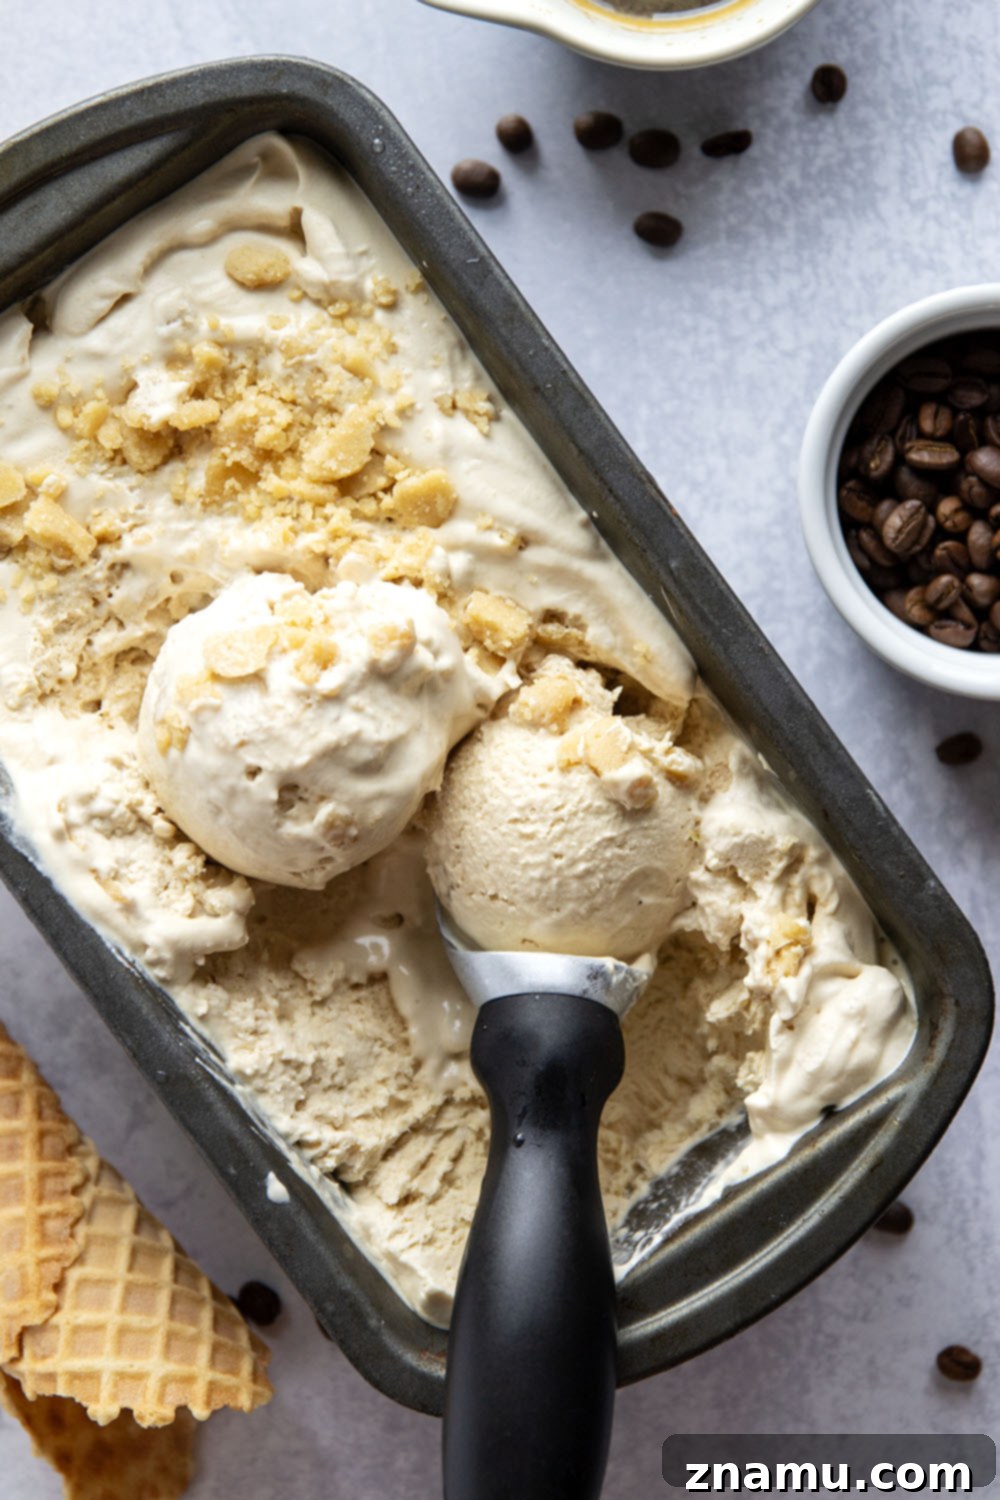
Every spoonful of this homemade espresso toffee ice cream will transport you straight to a gourmet ice cream parlor. The subtle, yet pronounced, buttery crunch from the brown sugar toffee bits creates an absolute dream pairing with the deep, aromatic richness of the espresso. It’s a symphony of textures and flavors that’s both comforting and invigorating.
Once you try this recipe, you’ll find that moderation is simply not an option. Big, generous scoops are the only way to truly savor this incredible creation. It’s perfect for a warm evening, a special dessert, or simply to satisfy that craving for something truly extraordinary. Enjoy the process, and more importantly, enjoy every single delicious bite!
Don’t forget to save this irresistible recipe! Use the ‘save’ button below to add it to your collection. We’d love to see your creations too! Please leave a comment and a star rating below if you make it, or snap a photo and share it on Instagram, tagging us @wholeandheavenlyoven and using the hashtag #wholeandheavenlyoven.
Craving more frozen delights? Explore these other fantastic ice cream recipes next!
- Peanut Butter Coconut Ice Cream Sandwiches
- Strawberry Crisp Cottage Cheese Ice Cream
- Espresso Peanut Butter Brownie Ice Cream Sandwiches
Print Recipe
Pin Recipe
Coffee Toffee Ice Cream
This recipe may included paid links. As an Amazon Associate, I earn a commission from qualifying purchases.
Ingredients
Toffee Bits
- 1/4 cup unsalted butter
- 1/2 cup light brown sugar
- 1/2 teaspoon kosher salt
Ice Cream
- 2 cups heavy whipping cream
- 1 can (14 oz) sweetened condensed milk
- 1/4 cup brewed espresso
- 1 teaspoon vanilla extract
Instructions
Espresso Toffee
-
Line a small sheet pan with parchment paper and set aside for a moment. This prevents the toffee from sticking and makes for easy removal later.
-
In a small saucepan over medium heat, melt the unsalted butter. Once melted, add the brown sugar and kosher salt, whisking continuously to ensure all ingredients are well incorporated and smooth. Cook the toffee mixture over medium heat, stirring constantly to prevent burning, until it thickens and reaches 300°F (150°C) on a candy thermometer. This typically takes about 8-10 minutes, so keep an eye on it. Achieving this temperature is crucial for the perfect crisp toffee texture.
-
Immediately remove the toffee from the heat and carefully pour it onto the prepared parchment-lined sheet pan. Spread it thinly and evenly with a spatula if needed. Allow the toffee to cool completely at room temperature for at least 1 hour, or until it is firm and brittle. Do not rush this step, as proper cooling ensures the toffee achieves its signature crunch.
-
Once completely cooled and hardened, remove the toffee from the pan. You can gently crack it into large pieces, then place it in a sturdy bag and use a rolling pin or the back of a heavy pan to break it into bite-sized pieces. Alternatively, carefully chop it with a large knife. Set the homemade toffee bits aside until ready to use.
Ice Cream
-
Pour the very cold heavy whipping cream into a large mixing bowl or the bowl of a stand mixer fitted with a whisk attachment. Using a handheld electric mixer or a stand mixer, beat the whipping cream on high speed until it forms stiff peaks. The cream should be thick and hold its shape when you lift the whisk. This aeration is key to the no-churn method.
-
In a separate medium bowl, whisk together the sweetened condensed milk, the cooled brewed espresso, and vanilla extract until the mixture is smooth and well combined. This forms the rich, flavorful custard base.
-
Gently fold the condensed milk-espresso mixture into the whipped cream using a rubber spatula. Be careful not to deflate the whipped cream; use an upward motion, folding the light cream over the heavier mixture until just combined and no streaks remain. Scrape the entire ice cream mixture into a 9×5-inch loaf pan or a freezer-safe container. Cover the ice cream tightly with plastic wrap, pressing it directly onto the surface to prevent ice crystal formation, and freeze for 4 hours.
-
After 4 hours, remove the ice cream from the freezer. It should be semi-frozen, firm around the edges but still soft in the center. Gently fold in the prepared homemade toffee bits, distributing them evenly throughout the ice cream. This ensures they maintain their crunch and don’t sink to the bottom. Return the ice cream to the freezer, covered, and freeze for an additional 4 hours, or until completely firm and scoopable. Once fully set, your irresistible homemade espresso toffee ice cream is ready to be enjoyed!
Notes
Store this delicious no-churn espresso toffee ice cream in an airtight, freezer-safe container in the freezer for up to 1 month to maintain its best quality and texture.