
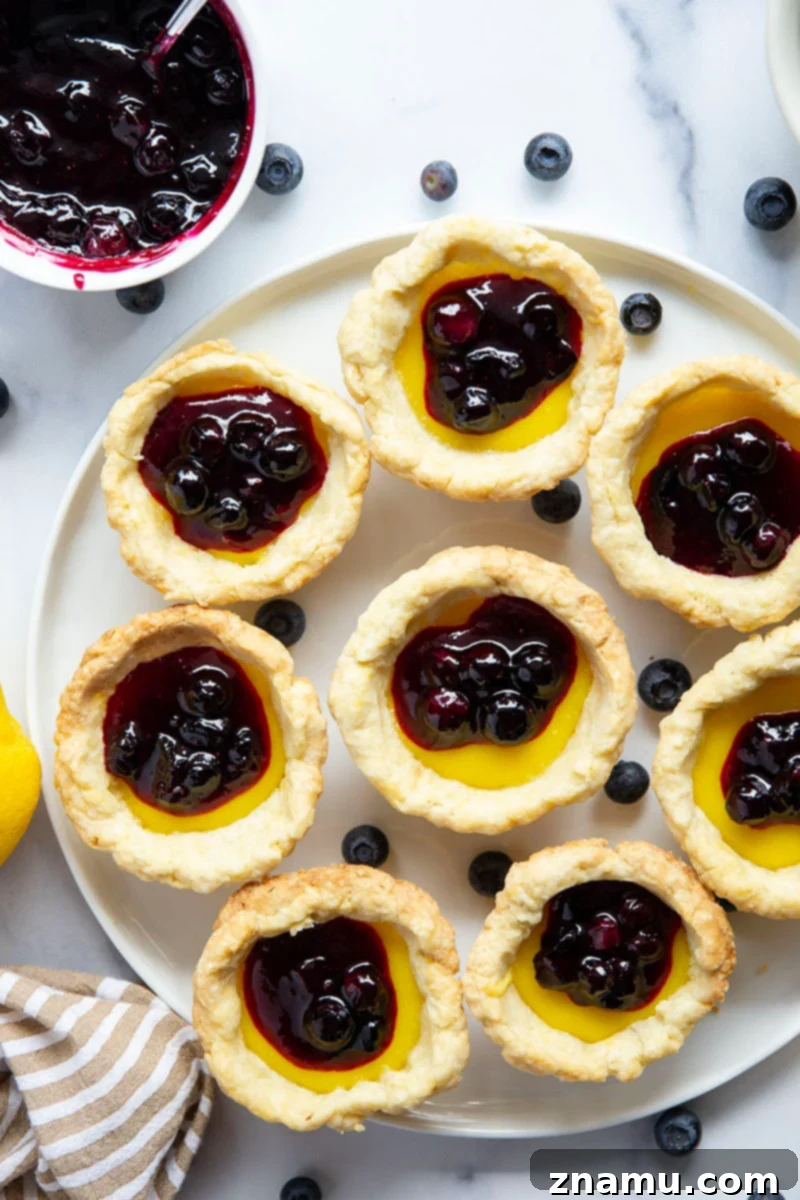
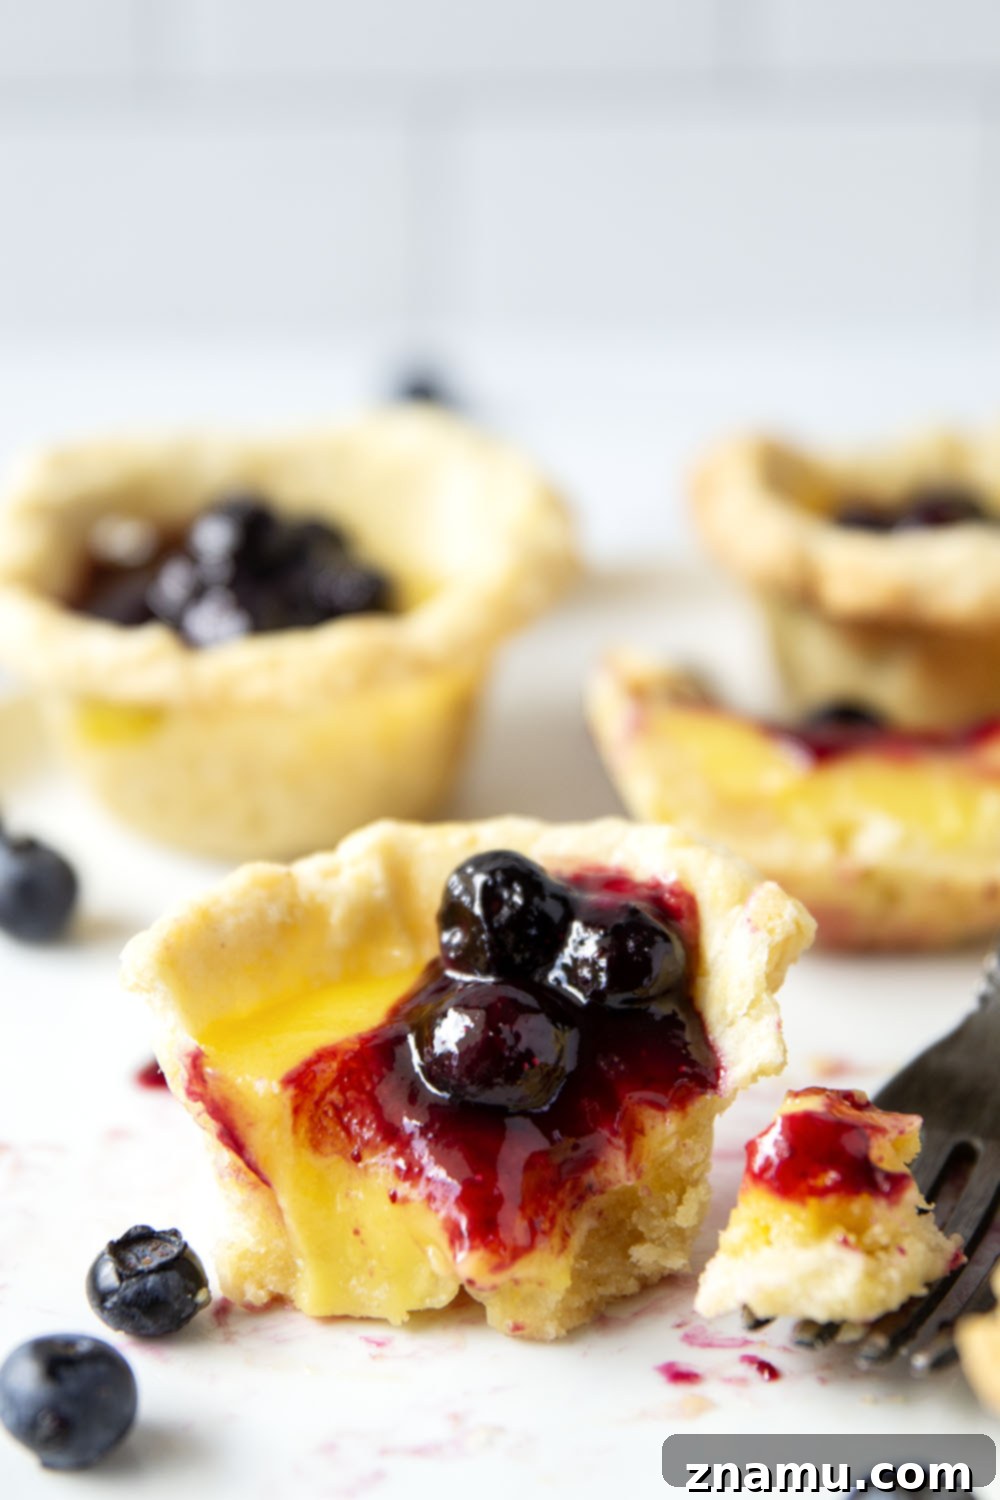
These delightful mini lemon tarts feature a flaky, buttery pastry crust, a vibrant and tangy lemon filling, and are generously topped with a luscious, fresh blueberry sauce. They’re the perfect personal-sized indulgence!
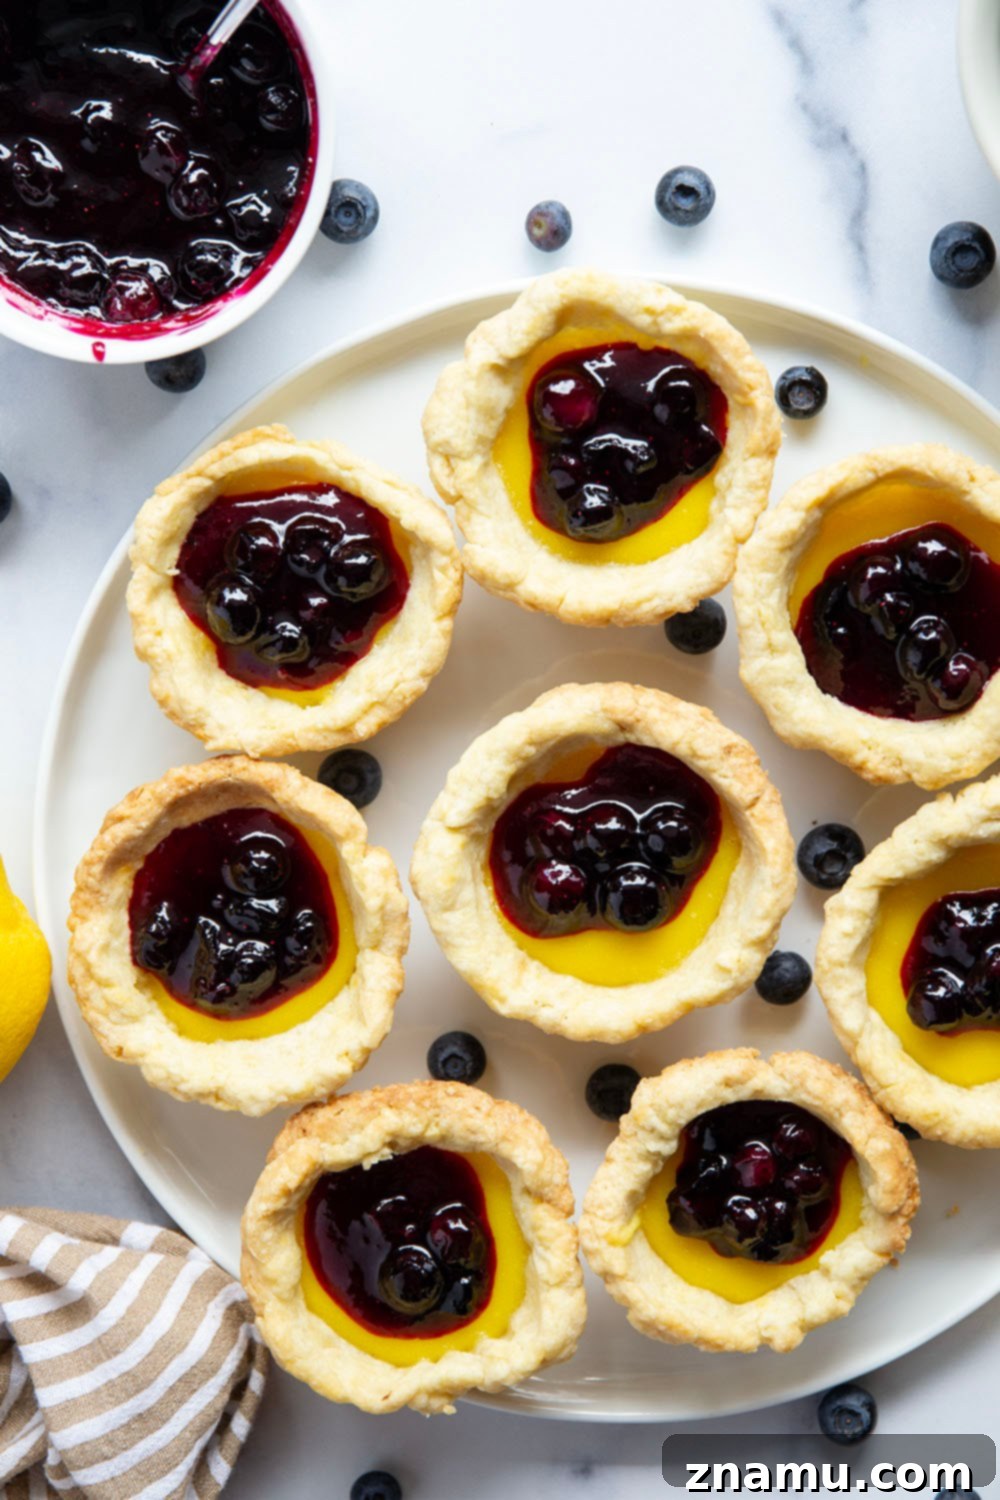
Irresistible Mini Lemon Tarts with Homemade Blueberry Sauce
While a grand, full-sized tart certainly has its moments, there’s an undeniable charm and elegance about individual mini desserts. They offer a personal touch, a perfect portion, and a delightful experience that feels uniquely your own. Prepare to fall in love with these exquisite mini lemon tarts, a symphony of flavors and textures designed to impress without requiring a culinary degree.
These tarts artfully blend the bright, zesty character of a classic lemon pie with the sweet, juicy burst of a blueberry pie, all encapsulated within a perfectly flaky, golden-brown pastry shell. The best part? Each one is made just for you, meaning no sharing required!
For any dessert enthusiast, the thought of such a perfectly portioned, flavor-packed treat is music to the ears. They are an ideal dessert for gatherings, afternoon tea, or simply treating yourself to something truly special.
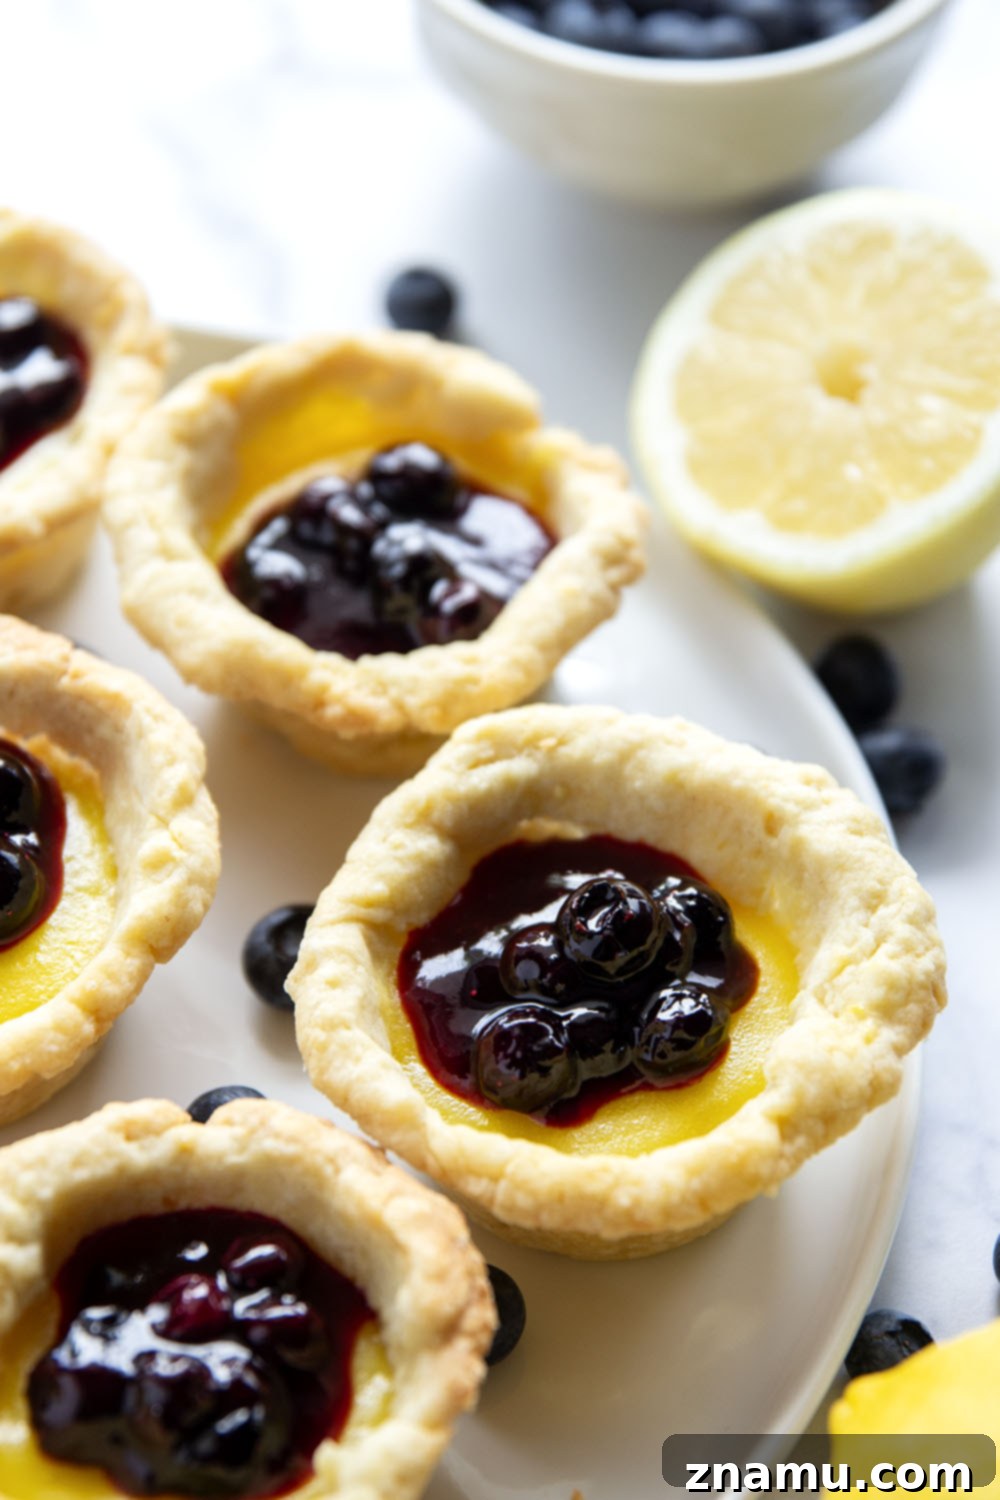
Why You’ll Adore These Mini Lemon Tarts
Don’t let the elegant appearance fool you; crafting these mini lemon tarts doesn’t demand years of pastry experience. The entire process—from preparing the tender crust to mixing the silky filling and simmering the luscious sauce—comes together more quickly than you might imagine. The most time-consuming step is simply rolling out and shaping the delicate pastry crust, but trust us, every moment is truly worth the effort. The reward is a batch of stunning, utterly delicious tarts that will undoubtedly earn you rave reviews from anyone lucky enough to try them.
These individual desserts are not just beautiful; they are a testament to how simple ingredients can transform into something truly extraordinary with a little care. They provide a sophisticated dessert option without the fuss, making them perfect for both casual enjoyment and special occasions.
What Makes These Lemon Tarts So Special?
- A supremely **flaky, buttery pastry crust** that melts in your mouth with every bite.
- A smooth, intensely **tangy, and custardy lemon curd filling** that offers a delightful zing.
- A homemade **fresh blueberry sauce**, spooned generously on top, adding a burst of sweet-tart fruitiness.
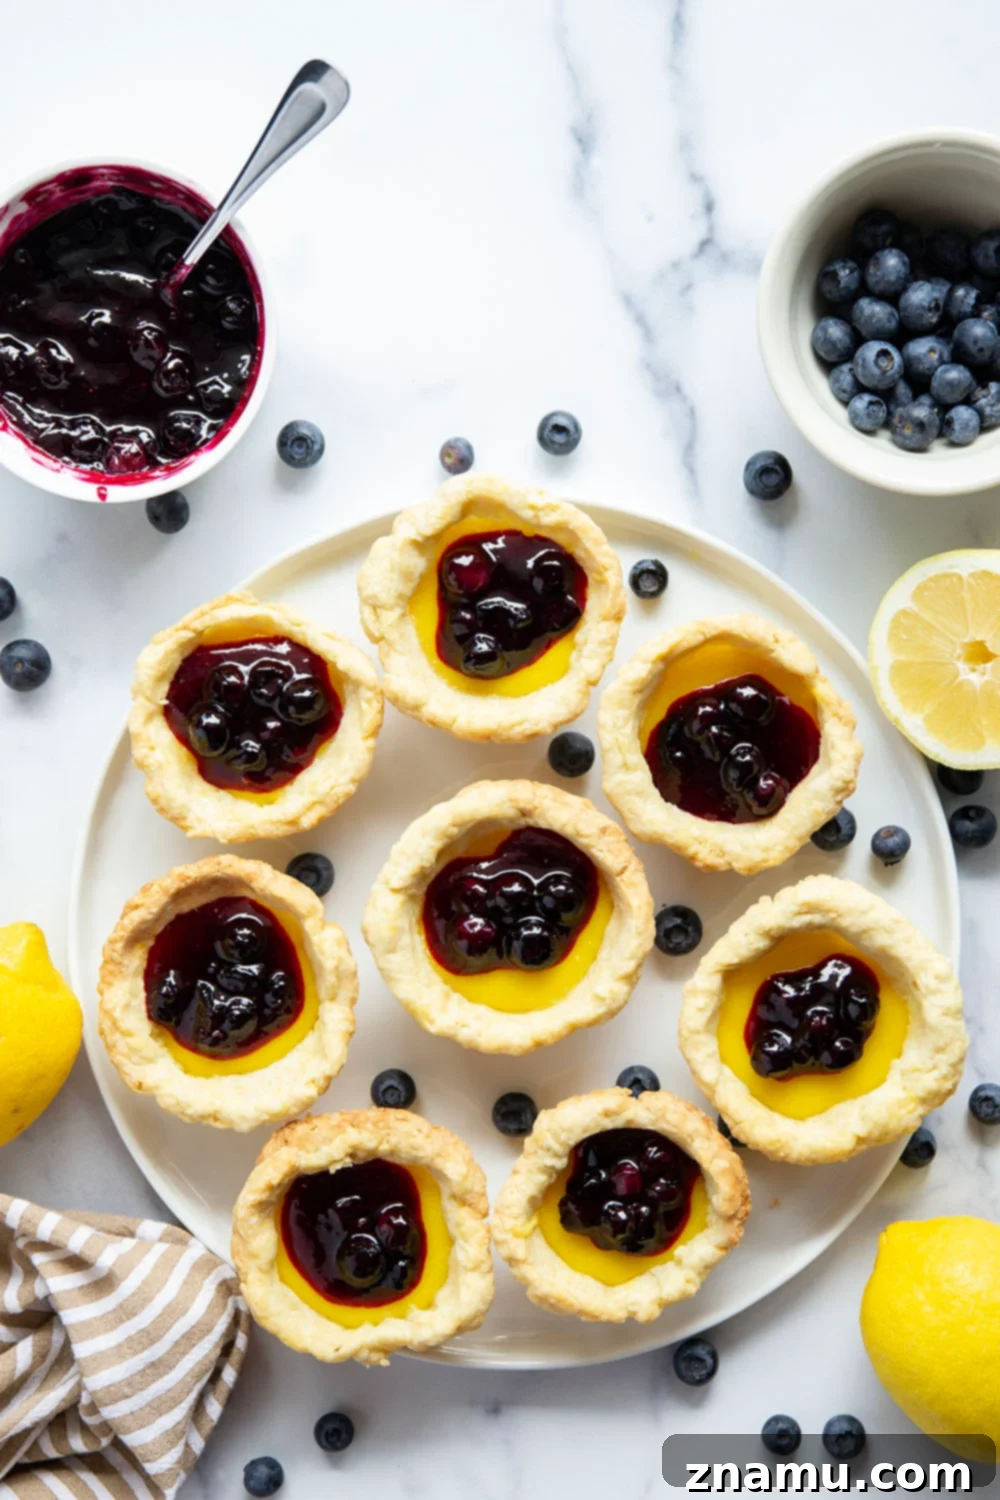
Mastering the Art of Mini Lemon Tarts
(For the comprehensive, step-by-step recipe, please scroll down to the bottom of this post.)
Creating these mini lemon tarts is a rewarding experience that combines classic baking techniques with fresh, vibrant flavors. Each component plays a crucial role in the overall symphony of taste and texture. Let’s dive into the essential elements that bring these delightful treats to life.
Essential Ingredients You Will Need
The beauty of these mini lemon tarts lies in their reliance on simple, fresh ingredients that are easily found in any grocery store. Quality ingredients are key to achieving the best flavor and texture:
- All-purpose flour: The foundation of our flaky pastry crust. Ensure it’s measured correctly for the perfect texture.
- Granulated sugar: Provides sweetness to both the crust and the intensely tangy lemon filling, creating a balanced flavor profile.
- Kosher salt: A pinch of salt enhances all the other flavors, bringing out the richness of the butter and the brightness of the lemon.
- Unsalted butter: Crucial for the rich flavor and flaky texture of the pastry, and the luxurious silkiness of the lemon curd. Using unsalted butter allows you to control the salt content precisely.
- Fresh Lemons: You’ll need both the zest for intense lemon aroma and the juice for the vibrant, tangy flavor of the curd. Fresh is always best for maximum impact.
- Eggs: Essential for the structure and richness of the lemon curd, helping it to set into a smooth, custardy consistency. Both whole eggs and extra yolks are used to achieve the desired texture.
- Blueberries: The star of our topping! Use fresh blueberries when in season, or high-quality frozen blueberries for the luscious sauce.
- Cornstarch: A thickening agent for the blueberry sauce, ensuring it has a perfect, spoonable consistency that beautifully complements the tarts.
Key Equipment for Baking Success
While some specialized equipment can be helpful, this recipe is designed to be accessible. You might be surprised to find that many common kitchen tools are all you need:
The primary baking pan for these charming individual tarts is a standard **muffin pan**. Originally, when this recipe was first shared, mini tart pans were recommended. However, we’ve found that a regular muffin pan works just as wonderfully and is a far more common piece of equipment in most home kitchens. This simple switch makes the recipe approachable for more bakers.
Beyond the muffin pan, you will also need a **large mixing bowl** for preparing the pastry dough, a **few saucepans** for cooking the lemon filling and blueberry sauce, and a reliable **rolling pin** for rolling out the pastry crust to its ideal thickness and shape. A **fine-mesh strainer** will also come in handy to ensure your lemon curd is perfectly smooth and free of any cooked egg particles or zest.
Mastering Perfect Mini Lemon Tarts: Expert Tips for Success
Achieving bakery-quality mini lemon tarts at home is entirely within reach with a few key techniques. Follow these expert tips to ensure your tarts are flaky, tangy, and utterly delicious every time:
- Measure Flour Correctly: The amount of flour can significantly impact the texture of your pastry. To prevent over-measuring, which can lead to a tough crust, always use the spoon-and-level technique. Gently spoon the all-purpose flour into your measuring cup until it’s overflowing, then use the back of a knife or a straight edge to level it off, avoiding packing the flour down.
- Embrace Cold Butter: The secret to an incredibly flaky pastry crust lies in using exceptionally cold butter. As the butter melts in the oven, it releases steam, creating pockets that result in those desirable flaky layers. For the best results, we highly recommend grating your cold unsalted butter on the large holes of a box grater and then placing it in the freezer for about 30 minutes before incorporating it into the flour mixture.
- Utilize Ice Water: Just like with the butter, keeping all your fats and liquids as cold as possible is paramount for a tender, flaky crust. When adding water to your dough, always use ice water. This helps prevent the butter from melting prematurely and ensures a light, airy texture once baked.
- Handle Dough Lightly: Overworking or excessively kneading pie dough develops gluten, which can result in a tough, unappetizing crust. Mix and knead the dough very gently, just until it barely comes together into a shaggy mass. If you find your dough is a little too dry or crumbly during this step, add ice water a teaspoon at a time until it reaches the right consistency.
- Chill Pie Dough Twice: Chilling is your friend when it comes to pastry! It allows the gluten to relax and the butter to firm up, contributing to flakiness. Chill the dough for at least 30 minutes after mixing and before rolling it out. Then, once you’ve shaped the crusts in the muffin pan, chill them again for another 20 minutes before par-baking. This double chilling step is crucial for maintaining their shape and achieving the perfect texture.
- Roll Pastry Dough into 4-1/2-Inch Circles: Precision matters for perfectly fitted tart shells. Aim to roll each portion of dough into a consistent 4-1/2-inch circle. This size fits beautifully into standard muffin cups, allowing for a slight overhang that you can fold under to create a neat border and then crimp into a decorative edging.
- Par-Bake the Crust: Also known as blind baking, par-baking the crust is essential to prevent a soggy bottom once the wet lemon filling is added. It also ensures the crust is fully cooked and golden. Line the pastry shells with parchment paper and fill them with pie weights or dried beans/rice before baking to keep the crusts from shrinking or bubbling up.
- Avoid Overbaking the Filling: Once the luscious lemon filling is added to your pre-baked tart shells, it requires only a short amount of additional baking time—typically just 5-8 minutes. The filling should be just set but still have a slight “wiggle” in the center when gently shaken. Overbaking will result in a rubbery texture, so keep a close eye on them!
- Chill Tarts Before Serving: Patience is a virtue, especially with lemon tarts! Allowing the tarts to chill completely in the refrigerator for at least 2 hours after baking is vital. This chill time allows the lemon filling to fully set into its characteristic smooth, custardy texture and ensures clean, beautiful slices.
Creative Recipe Variations and Customizations
While these mini lemon tarts with blueberry sauce are perfect as is, they also serve as a fantastic canvas for your culinary creativity. Feel free to experiment with these ideas to put your own unique twist on this delightful dessert:
- Opt for Pre-made Pastry Crust: For a quick shortcut, especially when time is of the essence, you can easily substitute the homemade crust with pre-made pastry dough. Look for enough dough for a standard 9-inch pie, as this will typically yield enough for your mini tarts. Just be sure to follow the chilling and par-baking instructions!
- Explore Different Citrus Flavors: While lemon is undeniably classic, other citrus fruits can create equally stunning tarts. Consider using fresh grapefruit, tangy lime, or sweet orange juice and zest in place of the lemon for a different flavor profile. A medley of citrus can also be delightful!
- Substitute with Another Fruit: The blueberry sauce is fantastic, but feel free to swap it out for other fresh berries or fruits. Diced strawberries, plump blackberries, or juicy raspberries would all make excellent alternatives, offering a vibrant contrast to the lemon. You could even create a mixed berry sauce.
- Add a Touch of Herbaceousness: For an unexpected twist, infuse your blueberry sauce or even the lemon filling with a hint of fresh herbs. A sprig of fresh lavender, a sprig of rosemary, or a few mint leaves can add a sophisticated layer of flavor that beautifully complements the fruit and citrus.
- Garnish for Extra Flair: Elevate your presentation with simple garnishes. A dollop of homemade whipped cream, a dusting of powdered sugar, a few fresh mint leaves, or extra fresh berries can make these tarts even more visually appealing and delicious.
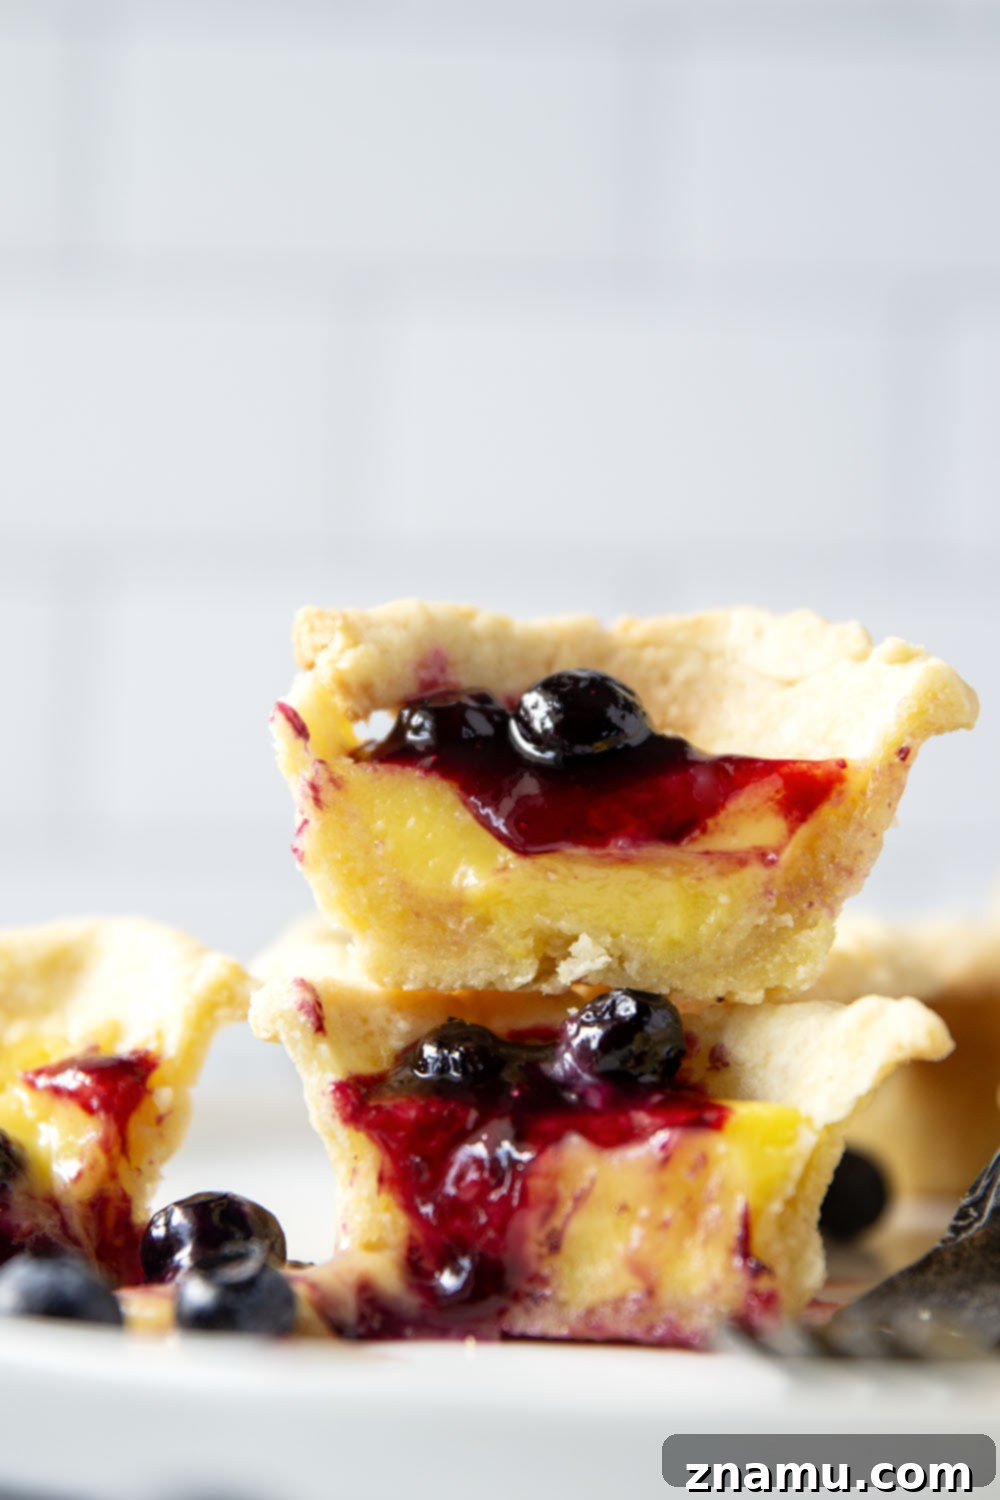
Each component of these mini lemon tarts truly shines and comes together to form an absolute dream dessert. The delicate, flaky pastry, the luscious and silky lemon curd, and the generous spoonfuls of vibrant fresh blueberry sauce on top all collaborate to create a truly glorious and unforgettable treat. You don’t need to visit a fancy bakery to enjoy such a refined and delicious creation!
We encourage you to try this fantastic recipe! If you make it, please share your experience with us. Leave a comment and star rating below to let us know how your tarts turned out. We’d also love to see your beautiful creations – feel free to take a photo and tag it on Instagram with #wholeandheavenlyoven.
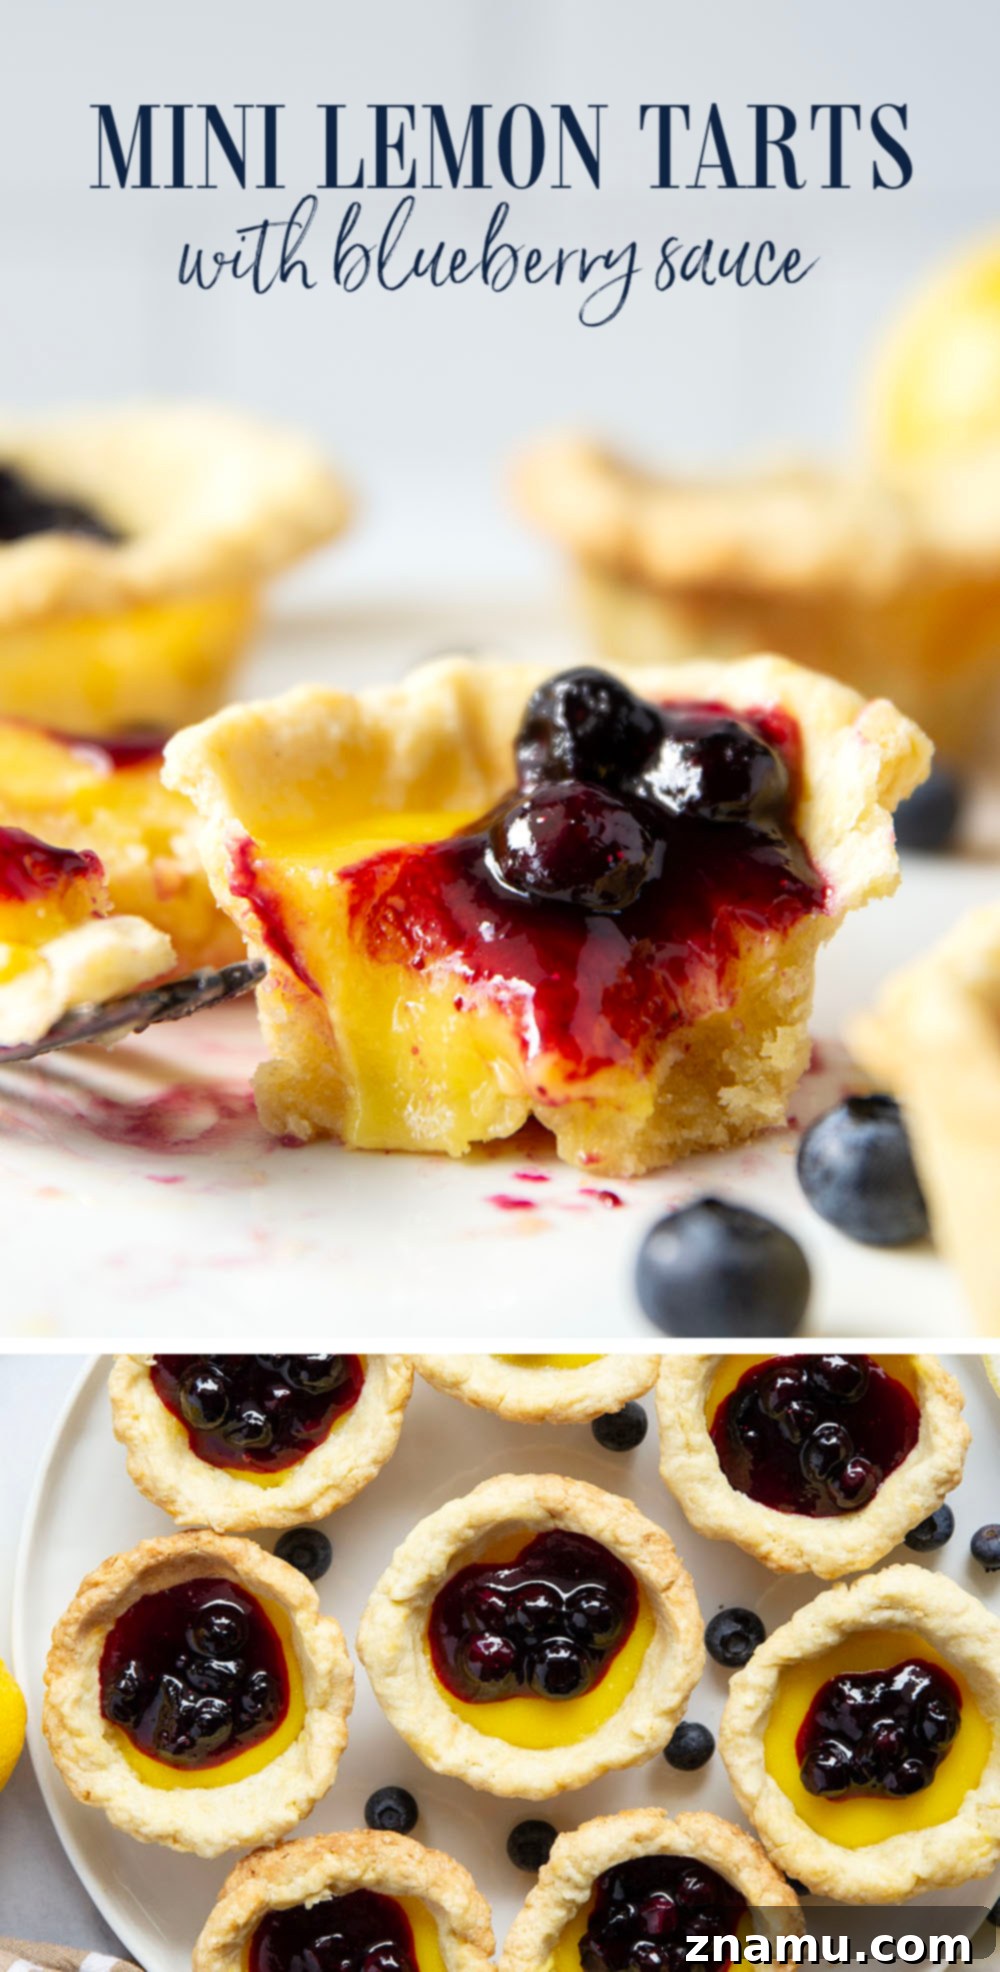
Craving more zesty delights? Discover these other lemony favorites next!
- Lavender Lemon Coffee Cake
- Coconut Lemon Curd Thumbprints
- Lemon Olive Oil Cake
Mini Lemon Tarts With Blueberry Sauce: The Full Recipe
These mini lemon tarts feature a flaky pastry crust, tangy lemon filling, and lots of fresh blueberry sauce spooned on top. A perfectly portioned dessert that’s bursting with bright flavors!
Prep Time: 20 minutes | Cook Time: 30 minutes | Total Time: 50 minutes
Yields: 8 servings | Calories: Approximately 416kcal per tart
Ingredients
For the Flaky Pastry Crust
- 1-1/4 cups all-purpose flour (spooned and leveled for accuracy)
- 1/3 cup granulated sugar
- 1/4 teaspoon kosher salt
- 1/2 cup unsalted cold butter, grated on large holes of box grater and frozen
- 1 large egg yolk
- 2-3 tablespoons ice water (start with 2, add more if needed)
For the Tangy Lemon Filling
- 1/4 cup fresh lemon juice
- 1 tablespoon grated lemon zest
- 2 large eggs
- 2 large egg yolks
- 1/2 cup granulated sugar
- 6 tablespoons unsalted butter, softened
For the Sweet Blueberry Sauce
- 1 cup fresh or frozen blueberries
- 1/3 cup granulated sugar
- 1 tablespoon fresh lemon juice
- 1 tablespoon cornstarch, mixed with 1 tablespoon water (this is a slurry)
Instructions
Crafting the Pastry Crust
- In a large mixing bowl, combine the all-purpose flour, granulated sugar, and kosher salt. Use your fingertips or a pastry cutter to work the grated, frozen butter and the egg yolk into the dry ingredients until the mixture resembles coarse meal with pea-sized clumps of butter. Drizzle 2-3 tablespoons of ice water over the flour mixture and gently toss until the dough just begins to come together into a shaggy mass. If the dough appears too dry and crumbly, add an extra tablespoon or two of ice water, one at a time, until the desired consistency is reached.
- Turn the dough out onto a lightly floured surface. Very gently knead the dough a few times, just until it forms a cohesive ball. Be careful not to overwork it. Form the dough into a smooth, flat disc, wrap it tightly in plastic wrap, and refrigerate it for at least 30 minutes (or up to 6 days) to allow the gluten to relax and the butter to firm up.
- Preheat your oven to 350°F (175°C). Remove the chilled pie pastry from the refrigerator and turn it out onto a lightly floured surface. Divide the dough into 8 equal pieces. Roll each portion out into a thin, approximately 4-1/2-inch circle. Carefully press each dough circle into the bottom and up the sides of 8 muffin pan cups. Fold any excess crust underneath itself to create a neat, slightly thicker border, then use your fingers or a fork to crimp the edges decoratively. Place the muffin pan with the shaped crusts back into the refrigerator for another 20 minutes to chill.
- Line each chilled pastry shell with a small piece of parchment paper and fill it with pie weights, dried beans, or rice. This helps prevent the crust from puffing up or shrinking during baking. Bake the tarts at 350°F (175°C) for 8 minutes. Carefully remove the pie weights and parchment paper, then continue baking for another 10-15 minutes, or until the tart shells are a very light golden brown. Keep the oven on, and set the par-baked tart shells aside while you prepare the filling.
Preparing the Tangy Lemon Filling
- In a small saucepan, thoroughly whisk together the fresh lemon juice, grated lemon zest, whole eggs, egg yolks, and granulated sugar until the mixture is smooth and well combined. Add the softened butter to the pan. Place the saucepan over medium heat.
- Whisk the lemon filling continuously and frequently over medium heat for 4-6 minutes. The mixture will gradually thicken and become bubbly, reaching a custardy consistency. Once thickened, remove the pan from the heat immediately. For an ultra-smooth filling, strain it through a fine-mesh strainer to remove any bits of cooked egg or zest.
- Spoon the warm, silky lemon curd filling evenly into the par-baked tart shells, smoothing the tops with the back of a spoon if needed. Return the tarts to the 350°F (175°C) oven and bake for an additional 5-8 minutes, or until the edges of the crust are golden brown and the lemon filling is just set with a slight gentle wobble in the center. Avoid overbaking.
- Allow the baked tarts to cool completely within the muffin pan on a wire cooling rack. Once fully cooled, carefully remove the tarts from the pan using a butter knife or small offset spatula to gently pry them out. Transfer the tarts to the refrigerator and chill for at least 2 hours. This crucial step allows the lemon filling to firm up and fully set.
Crafting the Sweet Blueberry Sauce
- In a separate small saucepan, combine all the blueberry sauce ingredients: fresh or frozen blueberries, granulated sugar, fresh lemon juice, and the cornstarch slurry (cornstarch mixed with water).
- Place the saucepan over medium heat and bring the mixture to a gentle simmer, stirring frequently. Continue to cook until the sauce becomes bubbly and thickens to your desired consistency. Remove from heat and allow the blueberry sauce to cool completely to room temperature.
- When you are ready to serve these exquisite mini lemon tarts, generously spoon the cooled blueberry sauce over the chilled tarts. Serve immediately and savor every bite of this vibrant dessert! Enjoy!
Notes
Storing Your Mini Lemon Tarts
For optimal freshness and flavor, store any leftover mini lemon tarts in an airtight container in the refrigerator for up to 4 days. The blueberry sauce can also be stored separately in an airtight container in the refrigerator and added just before serving.
Nutrition Information
(Per serving, approximate values)
- Serving: 1 tart
- Calories: 416kcal
- Carbohydrates: 49g
- Protein: 5g
- Fat: 23g
- Saturated Fat: 14g
- Polyunsaturated Fat: 1g
- Monounsaturated Fat: 6g
- Trans Fat: 1g
- Cholesterol: 168mg
- Sodium: 97mg
- Potassium: 77mg
- Fiber: 1g
- Sugar: 31g
- Vitamin A: 788IU
- Vitamin C: 6mg
- Calcium: 27mg
- Iron: 1mg
This article was updated to provide enhanced recipe details, clearer instructions, and improved photos on 7/23/25.