
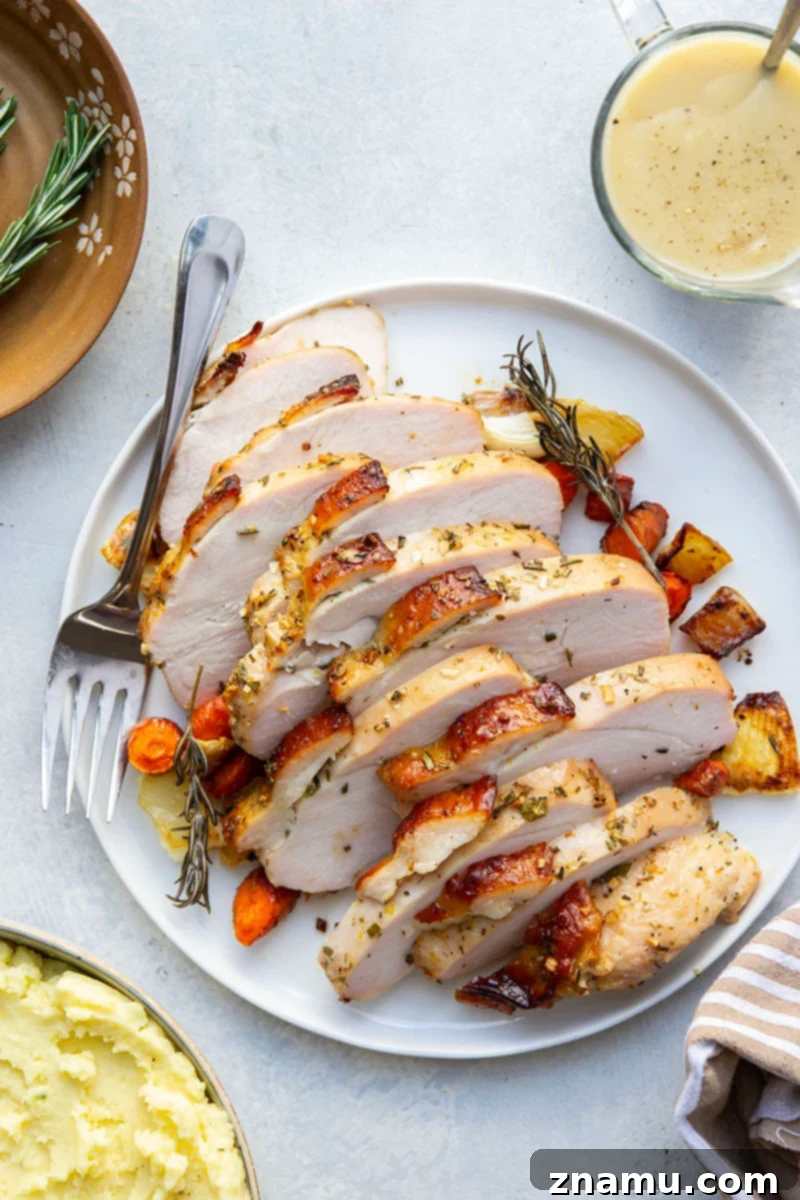
Indulge in the ultimate Thanksgiving experience with this incredibly tender and juicy dry-brined turkey breast, meticulously crafted for smaller gatherings. Infused with rich flavors from a thoughtfully prepared dry brine and complemented by a luscious apple cider gravy, this recipe guarantees a stress-free and unforgettable meal. Prepare to impress your guests and elevate your holiday table with a turkey that’s moist, flavorful, and perfectly golden brown every time.
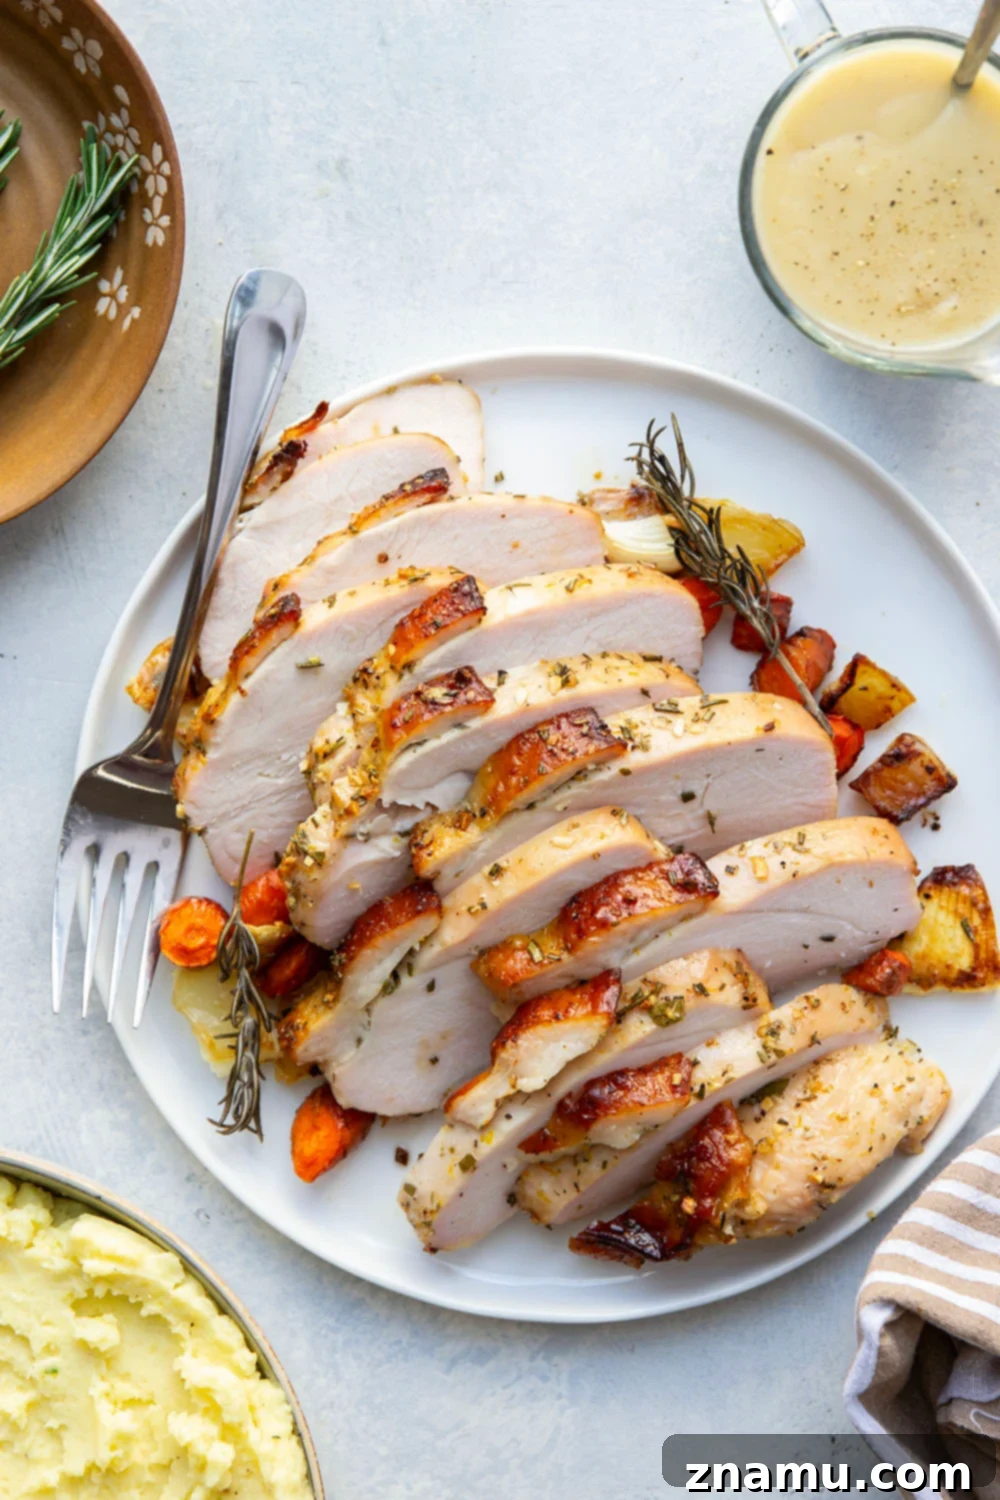
Thanksgiving dinner often brings with it the daunting task of roasting a whole turkey, a challenge that can intimidate even seasoned home cooks. But what if we told you that achieving a perfectly cooked, succulent turkey doesn’t have to be a source of stress? Today, we’re demystifying the process and presenting you with the most effortless and undeniably delicious dry-brined turkey breast recipe imaginable. Say goodbye to dry, bland turkey and hello to a show-stopping centerpiece that’s both easy to prepare and bursting with flavor.
We understand that not every holiday celebration involves a massive feast for dozens of guests. For those hosting a more intimate gathering, a full-sized turkey can be overwhelming, leading to excessive leftovers and unnecessary complexity. That’s why we’ve scaled down the star of the meal to a perfectly portioned turkey breast, ensuring every bite is as delicious as it is manageable. This recipe is designed to help you master the art of turkey preparation, making you a pro in the kitchen and earning you major accolades from your family and friends this holiday season.
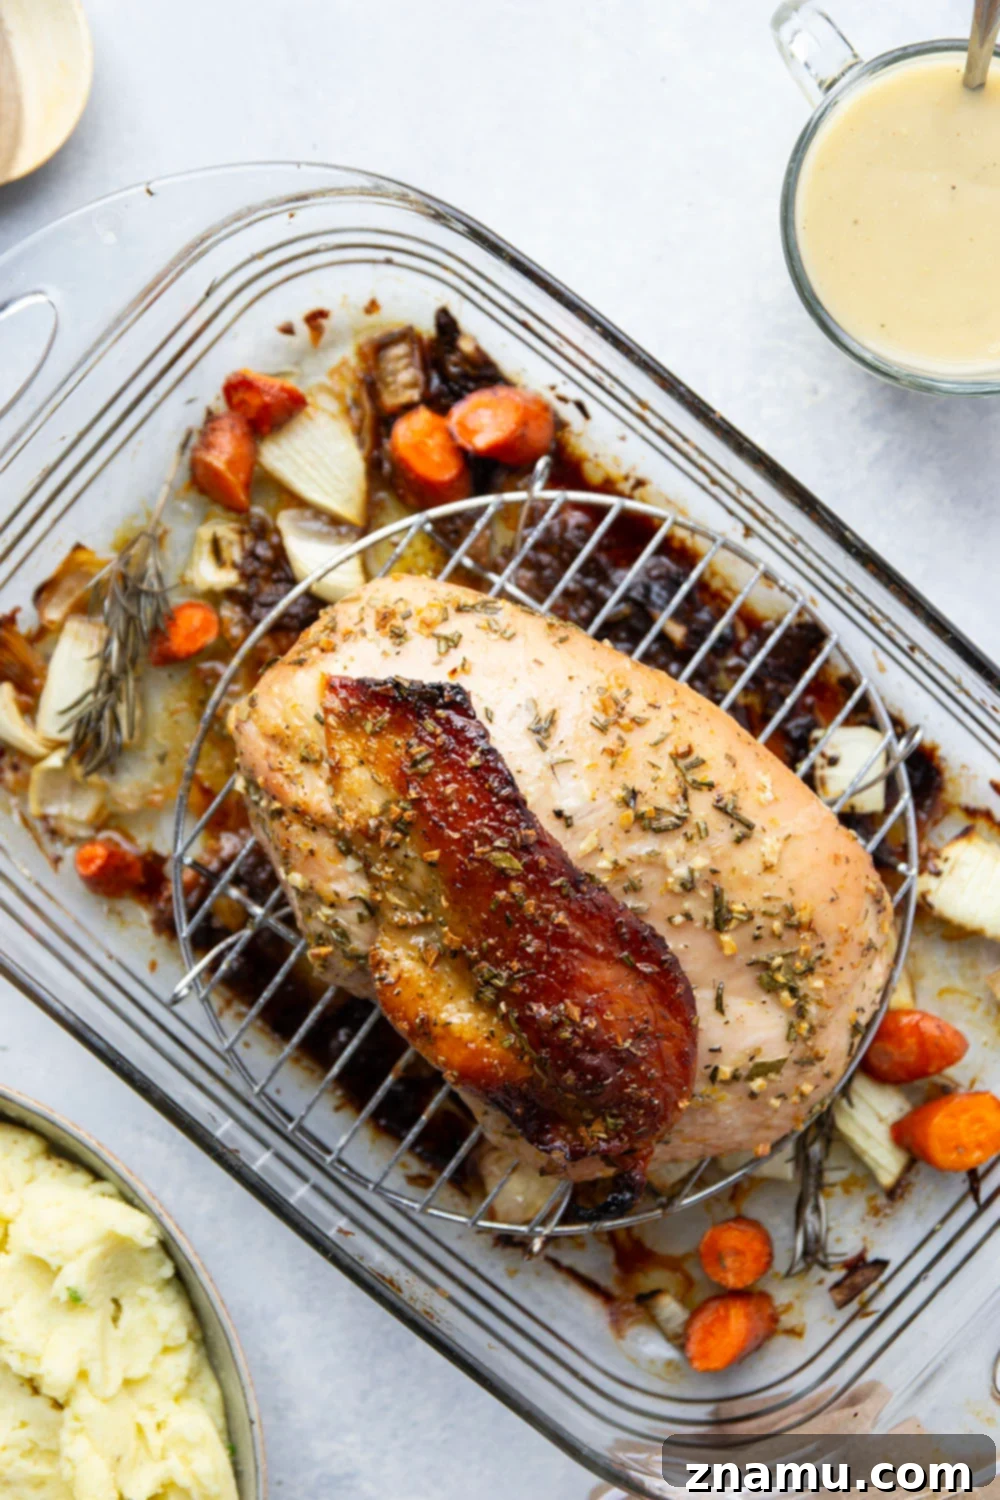
You don’t need years of culinary experience to pull off this magnificent turkey breast. We’re here to guide you through every step, sharing all the insider secrets to achieving a moist, tender, and incredibly juicy turkey. From the initial dry brine to the final carving, we’ll ensure your journey to turkey perfection is smooth and enjoyable. Get ready to transform your Thanksgiving meal with a recipe that promises extraordinary results with minimal fuss.
Why Choose Dry Brining? The Secret to a Superior Turkey
Dry brining is a revolutionary technique that elevates turkey preparation to an art form, offering distinct advantages over traditional wet brining. Unlike wet brining, which involves submerging the turkey in a liquid solution, dry brining coats the turkey breast with a salt-based rub. This method works wonders by drawing out moisture from the turkey, which then dissolves the salt, creating a concentrated brine directly on the meat’s surface. This natural, self-basting process ensures that the turkey reabsorbs the seasoned liquid, resulting in meat that’s not only incredibly moist and tender but also deeply flavorful from within.
One of the most significant benefits of dry brining is the remarkably crispy skin it produces. Because the turkey isn’t saturated with excess liquid, the skin dries out more effectively in the refrigerator, leading to a golden, crackly crust when roasted. Furthermore, dry brining is far less messy and requires less refrigerator space than wet brining, making it an ideal choice for home cooks. The extended brining period allows the salt and aromatics to penetrate deeply into the muscle fibers, breaking them down and preventing the turkey from drying out during cooking. This ensures every slice of turkey breast is succulent, well-seasoned, and utterly delicious, making it the perfect choice for a hassle-free holiday meal.
This Exceptional Turkey Breast Recipe Features…
- An incredibly juicy and tender texture that will leave no room for dryness, thanks to our expert brining and roasting techniques.
- A wealth of flavor infused directly into the turkey, stemming from our aromatic dry brine and the rich, savory blend of garlic herb butter applied before roasting.
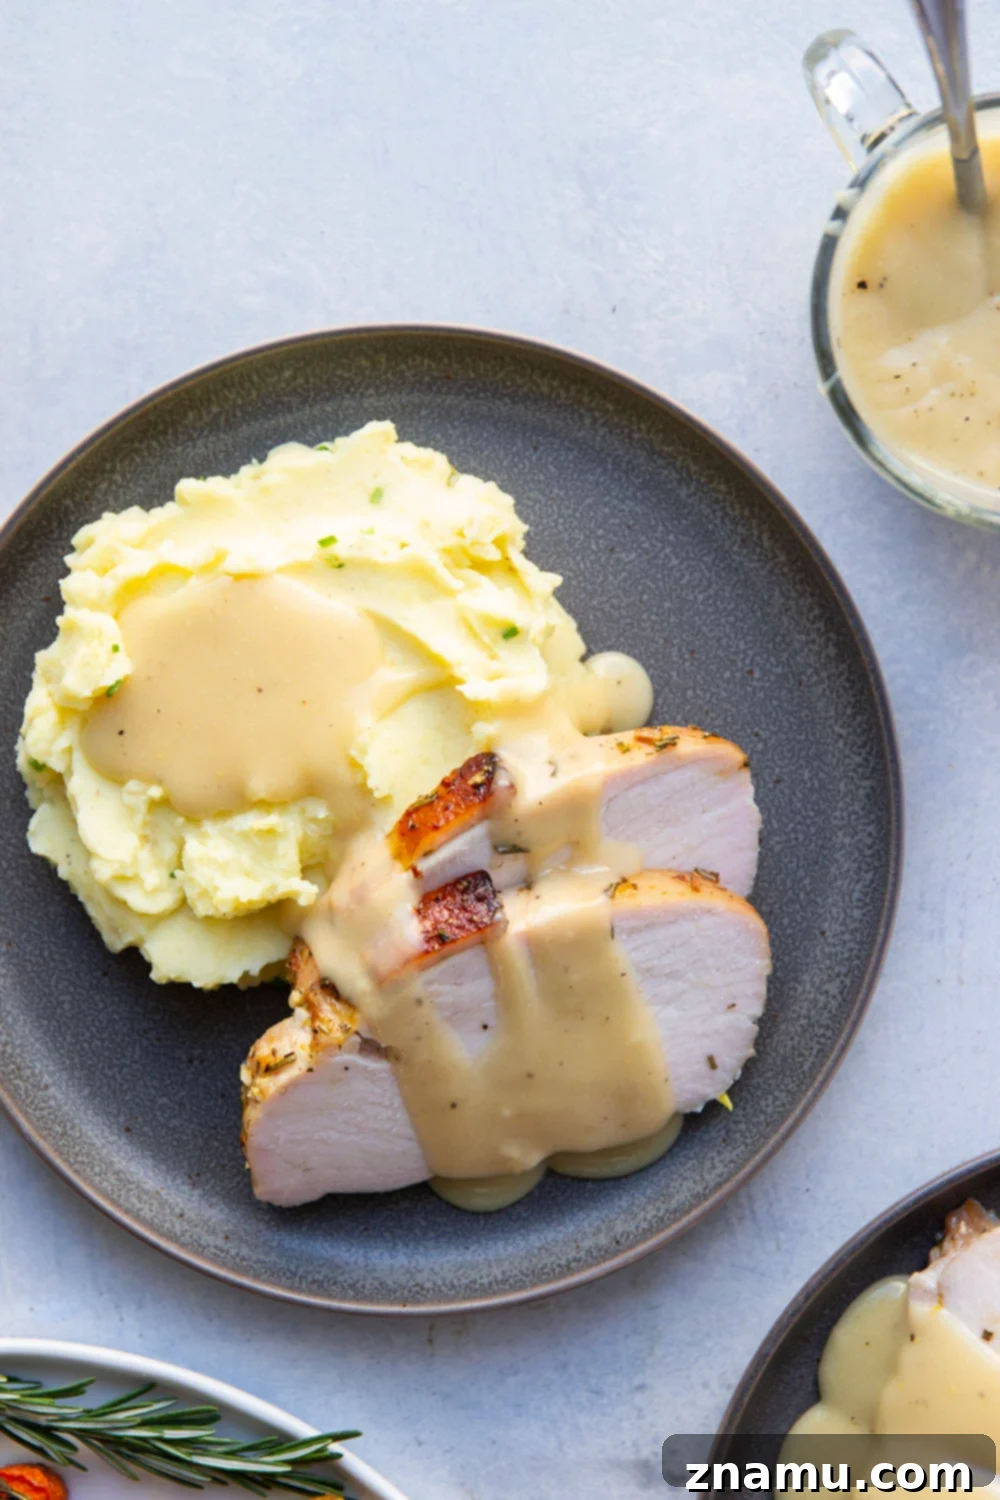
- A delightful, savory apple cider gravy, perfectly crafted from the pan drippings to complement the turkey with its subtle sweetness and depth of flavor.
- Comprehensive tips for prepping ahead to simplify your holiday cooking, along with versatile serving suggestions to create a memorable feast.
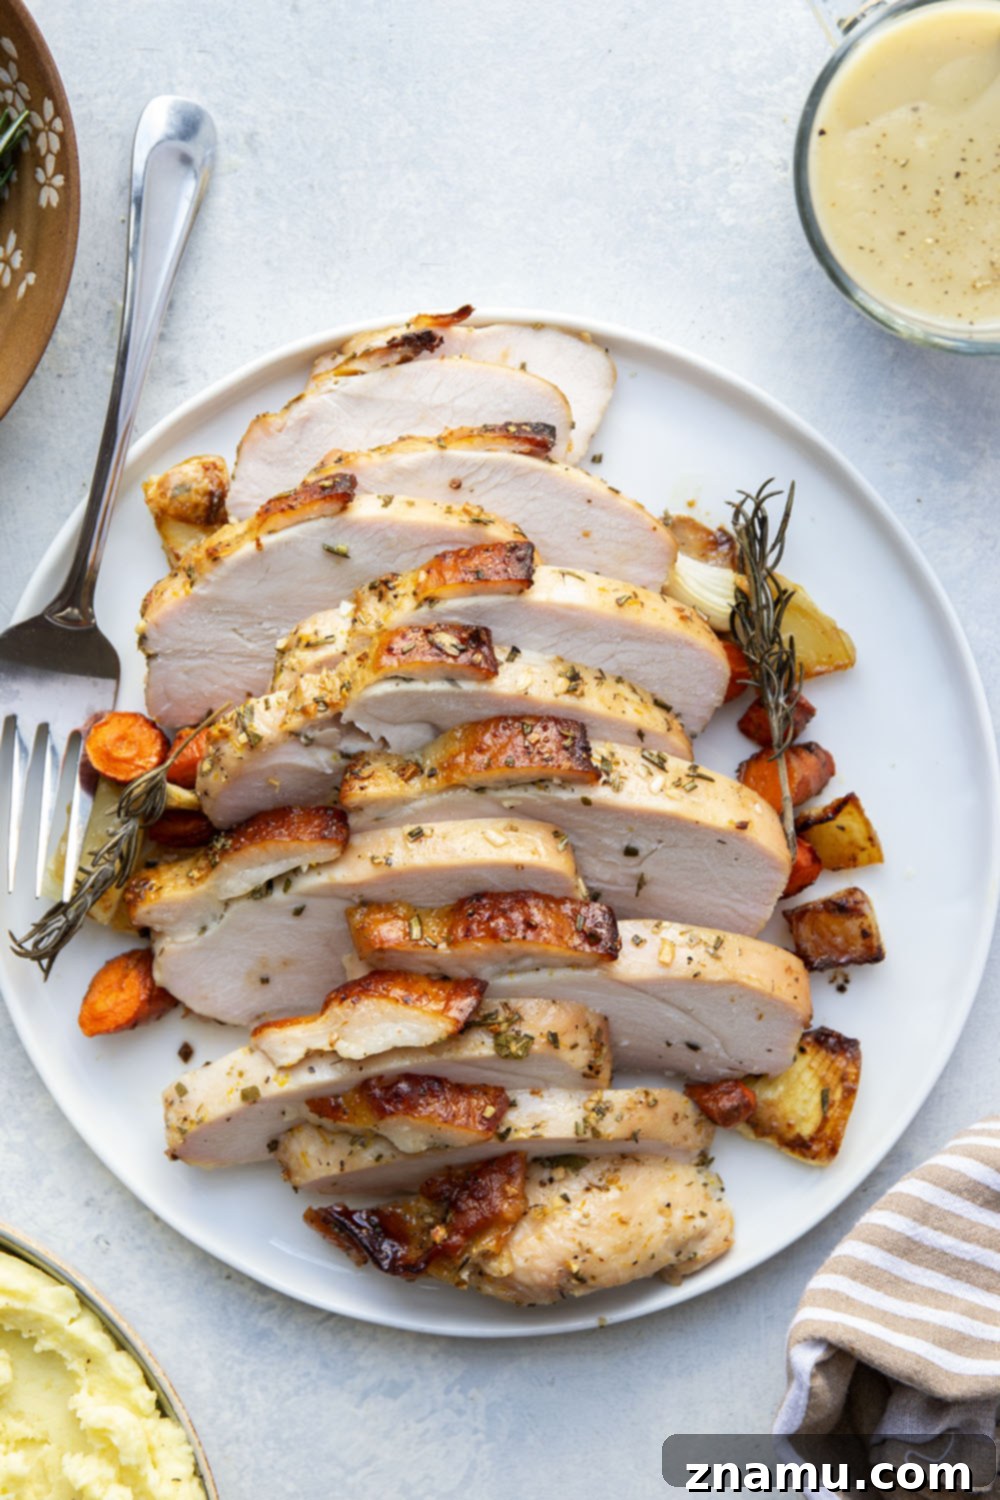
Crafting Your Perfect Dry Brined Turkey Breast
Preparing this dry brined turkey breast is a straightforward process that yields extraordinary results. The key lies in thoughtful preparation and following a few simple steps to ensure maximum flavor and tenderness. Let’s gather our ingredients and essential equipment to embark on this culinary journey. (The full detailed recipe can be found below).
Essential Ingredients for Your Turkey Breast
- Turkey breast: A 3-5 pound cut, bone-in or boneless, with skin on.
- Bay leaves: Freshly crushed for maximum aromatic impact in the brine.
- Thyme: Dried thyme, a classic herb that pairs wonderfully with poultry.
- Orange zest: Adds a bright, citrusy note that elevates the brine’s flavor profile.
- Kosher salt: Crucial for the dry brine, its coarse crystals work effectively.
- Brown sugar: Balances the salt and aids in browning for beautiful skin.
- Unsalted butter: Softened for easy mixing with herbs and garlic.
- Garlic: Minced, to infuse a savory depth into the herb butter.
- Rosemary: Freshly minced, providing a fragrant, piney aroma.
- Carrot: Roughly chopped, for the roasting pan to contribute to pan drippings.
- Yellow onion: Roughly chopped, adds sweetness and depth to pan drippings.
- Apple cider: Forms the base for our flavorful gravy, offering a tart sweetness.
- All-purpose flour: Used to thicken the rich apple cider gravy.
- Chicken or turkey broth: Essential for building the gravy’s body and flavor.
Recommended Equipment for Roasting Success
- Roaster pan or baking dish: A sturdy 9×13-inch pan is typically perfect.
- Roasting rack: Elevates the turkey for even cooking and crispy skin. An oven-safe metal cooling rack can also be used.
- Kitchen thermometer: An absolute essential for accurately gauging doneness and ensuring food safety.
- Carving knife: A sharp carving knife or a well-honed chef’s knife for precise, clean slices.
Expert Tips for the Most Flavorful and Juicy Turkey Breast
Achieving a perfectly cooked turkey breast is simpler than you might think, especially when armed with these invaluable tips. Follow these guidelines closely to ensure your dry-brined turkey is incredibly moist, tender, and packed with flavor, boasting that coveted crispy skin.
- Always Use Kosher Salt for Brining: Kosher salt is uniquely suited for brines due to its larger, flakier crystals, which dissolve effectively and penetrate the meat without over-salting the surface too quickly. Avoid substituting other types of salt like table salt, as their different densities and sodium content would require vastly different measurements, potentially ruining your brine. Precision with salt is key for a perfectly seasoned turkey.
- Finely Grind Bay Leaves for Maximum Flavor: While whole bay leaves add subtle aromatics, finely crushing them releases their full essential oils and distinct herbaceous flavor into the dry brine mixture. A spice grinder or a mortar and pestle works best for this. This small step makes a significant difference in how deeply the flavor penetrates the turkey breast.
- Allow Ample Brining Time (24-48 Hours): For the best results, a minimum of 24 hours is required for the dry brine to work its magic. However, if your schedule and refrigerator space allow, extending the brining time to 48 hours will yield maximum flavor infusion and ensure an even more succulent texture. This extended period allows the salt to fully denature proteins, leading to superior moisture retention.
- Brine Turkey Uncovered for Crispy Skin: A crucial step for achieving that coveted crispy skin is to dry brine the turkey breast uncovered in the refrigerator. This exposure to cold, circulating air helps to dry out the skin surface, which is essential for rendering fat and crisping up during roasting. If you’re concerned about raw meat being uncovered, you can loosely tent it with plastic wrap, but remember to remove it at least 6-8 hours before roasting to allow the skin to dry completely.
- Bring Turkey to Room Temperature Before Roasting: Before it goes into the oven, allow your dry-brined turkey breast to sit at room temperature for about 30 minutes. This slight temperature adjustment helps the turkey cook more evenly from edge to center, preventing the outside from overcooking before the inside is done, and contributing to a more tender finished product.
- Wipe Off Excess Brine with Damp Paper Towels: Once your turkey has brined sufficiently, gently wipe off any visible excess salt mixture from the surface using damp paper towels. While some remnants are fine, removing the bulk prevents the exterior from becoming too salty during roasting. This ensures a balanced flavor profile, allowing the herbs and butter to shine.
- Liberally Rub with Herb Garlic Butter: The garlic herb butter is a game-changer. By gently lifting the skin and rubbing a generous amount directly onto the meat underneath, as well as over the skin, you infuse a tremendous amount of rich, aromatic flavor. This butter also aids in achieving a beautifully golden, crispy skin that’s irresistible.
- Monitor Roasting Time (1 to 1-1/2 Hours): As a general guideline, turkey breast typically requires approximately 20-25 minutes of roasting time per pound at 350°F (175°C). For a 3-5 pound breast, this usually translates to 1 to 1.5 hours. Always use a reliable thermometer to determine doneness rather than relying solely on time.
- Utilize a Reliable Kitchen Thermometer: A kitchen thermometer is your best friend when roasting turkey. Insert it into the thickest part of the breast, ensuring it doesn’t touch any bone. The turkey is perfectly cooked when it reaches an internal temperature of 160°F (71°C). Remember that the temperature will rise slightly during resting.
- Allow the Turkey to Rest Before Carving: This step is non-negotiable for a juicy turkey. Once the turkey is out of the oven, loosely tent it with foil and let it rest for at least 20 minutes. This crucial resting period allows the juices to redistribute throughout the meat, resulting in an incredibly tender and moist turkey. We often use this time to finalize the delicious apple cider gravy!
Selecting the Perfect Turkey Breast
Choosing the right turkey breast is the first step towards a fantastic meal. We highly recommend selecting a turkey breast that falls within the 3-5 pound range for optimal cooking and serving for a smaller crowd. Both fresh and frozen turkey breasts work exceptionally well with this dry brining recipe. If opting for a frozen breast, remember to plan ahead for proper thawing. A general rule of thumb is to allow one day of thawing time in the refrigerator for every 4-5 pounds of turkey. This slow, gradual thaw ensures food safety and helps maintain the turkey’s texture.
Many home cooks wonder whether to use a bone-in or boneless turkey breast. The good news is that either option will yield delicious results with this recipe. However, it’s important to be aware that a bone-in turkey breast will generally require a slightly longer cooking time compared to its boneless counterpart. Regardless of your choice, the golden rule remains: always use a reliable kitchen thermometer. Insert the thermometer into the thickest part of the turkey breast, being careful to avoid touching any bone if it’s a bone-in cut, to accurately determine when it has reached the safe internal temperature for doneness.
Preparing the Savory Apple Cider Gravy
No holiday turkey is complete without a rich, flavorful gravy, and our apple cider gravy is the perfect companion to this dry-brined turkey breast. Made directly from the savory pan drippings, this gravy captures all the roasted flavors, enhanced by the subtle sweetness and tang of apple cider. It’s the ideal finishing touch, transforming your meal into an unforgettable culinary experience.
Delightful Side Dish Recipe Ideas
Looking for the perfect accompaniments to your succulent dry-brined turkey? Explore these beloved Thanksgiving side dishes that pair beautifully with our turkey breast!
- Caramelized Onion Green Bean Casserole
- Garlic Cheddar Skillet Dinner Rolls
- Sweet Potato Casserole with Pecan Streusel
- Hasselback Butternut Squash with Maple Browned Butter Sauce
- Extra Creamy Garlic Mashed Potatoes
- Fresh Cranberry Sauce
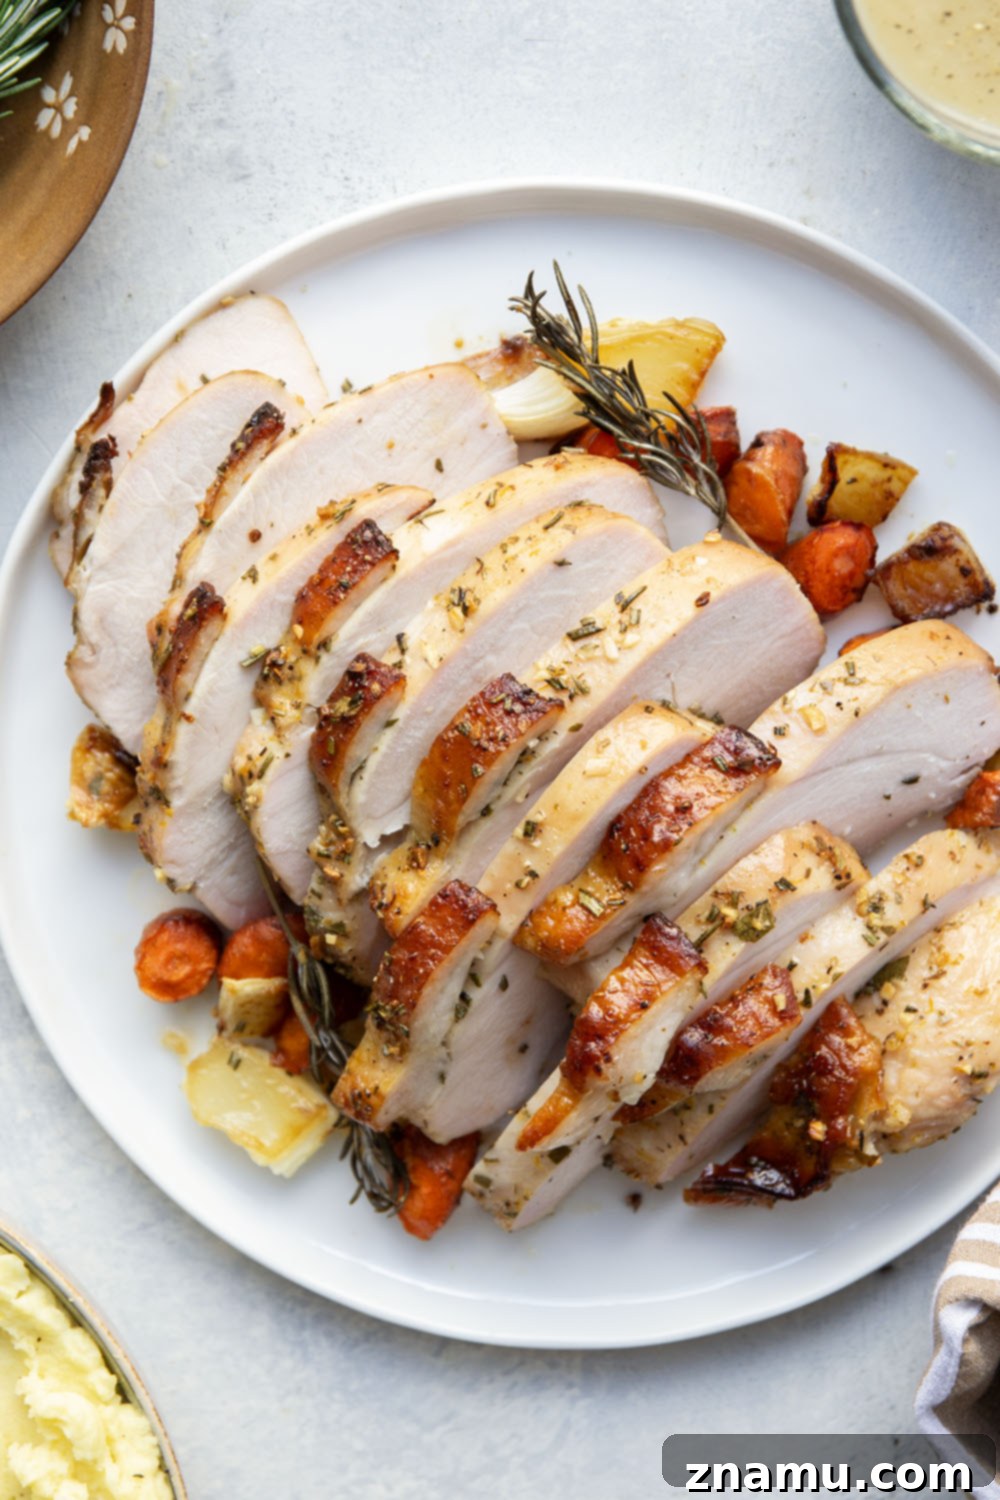
Honestly, words can barely capture the sheer depth of flavor and incredible juiciness that this dry-brined turkey breast delivers. Each slice is so tender it practically melts in your mouth, especially when paired with the rich, savory apple cider gravy. We’ve even found ourselves cutting it with a spoon—it’s that tender!
If you’re planning a more intimate Thanksgiving gathering this year, this dry-brined turkey breast is undoubtedly your perfect choice. It removes the stress of roasting a whole bird without compromising on any of the traditional holiday flavors or festive presentation.
We encourage you to try this recipe! If you make it, please share your experience. Leave a comment and a star rating below to let us know how it turned out, or capture a photo and tag us on Instagram using #wholeandheavenlyoven. Your feedback helps our community of home cooks!
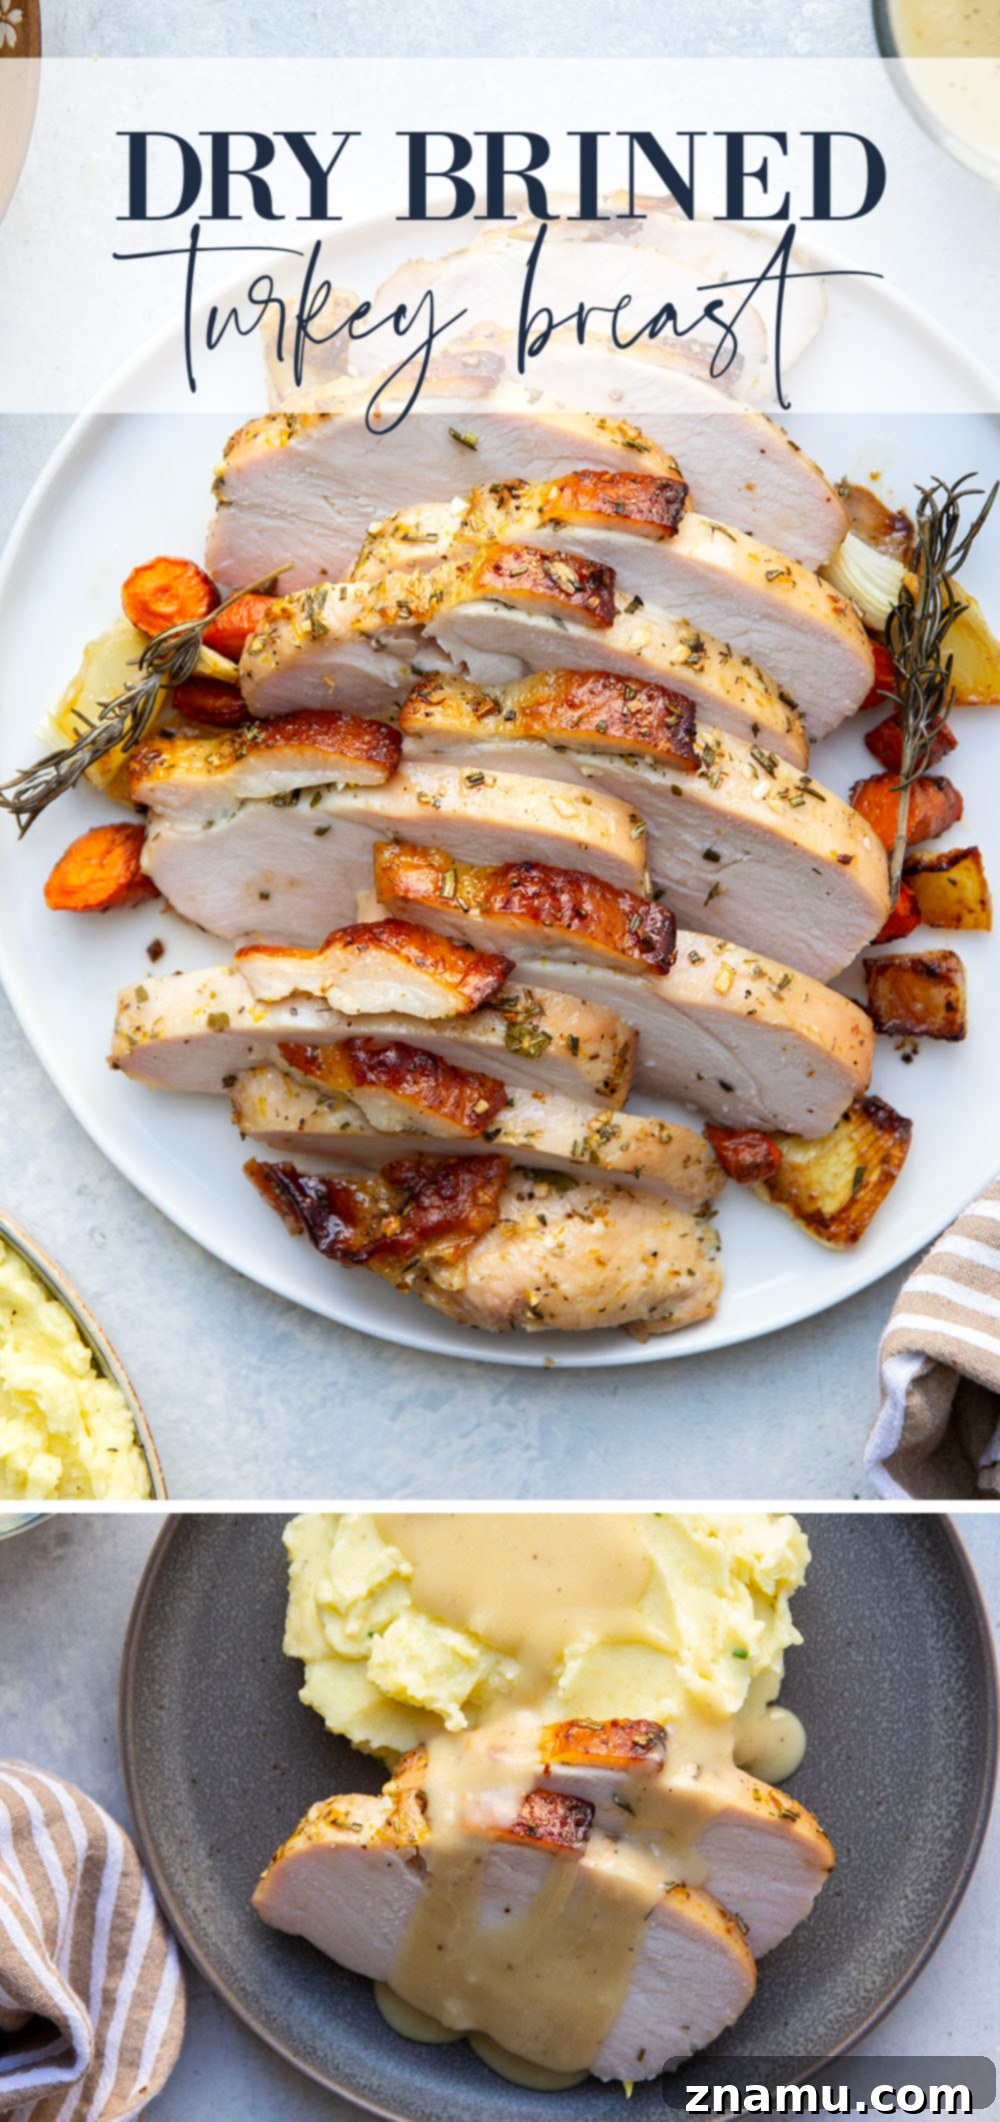
Discover a step-by-step visual guide to making this turkey on Google Web Stories.
Got leftovers? Repurpose your delicious turkey with these creative recipes!
- Turkey Cranberry Apple Spinach Salad with Candied Pecans
- Apple Gouda Pesto Turkey Panini
- Turkey Butternut Squash Pot Pie
Dry Brined Turkey Breast with Apple Cider Gravy
This dry brined turkey breast is incredibly tender and juicy from a flavorful dry brine and the perfect way to serve turkey for a smaller crowd! Serve with your favorite side dishes and lots of flavorful apple cider gravy on top.
This recipe may include paid links. As an Amazon Associate, I earn a commission from qualifying purchases.
Prep Time: 30 minutes
Cook Time: 1 hour 30 minutes
Brining Time: 1 day (up to 48 hours recommended)
Total Time: 1 day 2 hours (includes minimum brine time)
Servings: 6 servings
Calories: 369 kcal per serving
Ingredients
Dry Brined Turkey Breast
- 1 (3-5 lb) bone-in or boneless skin-on turkey breast (see notes below)
- 3 medium dried bay leaves, crushed into small pieces
- 1 teaspoon dried thyme
- 1 tablespoon grated orange zest
- 1 tablespoon kosher salt
- 2 tablespoons light brown sugar
- 1/4 cup unsalted butter, softened
- 2 medium cloves garlic, minced
- 1 tablespoon minced fresh rosemary, plus extra sprigs for roasting
- Salt and pepper to taste
- 1 medium carrot, cut into 1-inch chunks
- 1 small yellow onion, cut into 1-inch chunks
Apple Cider Gravy
- 1 small clove garlic, minced
- 1 tablespoon unsalted butter
- 1/4 cup all-purpose flour
- 1/2 cup apple cider
- 1 cup chicken or turkey broth
- Salt and pepper to taste
Instructions
Dry Brined Turkey Breast
- Arrange a roasting rack in a 9×13 baking pan and place the turkey breast-side up on top. Set aside.
- In a small bowl, combine crushed bay leaves, thyme, orange zest, kosher salt, and brown sugar.
- Use your fingers to gently loosen the skin on the turkey and generously rub some of the salt mixture under the skin and all over the outside of the turkey. Refrigerate the turkey uncovered for at least 24 hours or up to 48 hours for maximum flavor.
- Preheat your oven to 350°F (175°C). Remove the turkey from the refrigerator 30 minutes before you plan to roast it. Use damp paper towels to gently wipe off as much excess dry brine from the turkey as you can (a few remnants are okay).
- In a separate small bowl, combine the softened butter, minced garlic, and minced rosemary. Season this herb butter with salt and pepper to taste.
- Rub the herb butter all over the turkey breast, ensuring some is rubbed underneath the skin and the rest on top of the skin. Scatter the carrot chunks, onion chunks, and additional rosemary sprigs around the turkey in the baking pan.
- Bake the turkey breast at 350°F (175°C) for 1 to 1-1/2 hours (approximately 20-25 minutes of cooking per pound of turkey) until the internal temperature registers 160°F (71°C) when a kitchen thermometer is inserted into the thickest part of the turkey (avoid touching any bone if using a bone-in breast).
- Carefully drain the pan drippings into a medium skillet. Lightly cover the roasted turkey breast with foil and allow it to rest for 20 minutes while you prepare the gravy.
Apple Cider Gravy
- Use a spoon to skim any excess grease off the pan drippings in the skillet, leaving about 1 tablespoon of drippings. Heat the pan over medium heat and add the minced garlic and butter. Stir for 1-2 minutes until the garlic is fragrant.
- Whisk the all-purpose flour into the butter mixture and allow it to cook for 1-2 minutes until it turns a light golden brown (this creates a roux). Slowly begin adding the apple cider and chicken or turkey broth, whisking constantly to prevent lumps until the gravy is smooth and begins to bubble and thicken.
- If needed, thin the gravy with a few extra splashes of apple cider or broth until it reaches your desired consistency. Season with salt and pepper to taste. Keep the gravy warm for serving.
- Once the turkey has rested, carve it into slices and serve warm with plenty of the delicious apple cider gravy drizzled on top. Enjoy your perfectly cooked turkey!
Notes
*Turkey Breast Type: Both bone-in and boneless turkey breasts work beautifully for this recipe. Keep in mind that bone-in breasts may require a slightly longer roast time. Always use a kitchen thermometer, aiming for an internal temperature of 160°F (71°C), and allow approximately 20-25 minutes of cooking time per pound as a general guideline, adjusting as needed.
Storing Instructions: Store any leftover turkey and gravy in airtight containers in the refrigerator for up to 6 days. For longer storage, both the turkey and gravy can be frozen for up to 1 month. Thaw in the refrigerator overnight before reheating.
Nutrition
Serving: 6 oz turkey (approx 1/4 cup gravy) | Calories: 369kcal | Carbohydrates: 13.5g | Protein: 58.1g | Fat: 11.1g | Saturated Fat: 6.2g | Cholesterol: 166mg | Sodium: 1478mg | Potassium: 793mg | Fiber: 1.3g | Sugar: 6.3g | Calcium: 38mg | Iron: 3mg
Tried this recipe?
Leave a comment and rating below. Feel free to share a picture on Instagram and tag @wholeandheavenlyoven or hashtag it #wholeandheavenlyoven