
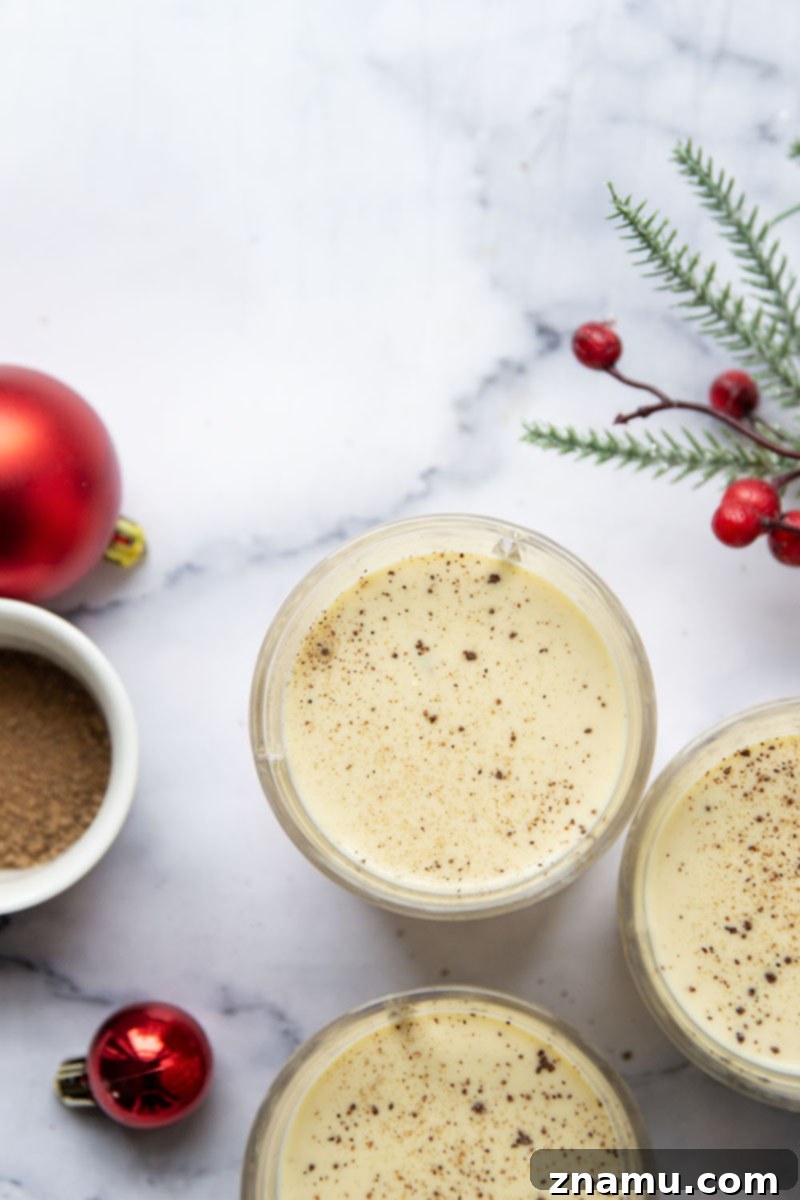
Indulge in the rich, creamy goodness of homemade eggnog this holiday season! Our quick 10-minute recipe transforms simple ingredients into an unforgettable festive drink that far surpasses any store-bought alternative.
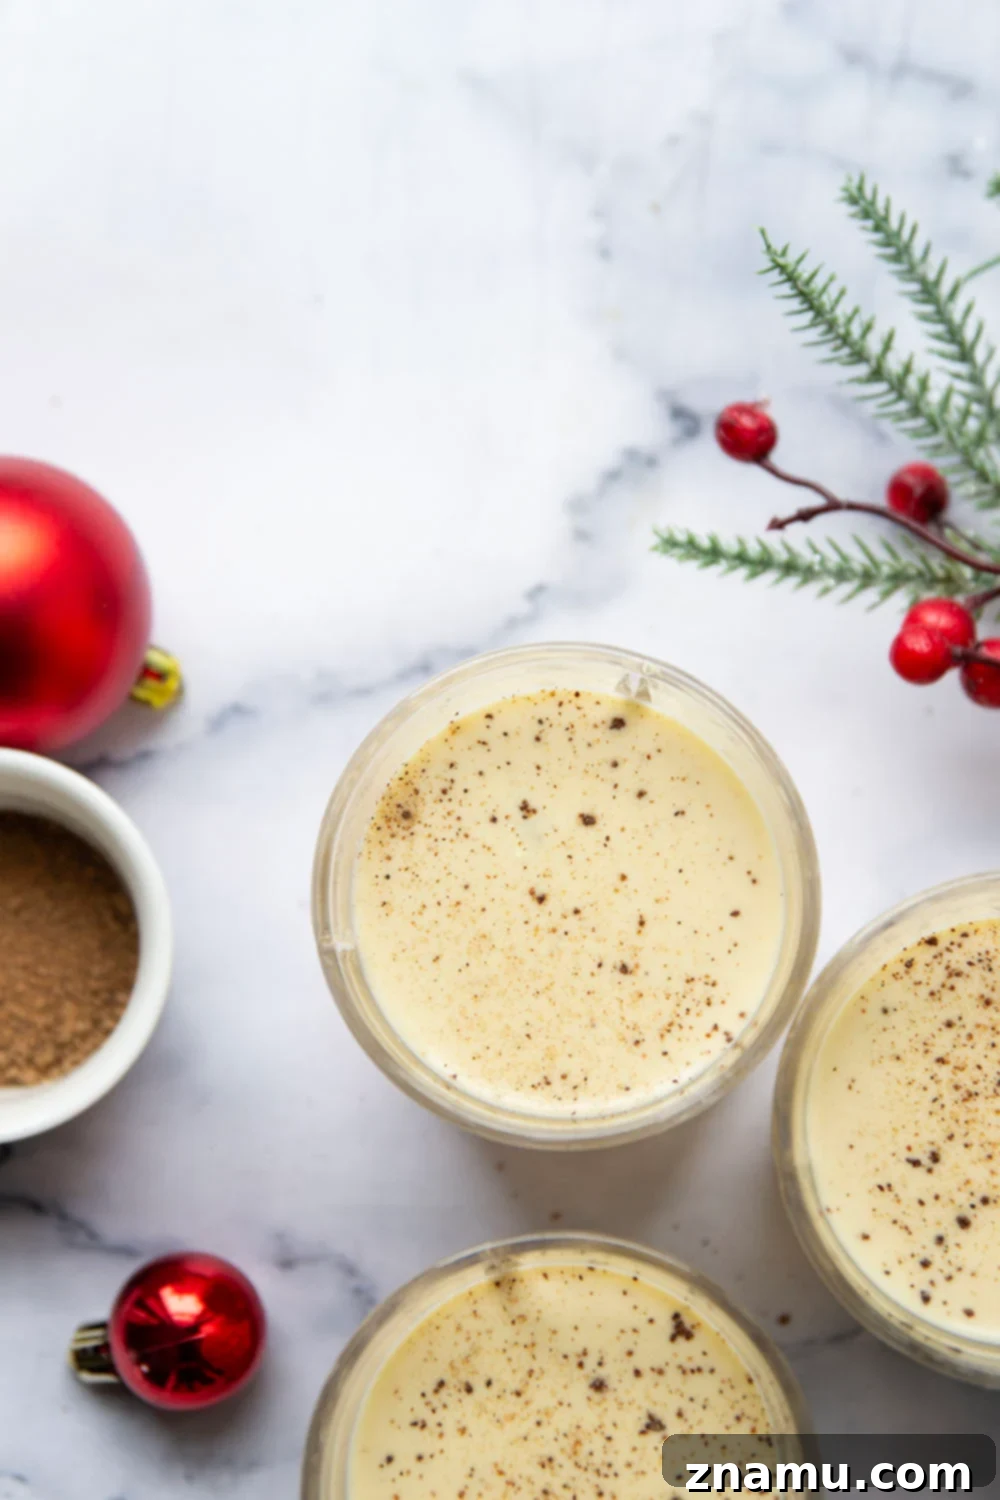
There’s something truly special about the holidays, and at the heart of many festive traditions lies a classic glass of eggnog. While the convenience of store-bought versions is tempting, imagine serving a homemade eggnog so luscious, so perfectly spiced, that it becomes an instant holiday legend. This year, ditch the cartons and discover the magic of crafting your own velvety smooth eggnog right in your kitchen.
You might think homemade eggnog is a labor-intensive affair, but prepare to be delightfully surprised! Our recipe takes less than 10 minutes of active prep time and uses only a handful of common ingredients. The result? A remarkably rich, creamy, and flavorful beverage that will have everyone asking for your secret. Once you taste the difference, you’ll never look back.
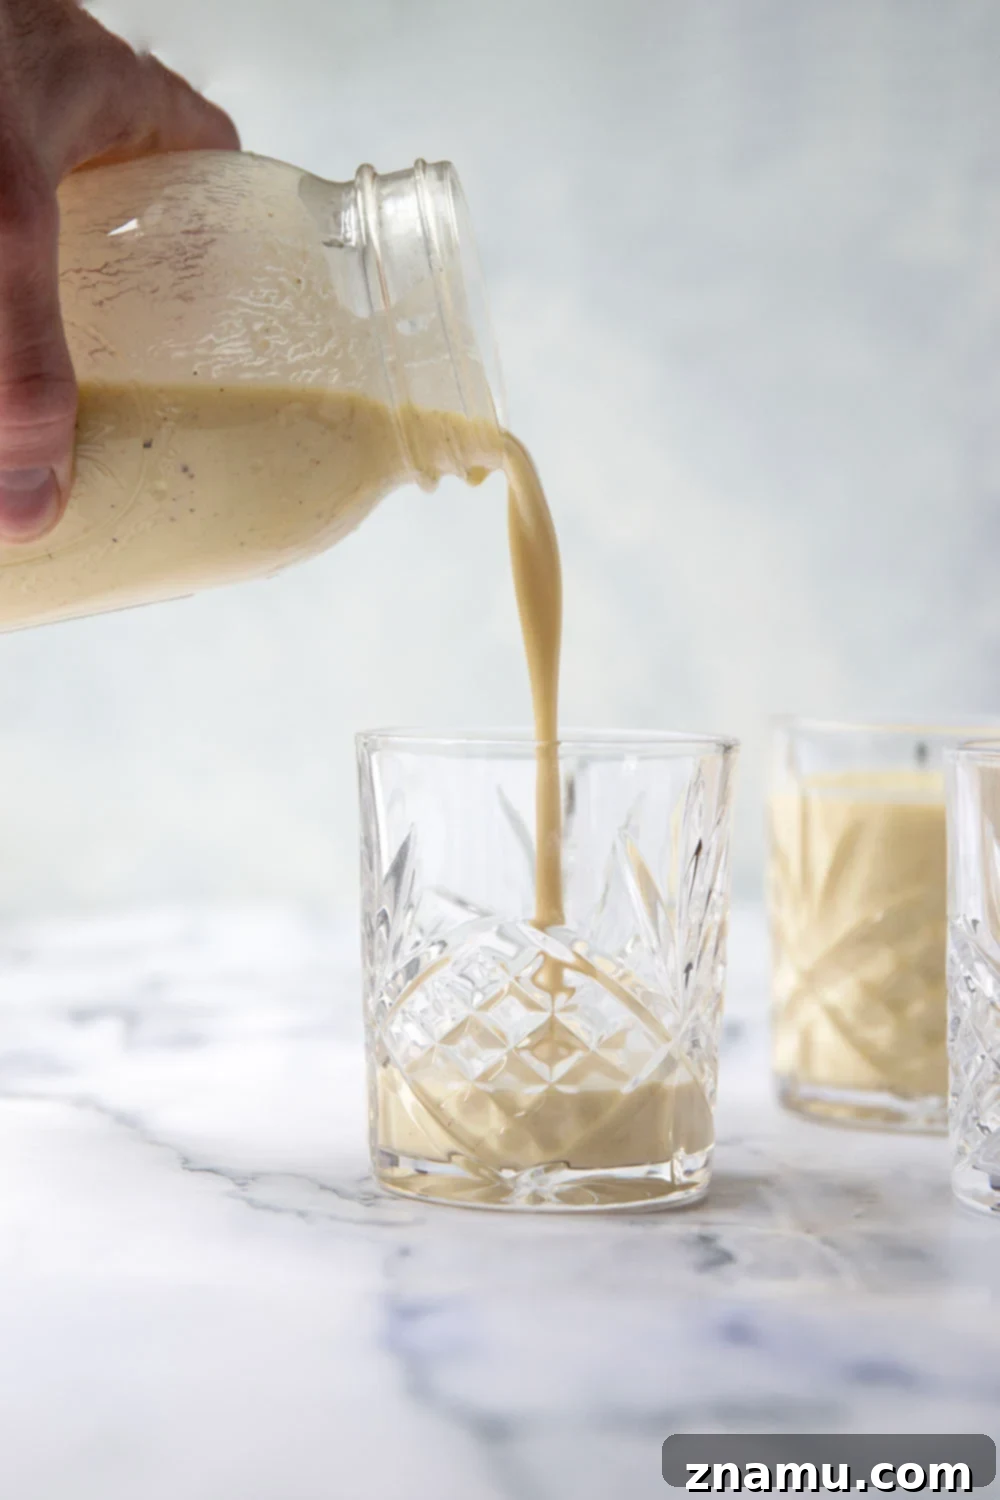
Why Choose Homemade Eggnog? The Unrivaled Taste Experience
The allure of homemade eggnog goes far beyond just being a festive drink; it’s an experience. Unlike its mass-produced counterparts, homemade eggnog offers a depth of flavor and a superior texture that simply can’t be replicated. Store-bought eggnog often contains stabilizers, artificial flavors, and excessive sugar, leading to a thin consistency and a cloyingly sweet taste that can mask the delicate balance of spices and dairy.
When you craft eggnog from scratch, you’re in control. You get to select fresh, high-quality ingredients, ensuring a pure and authentic taste. This recipe, in particular, highlights the natural sweetness of brown sugar, the comforting warmth of fresh nutmeg, and the aromatic embrace of vanilla, all swirled into a perfectly balanced dairy base. The difference is truly astounding – a luxurious, thick, and creamy consistency that clings to your palate, leaving a lingering warmth and a hint of holiday spice.
What Makes This Eggnog Recipe So Special?
- Effortlessly Quick: With just 10 minutes of hands-on preparation, you can achieve gourmet-level eggnog.
- Simple Ingredients: You likely have most of the 6 essential ingredients in your pantry already.
- Velvet Smooth Texture: Achieve that signature rich, creamy consistency without any fuss.
- Perfectly Spiced: A delightful balance of fresh nutmeg and pure vanilla extract creates an irresistible aroma and taste.
- Customizable: Easily adjust sweetness, spice levels, or add your favorite spirits for a spirited twist.
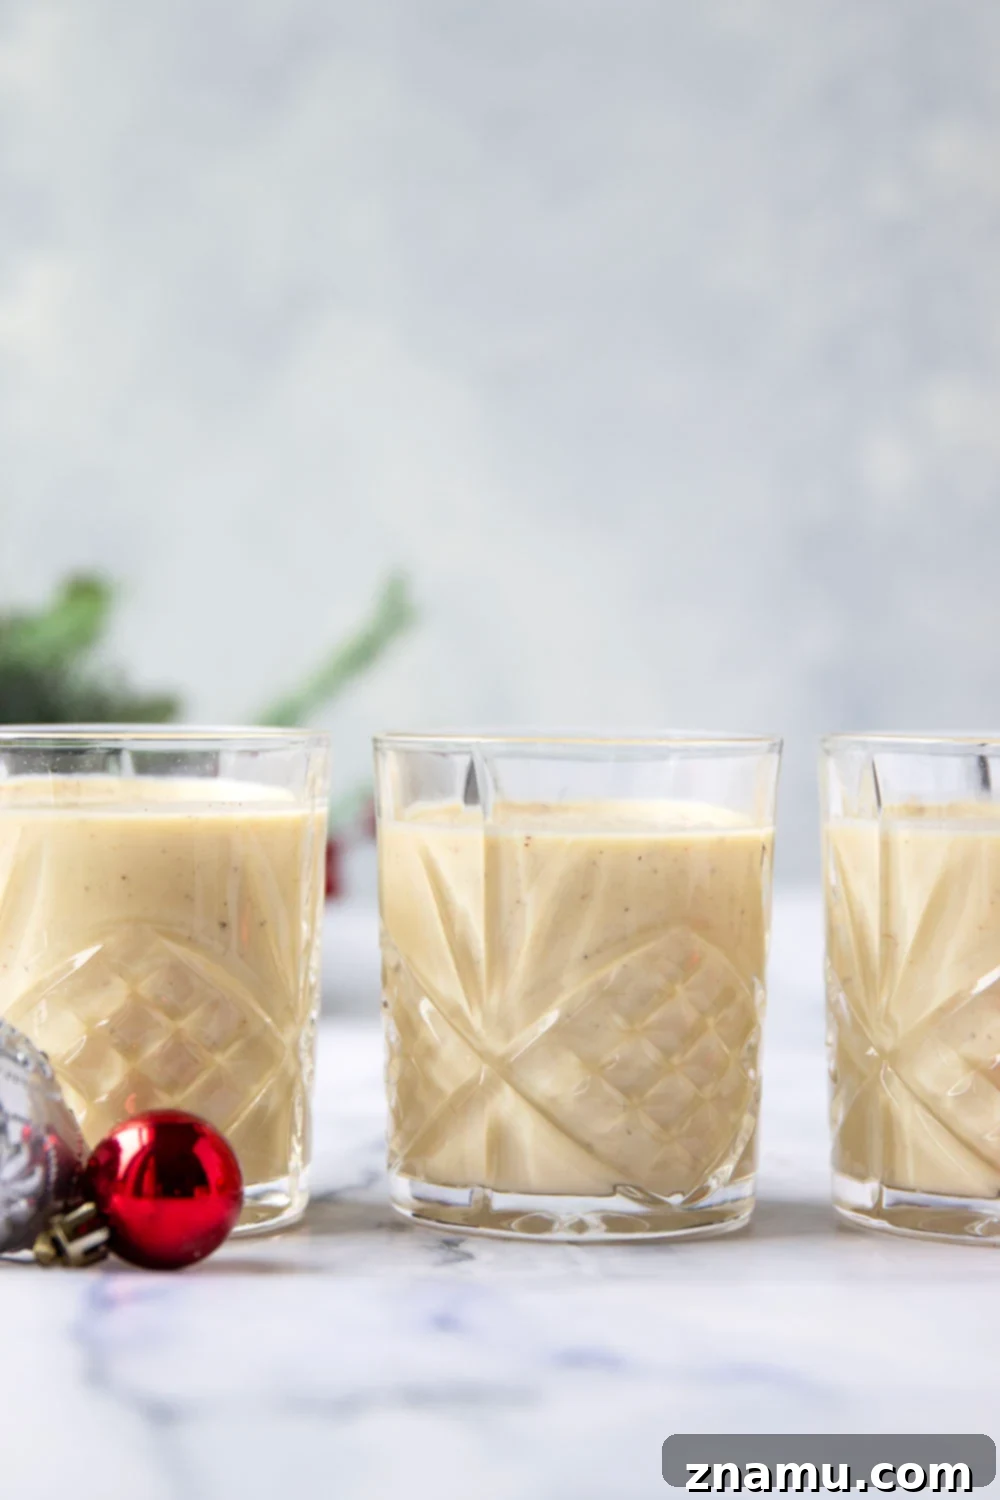
Essential Ingredients for Your Dream Eggnog
Creating the perfect eggnog starts with a few foundational ingredients, each playing a crucial role in the final flavor and texture. For this quick and easy recipe, you’ll need:
- Egg Yolks: The heart of any classic eggnog, providing richness, body, and a beautiful golden hue. Using only yolks ensures a custard-like consistency without the lighter, frothy texture that egg whites might impart.
- 2% or Skim Milk: Forms the primary liquid base. While whole milk can be used for an even richer nog, 2% or skim milk keeps it deliciously creamy without being overly heavy, allowing the other flavors to shine.
- Heavy Whipping Cream: This is where the luxurious, thick consistency comes from. It adds an indulgent mouthfeel that makes your eggnog truly decadent.
- Brown Sugar: We opt for light brown sugar over white granulated sugar for a reason. Its subtle molasses notes add a deeper, more complex sweetness and a hint of caramel, complementing the nutmeg beautifully.
- Ground Nutmeg: The quintessential eggnog spice. For the best flavor, we highly recommend using freshly grated nutmeg. The aroma and intensity are unparalleled compared to pre-ground versions.
- Vanilla Extract: A touch of pure vanilla extract enhances all the other flavors, adding a warm, sweet, and comforting note that ties everything together.
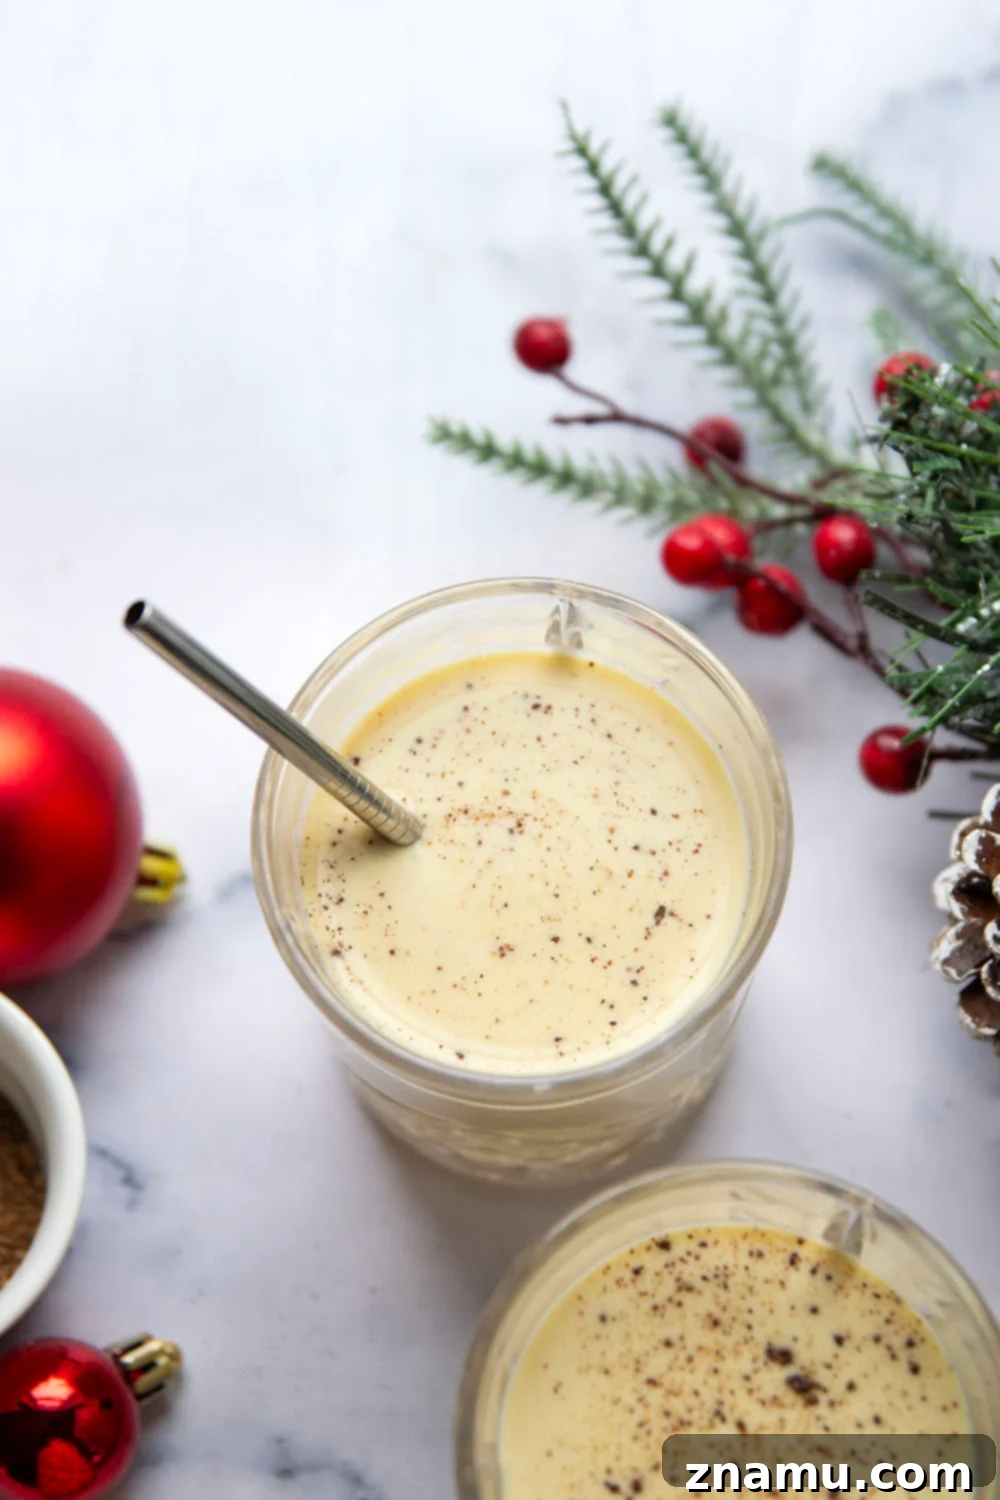
Mastering Your Homemade Eggnog: Step-by-Step Guidance
Crafting homemade eggnog is simpler than you might imagine, especially with these detailed steps to guide you to perfection. The key lies in careful temperature control and consistent whisking.
The Process:
- Prepare the Egg Yolks: Begin by placing your large egg yolks in a medium-sized bowl. Lightly beat them with a whisk until they are smooth and a uniform yellow color. Set this aside; it will be ready when you need it.
- Gently Heat the Dairy & Sugar: In a substantial saucepan, combine the milk, heavy cream, and brown sugar. Place the saucepan over medium heat, stirring occasionally. The goal here is to gently heat the mixture until it’s steaming. You’ll see small wisps of steam rising from the surface, and possibly tiny bubbles forming around the edges. It is absolutely crucial that you do not allow the mixture to boil. Boiling can scorch the dairy and make it more difficult to temper the eggs properly.
- Temper the Egg Yolks: This is the most important step for achieving a smooth, custard-like consistency and preventing scrambled eggs in your eggnog. Once your dairy mixture is steaming, remove it from the heat. Slowly, in a thin, steady stream, drizzle about 1/2 cup of the hot milk mixture into your beaten egg yolks. As you do this, whisk the egg yolks constantly and vigorously. This process gradually raises the temperature of the egg yolks, preventing them from cooking too quickly when added to the main saucepan. Continue whisking until the egg yolk mixture is smooth and well combined.
- Combine and Cook: Now, pour the tempered egg yolk mixture back into the saucepan with the remaining hot milk and cream. Return the saucepan to medium-low heat. Continue to stir the eggnog occasionally with a whisk or a wooden spoon. Cook the eggnog until it begins to steam again and slightly thickens. You’ll notice it coats the back of a spoon. Again, do not boil the eggnog, as this can cause it to curdle or “break.” If you have a candy thermometer, aim for a temperature of 160°F (71°C) for food safety and optimal thickness.
- Flavor and Chill: Once the eggnog has reached the desired consistency and temperature, remove it immediately from the heat. Whisk in the ground nutmeg and vanilla extract. These aromatics are added at the end to preserve their delicate flavors. Transfer the eggnog to a pitcher or container and allow it to cool slightly at room temperature, then refrigerate until thoroughly chilled. The eggnog will thicken considerably more as it cools in the refrigerator, developing its full, rich texture and flavor profile.
Expert Tips for the Best Homemade Eggnog
Achieving truly spectacular homemade eggnog is simple when you know a few key tricks. These tips will elevate your drink from good to unforgettable:
- Prioritize Fresh Nutmeg: This cannot be stressed enough. Pre-ground nutmeg loses much of its aromatic punch quickly. Invest in whole nutmeg seeds and a small grater (a microplane works perfectly). The vibrant, warm flavor of freshly grated nutmeg is unparalleled and essential for authentic eggnog taste.
- Temper with Care: The “tempering” step is critical. Slowly adding hot liquid to the egg yolks while continuously whisking prevents them from scrambling. Imagine it as gently easing the eggs into a warmer environment. If you add the hot liquid too fast, you risk cooking the yolks immediately.
- Avoid Boiling at All Costs: Boiling your eggnog mixture, especially after adding the eggs, can lead to a broken or curdled texture. Keep the heat at medium-low and watch for gentle steaming, not a vigorous boil. A thermometer (aim for 160°F/71°C) can be your best friend here.
- Embrace the Chill Time: Eggnog isn’t a drink to be rushed. While the active cooking is quick, allowing it to chill completely in the refrigerator is vital. This cooling period not only thickens the eggnog to its ideal creamy consistency but also allows all the beautiful flavors of the dairy, sugar, and spices to meld and deepen. For best results, chill for at least 4 hours, or even overnight.
- Taste and Adjust Sweetness: Everyone has a different preference for sweetness. Brown sugar is used in this recipe for its depth, but feel free to add a little more or less to your liking. Taste the mixture after it’s cooked and before chilling, and make small adjustments if desired.
- Consider a Fine Mesh Sieve: For an absolutely silken texture, consider straining your finished eggnog through a fine mesh sieve after removing it from the heat. This will catch any tiny bits of cooked egg that might have formed, ensuring a perfectly smooth drink.
Storing Your Delicious Homemade Eggnog
Proper storage is essential to keep your homemade eggnog fresh and safe to enjoy throughout the holiday season.
This eggnog stores exceptionally well in the refrigerator. Pour it into an airtight container or a clean pitcher and keep it chilled for up to 1 week. Because it is a dairy and egg-based product, we recommend not storing it any longer than a week to maintain freshness and prevent spoilage.
For longer storage, eggnog can be frozen! Pour the cooled eggnog into a freezer-safe container, leaving about 1 inch of headspace at the top to allow for expansion during freezing. It can be frozen for up to 2 months. To serve, thaw the eggnog completely in the refrigerator overnight before enjoying. Give it a good whisk before serving to restore its creamy texture.
Serving Suggestions for Every Occasion
Homemade eggnog is a versatile beverage that can be enjoyed in various ways, catering to both adult celebrations and family gatherings.
We highly recommend serving eggnog fully chilled for the absolute best taste and texture. Garnish each serving with a dusting of freshly grated nutmeg or a cinnamon stick for an extra touch of festive elegance. For an added layer of indulgence, a dollop of freshly whipped cream can transform it into a dessert-like treat.
For those who enjoy a spirited twist, feel free to mix in your favorite liquor. Classic choices include spiced rum, which adds a warm, sweet, and complex note; whiskey or bourbon for a bolder, oaky flavor; or brandy for a fruity and refined undertone. Start with a small amount (e.g., 1-2 ounces per glass) and adjust to your preference. Remember, you can always spike individual servings so everyone can enjoy the non-alcoholic version too!
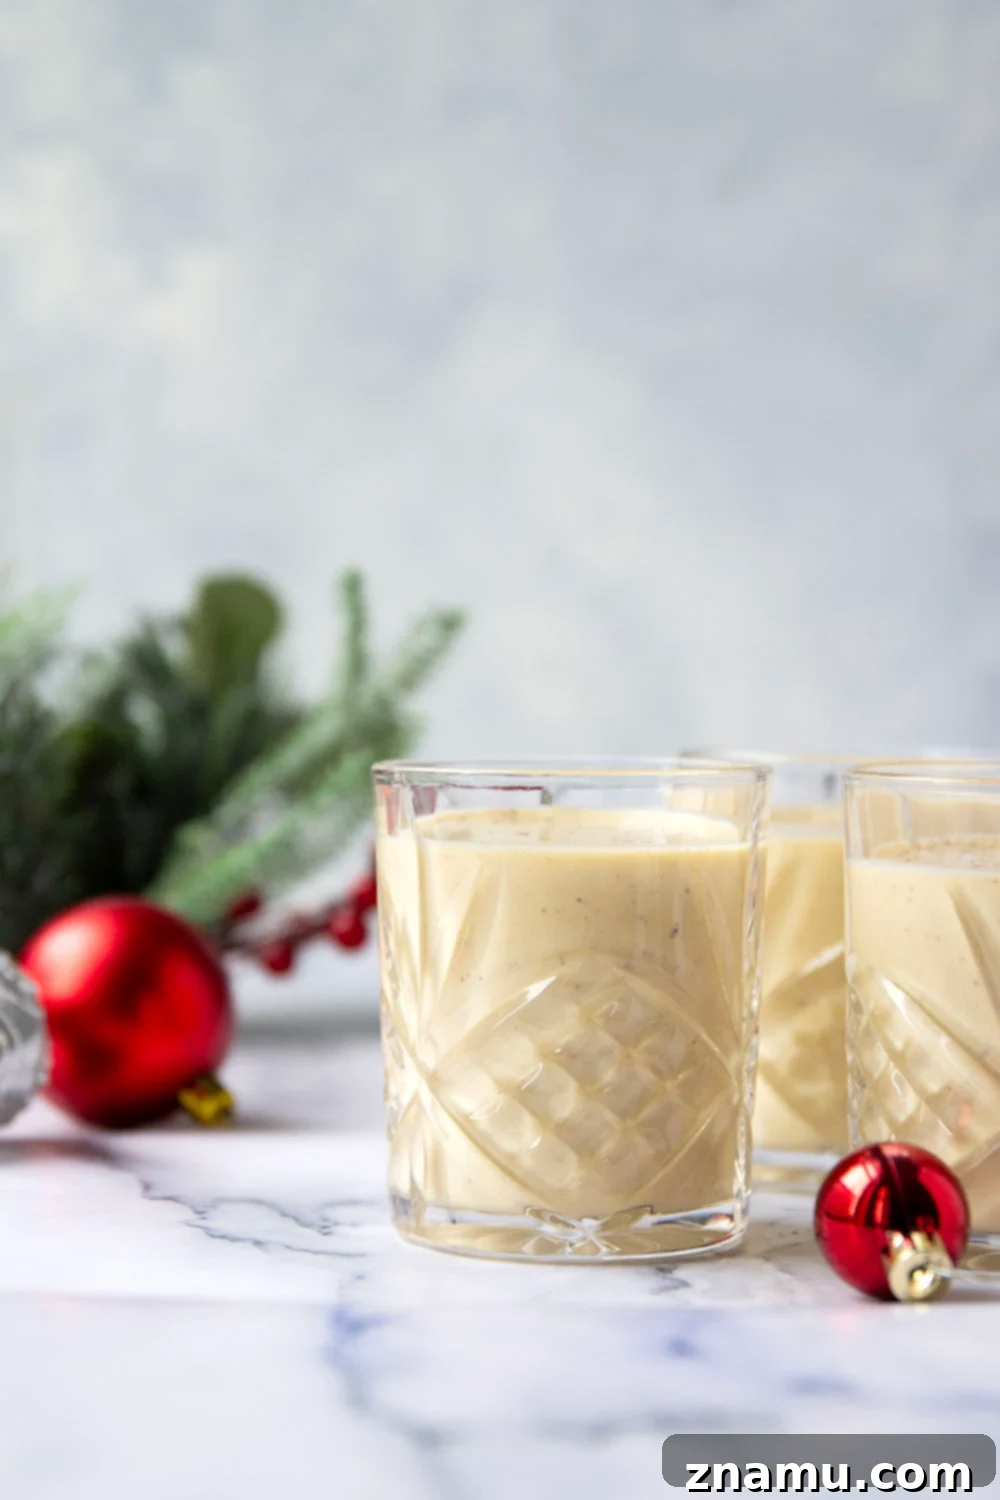
This homemade eggnog is destined to be a showstopper at any holiday gathering. Its perfectly rich and creamy texture, combined with the delicate balance of fresh nutmeg and vanilla, makes it truly irresistible. Prepare for rave reviews and requests for the recipe!
Good luck keeping your fridge stocked with enough of this liquid gold throughout the festive season. It tends to disappear quickly!
Frequently Asked Questions About Homemade Eggnog
Here are answers to some common questions about making and enjoying your own eggnog:
1. Is it safe to consume eggnog made with raw eggs?
Our recipe involves a tempering and heating process that cooks the egg yolks, reaching a temperature where harmful bacteria are eliminated. For added safety, ensure the mixture reaches 160°F (71°C) to pasteurize the eggs. If you’re concerned, you can use pasteurized egg yolks or an egg substitute.
2. Can I make this eggnog without alcohol?
Absolutely! This recipe is naturally non-alcoholic until you choose to spike it. It’s a delicious and family-friendly drink that all ages can enjoy. Simply omit the alcohol or offer it as an optional addition for adults.
3. Can I use different types of milk or cream?
Yes, you can experiment! Using whole milk will result in an even richer eggnog. For a lighter version, you can increase the proportion of skim or 2% milk, though it might affect the overall thickness and creaminess. You could also try half-and-half for a balance between milk and heavy cream.
4. How can I make my eggnog thicker?
The thickness of your eggnog depends on a few factors: the amount of heavy cream used, how thoroughly the egg yolks are cooked (without boiling), and the chilling time. Ensuring the mixture reaches 160°F (71°C) will help thicken it, and significant thickening will occur as it chills in the refrigerator.
5. What if my eggnog curdles or breaks?
This usually happens if the eggnog boils or cooks too quickly after the eggs are added. If it curdles slightly, you can try straining it through a fine-mesh sieve or blending it for a few seconds in a blender to smooth it out. Prevention is key: maintain low heat and stir constantly!
6. Can I prepare eggnog ahead of time for a party?
Definitely! In fact, making eggnog a day or two in advance is recommended. This allows the flavors to fully meld and deepen, resulting in an even more delicious and well-rounded drink. Just store it in an airtight container in the refrigerator.
Save this recipe to your favorites using the ‘Save Recipe’ button below. If you make it, we’d love to know! Leave a comment and a star rating below, or share a photo on Instagram and tag it with @wholeandheavenlyoven and use the hashtag #wholeandheavenlyoven.
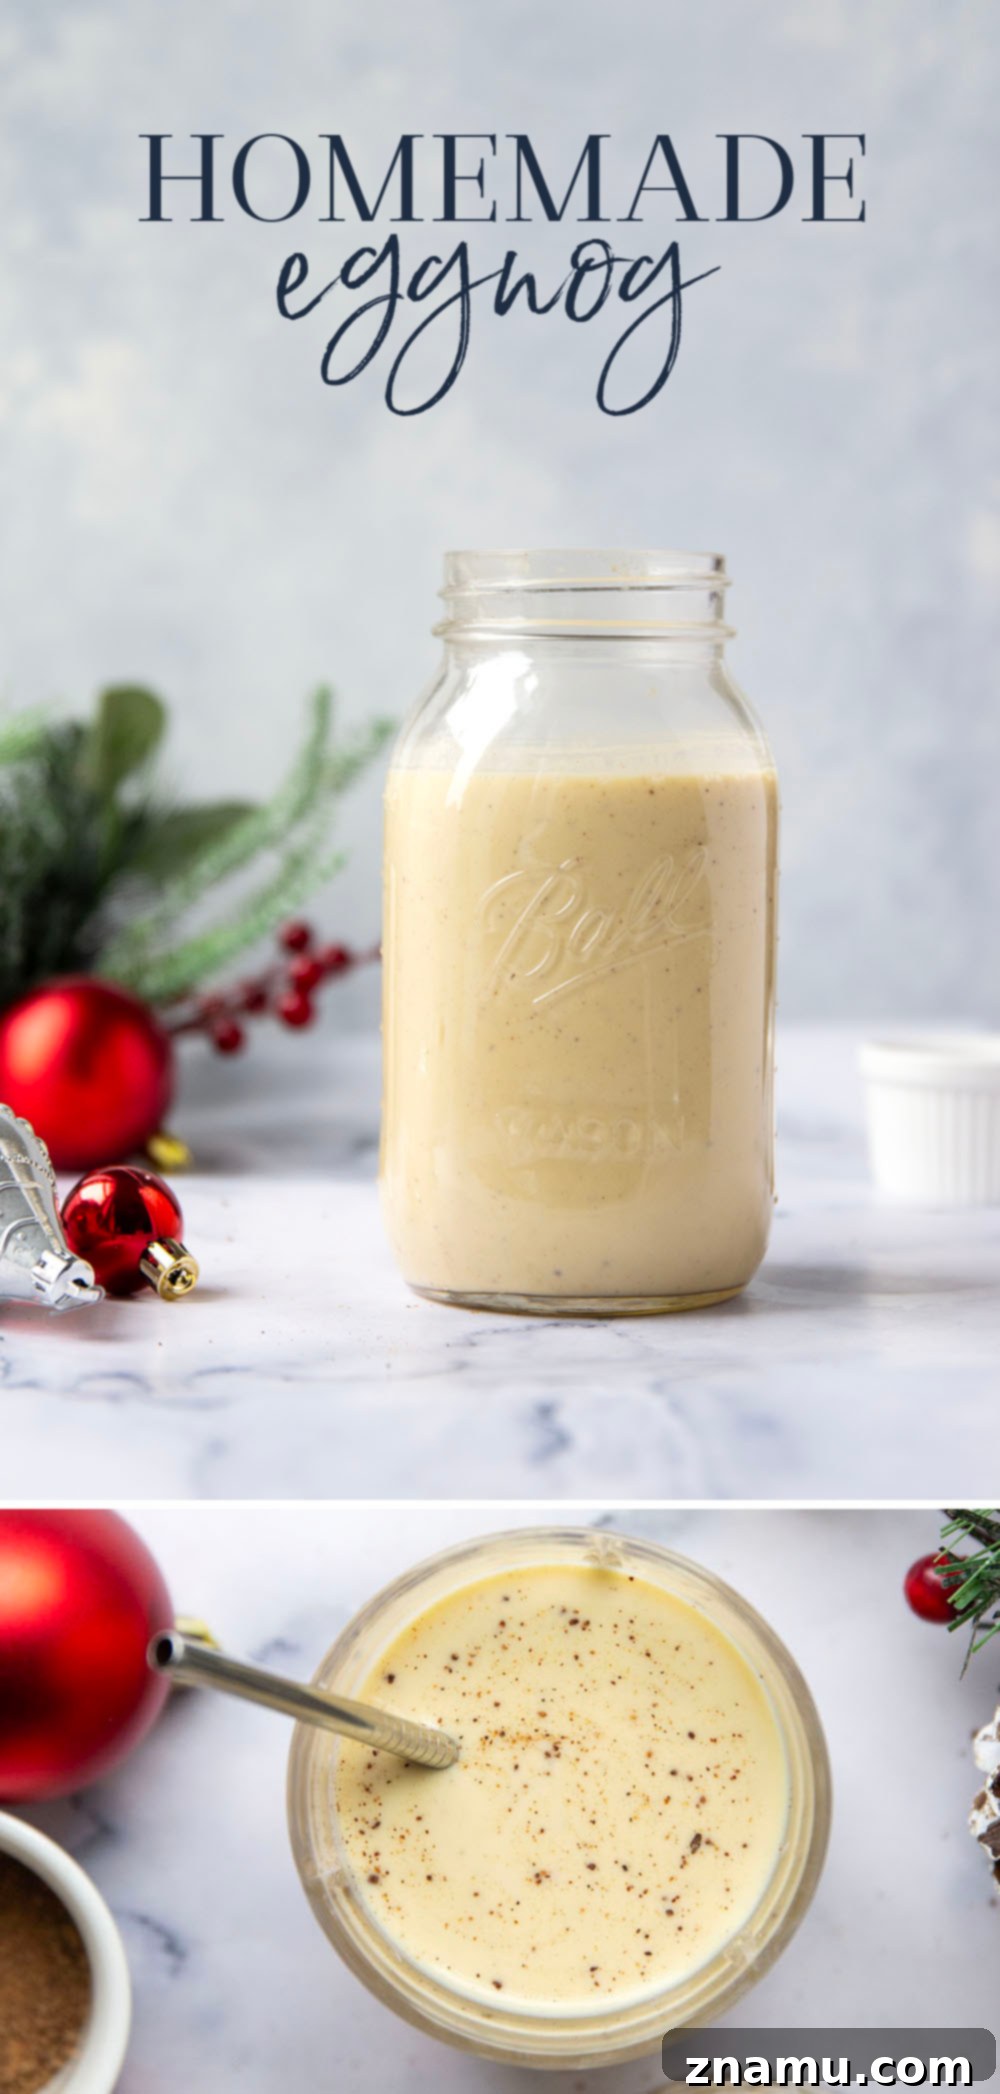
For a visual guide, watch this eggnog made step-by-step in a quick video (link for instructional purposes).
More Holiday Drink & Dessert Inspiration
If you’re a fan of eggnog, you’ll love exploring these other festive recipes that incorporate its unique flavor:
- Homemade Eggnog Coffee Creamer: Elevate your morning coffee with a rich and creamy, spiced eggnog creamer.
- Mini Glazed Raspberry Eggnog Scones: A delightful fusion of fruity raspberries and warm eggnog spices in a tender scone.
- Cranberry Orange Bundt Cake with Eggnog Glaze: A moist bundt cake bursting with cranberry and orange zest, finished with a luscious eggnog glaze.
Save Recipe
Print
Pin
Homemade Eggnog
This recipe may included paid links. As an Amazon Associate, I earn a commission from qualifying purchases.
Ingredients
- 4 large egg yolks
- 2-1/2 cups 2% or skim milk
- 1/2 cup heavy whipping cream
- 1/2 cup light brown sugar
- 1/2 teaspoon ground nutmeg
- 1 teaspoon vanilla extract
Instructions
-
Place egg yolks in a medium bowl and lightly beat. Set aside for a moment.
-
In a large saucepan, heat milk, heavy cream, and brown sugar over medium heat until steaming (do not boil)
-
Slowly drizzle 1/2 cup hot milk mixture into egg yolks, beating constantly until smooth. Add egg yolk mixture to saucepan and stir occasionally until eggnog is steaming and slightly thickened (do not boil – eggnog will thicken more after chilling)
-
Remove eggnog from heat and whisk in nutmeg and vanilla. Chill eggnog completely before serving. Enjoy!
Notes
Store eggnog in refrigerator up to 1 week. To freeze, pour into a freezer-safe container, leaving 1-inch of open air at the top for expansion, and freeze up to 2 months. Thaw completely in refrigerator before serving.
Nutrition
This post was updated with new recipe adjustments and photos on 12/20/23.