
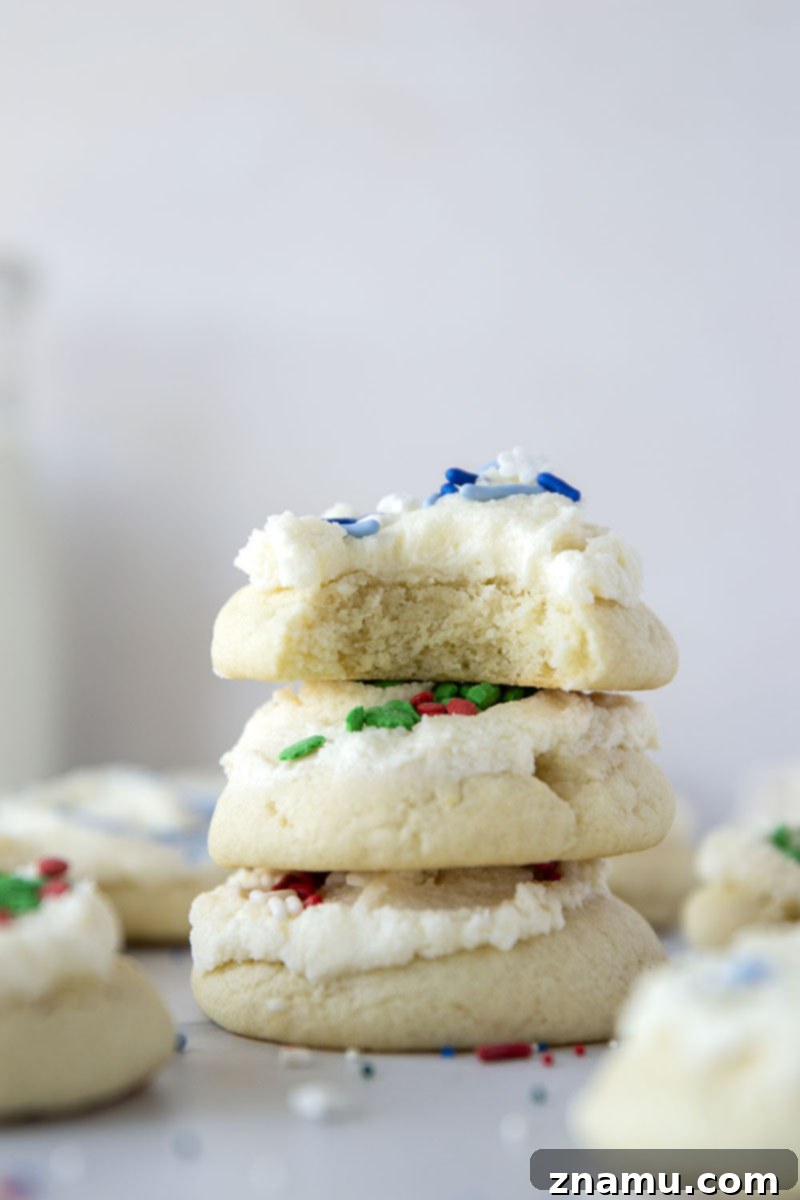
Deliciously Healthy: The Secret to Thick & Chewy Sugar-Free Sugar Cookies
Imagine biting into a soft, thick, and wonderfully chewy sugar cookie – a classic delight that instantly transports you back to childhood. Now, imagine that same incredible experience, but made significantly healthier, without sacrificing an ounce of flavor or texture. Sounds too good to be true? Prepare to be amazed! These homemade sugar-free sugar cookies are a game-changer, crafted to deliver all the beloved qualities of your favorite sugar cookies while being a much smarter choice for your well-being. They’re so good, you’ll wonder why you ever settled for store-bought versions filled with refined sugar.
The Sweet Secret: Unlocking Healthier Baking with Xylitol
You might be skeptical. Sugar cookies without actual sugar? It’s a common reaction, but let me assure you, these cookies genuinely mimic the taste and texture of their traditional counterparts. The key lies in our star sweetener: xylitol. Instead of conventional sugar, these delightful treats are sweetened entirely with this incredible sugar alcohol, making them a fantastic alternative for anyone looking to reduce their sugar intake without compromising on dessert.
What is Xylitol and Why Is It So Great?
For those unfamiliar with xylitol, it’s a naturally occurring sugar alcohol found in many fruits and vegetables. It boasts a sweetness level comparable to sugar but contains significantly fewer calories and has a much lower glycemic index. This means it causes a slower, more gradual rise in blood sugar levels, making it a favorable option for those managing blood sugar or simply seeking a healthier lifestyle. Beyond its dietary benefits, xylitol is also known for its dental health advantages, actively working to reduce plaque and inhibit the growth of bacteria that cause cavities. Incorporating xylitol into your baking allows you to enjoy sweet treats that are not only delicious but also contribute positively to your health. For more detailed information, you can explore informative articles about xylitol benefits.
I am absolutely thrilled with how these healthier sugar-free cookies turned out! Discovering a way to enjoy the classic comfort of sugar cookies without the guilt of refined sugar is truly exciting. It opens up a world of possibilities for guilt-free indulgence, and I can’t wait for you to experience it too.
Crafting the Perfect Healthier Sugar Cookies
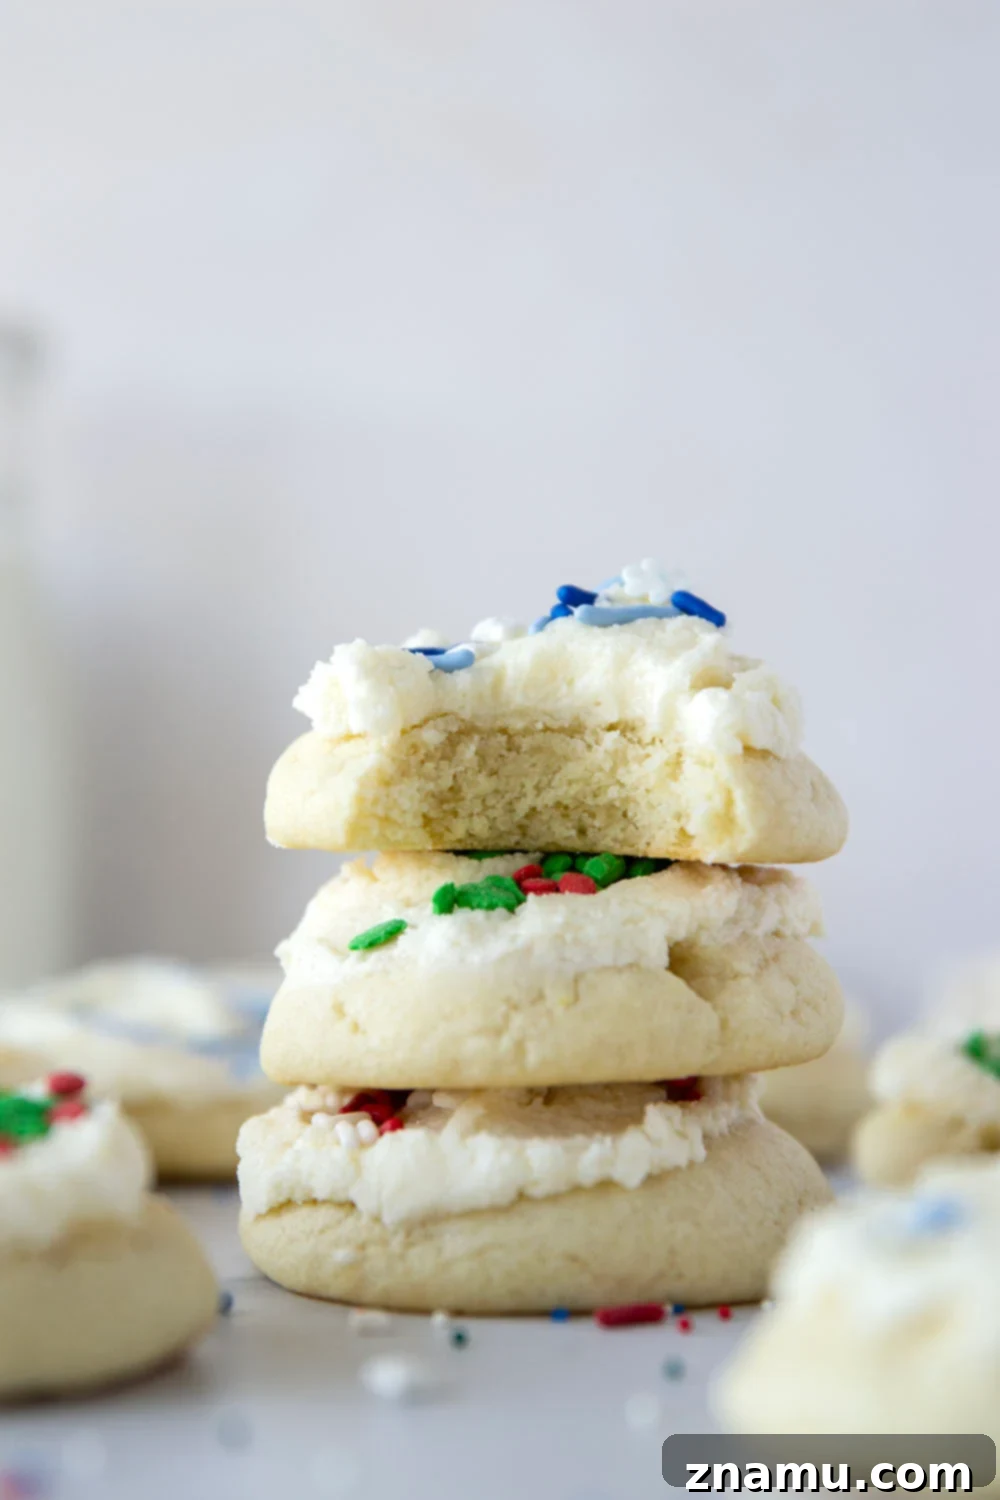
These healthier sugar cookies are simply irresistible. They are unbelievably thick, wonderfully soft, and delightfully chewy—qualities that often define the best store-bought varieties. However, our homemade version takes it up a notch, not only in flavor but also in nutritional value. The texture is consistently perfect, holding its shape beautifully during baking while maintaining a tender crumb that melts in your mouth. This recipe delivers a satisfying chewiness that will have everyone reaching for another cookie. The natural sweetness of xylitol shines through, creating a balanced flavor that’s never cloying, allowing the rich buttery notes and hints of vanilla to truly stand out.
To add a touch of whimsy and elegance, I often drizzle these cookies with a light, pink-tinted icing. This optional finishing touch not only makes them visually appealing but also adds another layer of subtle sweetness and a creamy texture that complements the cookie perfectly. The vibrant color adds a cheerful note, making them ideal for celebrations or simply brightening up an ordinary day. And trust me, the icing tastes just as good as it looks!
Beyond the Basics: Frosting and Decoration Ideas
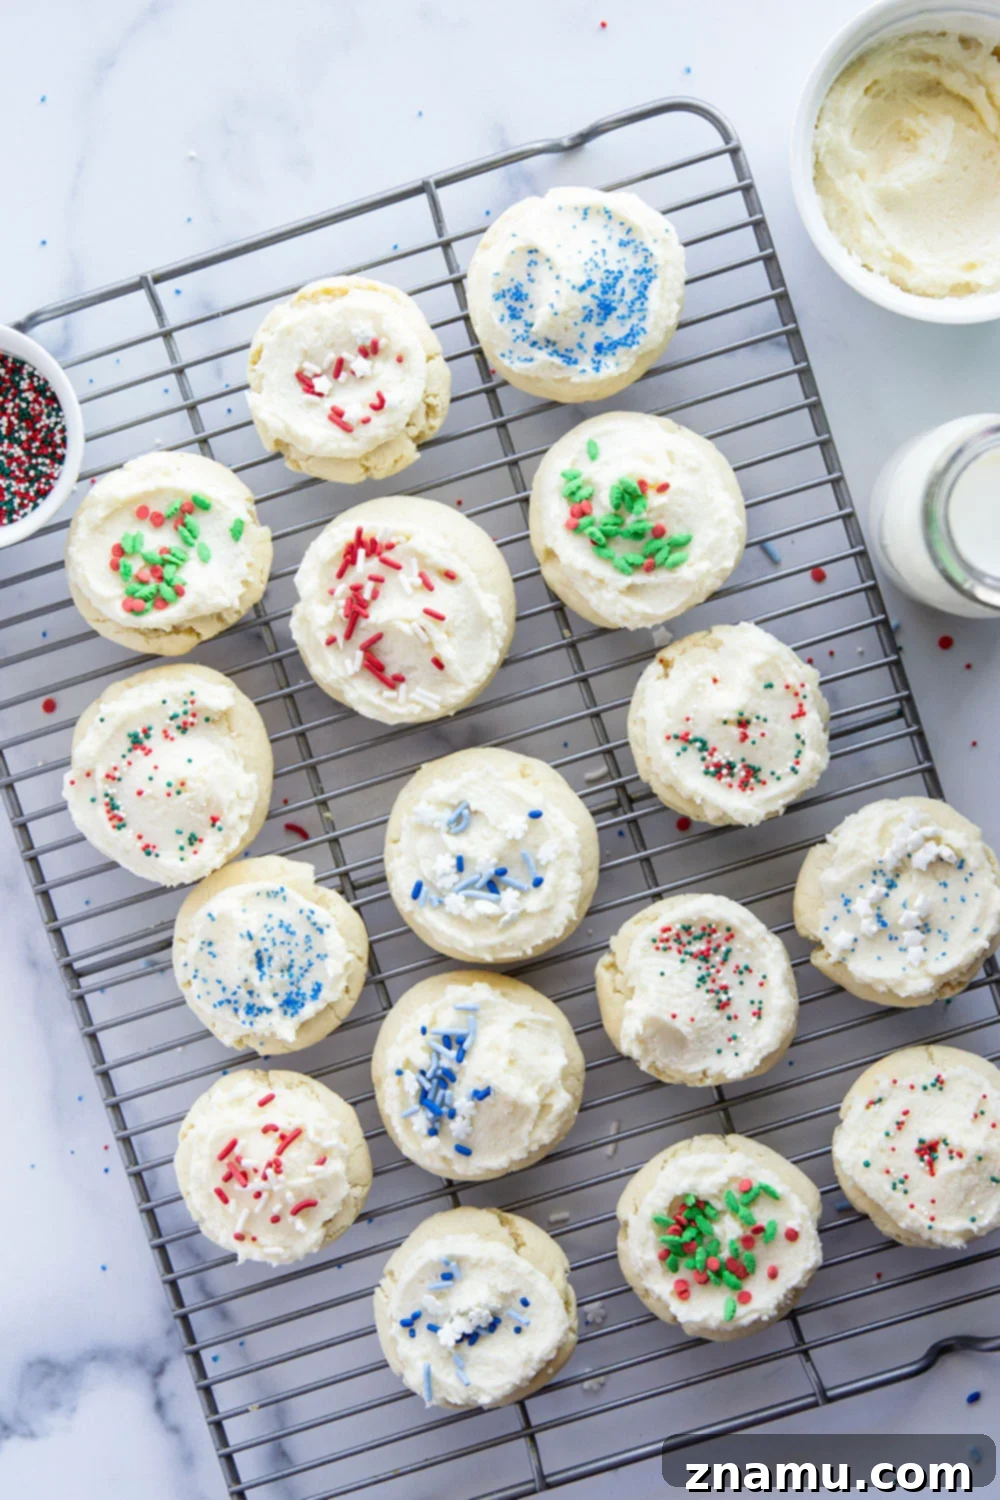
While a simple drizzle of icing is lovely, the decorating possibilities for these healthy sugar cookies are truly endless! You can easily omit the icing altogether and serve them as perfectly delicious, simple sugar cookies that stand on their own. Or, for those who love to get creative, consider transforming them with a variety of frostings. Imagine a rich chocolate frosting, a tangy cream cheese frosting, or even a zesty lemon glaze atop these gorgeous cookies. The delicate sweetness of the cookie provides a versatile base for almost any flavor profile you desire. Oh, the culinary adventures awaiting you!
Think about the different occasions: a baby shower might call for pastel icings, while a holiday gathering could feature festive red and green. For a sophisticated touch, you could use a neutral-colored glaze and adorn them with edible flowers or silver dragees. Kids’ parties are perfect for vibrant colors and a generous scattering of fun sprinkles. The beauty of these cookies is their adaptability, allowing you to tailor them to any event, mood, or taste preference. You can even try natural food colorings, like beet juice for pink or spirulina for green, to keep them extra wholesome.
Essential Tips for Baking Success
The journey to creating these thick and chewy sugar cookies begins with preparing your cookie dough. A crucial step often overlooked is the chilling time. Be sure to plan ahead, as the dough requires at least 1 hour of refrigeration before baking. This chilling process is vital for several reasons: it helps prevent the cookies from spreading too much in the oven, ensuring they maintain their delightful thickness, and it allows the flavors to meld, resulting in a richer, chewier cookie. Skipping this step might lead to flat, crispy cookies, so embrace the wait for that perfect texture!
Ingredients Breakdown for Your Healthier Sugar Cookies
This recipe calls for a straightforward list of ingredients, mostly standard cookie components, but with the intelligent substitution of xylitol for granulated sugar. Each ingredient plays a vital role in achieving the desired taste and texture:
- Unsalted butter, softened: Provides richness and structure. Softened butter creams easily with xylitol.
- Powdered xylitol: Our healthy sweetener. Using powdered form ensures a smooth, even texture in the dough and prevents grittiness.
- Sour cream: A secret ingredient for ultimate tenderness and moisture, contributing to that desirable chewy quality.
- Eggs: Act as a binder and add richness, helping the cookies hold together.
- Vanilla extract: Essential for that classic, comforting sugar cookie flavor. Consider adding a touch of almond extract for depth.
- All-purpose flour: The structural base of our cookies.
- Baking powder & Baking soda: Leavening agents that give the cookies their soft, thick rise.
- Salt: Balances the sweetness and enhances all the other flavors.
Step-by-Step Instructions for the Perfect Batch
Let’s get baking! This process is simple and rewarding, culminating in a batch of cookies you’ll be proud to share (or keep all to yourself).
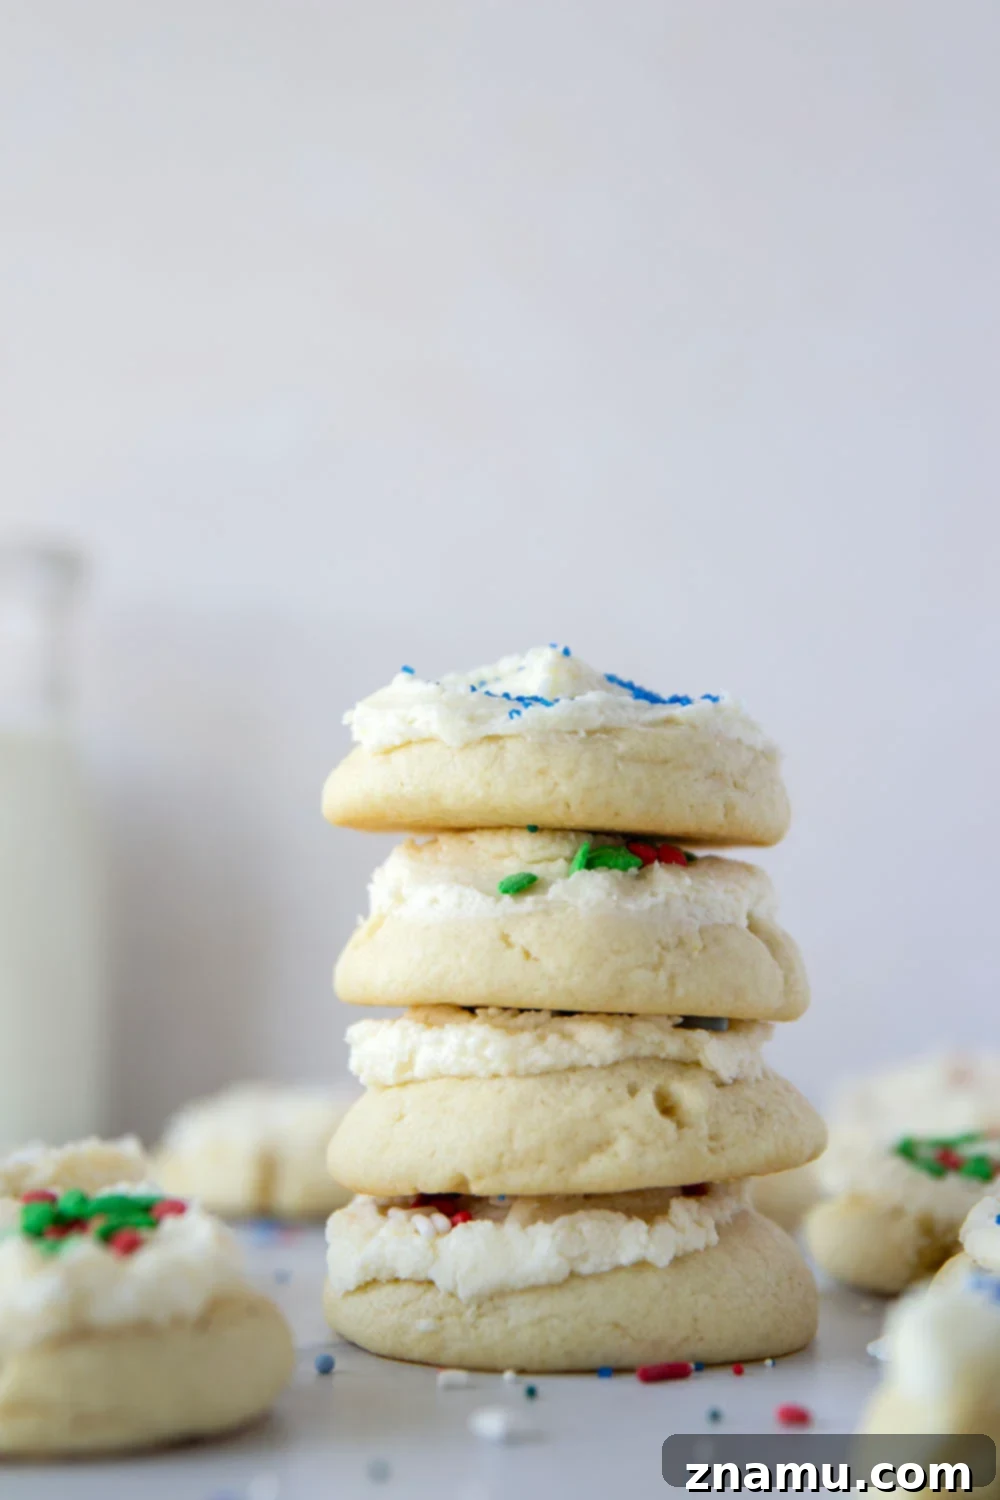
- **Cream Butter and Xylitol:** In a stand mixer fitted with a paddle attachment, beat the softened butter and powdered xylitol together until the mixture is light, fluffy, and creamy. This should take about 3-4 minutes. Proper creaming incorporates air, which is crucial for soft cookies.
- **Add Wet Ingredients:** Mix in the sour cream, eggs, and vanilla extract until everything is well combined and smooth. Be careful not to overmix at this stage.
- **Combine Dry Ingredients:** In a separate medium bowl, whisk together the flour, baking powder, baking soda, and salt. This ensures even distribution of the leavening agents.
- **Form the Dough:** Gradually add the flour mixture to the wet ingredients, beating on medium speed until a soft dough forms. The dough will be slightly sticky, which is perfectly normal. Avoid overmixing once the flour is added, as this can lead to tough cookies.
- **Chill the Dough:** Wrap your cookie dough tightly in plastic wrap and refrigerate it for at least 1 hour. For even thicker and chewier results, you can chill it for up to 2 hours, or even overnight. This step is non-negotiable for the best texture!
- **Prepare for Baking:** Once your cookie dough has been thoroughly chilled, preheat your oven to 350°F (175°C) and line baking sheets with parchment paper. Remove the dough from the refrigerator and roll it into 1-inch balls.
- **Bake to Perfection:** Place the dough balls about 1 inch apart on your prepared baking sheets. Lightly flatten each ball with the palm of your hand or the bottom of a glass. Bake the cookies for 11-12 minutes, or until the edges are lightly golden and the centers are still slightly soft. Remember, cookies will continue to cook slightly on the baking sheet after removal from the oven.
Cooling and Serving
It’s important that you let these cookies cool completely before serving or frosting. Allow them to cool on the baking sheet for about 10 minutes to firm up slightly, then transfer them to a wire cooling rack to cool completely. They will be very soft right out of the oven and need this time to set properly. This ensures they achieve their optimal chewy texture and prevents them from breaking when handled.
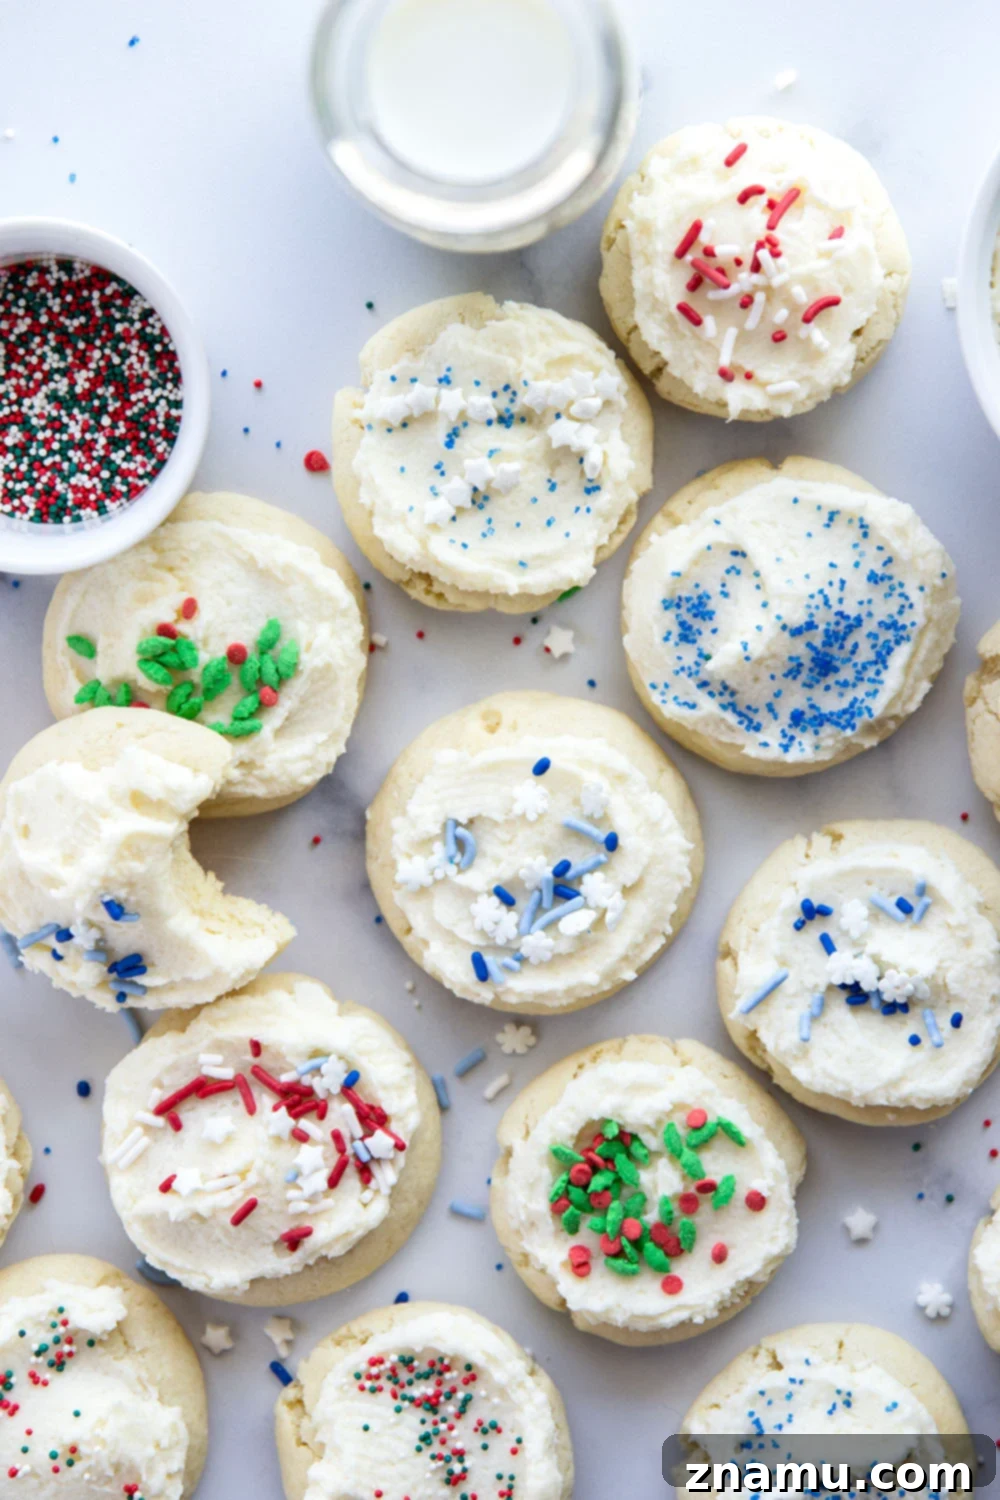
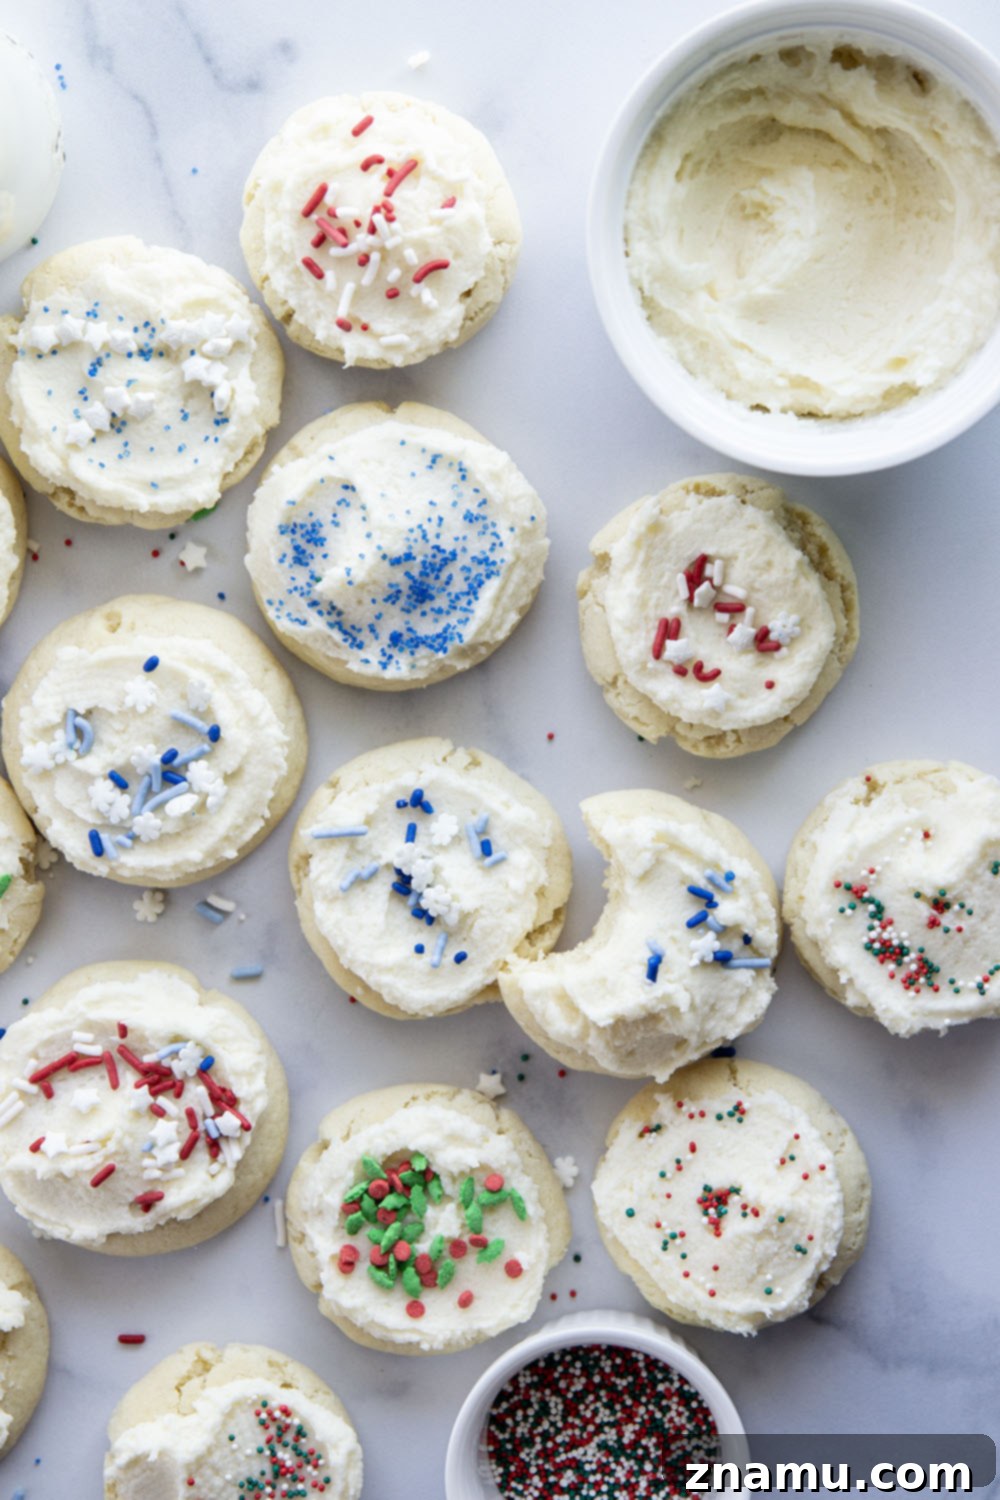
Once your cookies are fully cooled, the fun part begins! Feel free to drizzle them with your choice of icing. For a vibrant and festive touch, tint your icing with food coloring. Consider using natural, artificial-free food colorings for an even healthier approach. My niece, Rachel, affectionately known as the Pink Princess, absolutely adored these cookies, especially with their cheerful pink icing. Her enthusiasm is proof of their universal appeal!
These healthier sugar cookies are particularly wonderful for this time of year—their bright flavors and customizable decorations make them so cheerful and welcoming. They’re perfect for any occasion, from baby showers and potlucks to any little girl’s birthday party. Watch them disappear in a flash! My batch barely lasted until the end of the day, so if you’re expecting a crowd or just want to stock up, doubling the recipe is always a brilliant idea.

Why These Healthier Sugar Cookies Will Be Your New Favorite
This recipe isn’t just about making a healthier treat; it’s about redefining what a classic sugar cookie can be. It proves that you don’t need to compromise on flavor, texture, or the sheer joy of a homemade dessert to make better choices for your body. These thick and chewy sugar-free sugar cookies are a testament to smart ingredient substitutions and thoughtful baking techniques, delivering a product that truly rivals, and often surpasses, traditional versions. They offer a guilt-free indulgence, perfect for satisfying sweet cravings, sharing with loved ones, or celebrating special moments.
Whether you’re new to baking with alternative sweeteners or a seasoned pro, this recipe is designed for ease and guaranteed success. The simplicity of the ingredients combined with the straightforward instructions means you can whip up a batch of these delectable cookies with confidence. From the satisfying process of mixing the dough to the delightful aroma filling your kitchen, every step is a pleasure. And the ultimate reward? A plate full of perfectly baked, soft, and chewy cookies that everyone will adore, regardless of their dietary preferences.
Make these cookies for your next gathering, surprise your family with a batch for dessert, or simply treat yourself to a well-deserved moment of sweet bliss. They are versatile, delicious, and undeniably good for you. You’ll find yourself reaching for this recipe again and again, establishing it as a staple in your collection of healthier desserts.
Soft and Chewy Sugar Cookies (Sugar-Free)
This recipe may include paid links. As an Amazon Associate, I earn a commission from qualifying purchases.
20 minutes
15 minutes
2 hours
2 hours 35 minutes
18 cookies
Ingredients
Sugar Cookies
- 1/2 cup unsalted butter, softened
- 1 cup powdered xylitol (or granulated xylitol, then process to powder)
- 1/4 cup sour cream (full-fat recommended for best texture)
- 2 large eggs, room temperature
- 1 teaspoon vanilla extract
- 1/2 teaspoon almond extract (optional, for enhanced flavor)
- 2 cups all-purpose flour (spooned and leveled)
- 1 teaspoon baking powder
- 1/2 teaspoon baking soda
- 1/2 teaspoon kosher salt
Simple Vanilla Glaze (Optional)
- 1 cup powdered xylitol
- 2-3 tablespoons milk (dairy or non-dairy)
- 1/2 teaspoon vanilla extract
- Food coloring (optional, natural preferred)
- Sprinkles for topping (optional)
Instructions
For the Sugar Cookies:
- In a large bowl, using an electric mixer, beat the softened butter and powdered xylitol together on medium-high speed until light, fluffy, and creamy, about 3-4 minutes. Scrape down the sides of the bowl as needed.
- Beat in the sour cream until just combined. Then, add the eggs one at a time, beating well after each addition. Stir in the vanilla extract and almond extract (if using) until fully incorporated.
- In a separate medium bowl, whisk together the flour, baking powder, baking soda, and salt.
- Gradually add the dry ingredient mixture to the wet ingredients, beating on low speed until a soft dough forms. Be careful not to overmix; stop as soon as no dry streaks remain. The dough will be slightly sticky.
- Divide the dough into two equal portions. Wrap each portion tightly in plastic wrap and refrigerate for at least 1 hour, or up to 2 hours for best results. You can also chill the dough for up to 6 days.
- Preheat your oven to 350°F (175°C). Line two large baking sheets with parchment paper.
- Remove one portion of chilled dough from the refrigerator. Roll the dough into 1-inch balls. Place the balls about 1 inch apart on the prepared baking sheets. Gently flatten each dough ball with the palm of your hand or the bottom of a glass. Repeat with the second dough portion.
- Bake for 11-12 minutes, or until the edges are lightly golden and the centers appear set but are still slightly soft.
- Allow the cookies to cool on the baking sheets for 10 minutes. They will firm up as they cool. Then, carefully transfer them to a wire cooling rack to cool completely before frosting or serving.
For the Simple Vanilla Glaze (Optional):
- In a small bowl, combine the powdered xylitol, 2 tablespoons of milk, and vanilla extract. Whisk until smooth. If the glaze is too thick, add more milk, a teaspoon at a time, until it reaches your desired drizzling consistency. If it’s too thin, add a little more powdered xylitol.
- If desired, add a drop or two of food coloring to tint the glaze.
- Once the cookies are completely cool, drizzle or spread the glaze over them. Immediately top with sprinkles if using, before the glaze sets.
- Allow the glaze to set completely before stacking or storing the cookies.
Notes
Store unfrosted cookies in an airtight container at room temperature for up to 5 days. Frosted cookies can be stored in an airtight container at room temperature for up to 3 days, or refrigerated for longer freshness.