
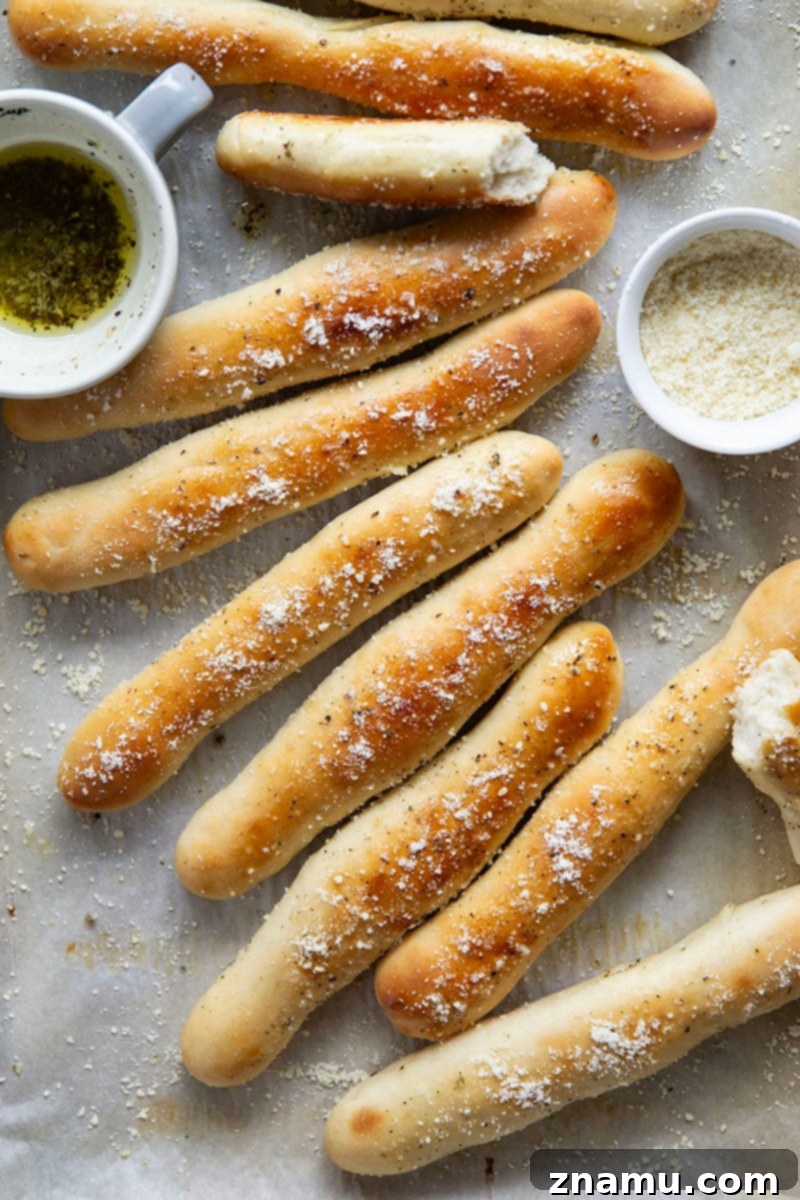
Homemade Garlic Herb Breadsticks: Your Ultimate Guide to Bakery-Quality Perfection
Unlock the secrets to baking the most delicious homemade breadsticks with this easy-to-follow recipe! Experience a soft, airy interior, a perfectly crusty exterior, all generously brushed with a savory garlic herb butter and sprinkled with Parmesan cheese.
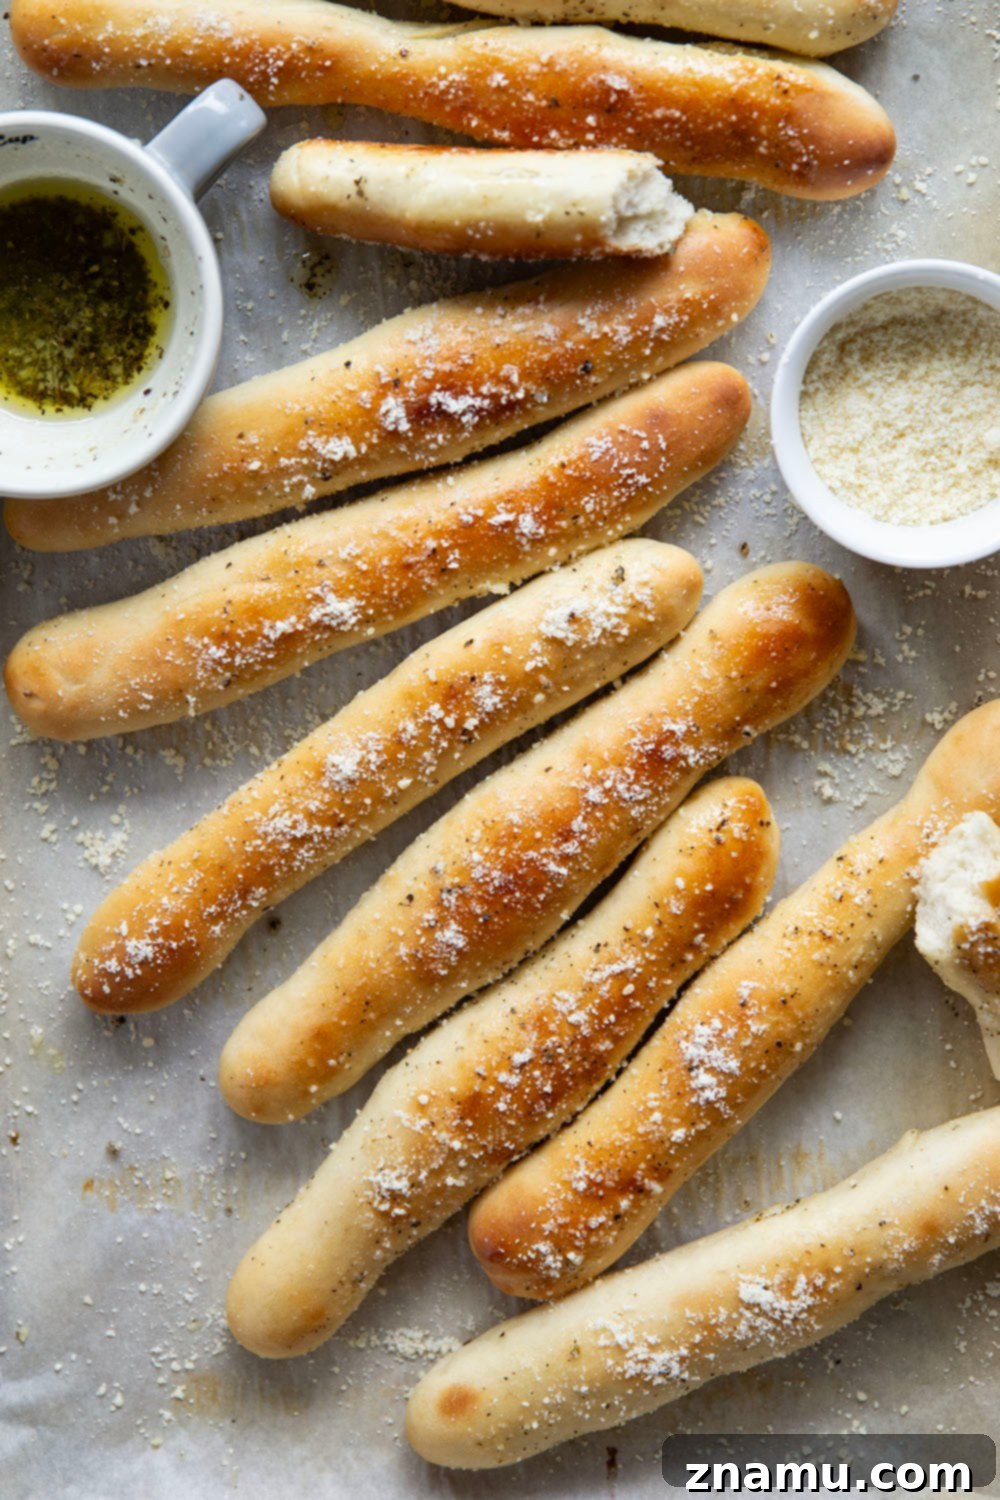
Few things in life are as universally adored as warm, freshly baked bread, and homemade breadsticks stand proudly among the most irresistible. If you’ve ever found yourself filling up on restaurant breadsticks before your main course even arrives, prepare for a game-changing experience. Baking them from scratch elevates this simple side dish into an art form, promising a level of flavor and texture that store-bought options simply can’t match.
This recipe isn’t just about making breadsticks; it’s about crafting an experience. Imagine pulling apart a warm breadstick, steam gently rising, revealing a tender, fluffy interior, encased in a satisfyingly crisp crust. Then, add a generous slathering of our homemade garlic herb butter, rich with aromatic herbs and savory Parmesan. It’s a combination that’s downright addictive, and once you try it, you’ll understand why these breadsticks are destined to become a staple in your kitchen.
The secret to their captivating allure lies primarily in the incredible homemade garlic herb butter. This simple yet potent concoction transforms ordinary dough into an extraordinary treat.
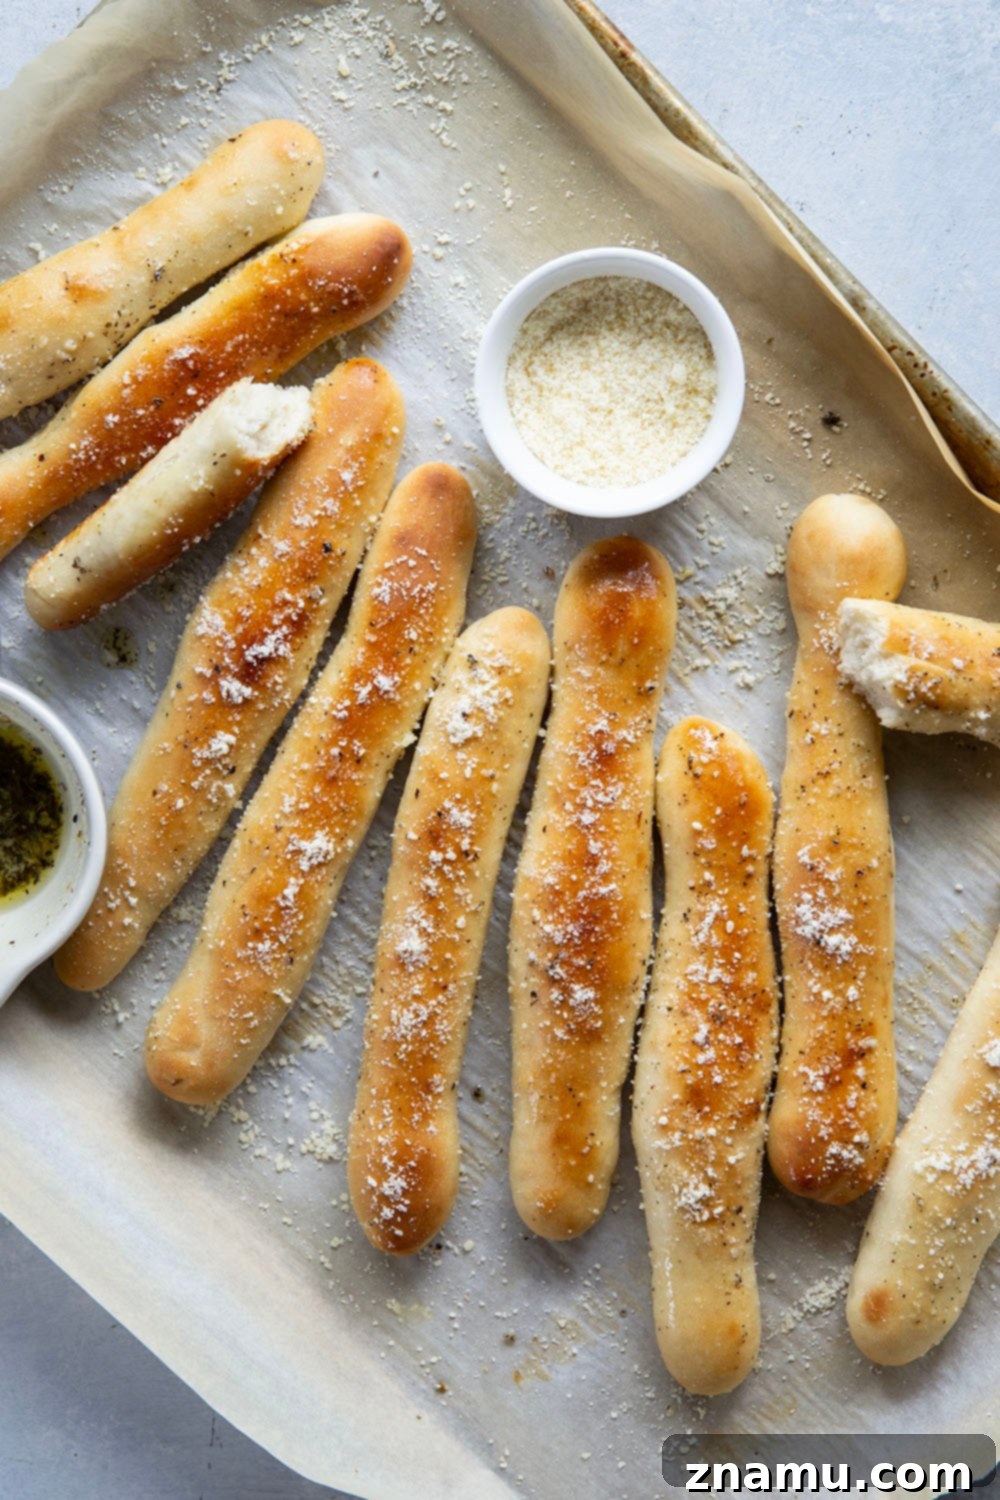
Baking breadsticks at home is a wonderfully rewarding project, perfect for bakers of all skill levels, especially those just beginning their journey with yeast breads. Don’t be intimidated by working with yeast; our detailed instructions make the process straightforward and enjoyable. Whether you prefer the convenience of a stand mixer or the hands-on satisfaction of kneading by hand, this recipe guides you every step of the way to achieve perfect results. You’ll master the art of creating a dough that’s pliable and responsive, leading to breadsticks that are consistently soft on the inside and perfectly golden on the outside.
Once these homemade breadsticks emerge from your oven, infused with the irresistible aroma of garlic and herbs, be warned: you might find it hard to stop at just one. They are designed for indulgence, making them a fantastic addition to any meal or a delightful snack on their own.
Exceptional Features of These Homemade Breadsticks
Our perfected homemade breadstick recipe delivers on all fronts, offering a delightful combination of textures and flavors that will impress even the most discerning palates. Here’s what makes these breadsticks truly stand out:
- Unbeatable Texture: Experience a beautifully soft and airy interior that melts in your mouth, perfectly contrasted by a delightful crusty, golden-brown outside. This dual texture is a hallmark of truly great breadsticks.
- Irresistible Flavor Profile: Each breadstick is generously brushed with a fragrant, homemade garlic herb butter, infused with fresh garlic and aromatic dried basil, then finished with a sprinkle of savory Parmesan cheese. This butter adds a layer of rich, garlicky goodness that elevates the entire experience.
- Effortless Dough Preparation: Designed for convenience, the dough comes together easily, whether you opt to use the efficiency of a stand mixer or prefer the traditional method of mixing by hand. Both approaches yield a consistently smooth, elastic dough that’s a joy to work with. This accessibility makes it ideal for beginner bakers looking to gain confidence with yeast dough.
- Versatile Pairing: These breadsticks are incredibly versatile, serving as the perfect accompaniment to a wide range of dishes, from classic Italian pasta and hearty soups to fresh salads and grilled meats. They are also fantastic on their own as a satisfying snack.
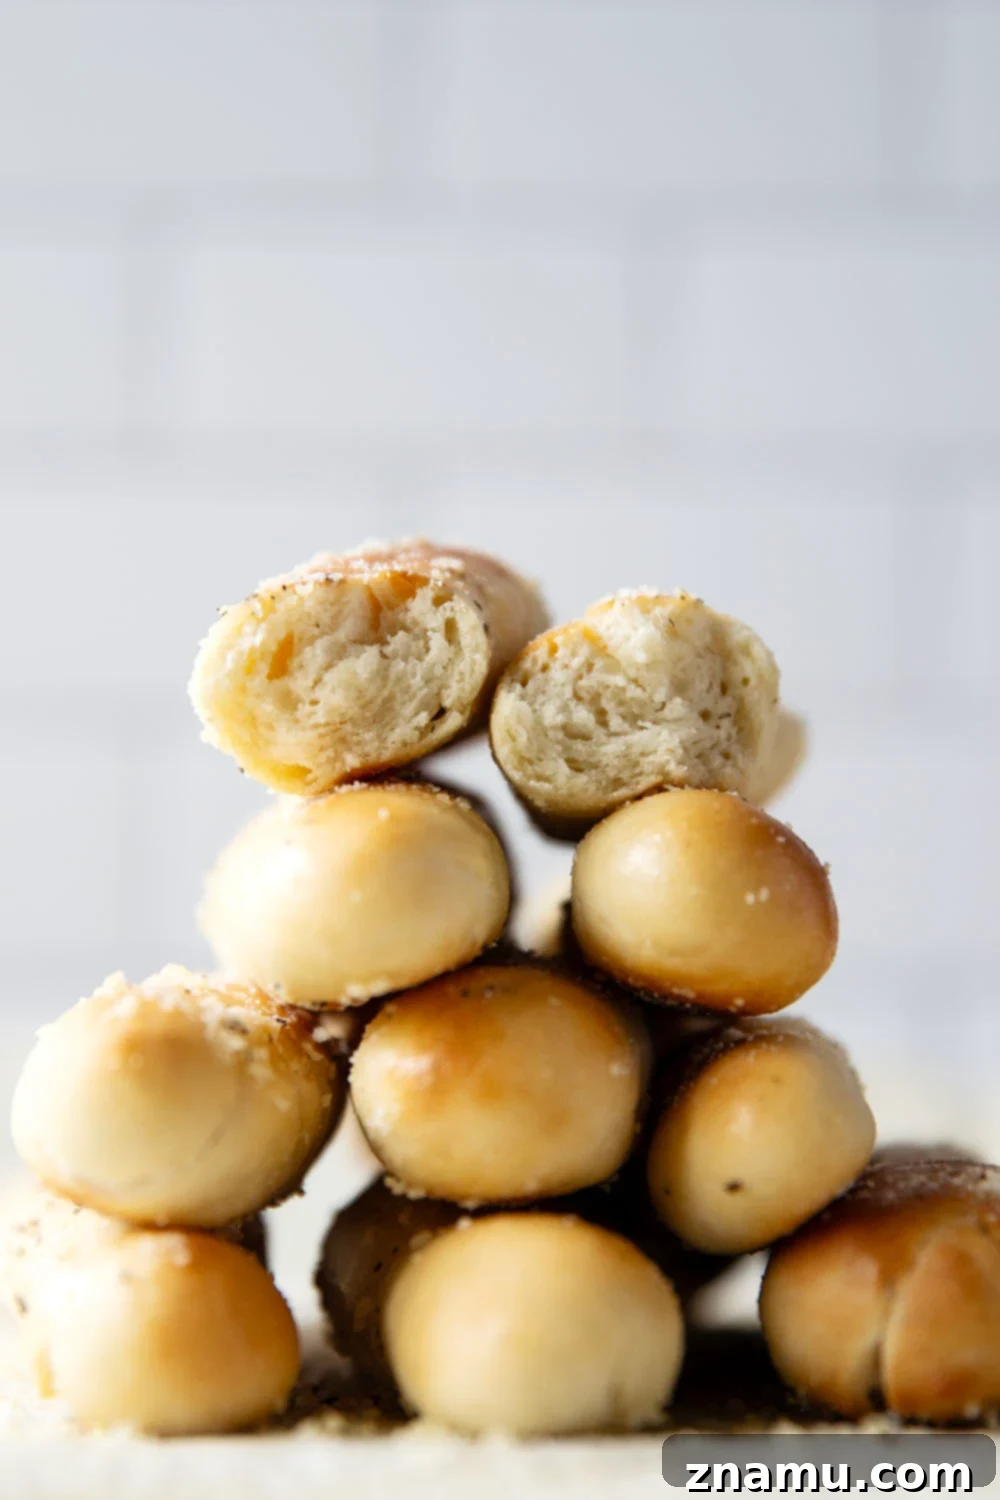
Crafting Your Homemade Breadsticks
Making these breadsticks is a rewarding culinary adventure. We’ll walk you through each step, from activating the yeast to baking them to golden perfection. The full, detailed recipe can be found at the bottom of this page, but first, let’s explore the essential components and techniques.
Key Ingredients You’ll Need for Perfect Breadsticks
Gathering your ingredients is the first step towards baking success. This recipe uses simple, accessible ingredients that combine to create truly spectacular breadsticks. Quality ingredients make a noticeable difference, so choose wisely!
- Water: Lukewarm water is crucial for activating the yeast. Ensure it’s at the ideal temperature (around 110°F) for optimal yeast activity.
- Active Dry Yeast: The leavening agent that gives our breadsticks their light and airy texture. Fresh yeast is key for a good rise.
- Brown Sugar: Provides food for the yeast, helping it activate, and adds a subtle sweetness and depth of flavor to the dough.
- Kosher Salt: Essential for flavor balance, it also helps to control yeast activity and strengthen the gluten structure.
- Bread Flour: High in protein, bread flour develops strong gluten, which is vital for the chewy texture and structural integrity of the breadsticks.
- Unsalted Butter: Softened butter adds richness, tenderness, and flavor to the dough. Using unsalted butter allows you to control the overall salt content of the recipe.
- Egg White: Used in an egg wash, it contributes to the beautiful golden-brown crust and a slight sheen, enhancing the breadsticks’ visual appeal.
- Garlic: Freshly crushed garlic is the star of our herb butter, providing an irresistible pungent and aromatic kick.
- Dried Basil: Adds a classic herbaceous note to the garlic butter, complementing the savory flavors perfectly.
- Parmesan Cheese: A final flourish, grated Parmesan cheese provides a salty, umami-rich topping that crisps slightly when baked and melts into the warm butter.
Choosing Your Mixing Method: Stand Mixer vs. Hand Mixing
This versatile breadstick recipe accommodates both stand mixers and traditional hand mixing, allowing you to choose the method that best suits your comfort level and kitchen setup. Both approaches will yield excellent results, though the effort and time involved will vary.
Using a Stand Mixer: Opting for a stand mixer streamlines the dough-making process significantly. Attach a dough hook and begin mixing your ingredients on low speed. The stand mixer will expertly knead the dough, developing its gluten structure with minimal effort on your part. You’ll want to knead the dough for approximately 5-7 minutes on medium speed until it becomes noticeably stretchy, elastic, and smooth. This method ensures consistent kneading and is ideal for those who frequently bake yeast breads or prefer a hands-off approach to dough preparation.
Mixing and Kneading by Hand: If you enjoy the tactile experience of baking or don’t own a stand mixer, making the dough by hand is definitely achievable and deeply satisfying. Use a large mixing bowl and a sturdy wooden spoon for combining the initial ingredients. Once the dough comes together, turn it out onto a lightly floured surface. Knead the dough vigorously for about 10 minutes. The kneading process is crucial for developing the gluten, which gives the breadsticks their characteristic chewiness and structure. Continue kneading until the dough feels smooth, pliable, and stretches without tearing, indicating proper gluten development.
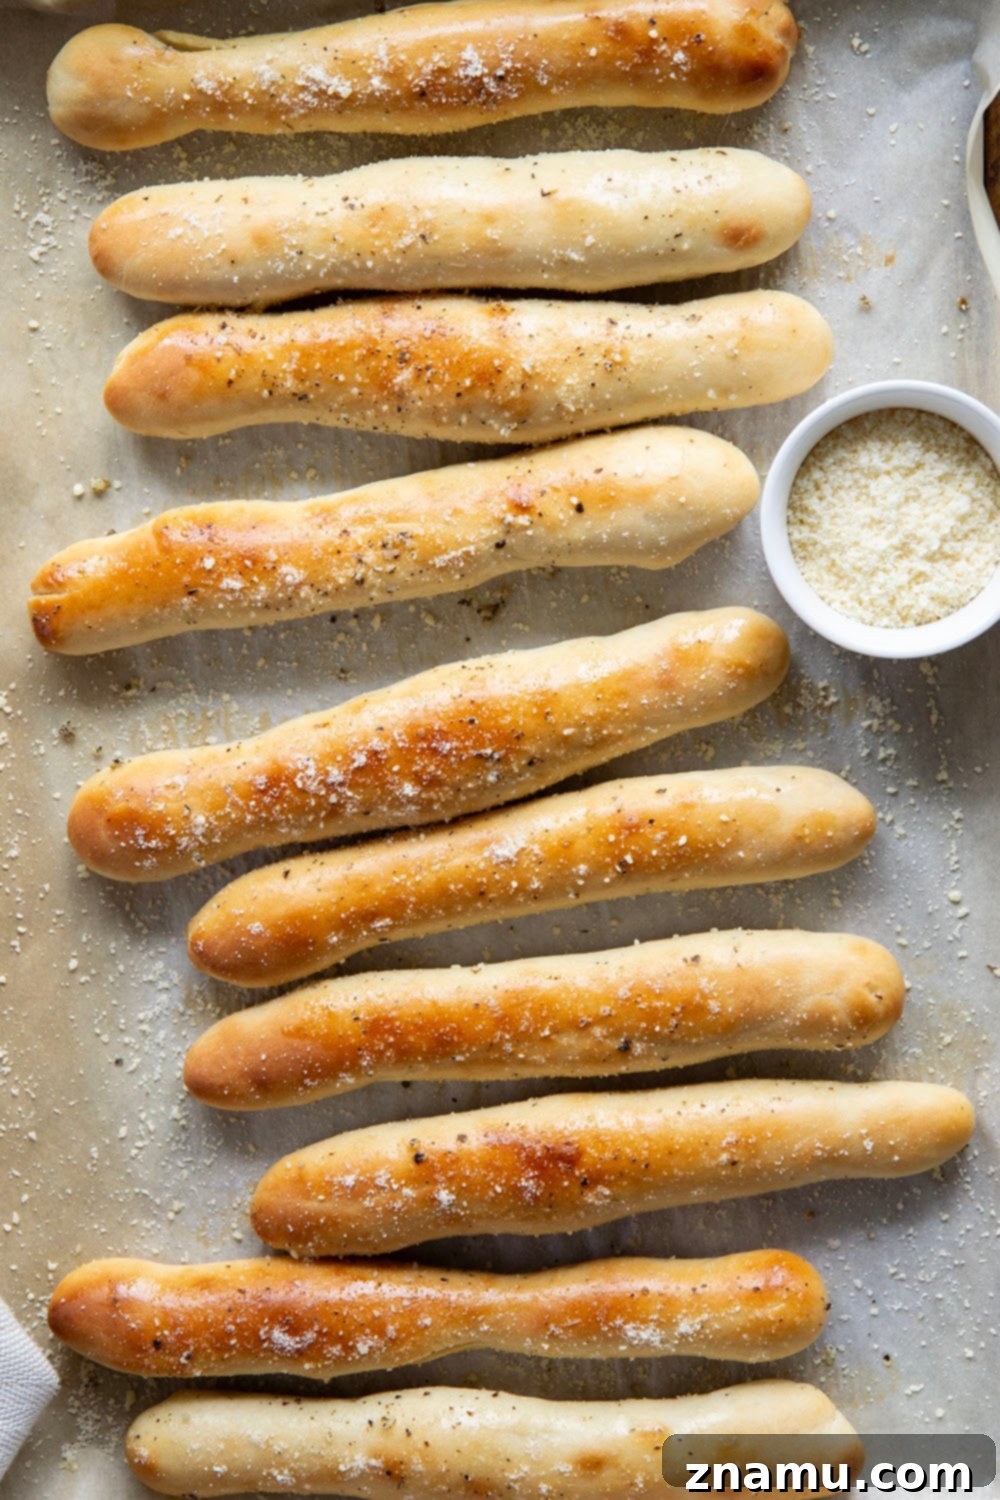
Expert Tips for Baking Perfect Homemade Breadsticks
Achieving bakery-quality breadsticks at home is simpler than you might think, especially with these key tips. Each step plays a vital role in ensuring your breadsticks are consistently delicious, with that ideal balance of soft interior and crusty exterior.
- Accurate Flour Measurement (Spoon and Level Method): Proper flour measurement is paramount in baking, as too much flour can result in dense, dry breadsticks. Avoid scooping flour directly from the bag with your measuring cup, as this compacts it. Instead, gently spoon flour into your measuring cup until it overflows, then use the flat back of a knife or a straight edge to level it off. This technique ensures you’re using the precise amount of flour needed for a perfectly hydrated and pliable dough.
- Temperature Control for Water and Yeast: Yeast is a living organism, and its activity is highly dependent on temperature. Always use warm water around 110°F (43°C). Water that is too cold won’t activate the yeast, leading to a poor rise, while water that is too hot will kill the yeast, preventing any rise at all. Using a thermometer is highly recommended to ensure accuracy and guarantee a foamy, active yeast mixture.
- Thorough Dough Kneading for Gluten Development: Kneading is more than just mixing; it’s the process of developing gluten, the protein network that gives bread its structure and elasticity. Whether you’re using a stand mixer or kneading by hand, ensure you work the dough until it’s smooth, elastic, and passes the “windowpane test” (where a small piece of dough can be stretched thin enough to see light through without tearing). Proper kneading is crucial for achieving that desirable chewy texture and significant rise.
- First Rise: Doubling in Size: The first rise, also known as bulk fermentation, allows the yeast to work its magic, producing carbon dioxide that inflates the dough. Place your kneaded dough in a clean, lightly greased bowl, turning it once to coat, then cover tightly with plastic wrap to prevent a skin from forming. Let it rise in a warm, draft-free spot until it has visibly doubled in size, typically 1 to 1.5 hours. This initial rise builds flavor and ensures a light texture.
- Second Rise: The Final Proof: After shaping your breadsticks, they need a second, shorter rise to become light and puffy before baking. This final proof ensures maximum airiness and helps them achieve that classic breadstick shape and volume. Cover the shaped breadsticks loosely with a kitchen towel and let them rest for 20-30 minutes, or until they look noticeably plump. The exact time will depend on your kitchen’s temperature.
- Egg Wash for Golden Sheen and Browning: Before baking, a simple egg wash (one egg white mixed with a tablespoon of water) brushed over the breadsticks serves several purposes. It contributes to a beautiful, golden-brown crust, adds a slight sheen, and helps the Parmesan cheese adhere better. This step is purely cosmetic but significantly enhances the visual appeal of your finished breadsticks.
- Bake at High Temperature for Crisp Exterior: Baking at a high temperature, specifically 400°F (200°C), is key to achieving that desirable crusty exterior while keeping the interior soft. The high heat promotes rapid oven spring (the final burst of rising), caramelizes the crust, and ensures even browning. Keep a close eye on them during the last few minutes to prevent over-browning.
Creative Recipe Variations for Breadstick Enthusiasts
While these classic garlic herb breadsticks are perfection on their own, don’t hesitate to get creative! Here are some exciting variations to customize your homemade breadsticks and explore new flavor profiles:
- Experiment with Different Cheeses: Beyond Parmesan, consider topping your breadsticks with other delightful cheeses. Grated asiago offers a sharper, nuttier flavor, while smoked gouda can add a rich, smoky dimension. For a more intense cheesy kick, a blend of mozzarella and provolone, or even a sprinkle of blue cheese crumbles, can create a unique savory experience.
- Infuse the Dough with Fresh Herbs: Elevate the aromatic quality of your breadsticks by incorporating fresh herbs directly into the dough. Gently fold in 1-2 tablespoons of finely minced fresh rosemary, oregano, or thyme during the final stages of kneading. These herbs will permeate the dough, adding a subtle yet fragrant essence to every bite.
- Spice Things Up: For those who love a bit of heat, consider adding a pinch of red pepper flakes to the garlic herb butter. This provides a gentle warmth that complements the garlic beautifully without overpowering it. Alternatively, a tiny dash of smoked paprika can add both color and a subtle smoky undertone.
- Rustic Simplicity: Skip the Garlic Butter: If you’re aiming for a more rustic, classic breadstick, you can absolutely skip the garlic herb butter topping. Instead, brush the baked breadsticks with a simple melted butter or olive oil and sprinkle with a coarse sea salt before serving. This minimalist approach allows the natural flavor of the bread to shine through.
- Everything Bagel Breadsticks: For a unique twist, after the egg wash, sprinkle your breadsticks with a generous amount of “everything bagel” seasoning. This blend of sesame seeds, poppy seeds, dried garlic, and dried onion will add incredible texture and a familiar, savory flavor profile.
Storing and Freezing Your Delicious Breadsticks
One of the great advantages of homemade breadsticks is their versatility, which extends to how easily they can be stored and even frozen for future enjoyment. Proper storage ensures you can savor their freshness for longer or have a ready supply for unexpected cravings.
Storing at Room Temperature: To keep your baked breadsticks fresh and delicious for immediate consumption, allow them to cool completely after baking. Once cooled, store them in an airtight container at room temperature. They will maintain their best quality for up to 4 days. While they are delightful at room temperature, for an optimal experience reminiscent of fresh-from-the-oven warmth, we highly recommend reheating them. Simply pop them into a 400°F (200°C) oven for 5-8 minutes before serving. This quick reheat will revive their crusty exterior and warm the soft interior beautifully.
Freezing for Longer Enjoyment: For longer-term storage, homemade breadsticks freeze exceptionally well. To freeze them, ensure they have cooled completely after baking. It’s crucial not to top them with the garlic butter or Parmesan cheese *before* freezing. This allows for greater flexibility when reheating. Store the plain, cooled breadsticks in a single layer in a sealable freezer bag or an airtight container, removing as much air as possible to prevent freezer burn. They can be frozen for up to 2 months without a significant loss of quality.
Reheating Frozen Breadsticks: When you’re ready to enjoy your frozen breadsticks, there’s no need to thaw them beforehand. Simply transfer them directly from the freezer to a baking sheet. Reheat in a preheated 400°F (200°C) oven for about 10-15 minutes, or until they are warmed through and slightly crisp on the outside. Once hot, immediately brush them generously with freshly prepared garlic herb butter and sprinkle with Parmesan cheese before serving. This method ensures they taste just as wonderful as when they were first baked.
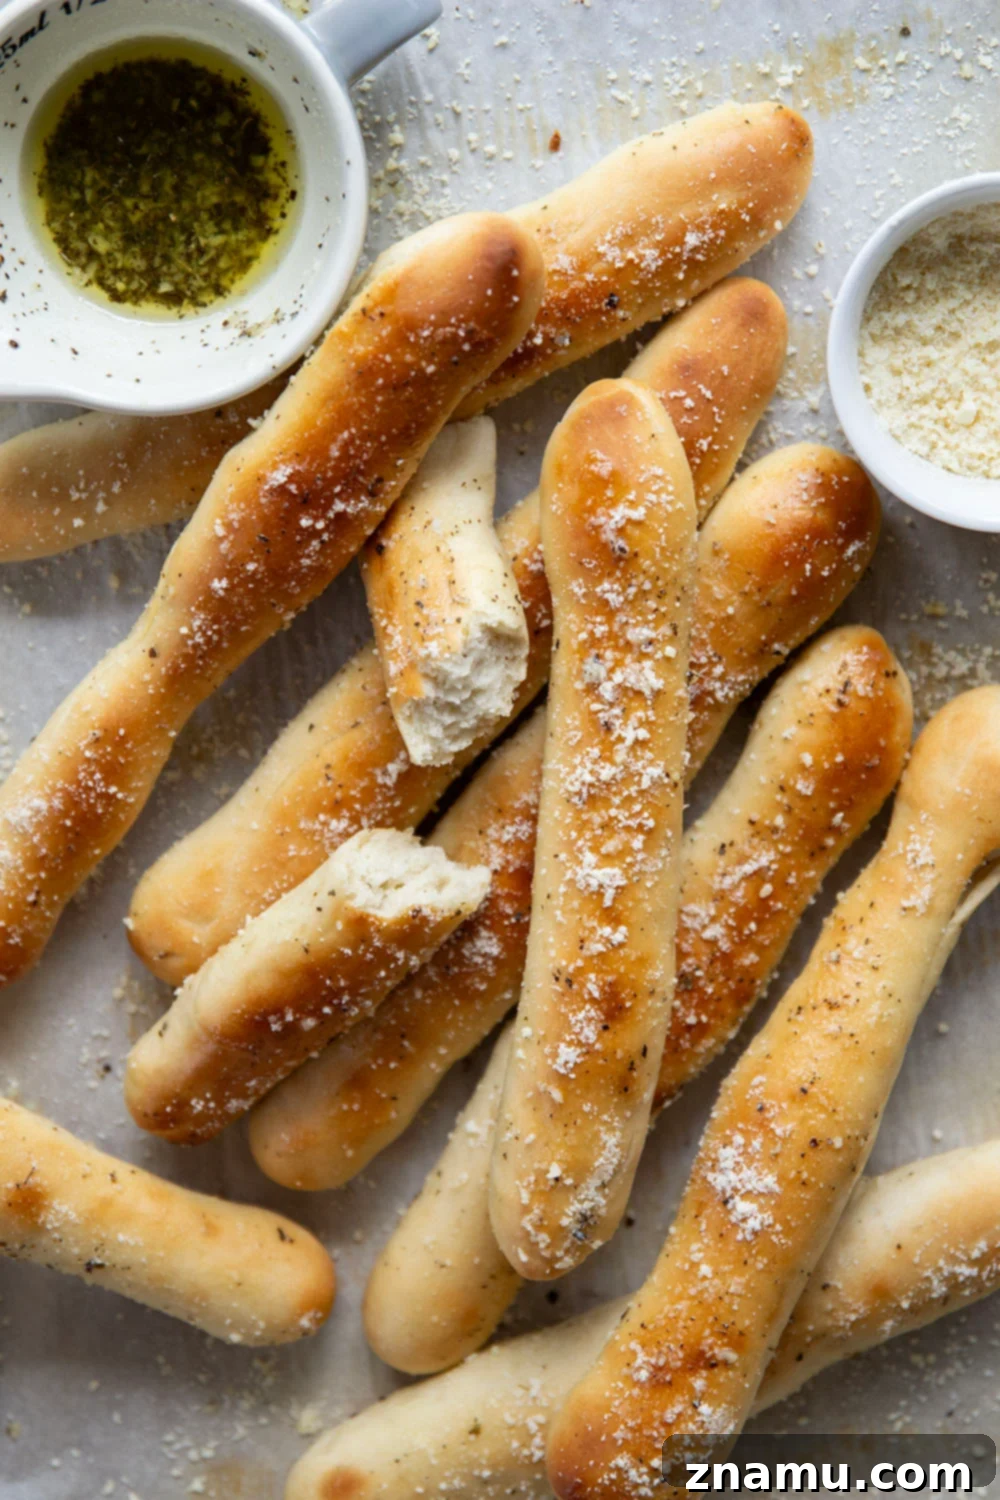
These homemade breadsticks truly represent baking perfection. They’re wonderfully plump, baked to a beautiful golden hue, and boast that ideal balance of soft and chewy on the inside, while retaining a delightfully crisp crust on the outside. And let’s not forget the liberal coating of rich, aromatic garlic herb butter – it’s the element that brings everything together in a symphony of flavor!
They are the ultimate companion to any Italian feast, a comforting addition to a cozy soup, or simply a magnificent snack for literally any occasion that calls for a moment of pure, carby bliss. Which, if we’re being honest, is every occasion!
We encourage you to save this irresistible recipe using the ‘save to recipe box’ button below for future baking endeavors. If you decide to make them, please share your experience! Leave a comment and a star rating below to tell us how they turned out. Don’t forget to capture a photo and tag it on Instagram with @wholeandheavenlyoven or use the hashtag #wholeandheavenlyoven. We love seeing your creations!
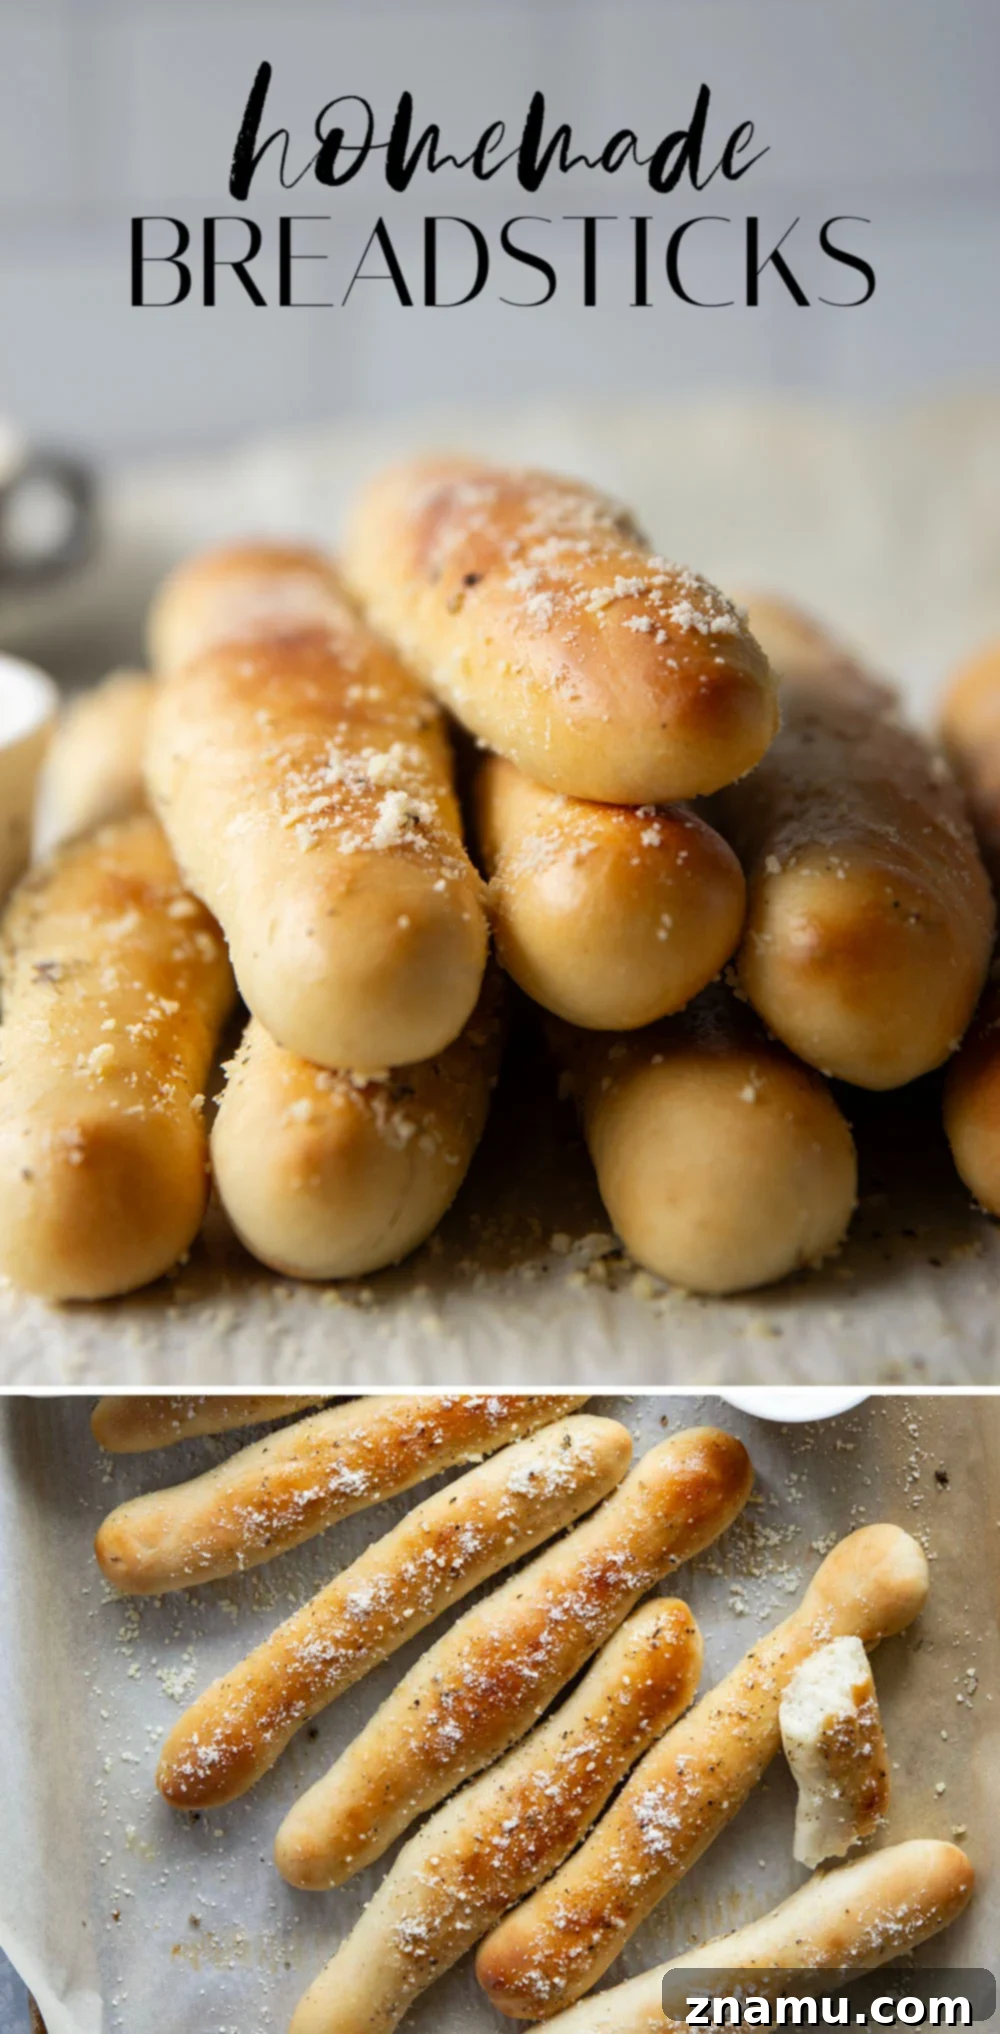
More Delicious Yeast Breads to Explore Next!
If you’ve enjoyed baking these homemade breadsticks, we invite you to delve deeper into the wonderful world of yeast breads. Here are a few more recipes from our collection that you might love:
- Indulgent Cheese-Stuffed Pretzel Bites
- Hearty Homemade Cheese Bread Loaves
- Effortless No-Knead Pretzel Buns
Save To Recipe BoxSaved!
Print
Pin
Homemade Breadsticks
This recipe may included paid links. As an Amazon Associate, I earn a commission from qualifying purchases.
Ingredients
Breadsticks
- 1 cup warm water (110F)
- 1-1/2 teaspoons active dry yeast
- 2 tablespoons light brown sugar
- 2 teaspoons kosher salt
- 2 to 2-1/2 cups bread flour (spooned and leveled)
- 1 tablespoon unsalted butter, softened
- 1 large egg white, mixed with 1 tablespoon water
Garlic Herb Butter
- 2 tablespoons unsalted butter
- 1 small clove garlic, crushed
- 1/2 teaspoon dried basil
- 1/4 teaspoon kosher salt
- 2 tablespoons grated Parmesan cheese
Instructions
Breadsticks
-
In the bowl of a stand mixer fitted with a dough hook OR a large mixing bowl, combine the warm water and active dry yeast. Gently stir to dissolve the yeast, then let the mixture stand for 5 minutes until it becomes foamy. This indicates that your yeast is active and ready.
-
Add the light brown sugar and kosher salt to the activated yeast mixture, stirring until thoroughly dissolved. Gradually add 2 cups of bread flour to the bowl. If using a stand mixer, mix on low speed. If mixing by hand, use a sturdy wooden spoon. Continue mixing for about 2 minutes, until the dough begins to pull away from the sides of the bowl. If the dough appears too sticky or wet, add additional bread flour one tablespoon at a time until the desired consistency is achieved, allowing the dough to cleanly separate from the bowl.
-
Incorporate the softened unsalted butter. If using a stand mixer, add the butter while the mixer is running on low speed. If mixing by hand, fold in the butter using a wooden spoon until it is fully combined and no streaks of butter are visible in the dough.
-
Now, it’s time to knead the dough to develop its gluten structure. If using a stand mixer, continue kneading the dough on low speed with the dough hook for 5-7 minutes, until it becomes smooth, stretchy, and elastic. If kneading by hand, turn the dough out onto a lightly floured surface and knead continuously for about 10 minutes, or until it reaches the same stretchy and elastic consistency. This step is crucial for the breadsticks’ texture.
-
Lightly grease a clean bowl. Place the kneaded dough into the greased bowl, turning it once to ensure the top is also lightly coated. Cover the bowl tightly with plastic wrap to prevent the dough from drying out. Let the dough rise in a warm, draft-free place at room temperature for 1 to 1-1/2 hours, or until it has visibly doubled in size.
-
Prepare two large sheet pans by lining them with parchment paper. Once the dough has doubled, gently punch it down to release the air. Transfer the dough to a lightly floured surface and divide it into 10 equal pieces. Roll each piece into an 8-inch rope, then arrange them on the prepared sheet pans, ensuring they are about 2 inches apart. Cover the shaped breadsticks loosely with a clean kitchen towel and allow them to rise for an additional 20-30 minutes, or until they appear puffy and slightly increased in size.
-
While the breadsticks are undergoing their second rise, preheat your oven to 400°F (200°C). Once the oven is hot and the breadsticks are puffy, brush them gently with the egg white wash. Bake for 10-12 minutes, or until they achieve a beautiful golden-brown color and a crisp exterior. Transfer the baked breadsticks to a wire cooling rack to cool slightly.
Garlic Herb Butter
-
While the breadsticks are cooling, prepare the garlic herb butter. In a small saucepan, melt the 2 tablespoons of unsalted butter over medium heat. Add the crushed garlic, dried basil, and 1/4 teaspoon of kosher salt. Cook for 1-2 minutes, stirring occasionally, until the garlic becomes fragrant and lightly softened, being careful not to brown it.
-
Remove the garlic herb butter from the heat. Immediately brush the warm, freshly baked breadsticks generously with this fragrant butter mixture. Sprinkle the grated Parmesan cheese evenly over the buttered breadsticks. Serve the breadsticks warm and enjoy the explosion of flavors and textures!
Notes
Store breadsticks in an airtight container at room temperature for up to 4 days. For optimal freshness and warmth, reheat in a 400°F oven for 5-8 minutes before serving. Breadsticks may also be frozen for up to 2 months. To freeze, allow them to cool completely *without* the garlic butter/Parmesan topping. Store in a freezer-safe bag. Thaw at room temperature, reheat, then brush with butter and Parmesan before serving.
Nutrition
Frequently Asked Questions About Homemade Breadsticks
Here are answers to some common questions you might have when making these delicious homemade breadsticks:
- Why is my dough not rising? There are a few common reasons. The most frequent culprit is water temperature; if it’s too cold, the yeast won’t activate, and if it’s too hot, it will kill the yeast. Ensure your water is between 105-115°F (40-46°C). Also, always check the expiration date of your yeast to make sure it’s fresh and active. Your kitchen might also be too cold; try finding a warm, draft-free spot for rising.
- Can I use all-purpose flour instead of bread flour? While bread flour is recommended for its high protein content, which contributes to a chewier texture and better structure, you can use all-purpose flour in a pinch. However, your breadsticks might be slightly less chewy and have a softer crumb. You might also need to adjust the flour amount slightly as all-purpose flour absorbs liquid differently.
- How do I know if I’ve kneaded the dough enough? The dough should be smooth, elastic, and spring back slowly when gently poked. The best test is the “windowpane test”: take a small piece of dough and gently stretch it with your fingers. If you can stretch it thin enough to see light through it without tearing, it’s sufficiently kneaded. If it tears easily, continue kneading for a few more minutes.
- Can I prepare the dough ahead of time? Yes, you can! After the first rise, punch down the dough, place it in a greased bowl, cover tightly with plastic wrap, and refrigerate overnight (up to 24 hours). The cold temperature will slow down the yeast activity. When ready to bake, remove the dough from the fridge, allow it to come to room temperature for about 30-60 minutes, then proceed with shaping and the second rise as directed in the recipe.
- What if I don’t have a stand mixer? No problem! This recipe includes detailed instructions for mixing and kneading the dough entirely by hand. While it requires a bit more physical effort and time, the results are just as delicious and satisfying.
- How can I make these breadsticks extra garlicky? To intensify the garlic flavor, you can add 1/2 teaspoon of garlic powder to the breadstick dough along with the flour. For the butter topping, increase the amount of crushed fresh garlic to 2 small cloves or 1 large clove. You can also mix a pinch of garlic powder into the Parmesan cheese before sprinkling.
This post was updated with new recipe adjustments and photos on 7/10/25, ensuring the most current and best possible baking experience for our readers.