
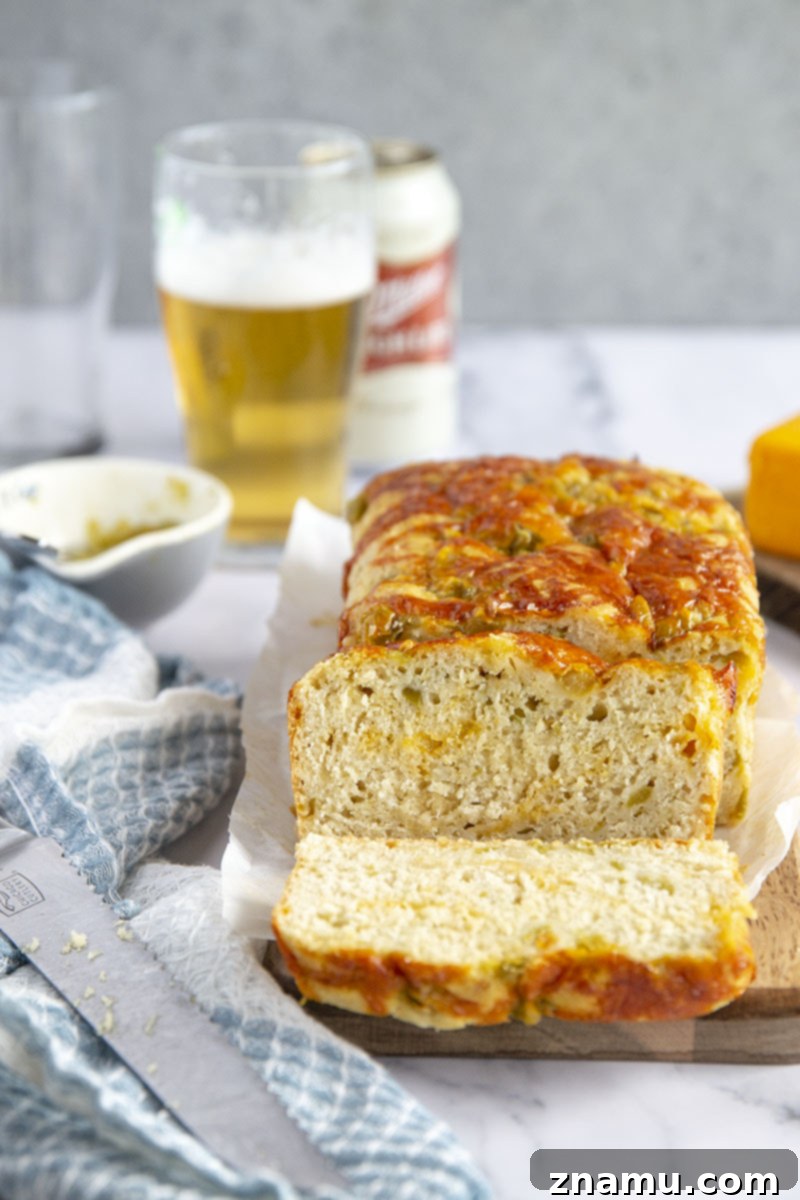
Green Chile Cheddar Beer Bread: Your Ultimate Savory Quick Bread Recipe
Indulge in the irresistible fusion of spicy green chiles, gooey cheddar, and robust beer flavor in this incredibly soft and easy-to-make quick bread. Perfect for any occasion, from a simple snack to a show-stopping game day appetizer!
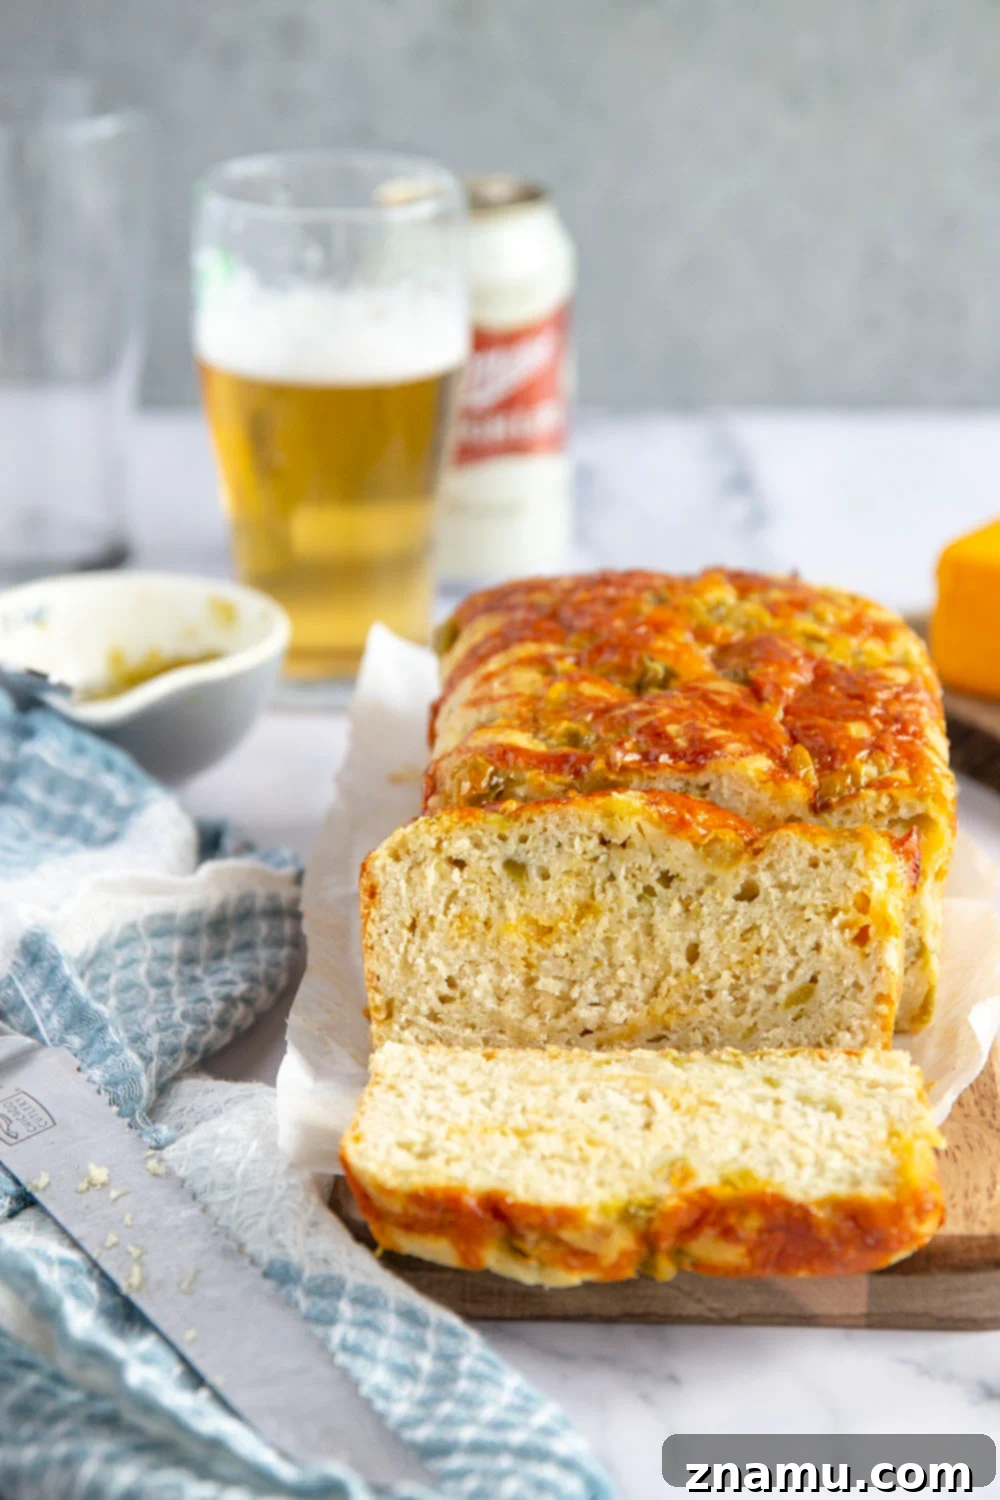
Some culinary creations are so profoundly delicious, they challenge even the strongest willpower. This Green Chile Cheddar Beer Bread is undoubtedly one of them. Imagine a loaf that effortlessly transitions from a comforting side dish for your favorite soup to the star of your next game day gathering. That’s the sheer versatility and magic of this quick beer bread!
Its charm extends beyond versatility; it’s also astonishingly simple to prepare. This isn’t just a recipe; it’s an invitation to experience pure, unadulterated comfort food that comes together in a flash. Once you slice into its warm, fragrant interior, you’ll understand why it vanishes so quickly from the counter – often before it even has a chance to cool completely. It’s a delightful dilemma we happily embrace!
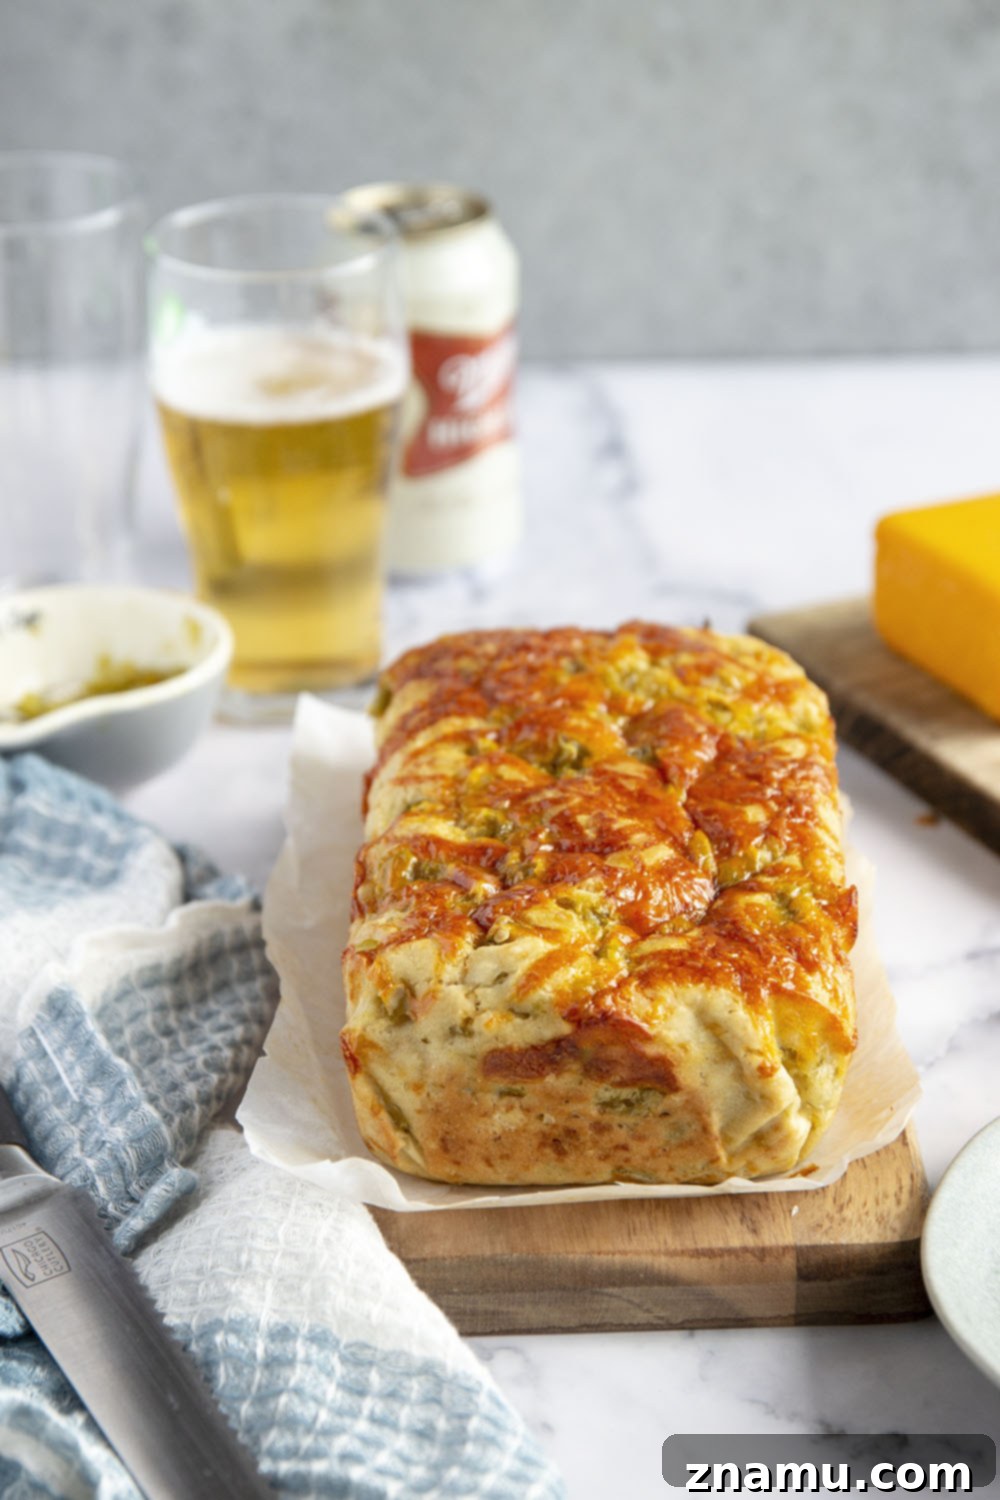
There’s an undeniable allure in a bread generously studded with rich cheese and infused with the subtle, malty notes of beer. This loaf perfectly embodies that comfort, elevating a simple quick bread into an extraordinary culinary experience. Each bite delivers an explosion of flavors: the sharp tang of cheddar, the gentle heat of green chiles, and a distinctive beer essence that ties it all together beautifully. If that combination doesn’t sound like pure culinary magic, we don’t know what does!
This recipe transforms everyday ingredients into something truly remarkable. It’s a testament to how simple cooking can yield the most satisfying results. Whether you’re a seasoned baker or just starting your journey in the kitchen, this beer bread promises a rewarding and incredibly delicious outcome.
Why You’ll Love This Green Chile Cheddar Beer Bread
This isn’t just another bread recipe; it’s a game-changer! Here’s why this Green Chile Cheddar Beer Bread will quickly become a household favorite:
- Unforgettable Texture: Experience an incredibly soft, moist, and tender crumb that melts in your mouth, making every slice a pure delight.
- Rich & Robust Flavor: Enjoy a distinct yet balanced beer flavor that perfectly complements the other ingredients without overpowering them.
- Gooey Cheddar Perfection: Discover pockets of wonderfully melted, savory cheddar cheese throughout the bread, adding a luxurious creaminess and depth.
- Spicy Kick: A delightful warmth from spicy green chiles permeates every bite, offering a subtle yet invigorating heat that keeps you coming back for more.
- Effortless Preparation: Requiring only 8 simple ingredients and made entirely in one bowl, this recipe is designed for maximum flavor with minimal fuss.
- Quick & Easy: As a quick bread, there’s no yeast or kneading involved, meaning you can have a fresh, warm loaf ready in under an hour!
- Versatile Serving: Ideal as a snack, a side for chili or soup, a unique addition to your breakfast spread, or an impressive appetizer for entertaining.
Mastering Your Green Chile Cheddar Beer Bread
Crafting this savory quick bread is straightforward, but a few key details ensure a perfect loaf every time. Follow these simple steps and expert tips to achieve that golden, cheesy, and utterly delicious bread.
Essential Ingredients You Will Need
Gathering your ingredients is the first step to success. You’ll be amazed at how such simple components combine to create such a spectacular flavor profile. Here’s what you’ll need for this quick bread:
- All-purpose flour: The foundation of our bread, providing structure.
- Baking powder: Our leavening agent, ensuring a light and airy texture without yeast.
- Salt: Essential for enhancing all the flavors in the bread.
- Honey: Adds a touch of sweetness and helps achieve a beautiful golden crust.
- Unsalted butter: Contributes to the rich flavor and moist crumb.
- Beer: The star ingredient that gives this bread its unique taste and helps with leavening.
- Green chiles: Provides a mild, earthy heat and vibrant flavor.
- Cheddar cheese: Creates those irresistible gooey pockets of savory goodness.
Selecting the Perfect Beer for Your Bread
The type of beer you choose plays a significant role in the final flavor of your bread. While experimenting is encouraged, here are some guidelines to help you select wisely:
For a generally milder beer flavor that allows the green chiles and cheddar to truly shine, we highly recommend using a light beer. Brands like Miller Lite or Bud Light perform exceptionally well, offering just enough character without being overpowering. This choice results in a balanced loaf where all flavors are in harmony.
If you’re a fan of a more pronounced beer presence, feel free to opt for a medium-bodied beer. Lagers, pilsners, or wheat ales can introduce a more robust and complex flavor profile. Just be mindful that a stronger beer will alter the overall taste, making the beer flavor more dominant. It’s a fantastic option for those who truly love the malty notes of beer!
A word of caution: We generally advise against using dark beers such as stouts or porters for this recipe. Their intensely rich, often roasted or chocolatey notes can clash with the delicate flavors of green chiles and cheddar, potentially leading to an unbalanced taste.
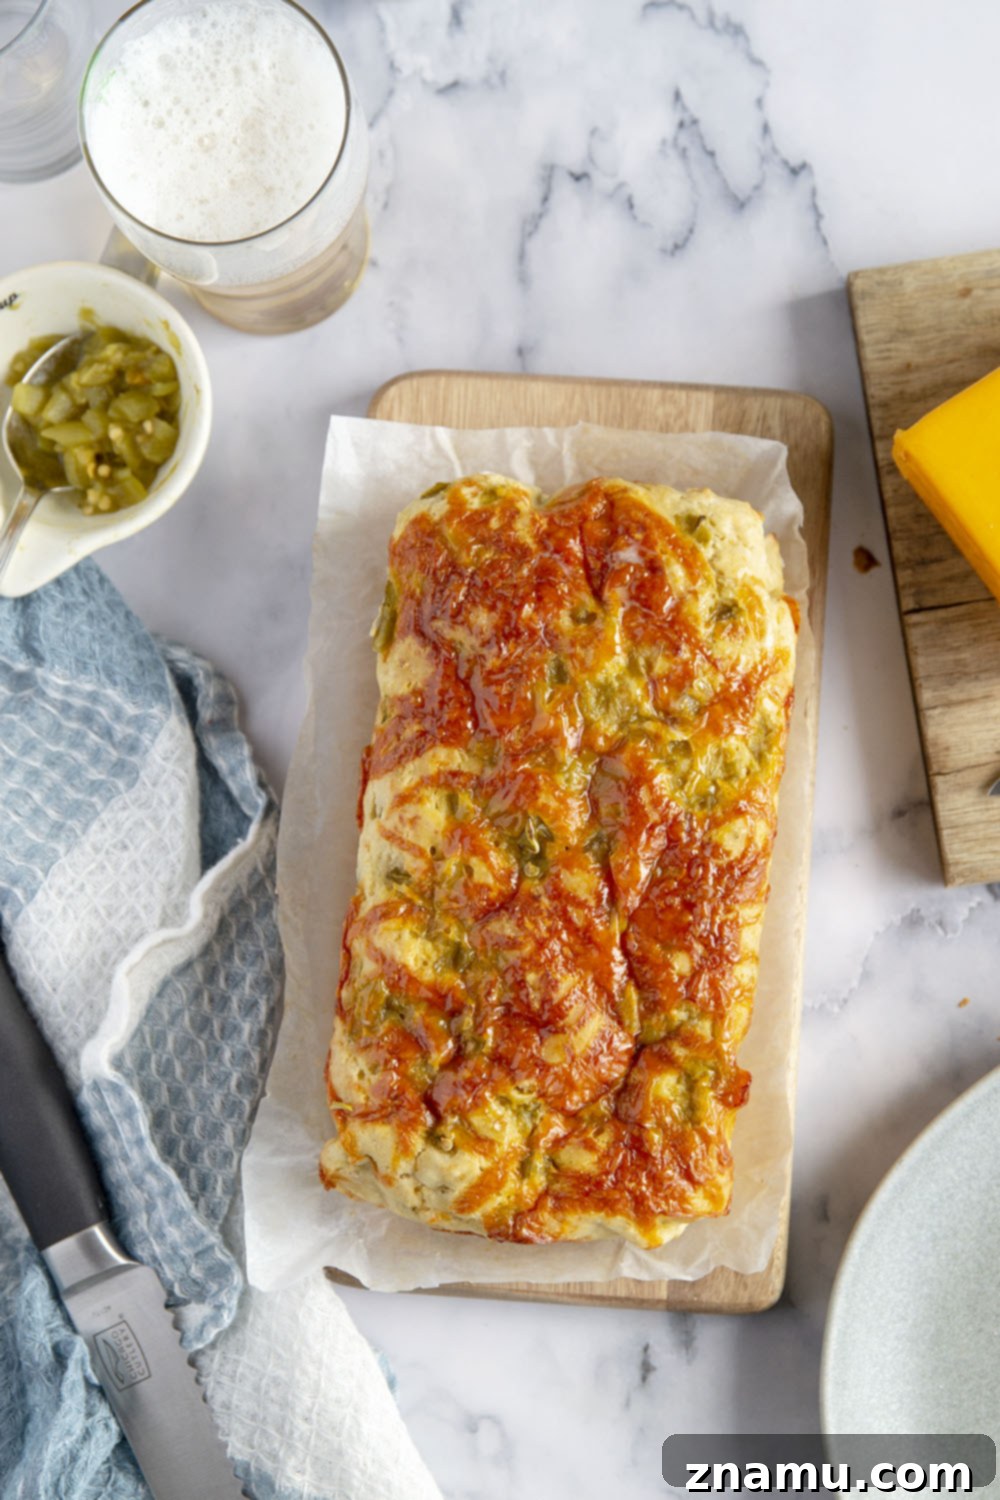
Expert Tips for Baking Your Best Beer Bread
Achieving a perfectly moist and flavorful loaf of Green Chile Cheddar Beer Bread is simpler than you think. Keep these crucial tips in mind as you prepare and bake your bread:
- Measure Flour Accurately: Precision in measuring flour is vital for the right texture. Always use the spoon-and-level technique: spoon flour into your measuring cup until overflowing, then level it off with the back of a knife. This prevents over-measuring, which can lead to a dense, dry bread.
- Avoid Overmixing the Batter: Quick breads thrive on minimal mixing. Overworking the batter develops gluten too much, resulting in a tough, dense loaf. Gently fold the beer, chiles, and cheese into the dry ingredients until just combined. A few lumps are perfectly fine and even desirable for a tender crumb.
- Embrace Large Cheddar Shreds: For those irresistible pockets of gooey, melted cheese, opt for larger shreds of cheddar. You can even cube the cheese into 1/4-inch pieces to ensure bigger, more satisfying cheesy explosions in every bite.
- Line Your Loaf Pan with Parchment Paper: This simple step makes removing your freshly baked bread incredibly easy and prevents sticking. It also helps preserve the beautiful golden crust you worked so hard to achieve.
- Top with Extra Cheddar (Optional but Recommended!): A sprinkle of additional shredded cheddar cheese on top before baking is a game-changer. It bakes into a gorgeous golden-brown, crispy layer that adds another dimension of flavor and texture.
- Bake at 350°F (175°C): This optimal temperature allows the bread to bake thoroughly without drying out. The loaf typically takes 45-50 minutes. Your bread is perfectly done when a toothpick inserted into the center comes out clean.
- Cool Bread in Pan, Then on Rack: After baking, let the bread cool in the pan for about 15 minutes. This allows it to set and makes it easier to handle. Then, use the parchment paper to carefully lift the loaf out and transfer it to a wire cooling rack to cool completely. Air circulating underneath prevents a soggy bottom.
- Brush with Extra Melted Butter (Optional): For an extra touch of decadence and a beautiful glossy finish, brush the warm loaf with a little extra melted butter immediately after removing it from the oven. Because, truly, can you ever have too much butter?
- Serve Slices Warm: While it’s tempting to cut into it immediately, allow the bread to cool for at least 45 minutes before slicing to ensure it holds its shape. For the best experience, we highly recommend reheating individual slices before serving so the cheddar becomes wonderfully gooey again.
Delightful Recipe Variations
This Green Chile Cheddar Beer Bread recipe is incredibly forgiving and adaptable. Feel free to unleash your creativity and customize it to your liking:
- Experiment with Different Cheeses: While cheddar is classic, many other cheeses would be fantastic. Consider Gruyère for a nutty depth, Parmesan or Asiago for a sharp, salty kick, Gouda for a smoky sweetness, or Monterey Jack for a milder, meltier experience. Don’t hesitate to combine a couple of different cheeses for a complex flavor profile!
- Swap Out the Green Chiles: If you prefer a milder bread with less heat, pimentos are an excellent substitute for green chiles. They offer a sweet, slightly tangy flavor and a vibrant color without the spice. For more heat, try a spicier pepper like jalapeños (seeded and finely diced) or even a touch of cayenne pepper.
- Explore Different Beers: As discussed above, various beers can dramatically change the bread’s character. From extra light lagers to bolder wheat ales, let your taste buds be your guide. Just remember to avoid very dark, heavy stouts for the best results with this particular flavor combination.
Storing and Freezing Your Beer Bread
To ensure your Green Chile Cheddar Beer Bread stays fresh and delicious, proper storage is key:
Store any leftover bread in an airtight container at room temperature for up to 4 days. We’ve found that beyond this period, the beer flavors can start to diminish or taste slightly off. For optimal freshness, enjoy it within the first few days.
For longer storage, this bread freezes beautifully. Once the loaf has cooled completely, wrap it tightly in plastic wrap and then in aluminum foil to prevent freezer burn. It can be frozen for up to 2 months. For the best possible taste and texture when thawed, we recommend freezing the bread on the same day it’s made to lock in its freshness.
When you’re ready to enjoy your frozen bread, simply thaw it at room temperature. To reheat individual slices, you can microwave them on high for about 30 seconds, or wrap slices in aluminum foil and warm them in a 400°F (200°C) oven for 8-10 minutes until heated through and the cheese is melty.
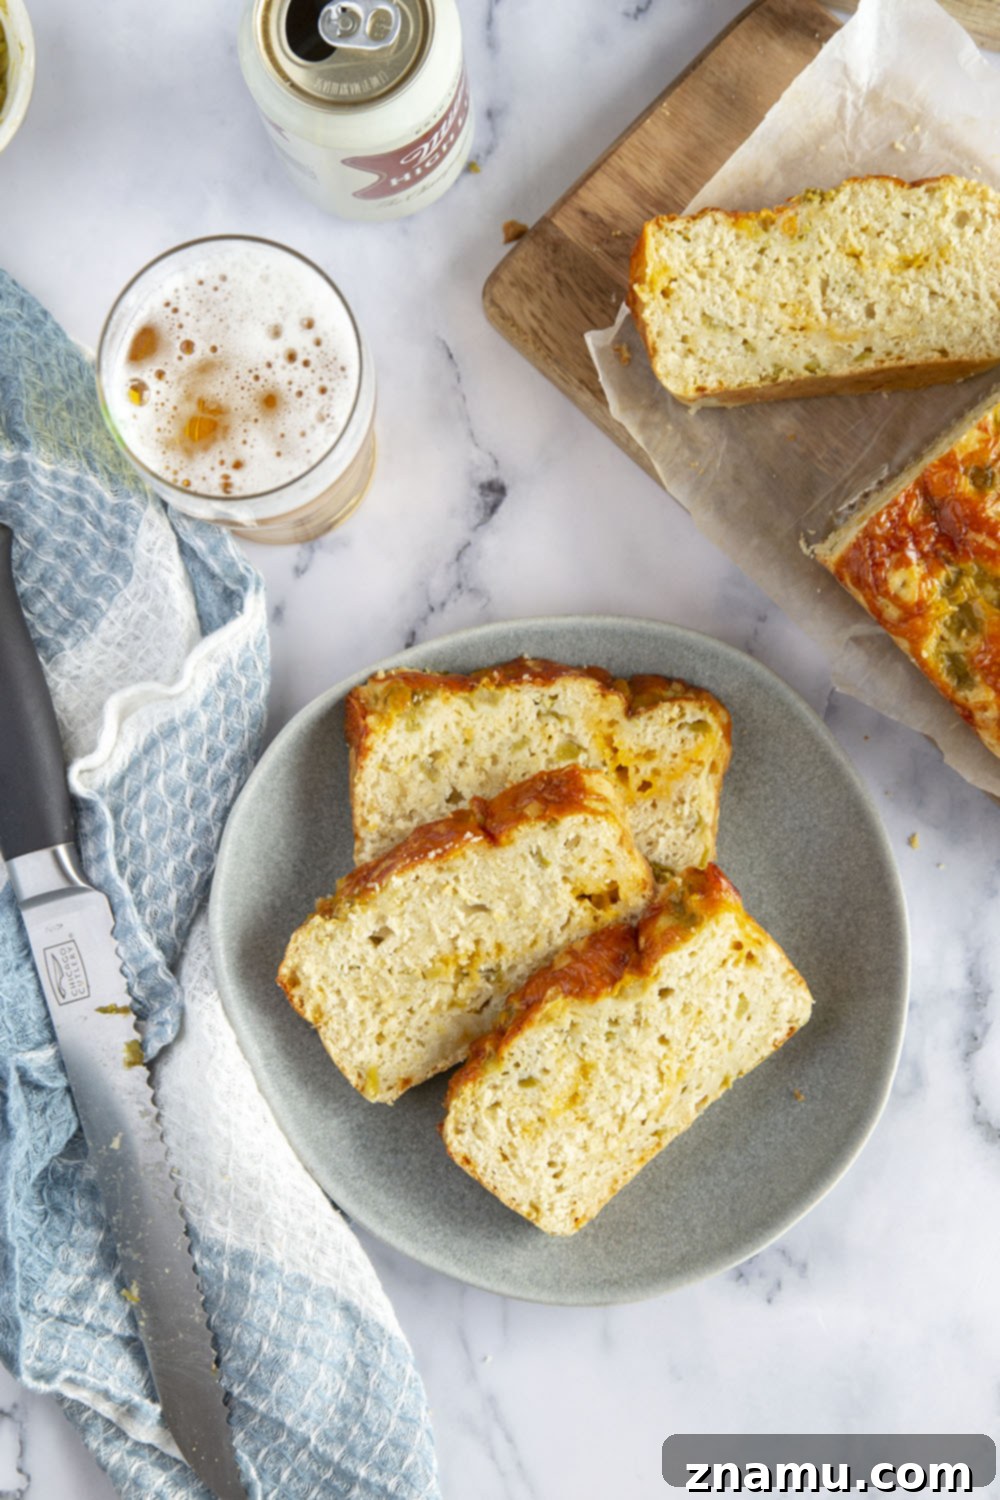
Honestly, resisting a second (or third) slice of this incredible bread is nearly impossible! The harmonious blend of gooey cheddar, zingy green chiles, and the comforting essence of beer creates a flavor combination that’s truly exceptional. It’s a trio for the record books, promising satisfaction with every bite.
Our best advice? Go ahead and bake two loaves. Stash one away for yourself, perhaps in the freezer for a rainy day, or simply to ensure you have enough to share (or not!). You won’t regret it. The sheer ease of making this bread, coupled with its outstanding flavor, makes it an absolute must-try. You’ll be thanking yourself later for this delicious foresight.
Save this recipe using the ‘save to recipe box’ button below. If you make it, please let us know! Leave a comment + star rating below, or take a photo and tag it on Instagram with #wholeandheavenlyoven
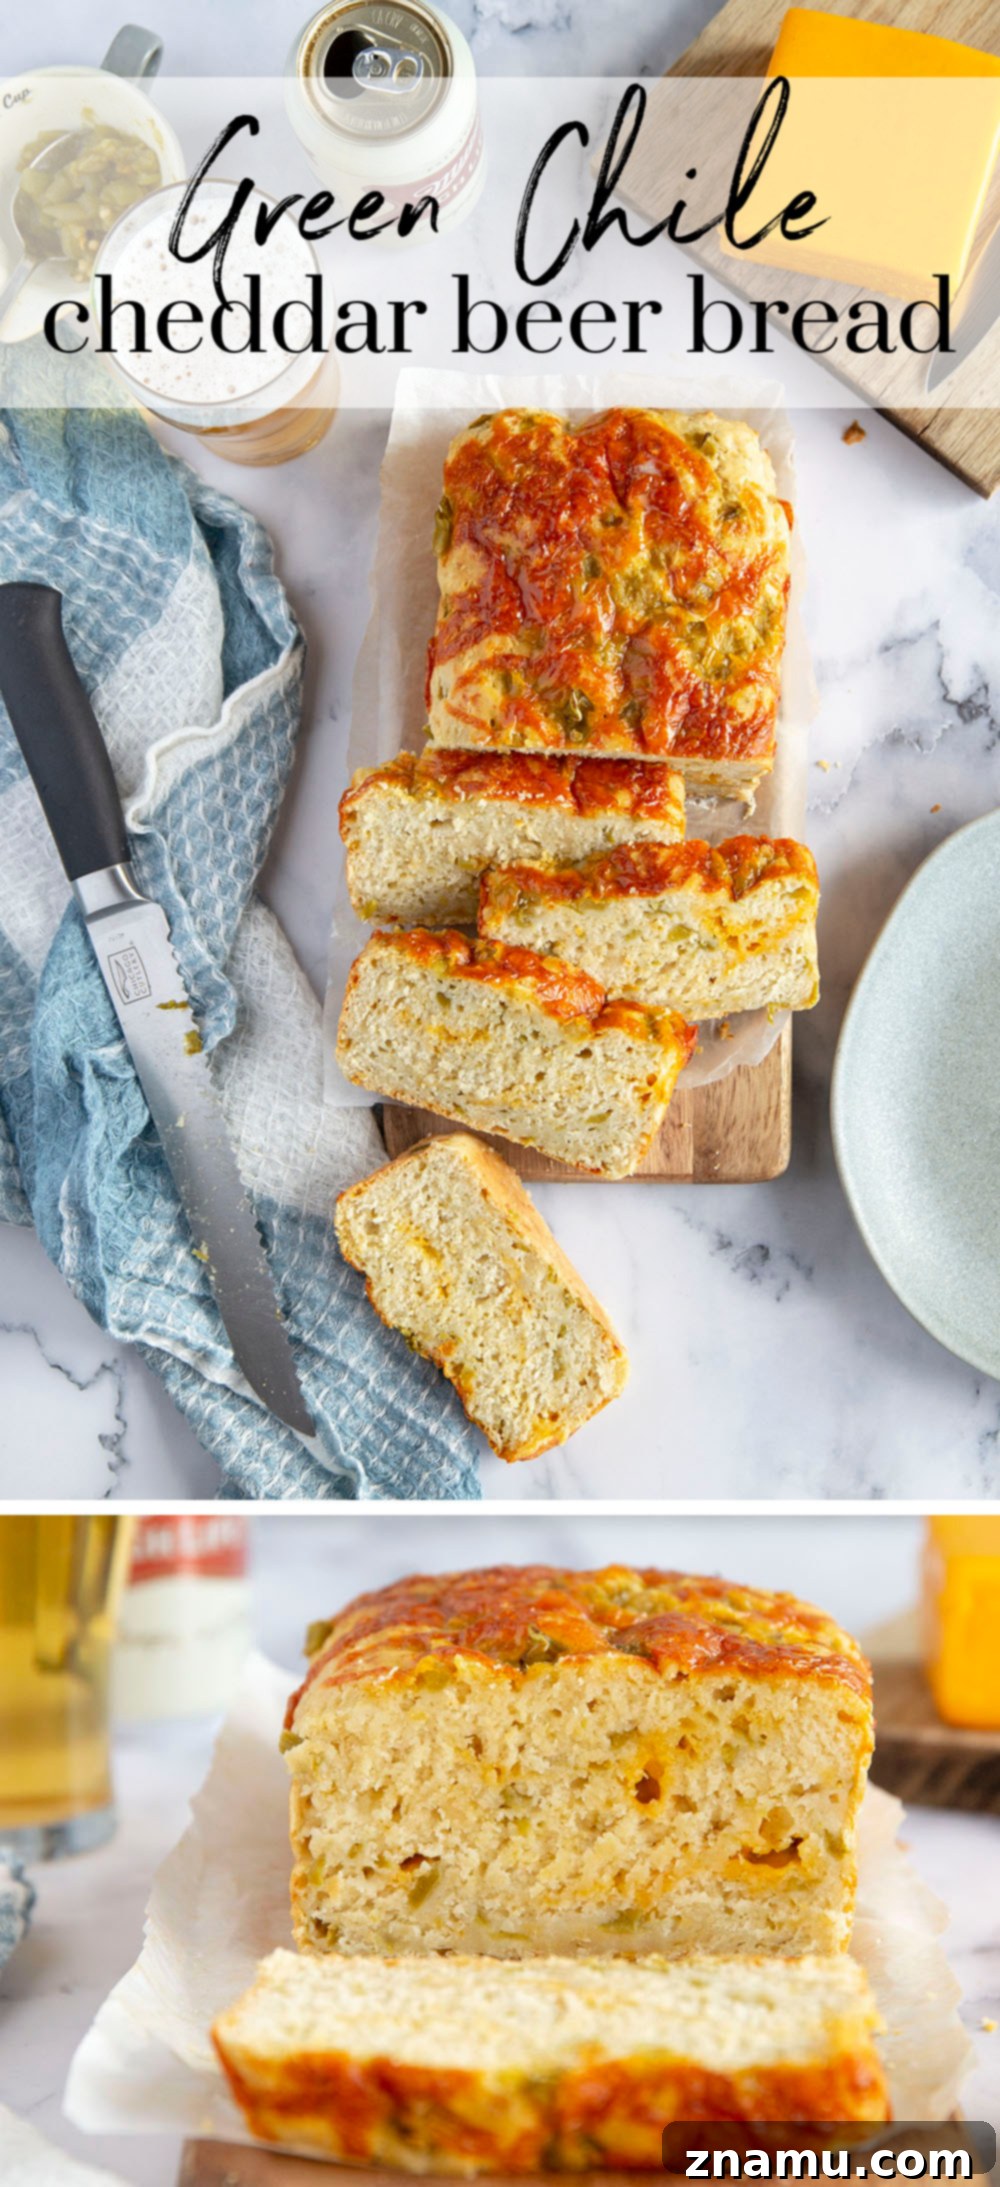
Watch this beer bread made step-by-step on Google web stories!
Looking for more delicious bread recipes? Try these next time!
- Cheesy Pizza Focaccia Breadsticks
- Milk Bread Rolls
- Honey Oat Bread

Save To Recipe Box
Saved!
Print
Pin
Green Chile Cheddar Beer Bread
This recipe may included paid links. As an Amazon Associate, I earn a commission from qualifying purchases.
Prep Time
10 minutes
Cook Time
45 minutes
Total Time
55 minutes
Servings
12 servings
Calories
198kcal
Ingredients
- 3 cups all-purpose flour, spooned and leveled
- 1 tablespoon baking powder
- 1 teaspoon salt
- 4 tablespoons melted unsalted butter
- 1 tablespoon honey or agave nectar
- 1 (12 oz) can room-temperature beer (light beer or medium depending on your flavor preference)
- 1/2 cup chopped green chiles (about 2 4-oz cans, drained)
- 3/4 cup shredded cheddar cheese, plus more for topping (mild or sharp both work)
- Additional melted butter for brushing on top
Instructions
-
Preheat your oven to 350°F (175°C). Line a 9×5-inch loaf pan with parchment paper, allowing some overhang on the sides for easy removal, then set it aside.
-
In a large mixing bowl, whisk together the all-purpose flour, baking powder, and salt until they are well combined. Next, add the melted butter and honey, whisking until the flour mixture becomes slightly clumpy.
-
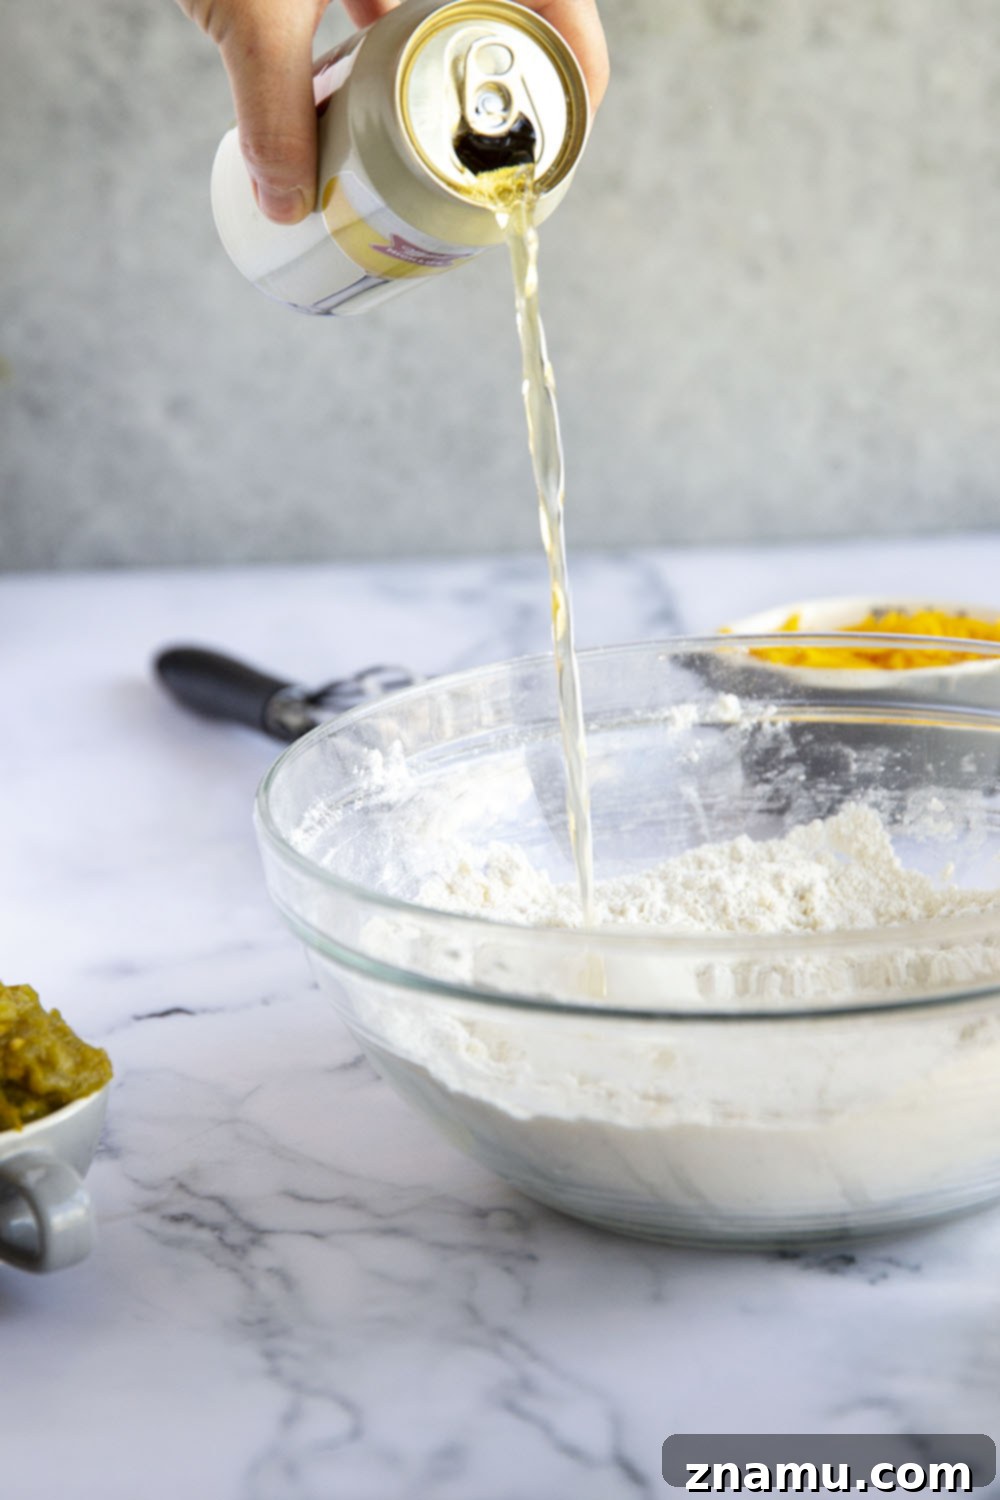
Pour the room-temperature beer into the dry ingredients. Add the chopped green chiles and the shredded cheddar cheese. Using a gentle hand, fold the batter until all ingredients are just combined. Be careful not to overmix; a few lumps are perfectly fine and will contribute to a tender bread.
-
Scrape the batter into your prepared loaf pan and smooth the top evenly. If desired, sprinkle additional cheddar cheese over the top for a beautiful golden, crispy crust. Bake the beer bread in the preheated oven at 350°F (175°C) for 45-50 minutes, or until a toothpick inserted into the center comes out clean.
-
Once baked, if you wish, brush the warm bread with additional melted butter for extra richness and a lovely sheen. Allow the bread to cool in the pan for 15 minutes. Then, using the parchment paper overhang, carefully lift the bread out of the pan and transfer it to a wire cooling rack. It’s crucial to let the bread cool for at least 45 minutes before slicing to ensure it sets properly. Serve the bread warm and savor every delicious bite!
Notes
Store bread in an airtight container at room temperature up to 4 days.
Bread may also be frozen up to 2 months.
Nutrition
Tried this recipe?Leave a comment and rating below. Feel free to share a picture on Instagram and tag @wholeandheavenlyoven or hashtag it #wholeandheavenlyoven