
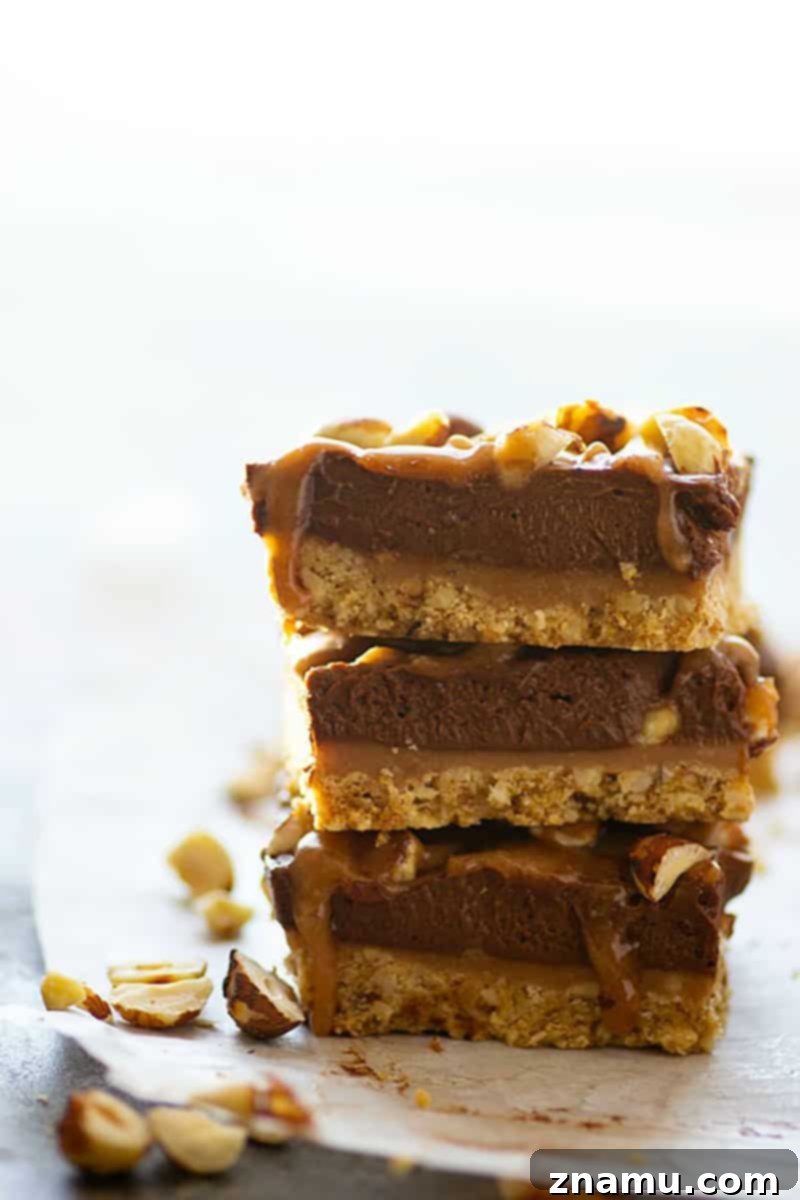
Indulge in the ultimate creamy frozen dessert: luscious chocolate mousse bars featuring homemade salted caramel sauce and a perfectly toasted hazelnut crust. These exquisite treats are guaranteed to be a summer favorite!
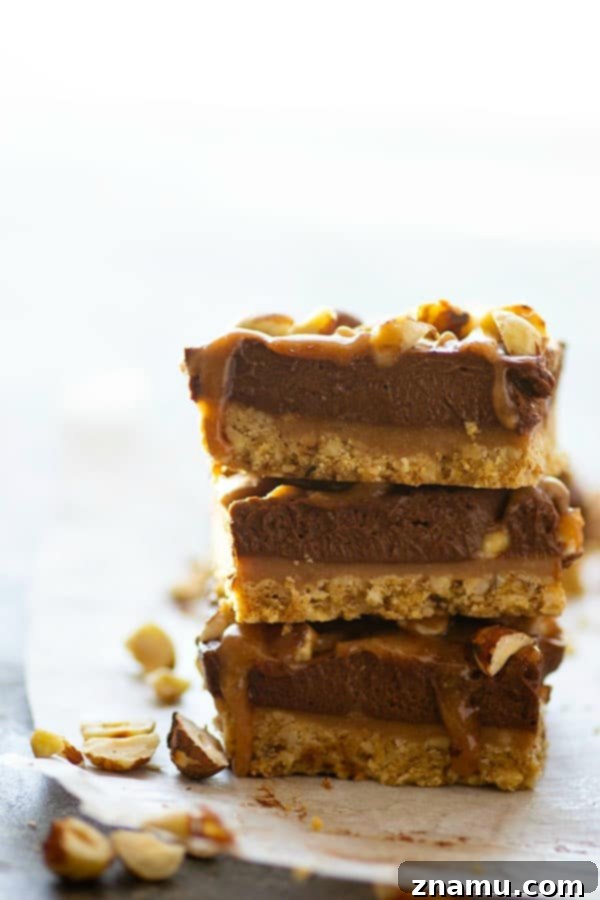
Prepare your taste buds for an unforgettable frozen dessert experience that combines richness, crunch, and a symphony of sweet and salty flavors. These Frozen Salted Caramel Hazelnut Chocolate Mousse Bars are not just a dessert; they are a culinary masterpiece designed to delight at any gathering, from casual backyard barbecues to elegant summer parties. Imagine a warm, sunny day, and you reach into your freezer for a treat that instantly transports you to dessert heaven. This is that treat.
Perfect for holiday weekends like the 4th of July, or simply as an everyday indulgence, these bars offer a sophisticated twist on classic frozen desserts. They promise to be a showstopper, combining beloved flavors into a convenient, easy-to-serve format that everyone will adore. Forget boring ice cream; these mousse bars are in a league of their own, offering a luxurious texture and depth of flavor that will leave a lasting impression.
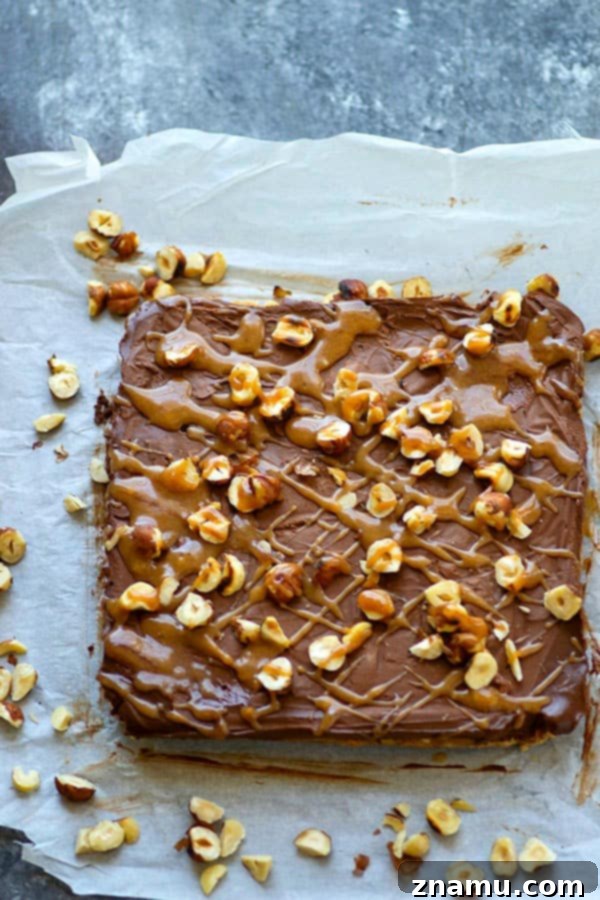
Let’s delve into the magic that makes these bars so incredibly special – the carefully crafted layers that build up to an irresistible bite:
- **The Toasted Hazelnut Cookie Crust:** A buttery, crumbly base infused with the deep, nutty flavor of toasted hazelnuts. This isn’t just a crust; it’s a foundation that adds texture and a unique flavor profile.
- **Silky Homemade Salted Caramel Sauce:** A luscious, amber-hued caramel with the perfect balance of sweet and salty, creating an indulgent layer that complements the chocolate beautifully.
- **Rich, Fluffy Chocolate Mousse Filling:** An airy yet intensely chocolatey mousse, frozen to perfection, offering a melt-in-your-mouth experience that rivals the finest ice cream.
- **Extra Caramel Drizzle & Toasted Hazelnuts:** A generous finish of additional salted caramel and crunchy toasted hazelnuts, elevating both the visual appeal and the textural complexity.
Each layer contributes to a harmonious blend of tastes and textures that make these bars truly dreamy. The combination of creamy, crunchy, sweet, and salty is simply divine, ensuring every bite is an adventure for your palate. They are quite literally the definition of dessert perfection.
Hazelnuts, in particular, are an often-overlooked hero in baking. Their distinct, slightly sweet, and earthy flavor adds an incredible depth that pairs exceptionally well with chocolate and caramel. In these bars, toasted and finely ground hazelnuts create a crust that’s reminiscent of a gourmet cookie, offering a delightful counterpoint to the smooth, rich layers above. Without them, the bars would simply be incomplete, missing that signature nutty warmth and satisfying crunch.
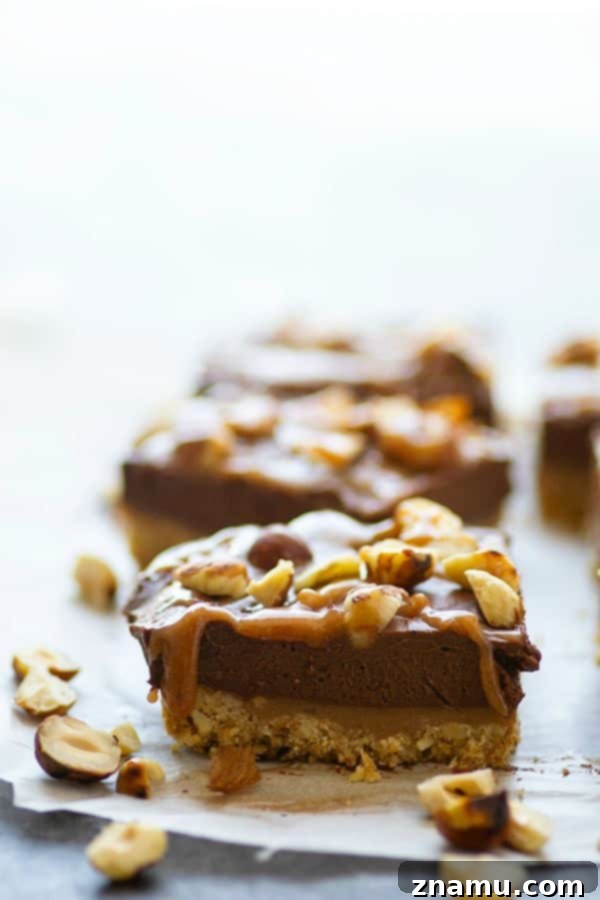
Crafting Your Own Frozen Chocolate Mousse Bars >>
While the multiple layers might seem a little daunting at first glance, I assure you, making these frozen chocolate mousse bars is a rewarding and manageable process. We’ll walk through each step together, layer by layer, ensuring you achieve dessert perfection. The joy of creating something so impressive from scratch is truly unmatched!
Layer 1: The Hazelnut Crust – A Foundation of Flavor
Our journey begins with a magnificent hazelnut cookie-like crust. This crust isn’t just a base; it’s an integral part of the flavor profile, designed to amplify the rich hazelnut notes throughout the dessert. We achieve this by creating a simple cookie dough, where half of the flour is replaced with beautifully toasted and ground hazelnuts. The toasting process is crucial as it intensifies the nutty aroma and flavor, transforming ordinary hazelnuts into a fragrant meal.
The dough will have a slightly crumbly consistency, but don’t worry – it will press together easily into your 8×8 inch baking pan. After a quick bake of just 8-10 minutes, the crust emerges lightly golden and fragrant. It’s a fast start to a spectacular dessert, setting the stage for the indulgent layers to come. Allow it to cool completely before moving on to ensure a firm base for your bars.
Layer 2: Salted Caramel Sauce – Liquid Gold
Next up is the star player – the homemade salted caramel sauce. Making caramel from scratch might sound intimidating, but it’s surprisingly straightforward and infinitely more delicious than store-bought versions. The deep, complex flavors of homemade caramel are simply unparalleled. This recipe ensures a smooth, luscious sauce that’s perfectly balanced with a touch of sea salt, enhancing all the other components of the bars.
However, if time is of the essence, you can certainly opt for a shortcut. Melting down about 1 cup of soft caramels can provide a convenient alternative. Simply melt them gently over low heat until smooth, then whisk in a pinch of salt to achieve that signature salted caramel goodness.
Once your caramel is ready, remember to set aside a small amount for a final decorative drizzle on top of your finished bars. The majority of the warm, golden caramel then gets poured generously over the cooled hazelnut crust, creating a sticky, sweet, and slightly salty middle layer. This layer needs a brief stint in the freezer to firm up, ensuring it holds its shape beautifully before the final mousse layer is added.
Layer 3: Decadent Chocolate Mousse – The Heart of the Bar
The third layer is the rich, airy chocolate mousse, and despite its luxurious taste, it requires only five simple ingredients! The process involves a classic technique: gently heating cream and then slowly whisking it into a mixture of egg yolks and sugar. This tempering process ensures the eggs are cooked without scrambling, creating a silky base. This mixture is then cooked briefly until it thickens slightly, signaling it’s ready for the chocolate.
Once off the heat, finely chopped bittersweet chocolate and a splash of vanilla extract are stirred in, melting into a smooth, intensely chocolatey custard. The key here is to let this chocolate base cool down sufficiently before incorporating the final element. The magic happens when freshly whipped cream is delicately folded into the cooled chocolate mixture. This step transforms the dense custard into an incredibly light, fluffy, and decadent mousse.
It might appear somewhat liquid at this stage, but as it chills, the mousse will thicken beautifully, becoming rich, velvety, and irresistibly airy thanks to the whipped cream. Spread this glorious chocolate mousse evenly over your chilled caramel layer. Then, the entire pan goes into the freezer for at least 6 hours, allowing all the layers to freeze completely and meld into one spectacular dessert.
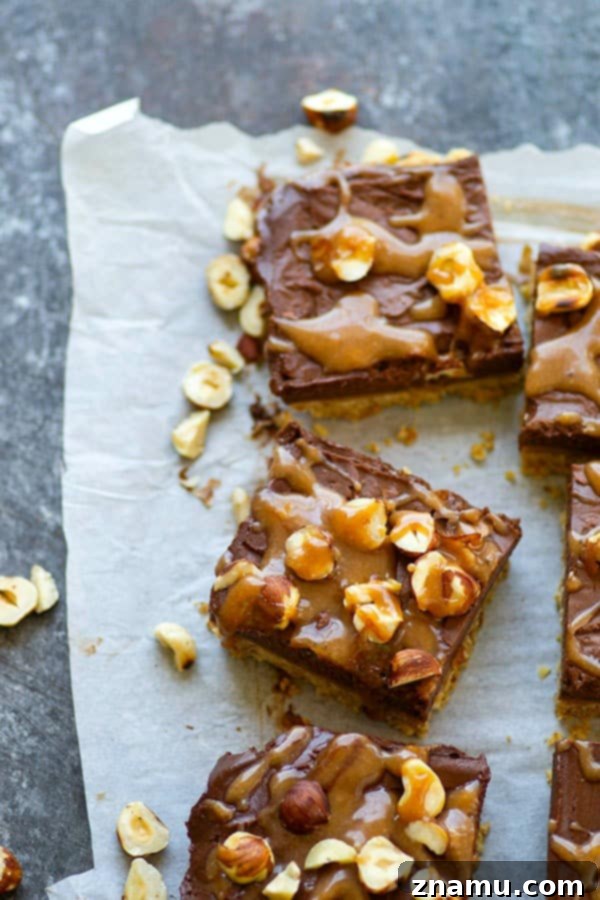
When it’s time to serve these magnificent bars, I recommend removing them from the freezer for about 10 minutes. This slight softening makes them much easier to slice into neat, individual squares. However, for a truly immersive experience, many prefer to eat them straight from the freezer. The slightly firmer texture of the frozen mousse provides a unique mouthfeel that is simply unbeatable!
The beauty of these bars lies in their contrasting textures. The frozen mousse layer delivers a sensation akin to a rich, velvety ice cream, while the smooth, sweet-and-salty caramel provides a delightful chewiness. Beneath it all, the crunchy, buttery hazelnut crust offers a satisfying bite that completes this dreamy trio of flavors. It’s a symphony of sensations that makes every mouthful an absolute delight.
To finish, a final drizzle of that reserved salted caramel sauce and a sprinkle of extra toasted hazelnuts on top are not just for aesthetics; they add another layer of flavor and crunch, making each bar a true masterpiece. It’s the perfect creamy frozen dessert, balancing sophistication with pure indulgence.
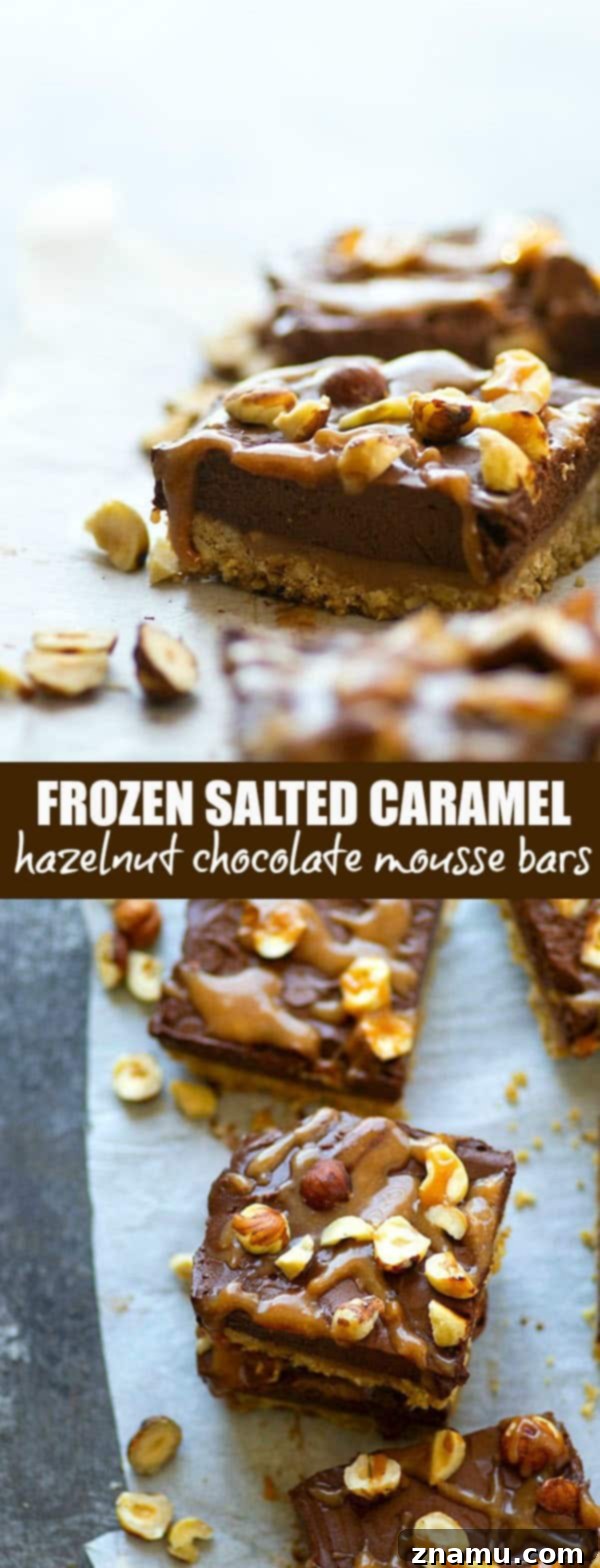
These Frozen Salted Caramel Hazelnut Chocolate Mousse Bars are not just a recipe; they are an invitation to create a memorable dessert experience. Whether you’re entertaining guests or simply treating yourself, these bars offer a delightful escape into a world of rich flavors and satisfying textures. Their impressive appearance belies their relatively simple preparation, making them a fantastic choice for home bakers of all skill levels.
For best results, always use high-quality ingredients, especially for the chocolate and heavy cream, as they form the backbone of the mousse’s flavor and texture. Don’t rush the cooling and freezing times; patience is key to achieving perfectly set layers and a truly professional finish. Store any leftover bars in an airtight container in the freezer, where they will keep beautifully for up to two weeks, ready for whenever a craving strikes.
If you’re looking for more party-worthy treats to beat the heat, consider these equally delightful frozen desserts:
- Chocolate-Dipped Coconut Peanut Butter Ice Cream Sandwiches
- Single-Layer Chocolate Hot Fudge Ice Cream Cake
Frozen Salted Caramel Hazelnut Chocolate Mousse Bars
Salted caramel sauce and a toasted hazelnut crust are an incredible duo in these frozen chocolate mousse bars. — the perfect creamy frozen dessert!
This recipe may included paid links. As an Amazon Associate, I earn a commission from qualifying purchases.
Ingredients
Hazelnut Cookie Crust
- 1/4 cup butter, softened
- 3 tablespoons brown sugar
- 1/2 cup chopped hazelnuts, toasted and ground to a coarse meal
- 1/2 cup all-purpose flour
- 1/2 teaspoon baking soda
- 1/4 teaspoon salt
Salted Caramel
- 1/2 cup granulated sugar
- 3 tablespoons unsalted butter
- 1 tablespoon honey
- 1/4 cup heavy whipping cream
- 1/2 teaspoon salt
Chocolate Mousse Filling
- 2 large egg yolks
- 3 tablespoons granulated sugar
- 1 cup heavy whipping cream, divided
- 4 oz bittersweet chocolate, finely chopped
- 1 teaspoon vanilla extract
- Additional toasted chopped hazelnuts for topping
Instructions
Hazelnut Cookie Crust
- Preheat oven to 350F (175C). Line a 9×9 square baking pan with parchment paper, leaving an overhang on two sides for easy removal. In a medium bowl, cream softened butter and brown sugar together until the mixture is smooth and light. Gently fold in the toasted and ground hazelnuts, all-purpose flour, baking soda, and salt until a soft, uniform dough forms.
- Press the prepared dough evenly into the bottom of your parchment-lined pan. Bake the crust in the preheated oven for 10-12 minutes, or until it’s lightly golden brown around the edges and set. Once baked, remove the pan from the oven and cool the crust completely on a wire rack. This step is crucial for a firm base.
Salted Caramel
- In a medium saucepan, combine granulated sugar, unsalted butter, and honey. Place the saucepan over medium heat and bring the mixture to a low boil, stirring occasionally. Continue to cook until the caramel turns a rich golden brown color, which usually takes about 5-7 minutes. Very slowly and carefully, whisk in the heavy whipping cream (be cautious, as the mixture will bubble and splatter slightly). Cook for an additional 1-2 minutes until the caramel reaches a deep, luxurious golden brown. Remove from heat and stir in the salt until fully incorporated. Allow the caramel to cool slightly before proceeding.
- Measure out and reserve a few tablespoons of the cooled caramel sauce for garnishing the finished bars. Pour the remaining caramel evenly over the cooled hazelnut crust in the baking pan and spread it smooth. Place the pan in the freezer to chill thoroughly while you prepare the chocolate mousse filling. This will help the caramel layer firm up.
Chocolate Mousse Filling
- In a small, heatproof bowl, beat the egg yolks and granulated sugar together until the mixture is thick, pale yellow, and smooth, which should take approximately 2 minutes of beating. In a separate small saucepan, heat 3/4 cup of the heavy cream over medium heat until it is hot but not boiling. Slowly drizzle a small amount of the hot cream into the egg yolk mixture, whisking continuously. This step, known as tempering, gradually raises the temperature of the egg yolks to prevent them from scrambling. Once all the hot cream has been incorporated into the egg yolks, pour the entire mixture back into the saucepan. Cook over medium heat, stirring constantly, until the mixture thickens slightly and reaches a low simmer.
- Remove the saucepan from the heat. Strain the hot cream mixture through a fine mesh sieve into a clean bowl to ensure a perfectly smooth mousse, removing any cooked egg particles. Immediately add the finely chopped bittersweet chocolate and vanilla extract to the hot mixture. Whisk vigorously until the chocolate is completely melted and the mixture is smooth and glossy. Allow this chocolate mixture to cool down completely to room temperature.
- In a separate, chilled bowl, whip the remaining 1/4 cup of heavy cream until it forms stiff peaks. Very gently, fold the whipped cream into the cooled chocolate mixture in two additions, taking care not to deflate the air. This will create a light and airy mousse. Carefully spread the chocolate mousse evenly over the caramel layer in your baking pan. Lightly cover the pan with plastic wrap and return it to the freezer for at least 6 hours, or until the mousse is completely firm and frozen.
- When you are ready to serve, remove the bars from the freezer and let them sit at room temperature for about 10 minutes to soften slightly, making them easier to cut. Using the parchment paper overhang, lift the frozen slab of bars out of the pan. Place it on a cutting board and slice into 9 even bars. Drizzle the reserved caramel sauce over the top of each bar and sprinkle with additional toasted chopped hazelnuts for an extra touch of flavor and crunch. Serve immediately and enjoy these delightful frozen treats!
Notes
Nutrition
Tried this recipe?
Leave a comment and rating below. Feel free to share a picture on Instagram and tag @wholeandheavenlyoven or hashtag it #wholeandheavenlyoven