
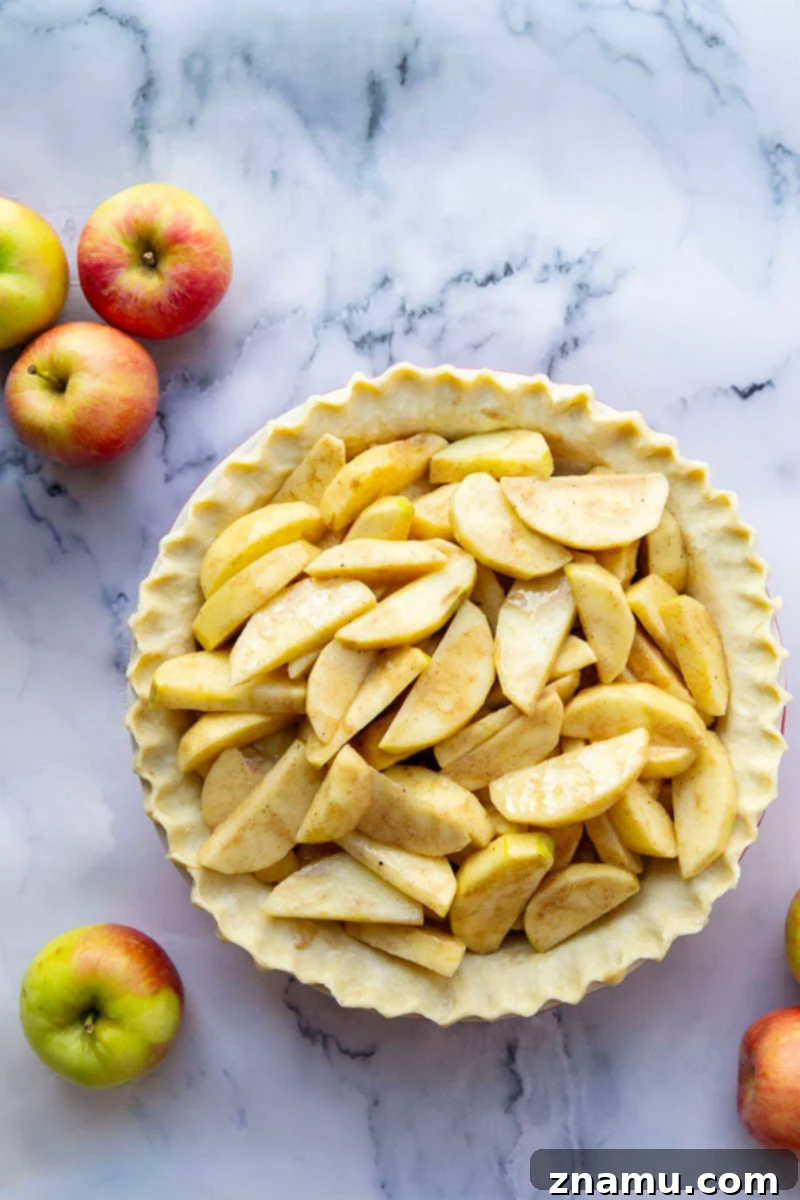
Unlock the secrets to crafting the ultimate flaky, buttery pie crust at home. This comprehensive guide provides step-by-step instructions, expert tips, and vibrant photos to ensure your crust is always perfect for any pie recipe!
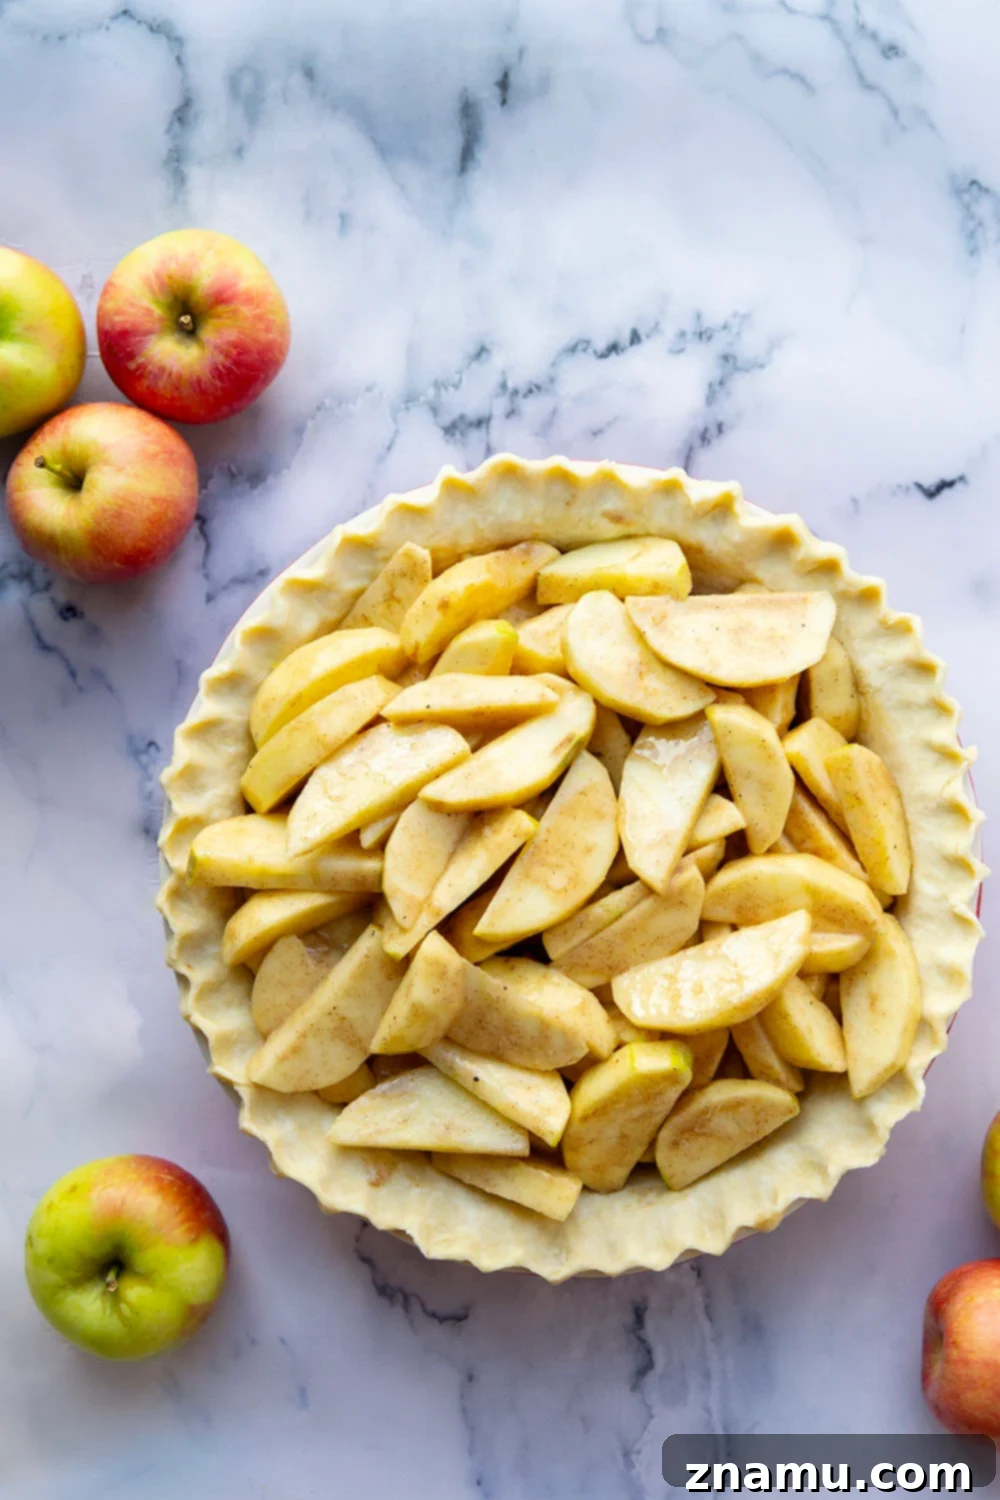
Are you ready to transform your baking? Grab your rolling pin, roll up your sleeves, and prepare to master the art of homemade pie crust! Today, we’re unveiling the ultimate tutorial designed to turn any hesitant baker into a confident pie artisan.
Many home cooks feel intimidated by the idea of making pie crust from scratch, often resorting to store-bought alternatives. However, I’m here to tell you that crafting your own pie crust is not only incredibly easy but also yields results that are a world apart from anything pre-made. The difference in flavor and texture is truly night and day!
Our perfected recipe consistently bakes up into a delightfully flaky, tender crust, infused with that unmistakable rich, real butter flavor that defines a truly exceptional pie. Prepare for an endless stream of compliments, regardless of the delicious filling you pair it with!
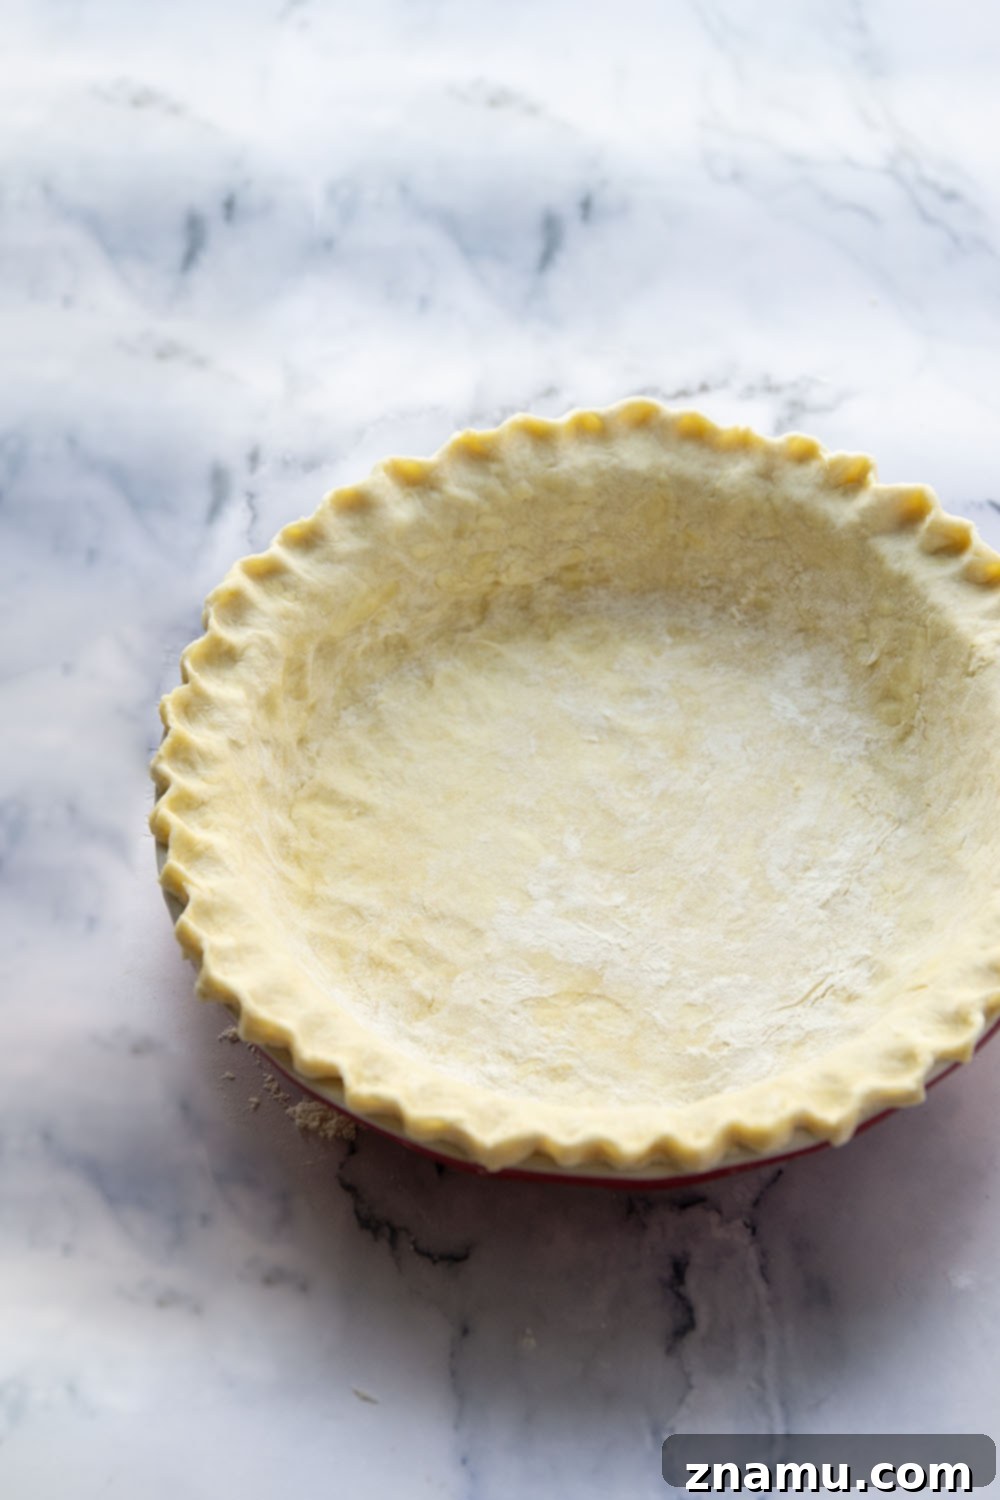
Today, no secret is left untold. I’m spilling all the insider tips and tricks that will empower you to navigate the world of pies with absolute confidence. Let’s dive in!
Why This Homemade Pie Crust Stands Out
Our signature pie crust recipe isn’t just another crust; it’s a foundation for countless dessert and savory creations. Here’s what makes it truly special:
- A perfectly buttery, flaky, and tender texture that melts in your mouth with every bite.
- A versatile blank canvas, ready to complement an endless variety of sweet and savory pie fillings.
- Requires only 4 basic ingredients, making it accessible for bakers of all skill levels, with convenient make-ahead options to simplify your baking schedule.
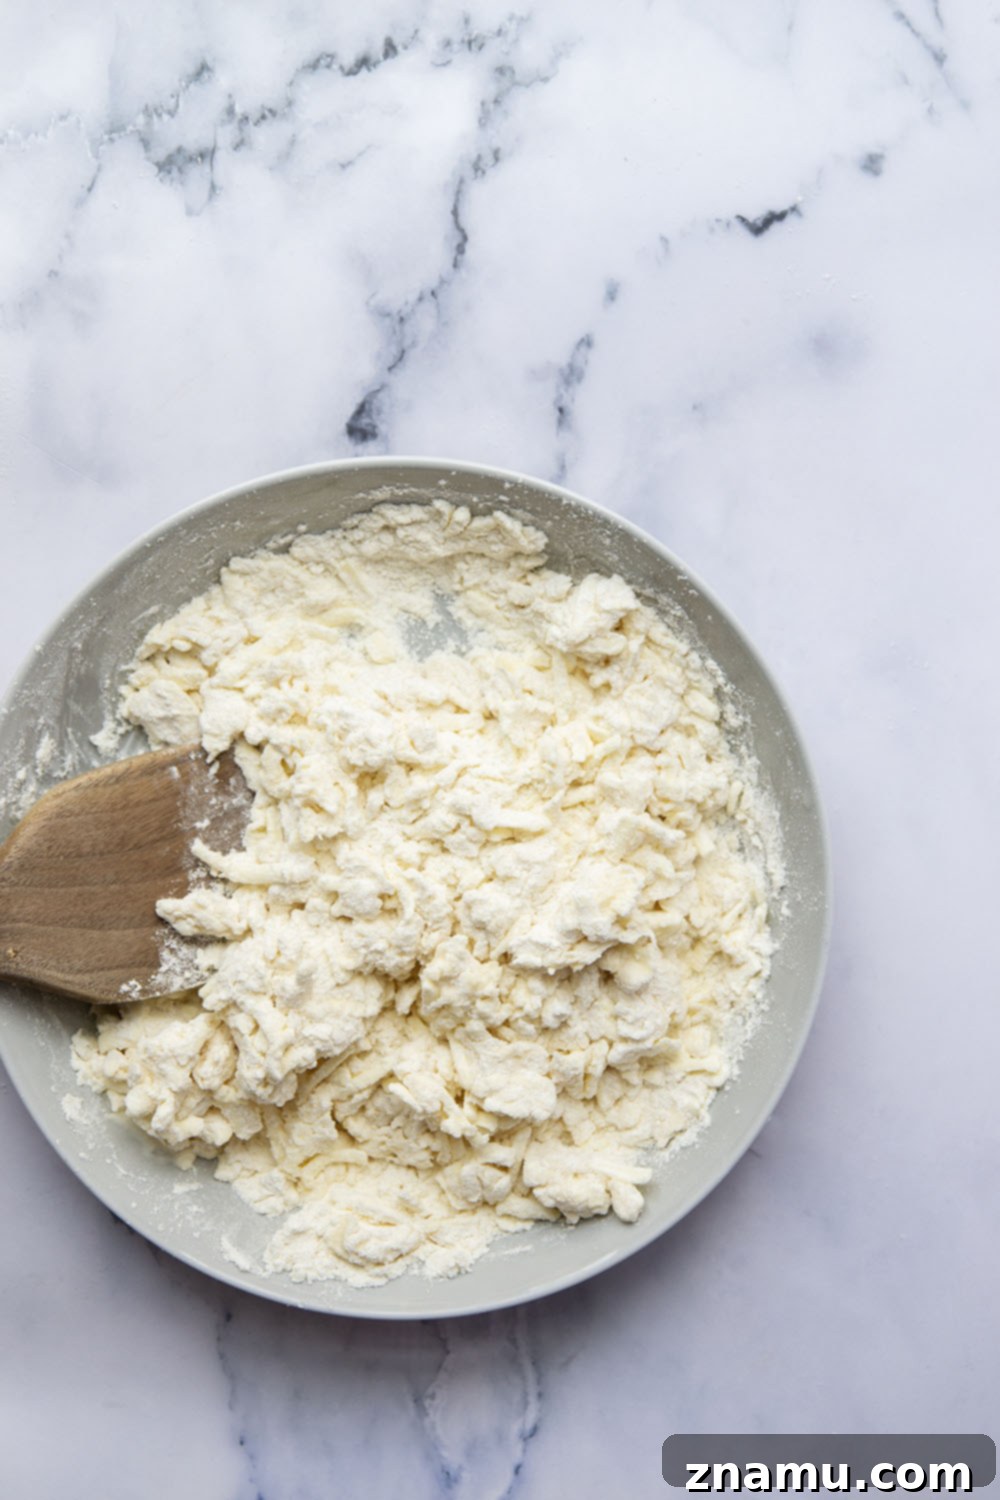
Crafting the Perfect Pie Crust: A Detailed Guide
Creating a truly magnificent pie crust is a rewarding experience. While the full recipe and step-by-step instructions can be found below, let’s explore the critical components and techniques that ensure success.
Essential Ingredients You Will Need
Simplicity is key to this incredible crust. You’ll only need a few pantry staples:
- All-purpose flour: The structural backbone of your crust. We’ll discuss proper measurement below.
- Granulated sugar: Adds a hint of sweetness and helps with browning.
- Kosher salt: A crucial flavor enhancer, balancing the richness of the butter.
- Unsalted butter: The star ingredient, responsible for the unparalleled flavor and flaky layers.
- Ice water: Essential for bringing the dough together without overworking it and maintaining cold temperatures.
The Importance of Choosing Your Butter Wisely
When it comes to baking, and especially pie crusts, the quality and type of butter make a significant difference. We consistently recommend using unsalted butter. Here’s why:
Unsalted butter grants you complete control over the salt content in your dough. Different brands of salted butter contain varying amounts of sodium, which can lead to an inconsistent or overly salty flavor profile in your final product. By using unsalted butter, you can precisely measure the kosher salt, ensuring a perfectly balanced taste.
Furthermore, butter is comprised of fat and a small percentage of water. Using unsalted butter often means a slightly lower water content compared to some salted varieties. This helps prevent excess moisture from developing in the dough, which could otherwise lead to a tougher crust. The goal is a tender, flaky texture, and unsalted butter is your best friend in achieving this.
Expert Tips for Achieving Perfect Pie Crust Every Time
While the recipe is straightforward, mastering a flaky, tender pie crust hinges on a few crucial techniques. Pay close attention to these tips, and you’ll be baking like a pro!
- Measure Flour Correctly: The most common mistake in baking is incorrectly measuring flour. We advocate for the “spoon-and-level” technique. Instead of scooping flour directly with your measuring cup (which compacts it and results in too much flour), use a spoon to lightly scoop flour into the measuring cup until it’s overflowing. Then, level off the excess with the back of a knife. This method ensures you use the precise amount, preventing a dense, tough crust. Too much flour means a dry dough that’s difficult to work with and a final crust that lacks tenderness.
- Embrace the Cold Butter Principle: The secret to a super flaky pie crust lies in *cold* fat. As the butter melts in the hot oven, it releases steam, creating pockets of air that result in those desirable flaky layers. If your butter is too warm, it will fully incorporate into the flour, leading to a more cookie-like, less flaky texture. For optimal results, I highly recommend grating your cold butter on a box grater and then placing it in the freezer for at least 15-30 minutes before mixing. This ensures it stays incredibly cold and distributes evenly throughout the flour.
- Always Use Ice Water: Just like butter, the water you add to your dough needs to be as cold as possible. Using ice water helps maintain the low temperature of the butter, preventing it from melting prematurely and keeping the dough pliable. Simply fill a glass with water and a few ice cubes, then measure out the required amount as needed.
- Handle Dough Lightly: Overworking pie dough is a common pitfall. Excessive mixing and kneading develop gluten, which is desirable for bread but detrimental for pie crust. Too much gluten results in a tough, chewy crust rather than a tender, flaky one. Mix just until the dough comes together into a shaggy mass. If it appears too dry or crumbly, add an additional tablespoon or two of ice water, one at a time, until it barely holds together.
- Chill Pie Dough Twice: This is a non-negotiable step for the flakiest crust. Chilling allows the butter to firm up again and the gluten to relax, which prevents shrinkage during baking. First, chill the dough for at least 30 minutes (or up to 6 days) after mixing and forming a disc, before rolling it out. Second, once the dough is rolled out and shaped in your pie pan, chill it again for another 15-30 minutes before adding the filling and baking. This double chill is critical for achieving a stable, perfectly textured crust.
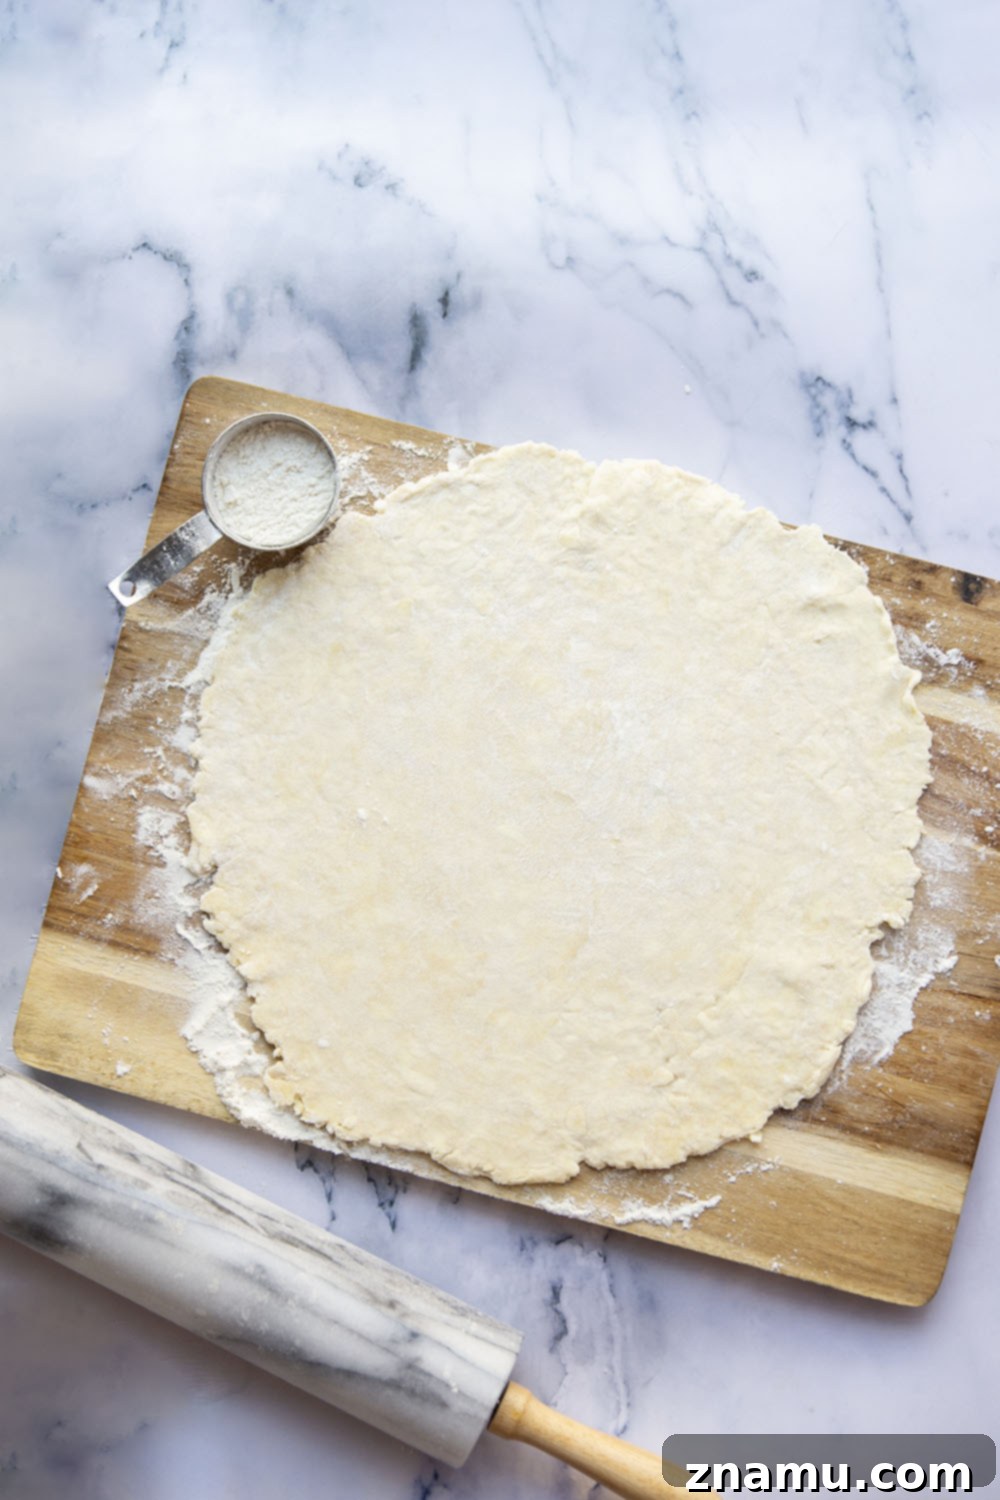
- Flour Your Surface Generously for Rolling: To prevent your delicate dough from sticking and tearing, generously flour your work surface and rolling pin. This creates a non-stick barrier, making it much easier to roll out the dough to an even thickness and remove it intact for transfer to the pie pan.
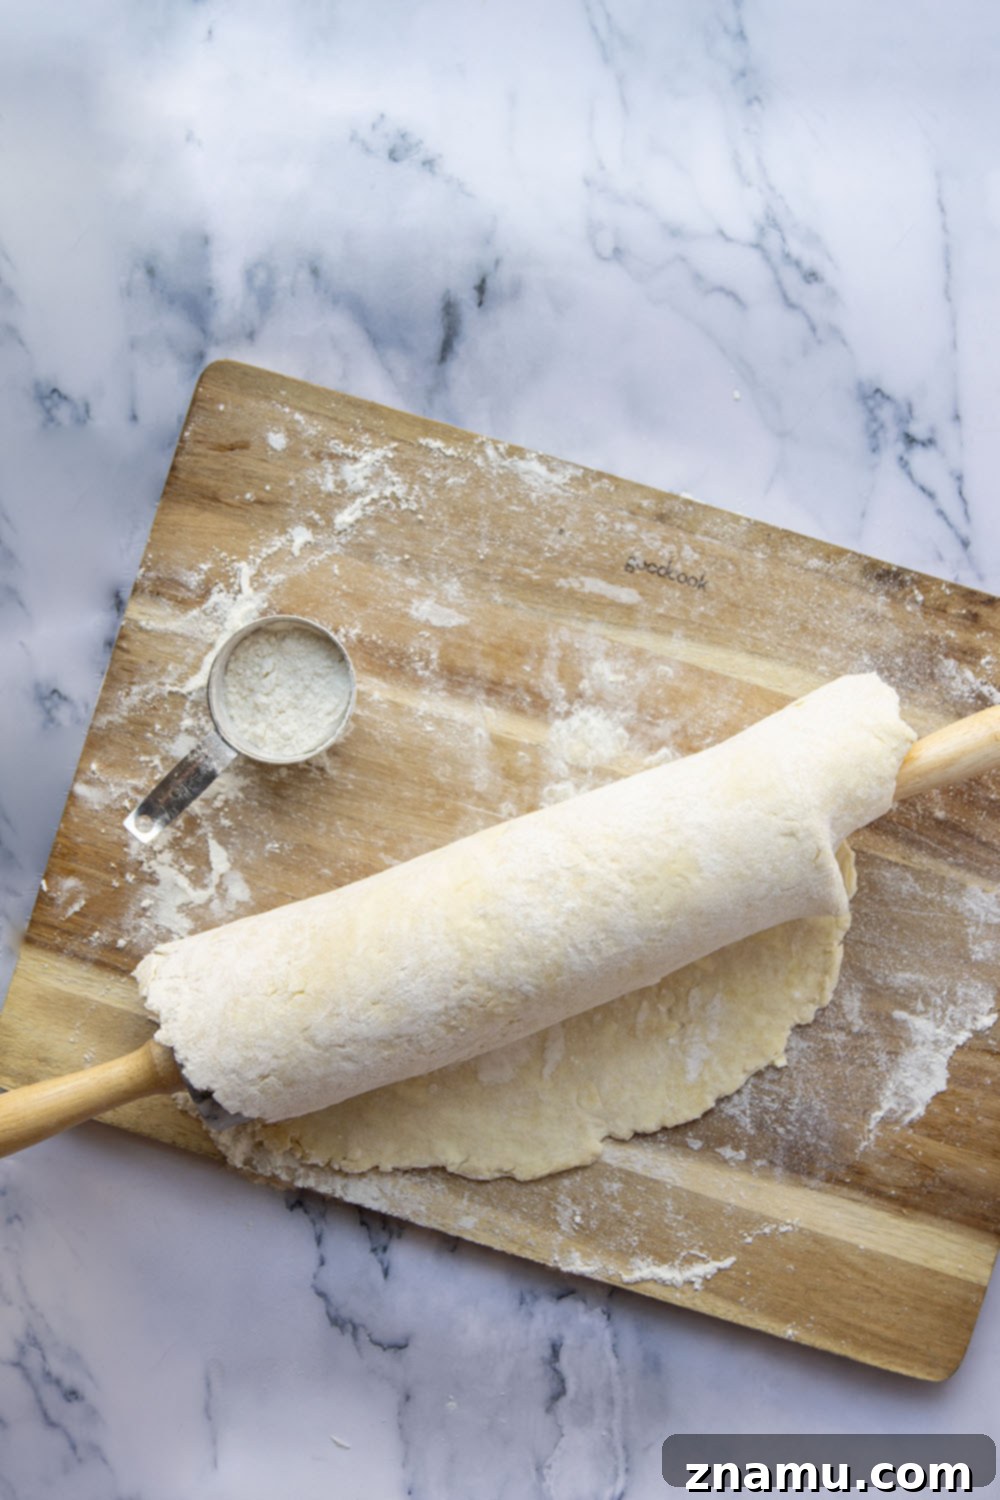
- Wrap Crust Around Rolling Pin for Easy Transfer: Once your dough is rolled out, transferring it to the pie pan can feel daunting. A simple trick is to gently roll the dough loosely around your rolling pin. Then, carefully unroll it over your pie pan, centering it as you go. This method minimizes stretching and tearing, ensuring a seamless transfer.
- Allow a Few Inches of Overhang in the Pie Pan: Pie crusts have a tendency to shrink slightly while baking. To counteract this, always leave about 1-2 inches of dough overhang around the edge of your pie pan after transferring. This allows for natural shrinkage without compromising the finished edge. You can then fold this overhang under itself, creating a thicker, more robust edge that can be beautifully crimped.
- Crimp Edges for Aesthetics and Function: Crimping the edges not only adds a beautiful, professional finish to your pie but also helps seal the crust, preventing filling from bubbling over. You can keep it simple with a classic fork crimp or get creative with more elaborate decorative edges using your fingers or specific tools. The key is to create a sturdy, even border.
Understanding Pie Baking Methods: Fully, Blind, and Par-Baking
Not all pies are baked the same way. There are three primary methods for baking pie crusts: **fully-baking, blind-baking, and par-baking.** Each method serves a specific purpose, depending on the type of pie and its filling. It is always crucial to consult your specific pie recipe for the exact guidelines and instructions.
Fully-Baking: This is the most common method and is typically used for pies with fillings that bake along with the crust. Think classic fruit pies, pumpkin pie, or pecan pie. In this method, the raw pie crust is filled and then baked directly. The crust and filling cook simultaneously, resulting in a cohesive dish where both elements are perfectly done at the same time. No pre-baking of the crust is generally required.
Blind-Baking: This method is reserved for pies with no-bake fillings, or those that have very moist fillings that might make the bottom crust soggy if not pre-baked. Blind-baking involves fully baking and cooling the pie crust *before* adding any filling. To blind-bake your crust:
- Line the bottom of your chilled pie crust with a piece of parchment paper.
- Fill the crust generously with pie weights (or dried beans/rice). These weights prevent the crust from puffing up and shrinking excessively during baking.
- Bake the crust at 375°F (190°C) for 15-20 minutes.
- Carefully remove the parchment paper and pie weights.
- Continue baking for another 10-15 minutes, or until the crust achieves a beautiful golden brown color and appears fully cooked.
- Allow the crust to cool completely on a wire rack before adding your no-bake filling.
Par-Baking (Partially Baking): This method is a hybrid, used for pies or tarts that have a liquid filling which will continue baking, such as quiches, custard pies, or certain savory tarts. The goal is to give the crust a head start, ensuring it doesn’t become soggy, but without fully cooking it to a deep golden brown, as it will continue cooking with the filling.
To par-bake your crust, follow the initial steps for blind-baking:
- Line the bottom of your chilled pie crust with parchment paper and fill with pie weights.
- Bake at 375°F (190°C) for 15-20 minutes.
- Remove the pie weights and parchment paper.
- Return the crust to the oven for a shorter period, typically 5-10 minutes, until the crust is only a *very light* golden brown. It should appear mostly set but not fully colored.
- The crust will continue to cook and achieve its final golden hue once you add your liquid filling and return the pie to the oven.
Storing Your Homemade Pie Dough for Future Baking
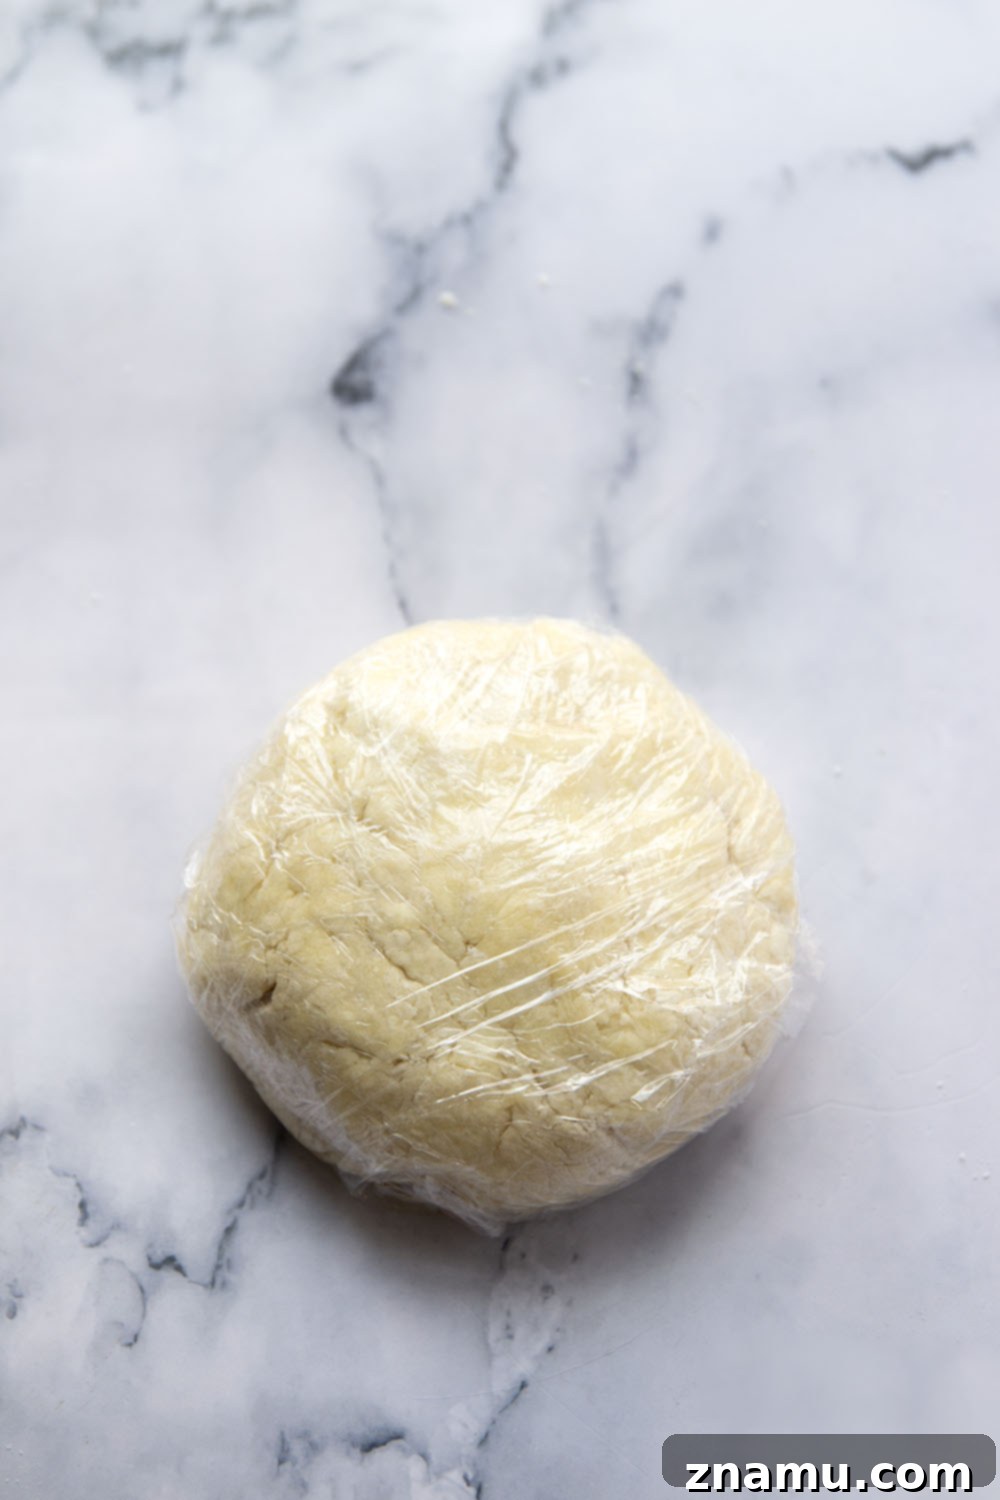
One of the many advantages of homemade pie dough is its excellent storage capabilities, allowing you to prepare it ahead of time and have it ready for any impromptu baking session. This particular pie dough stores beautifully in the refrigerator for up to 6 days. Simply wrap the disc of dough tightly in plastic wrap to prevent it from drying out or absorbing any refrigerator odors.
For longer storage, this versatile dough can also be frozen for up to 1 month. Again, ensure it’s tightly wrapped in several layers of plastic wrap and placed in a freezer-safe bag or container to protect it from freezer burn. When you’re ready to use frozen dough, simply transfer it to the refrigerator and allow it to thaw completely overnight or for several hours. Once thawed, you can roll it out and proceed with your recipe as usual.
Crafting a Beautiful Lattice Topping
If you’re aiming for a show-stopping pie with a classic lattice topping, this pie crust recipe is perfect. For a lattice top, I highly recommend doubling the recipe for the pie dough. This ensures you have ample dough for both the bottom crust and enough remaining to cut into strips for your intricate lattice design.
While you might not use every single strip, having extra dough provides flexibility and allows for mistakes. Any leftover dough scraps can be pressed together, re-chilled briefly, and then used for decorative cut-outs (like leaves or shapes) to garnish your pie, or simply frozen for another use.
Once you experience the sublime taste and texture of a pie made with homemade crust, I guarantee you’ll never consider going back to store-bought. This recipe is truly tried-and-true, consistently baking up with an unbelievably flaky texture and rich butter flavor that elevates any pie filling it’s paired with.
And speaking of elevating things… just wait for all the compliments that will start rolling in (no pun intended!) about your incredible pie-making skills. Happy baking!
Don’t forget to save this recipe using the ‘save to recipe box’ button below for easy access. If you make it, we’d absolutely love to hear from you! Please leave a comment and a star rating below to share your experience, or snap a photo and tag us onInstagram with #wholeandheavenlyoven.
For a visual guide, watch this pie crust being made step-by-step on Google Web Stories.
Ready to put your perfect pie crust to use? Try these beloved pie recipes:
- Maple Pecan Slab Pie
- Orange Ginger Cranberry Galette
- Best Dutch Apple Pie
Print
Pin
Perfect Homemade Pie Crust
This recipe may include paid links. As an Amazon Associate, I earn a commission from qualifying purchases.
Ingredients
- 1-1/4 cups all-purpose flour (spooned and leveled)
- 1 teaspoon granulated sugar
- 1/2 teaspoon kosher salt
- 1/2 cup unsalted butter, grated on box grater and frozen
- 4-6 tablespoons ice water
Instructions
-
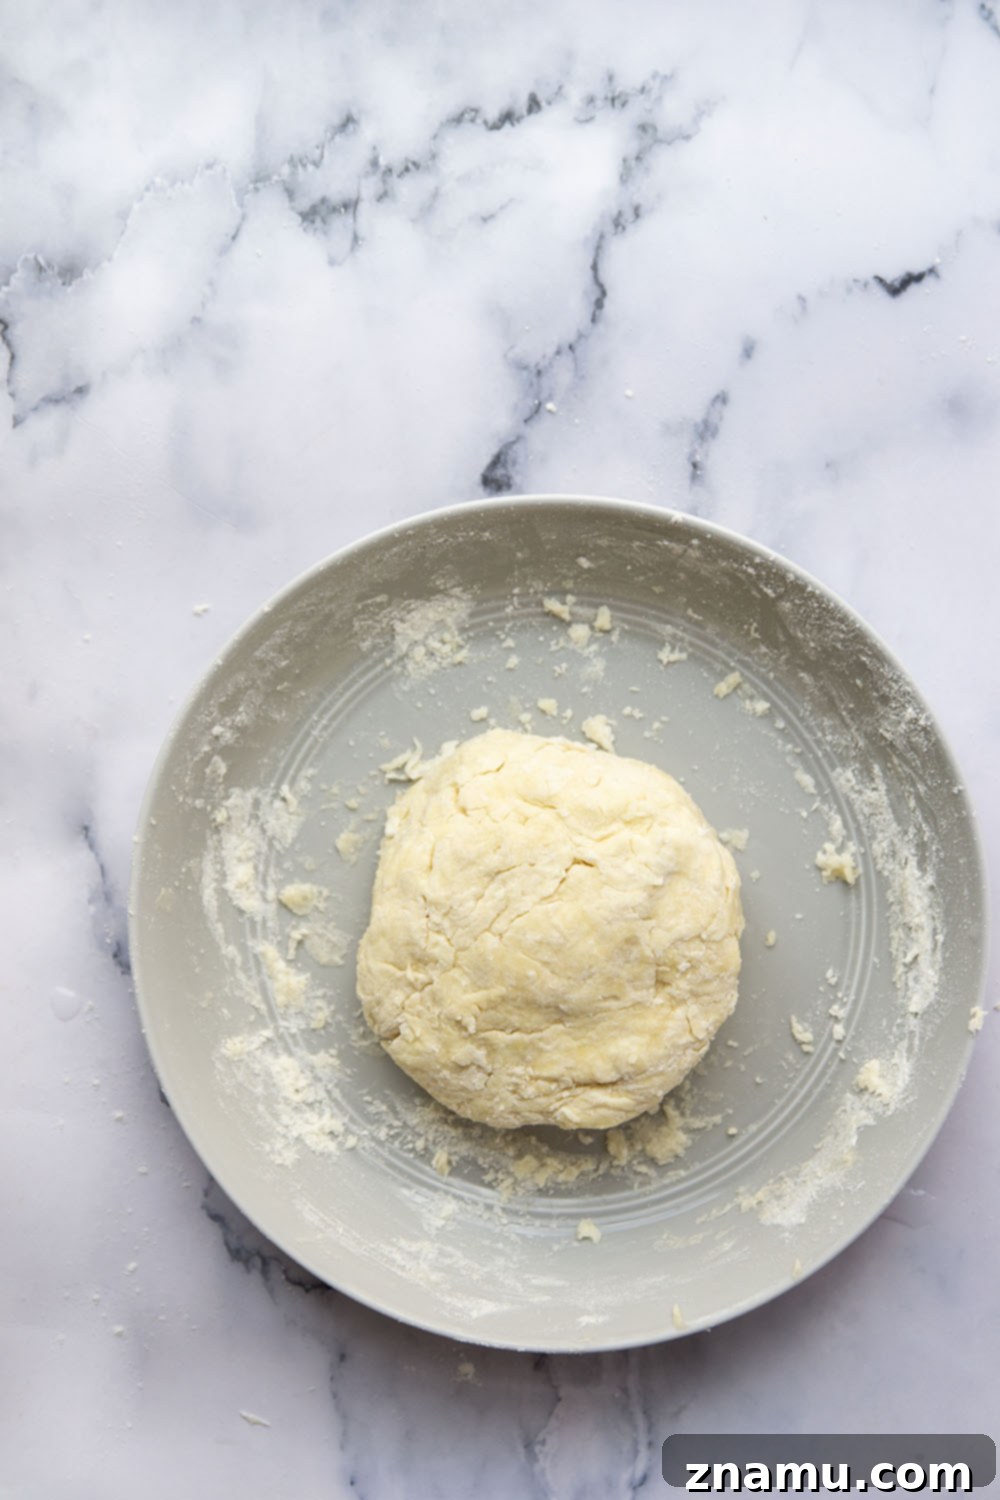
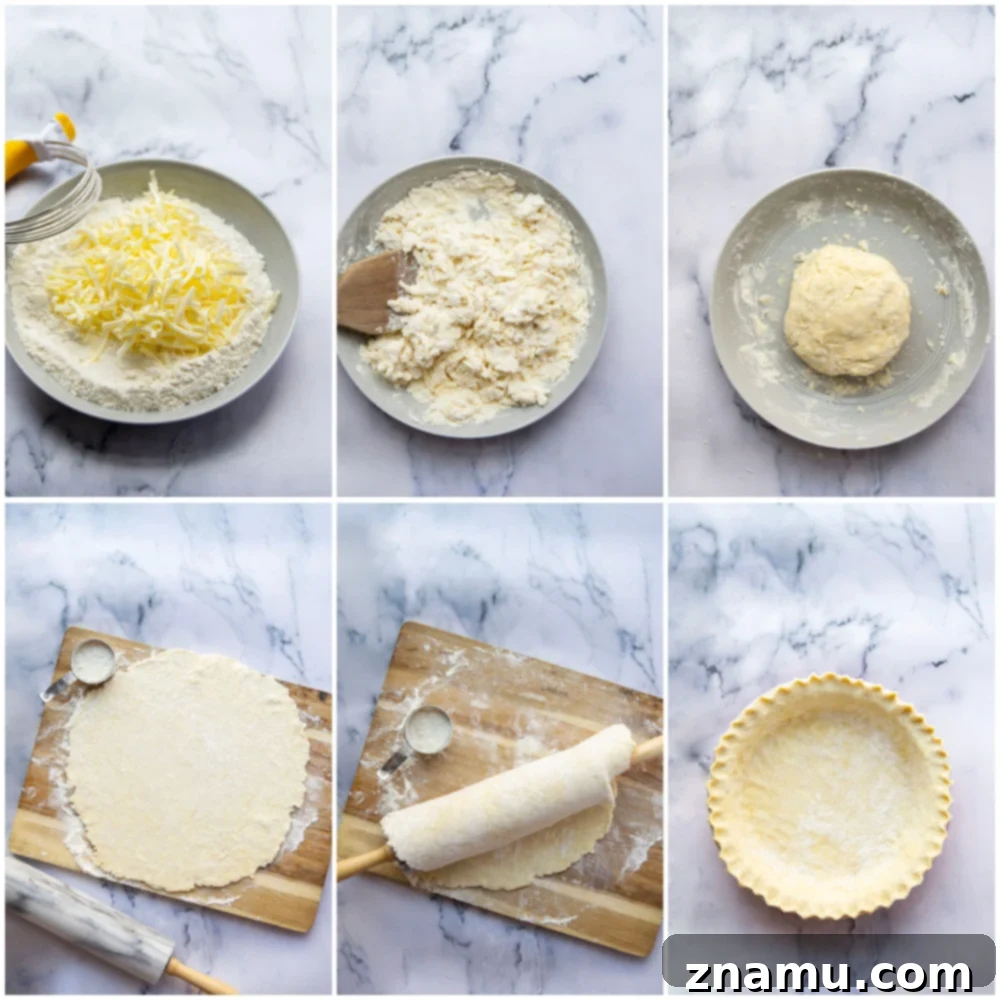
Combine flour, sugar, and salt in a large bowl. Use your fingers or a pastry cutter to incorporate the cold butter into the flour mixture until the butter forms pea-sized clumps. Drizzle 4 tablespoons of ice water over the flour mixture and gently toss until the dough begins to come together into a shaggy mass. If the dough appears too dry or crumbly, add an additional tablespoon or two of ice water, one at a time, until it just holds together.
-
Transfer the dough onto a lightly floured surface. Gently knead the dough a few times, just enough to bring it together into a cohesive ball. Form the dough into a smooth, flat disc and wrap it tightly in plastic wrap. Chill the dough in the refrigerator for at least 30 minutes, or for up to 6 days.
-
When you’re ready to bake, remove the chilled dough from the refrigerator and place it on a generously floured surface. Roll the dough out evenly into a 12-inch circle. Carefully transfer the rolled-out dough to a 9-inch pie plate, allowing a few inches of overhang around the edges. Fold the overhanging edges under themselves to create a thick, smooth rim, then crimp the edges decoratively.
-
Refrigerate the pie crust again for at least 30 minutes before adding your desired filling and proceeding with your pie recipe’s baking instructions. For the best possible flaky texture, keep the pie crust chilled in the refrigerator until just before it’s time to bake.
-
To Blind-Bake Pie Crust: Line the bottom of your chilled pie crust with parchment paper and fill it with pie weights (or dried beans/rice). Bake the pie crust at 375°F (190°C) for 15-20 minutes. Then, remove the pie weights and parchment paper. Continue baking for an additional 10-15 minutes until the crust is golden brown for a fully-baked pie crust (perfect for no-bake pies). Alternatively, bake for only 5-10 minutes longer until the crust is a very light golden brown for a partially-baked pie crust (ideal for recipes like quiche that continue baking with a liquid filling).
-
If you are making a no-bake pie, allow the fully-baked crust to cool completely on a wire rack before filling. If you are using a partially-baked crust, continue with your specific pie recipe instructions immediately.
Notes
Store pie dough wrapped well in the refrigerator for up to 6 days. Pie dough may also be frozen for up to 1 month. Thaw completely in the refrigerator before rolling out and using in a recipe.
Nutrition
This post was updated with new recipe adjustments and photos on 10/6/23.