
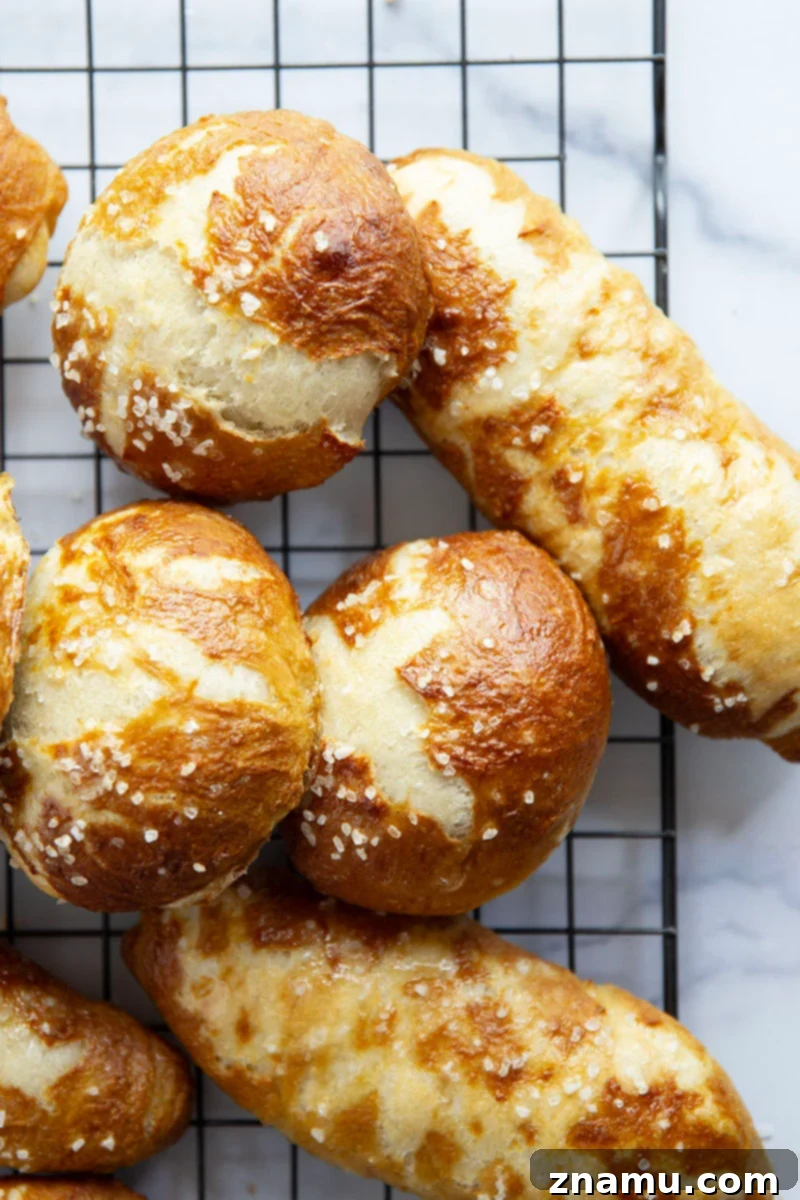
Elevate your meals with these incredible no-knead pretzel buns! Perfectly soft and robust on the inside with a beautifully golden, crispy exterior, they are the ideal foundation for juicy hamburgers, classic hot dogs, savory brats, and any gourmet sandwich you can envision. Discover the secret to bakery-quality pretzel buns right in your own kitchen.
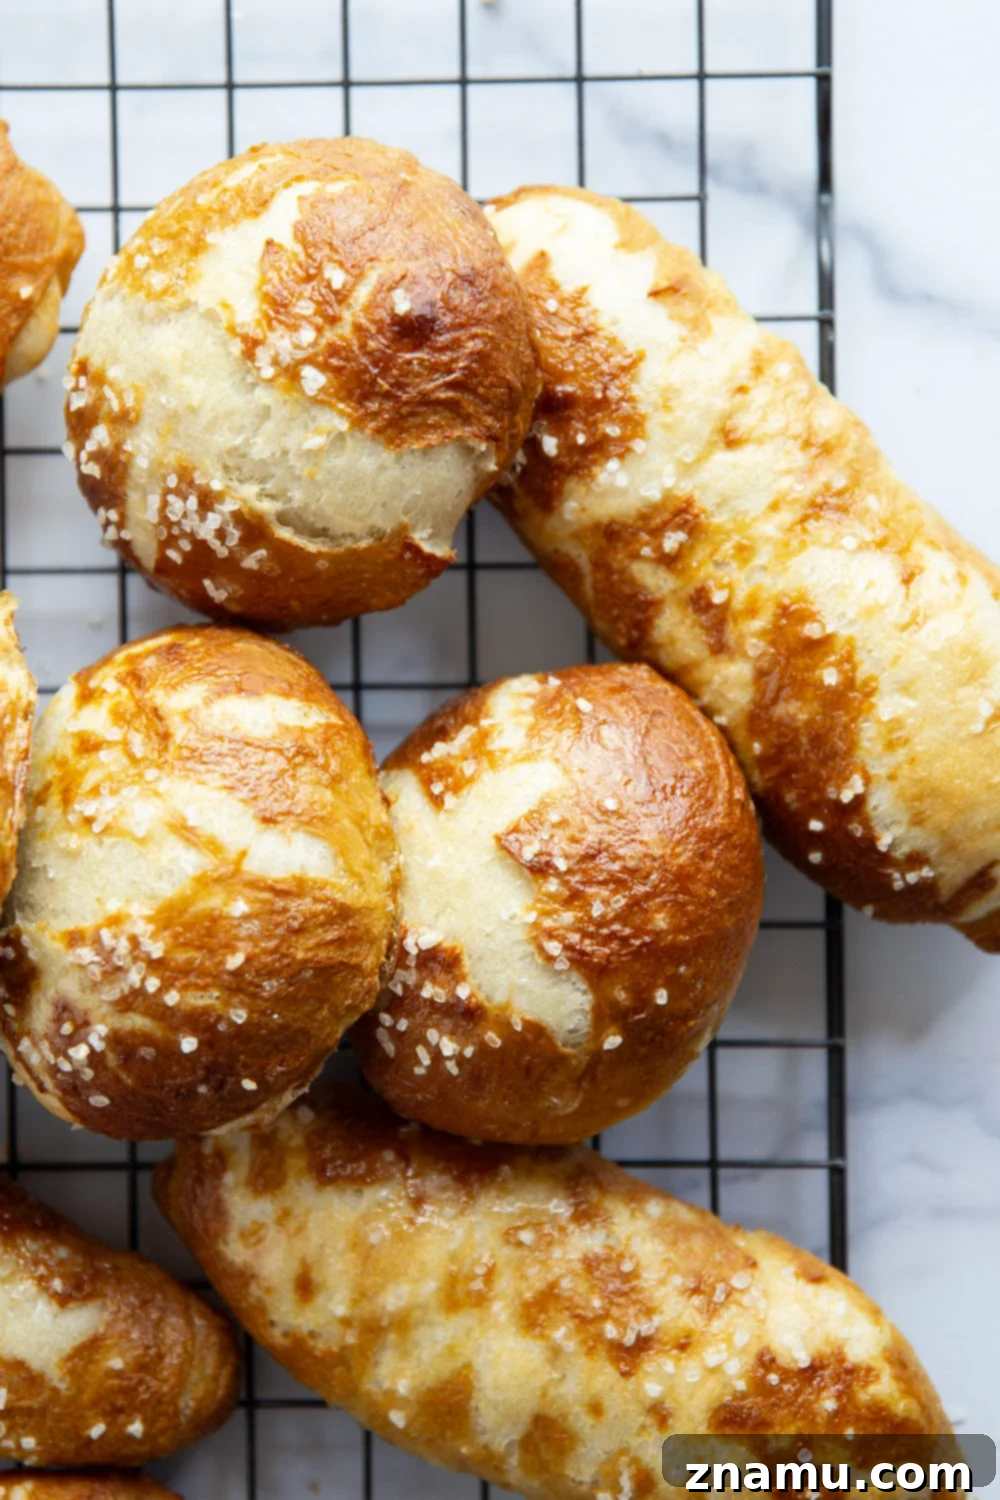
Get ready to transform your backyard barbecues and everyday sandwich experiences! Homemade pretzel buns are here to revolutionize how you enjoy your favorite foods. Once you’ve tasted the difference that a fresh, homemade pretzel bun makes, you’ll wonder how you ever settled for anything less.
Many home bakers might shy away from making their own bread, imagining a laborious process filled with endless kneading and complex techniques. But I’m thrilled to tell you that these no-knead pretzel rolls are surprisingly simple to master! The beauty of this recipe lies in its simplicity, requiring minimal effort and maximum flavor payoff. All it truly asks for is a bit of patience during the cold fermentation and, perhaps more challenging, a significant amount of self-control once these irresistible buns emerge golden and fragrant from your oven.
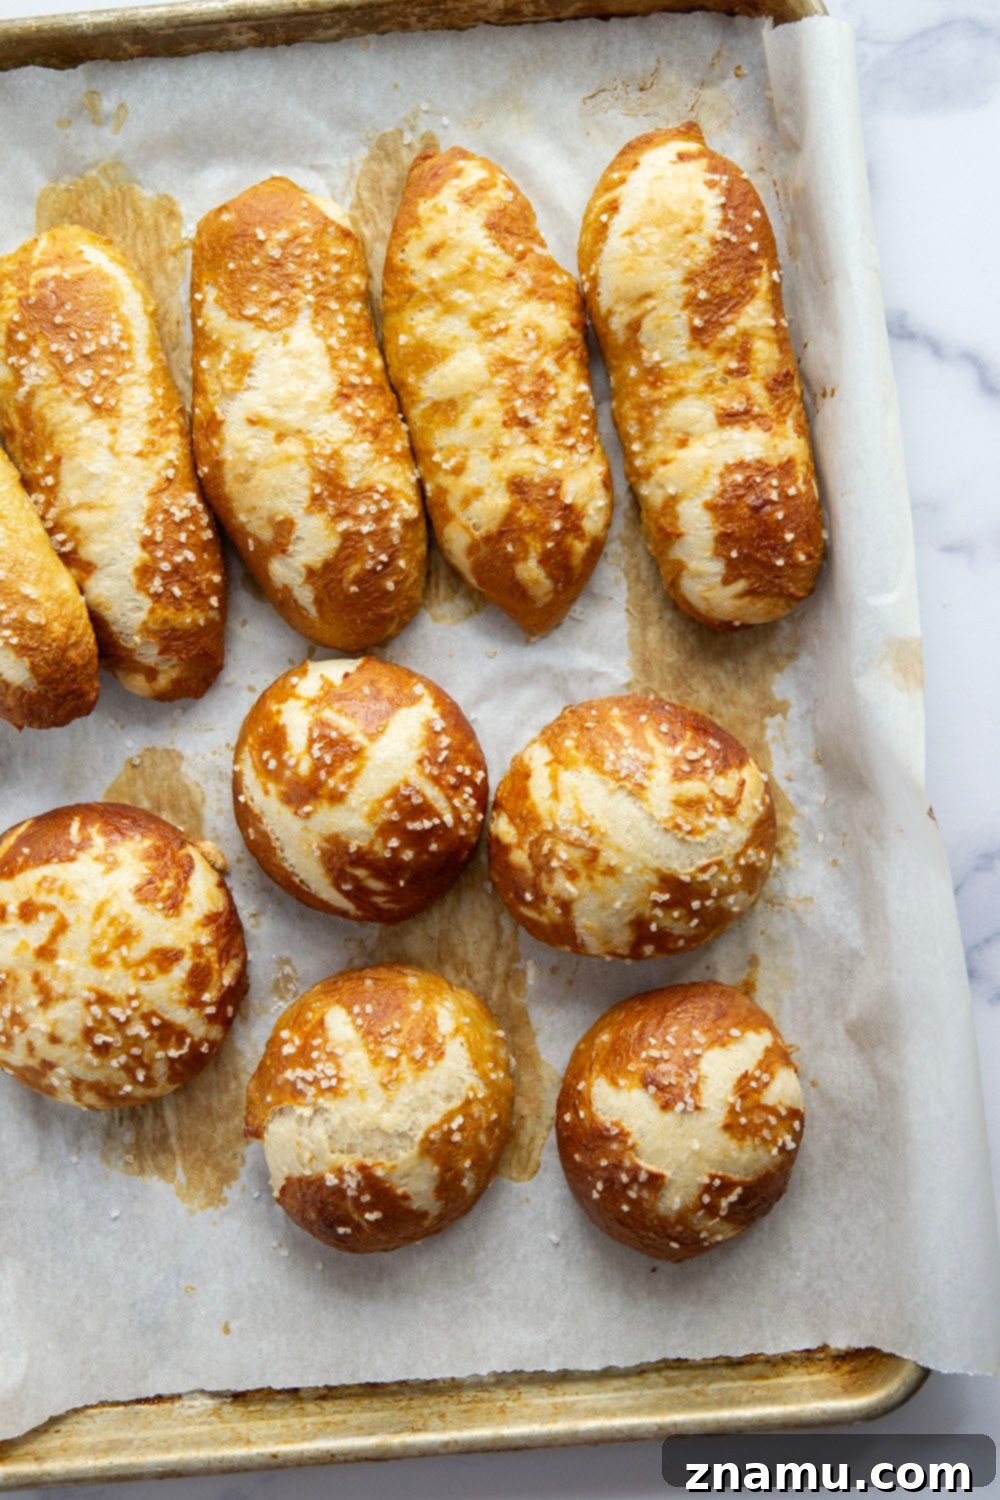
What makes this recipe truly exceptional are two key factors: Firstly, it’s a ‘no-knead’ recipe, allowing the dough to develop incredible flavor and structure with minimal effort on your part. You simply mix the ingredients, then let time and the refrigerator do the heavy lifting. This means you can prepare the dough well in advance, making it incredibly convenient for busy schedules or upcoming gatherings. Secondly, this versatile dough can be shaped into both classic hamburger buns and elongated hot dog rolls, offering flexibility for all your culinary creations.
Imagine the perfect cookout: a sizzling burger in one hand, a delicious hot dog in the other. With these homemade pretzel buns, that dream scenario just got a whole lot more gourmet and utterly achievable. These buns don’t just hold your fillings; they elevate them, adding a distinct flavor and texture that turns any meal into a memorable feast.
Why You’ll Love These No-Knead Pretzel Buns
These homemade pretzel buns aren’t just an alternative to store-bought; they’re an upgrade in every sense. Here’s what makes them stand out:
- A perfectly soft and chewy interior that provides the ideal texture contrast to your fillings.
- A gloriously golden, crisp exterior, achieved through the traditional pretzel-making process, offering that satisfying initial bite.
- That unmistakable signature pretzel flavor – savory, slightly tangy, and incredibly addictive.
- The revolutionary no-knead method, allowing the dough to be prepared way ahead of time, minimizing active prep and maximizing flavor development.
- Versatile shaping options, perfect for hamburgers, hot dogs, and a wide array of sandwiches.
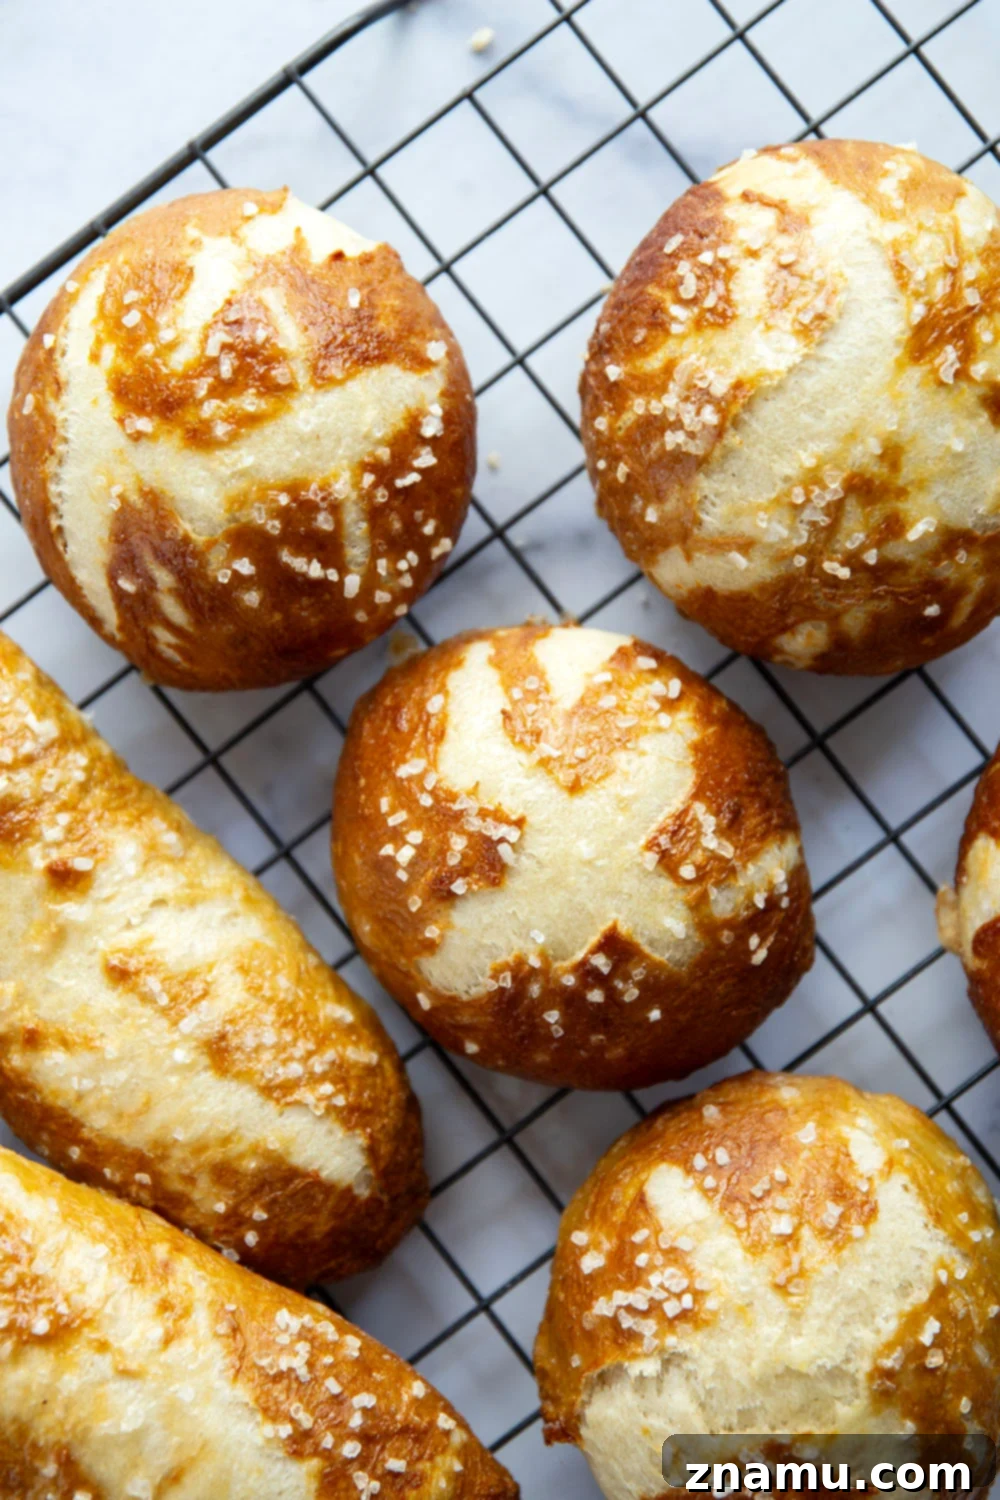
The Magic Behind No-Knead Baking
The “no-knead” aspect of this recipe isn’t just a time-saver; it’s a technique that contributes significantly to the buns’ exceptional flavor and texture. By allowing the dough to undergo a long, cold fermentation in the refrigerator (for at least 12, up to 48 hours), you’re essentially letting time do the work that kneading traditionally accomplishes. During this extended rest, the gluten in the bread flour naturally develops and strengthens, creating a complex internal structure without you having to touch it. This slow fermentation also allows the yeast to work its magic more gradually, producing a deeper, more nuanced flavor profile that store-bought buns simply can’t match. It results in a dough that is not only incredibly easy to handle but also yields a crumb that is both airy and wonderfully chewy.
Crafting Your Pretzel Rolls: Ingredients and Process
Making these pretzel rolls is a rewarding experience, blending the simplicity of no-knead bread with the unique technique of pretzel making. Let’s break down the essential components and steps.
Key Ingredients You Will Need
Each ingredient plays a crucial role in achieving the perfect pretzel bun:
- Warm Water: Essential for activating the yeast. Precision in temperature is key.
- Active Dry Yeast: The leavening agent that gives the buns their rise and light texture.
- Unsalted Butter: Adds richness and tenderness to the dough. Melting and cooling it helps integrate it smoothly.
- Honey or Agave Nectar: Provides a touch of sweetness and helps to feed the yeast, contributing to browning.
- Kosher and Sea Salt: Crucial for flavor in the dough, and coarse sea salt for the iconic pretzel topping.
- Bread Flour: High in protein, it’s vital for developing the strong gluten structure needed for a chewy bun, especially in a no-knead recipe.
- Baking Soda: The star ingredient for the traditional “pretzel bath.” It creates the alkaline environment necessary for the signature dark, glossy crust and distinctive flavor.
- Egg White: Used in an egg wash, it promotes a beautiful golden-brown color and a lovely sheen on the baked buns.
Choosing Your Perfect Bun Shape
One of the joys of making your own buns is the flexibility to customize them. This recipe is perfectly adaptable for creating both round hamburger buns and elongated hot dog buns. If you’re hosting a gathering, I highly recommend making a mix of both to cater to all preferences!
When shaping your hot dog buns, a helpful tip is to keep their length manageable. Aim for buns no longer than 5 inches. This ensures they can be easily transferred to and from the boiling water during the critical pretzel bath step, preventing any mishap or loss of shape.
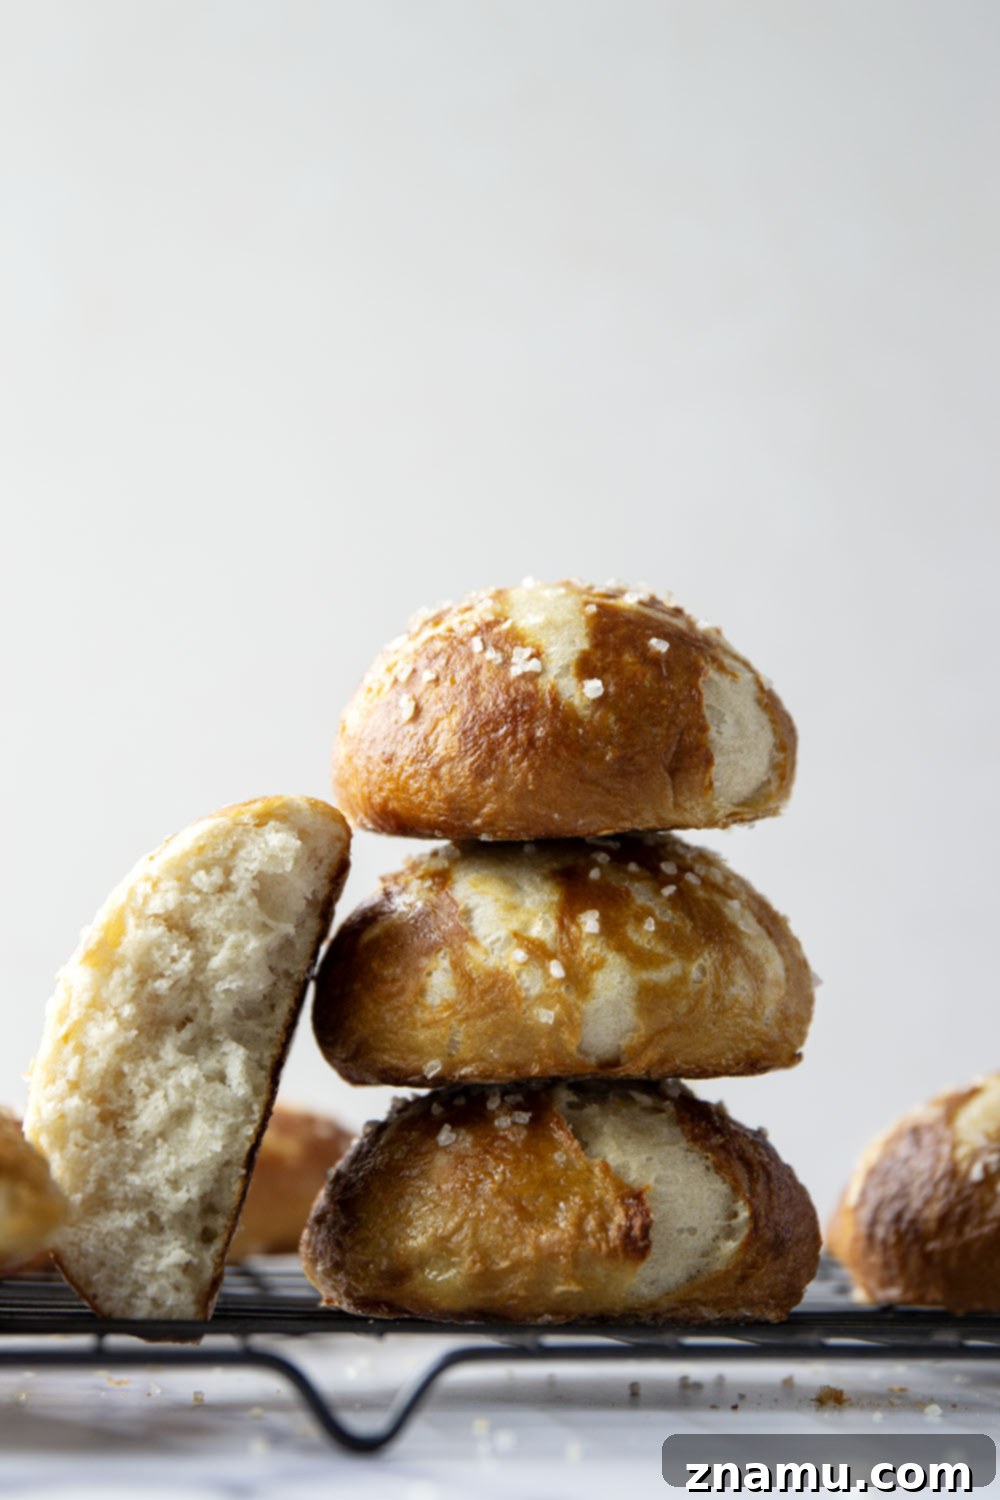
Expert Tips for Flawless Pretzel Rolls Every Time
Achieving bakery-quality pretzel buns at home is easier than you think, especially with these tried-and-true tips:
- Accurate Flour Measurement (Spoon and Level): Precision in baking is paramount. To avoid adding too much flour, use the “spoon and level” method. Gently spoon flour into your measuring cup until it’s overflowing, then use the straight edge of a knife to level off the excess. This prevents compacting the flour and ensures your dough isn’t too stiff.
- Optimize Water Temperature for Yeast: Yeast is a living organism, and its activity is highly dependent on temperature. Ensure your warm water is precisely 110°F (43°C). Water that’s too cold won’t activate the yeast, while water that’s too hot can kill it, leading to a dough that won’t rise. A kitchen thermometer is your best friend here.
- Embrace Cold Fermentation (12-48 Hours): This step is non-negotiable for superior flavor and texture in no-knead dough. The extended cold rest in the refrigerator allows the gluten to develop slowly and the yeast to produce more complex flavors, mimicking the effects of vigorous kneading. Don’t rush it; the longer the fermentation (up to 48 hours), the richer the taste and better the structure.
- Allow Dough to Reach Room Temperature Before Shaping: After its long nap in the fridge, your dough will be firm. Remove it 1.5 to 2 hours before you plan to shape and bake. This allows the dough to relax, become more pliable, and easier to work with, preventing tearing and ensuring smooth shaping.
- Lightly Flour Your Hands and Surface During Shaping: No-knead dough can be slightly sticky, which is perfectly normal. Keep a small bowl of flour nearby and lightly dust your hands and work surface as needed. This prevents sticking without incorporating too much extra flour into your buns.
- Utilize a Bench Scraper for Transferring: When moving the shaped buns to the boiling water, they can be delicate. A bench scraper provides excellent support, helping to maintain their perfect form and prevent them from stretching or tearing.
- Precise Boiling Time (30 Seconds): The baking soda bath is crucial for the pretzel crust, but over-boiling can impart an undesirable metallic taste. Submerge each bun for exactly 30 seconds per side. This is just enough time to gelatinize the starch on the surface, setting the stage for that iconic chewy-crisp exterior.
- Don’t Skip the Egg Wash: Before baking, brush your buns generously with an egg white wash (egg white beaten with a tablespoon of water). This promotes a beautiful, deep golden-brown color and a lovely, subtle sheen, enhancing the visual appeal of your pretzel rolls.
- Bake at a High Temperature (400°F): A hot oven is key to achieving that perfectly crisp, golden exterior and ensuring the buns cook through quickly. The high heat helps the crust develop rapidly, locking in moisture and creating that characteristic pretzel chew.
Creative Ways to Serve Your Pretzel Rolls
The versatility of these homemade pretzel buns truly knows no bounds. Their robust structure and distinctive flavor make them a fantastic canvas for a myriad of culinary creations. Here are some of our favorite ways to enjoy them, inspiring you to think beyond the ordinary:
- Classic Hamburger Buns: The ultimate upgrade for your gourmet burgers, from classic beef patties to inventive veggie burgers.
- Hot Dog or Brat Buns: Elevate your grilled sausages, hot dogs, and brats with a bun that adds a whole new dimension of flavor and texture.
- Breakfast Sandwiches: Start your day right with a savory pretzel bun embracing eggs, cheese, and your choice of breakfast meat.
- BLTs with a Twist: The salty crunch of bacon, crisp lettuce, and fresh tomatoes are perfectly complemented by the unique flavor of these buns.
- Avocado Toast Reinvented: Spread mashed avocado on a toasted pretzel bun, sprinkle with red pepper flakes and a squeeze of lime for a luxurious snack.
- BBQ Chicken or Pork Sandwiches: The sturdiness of the bun stands up beautifully to saucy pulled meats, making for a less messy and more flavorful experience.
- Gourmet Slider Buns: Shape them smaller for impressive sliders, perfect for appetizers or a party spread.
- Deli-Style Sandwiches: Upgrade your everyday turkey and Swiss or ham and cheddar with a bun that makes every bite feel special.
Storing and Freezing for Future Enjoyment
These magnificent pretzel rolls are so delicious, you might find it hard to have any left! However, if you do manage to save some, proper storage will keep them fresh and ready for your next meal.
Store your cooled pretzel buns in an airtight container at room temperature for up to 4 days. For the best experience, I highly recommend briefly reheating them or toasting them before serving. A quick warm-up in the oven or toaster oven will bring back their fresh-baked texture and aroma.
To enjoy these buns even longer, they freeze exceptionally well. Once completely cooled, place them in a freezer-safe sealable bag, ensuring as much air is removed as possible. They can be frozen for up to 2 months. When you’re ready to indulge, simply thaw them at room temperature and reheat as desired before serving. This makes them perfect for meal prepping or having a stash of delicious homemade buns on hand whenever a craving strikes.
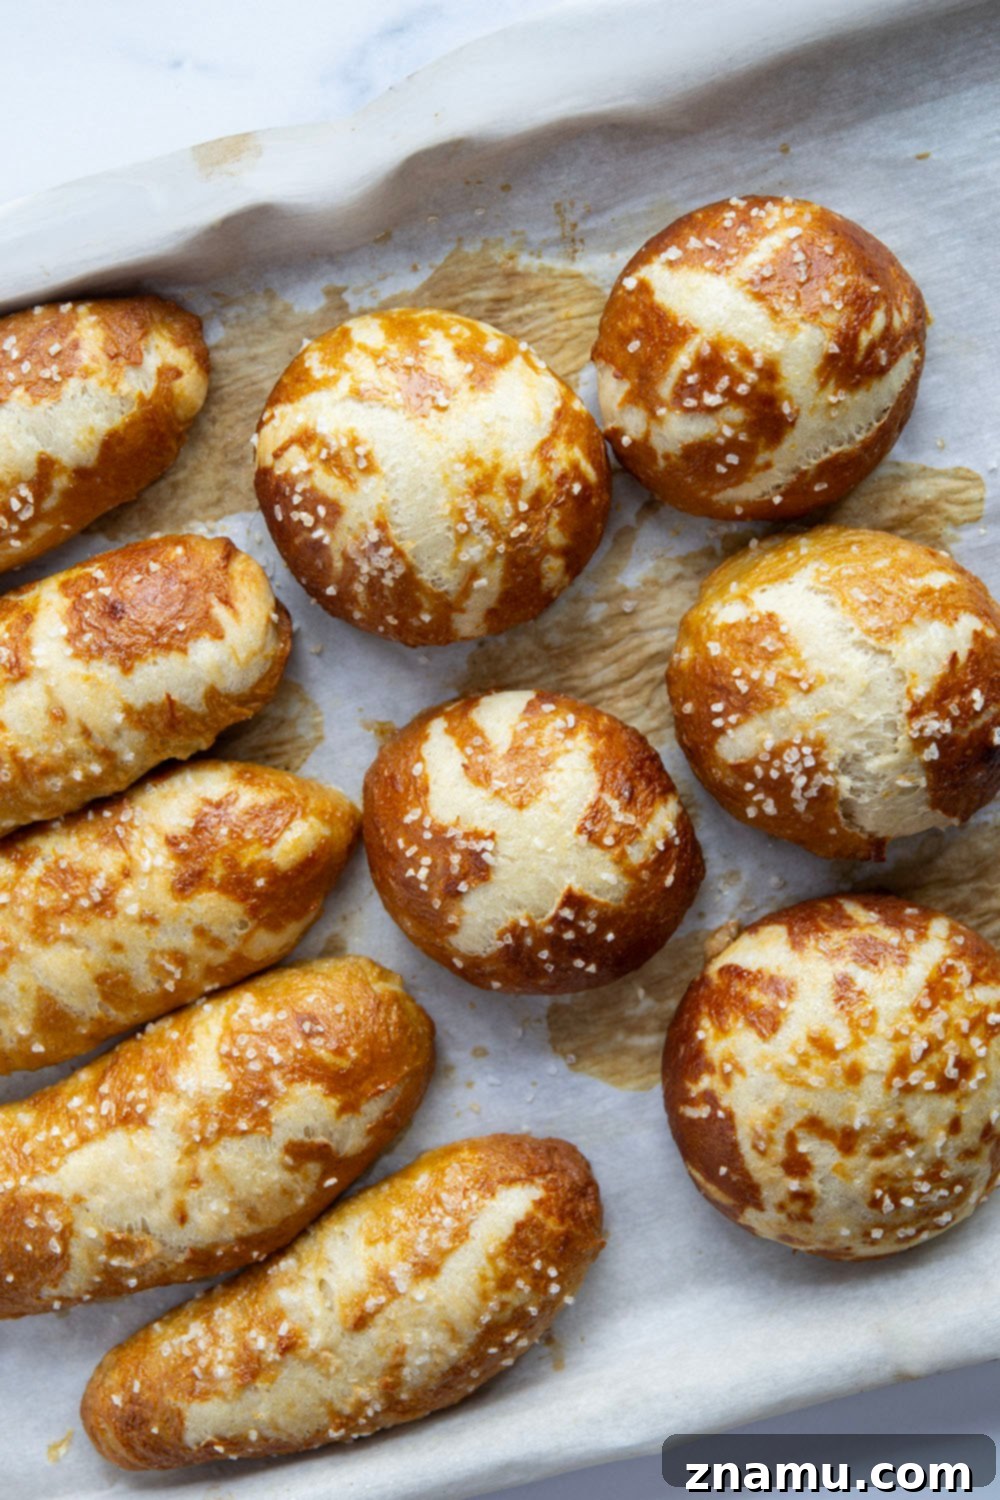
It’s truly astonishing how much these homemade buns capture the authentic essence of a classic pretzel! They boast that unmistakable pretzel flavor, a delightful salty top, and the most visually perfect soft, chewy interior. This robust structure ensures they can confidently hold up to any sandwich masterpiece you conjure up, whether it’s piled high with fillings or simply slathered with butter.
Let’s be candid: any sandwich instantly transforms into a culinary masterpiece when nestled within one of these exceptional pretzel buns. Their unique character elevates even the simplest ingredients, making every bite an experience to savor.
Save this recipe for easy access later! If you try it, please share your thoughts! Leave a comment and star rating below, or share a photo on Instagram and tag it with #wholeandheavenlyoven.
Discover More Delicious Baking Projects!
If you loved making these pretzel buns, you might enjoy exploring other homemade bread and pastry recipes:
- Cheese Stuffed Pretzel Bites
- Asiago Rosemary Dinner Rolls
- Whole Wheat Hamburger Buns

No-Knead Pretzel Buns
These no-knead pretzel buns are perfectly soft and sturdy inside with a golden, crispy exterior. Use them as a base for hamburgers, hot dogs, brats, and pretty much any sandwich you can think of!
This recipe may included paid links. As an Amazon Associate, I earn a commission from qualifying purchases.
Ingredients
- 1-1/2 cups warm water (110F)
- 2-1/4 teaspoons active dry yeast
- 2 tablespoons unsalted butter, melted and cooled
- 1 tablespoon honey or agave nectar
- 1-1/4 teaspoons kosher salt
- 4-1/2 cups bread flour (spooned and leveled)
- 8 cups water
- 1/2 cup baking soda
- 1 large egg white, beaten with 1 tablespoon water
- Coarse sea salt for topping
- Melted butter for topping
Instructions
- Place warm water in the bowl of a stand mixer fitted with a dough hook OR a large bowl. Dissolve yeast in water and let stand 5 minutes until foamy.
- Mix butter, honey, salt, and flour into yeast mixture on low speed OR with a wooden spoon if making dough by hand until no streaks of flour remain (dough will be slightly sticky).
- Transfer dough to a greased 4-qt container or large bowl. Cover dough with lid or plastic wrap and place in refrigerator. Allow dough to cold-ferment in refrigerator 12 hours or up to 48.
- When ready to bake rolls, remove dough from refrigerator (keep covered) and allow to come to room temperature for 1-1/2 to 2 hours.
- Line 2 large sheet pans with parchment paper and preheat oven to 400F. Punch risen dough down, turn onto a lightly floured surface and divide into 10 uniform pieces. Roll portions into hamburger buns or hot dog buns (or do a mix of 5 and 5 – if rolling into hot dog buns I recommend not going any longer than 5 inches otherwise they will be difficult to remove from boiling water) dusting dough portions lightly with flour while rolling. Place 2 inches apart on sheet pans.
- In a large pot or Dutch oven, bring water to a boil over medium-high heat. Slowly pour baking soda into boiling water (careful, it will bubble a lot).
- Working in batches, use a floured bench scraper to carefully remove 2-3 pretzel buns from pan, gently place into boiling water, and let boil 30 seconds. Use a large spatula to transfer dough balls back to sheet pan and repeat boiling with remaining buns. Be very gentle during this step as the dough will be fragile.
- Brush buns with egg wash and sprinkle with coarse sea salt. Use a sharp knife to cut a small X into the top of each bun if desired. Bake buns at 400F 20-25 minutes until rolls are a deep golden brown.
- Brush warm rolls with melted butter. Allow to cool on pan 10 minutes then transfer to a wire cooling rack to cool completely. Enjoy!
Notes
Store buns in an airtight container at room temperature up to 4 days. Buns may also be frozen up to 2 months.
Nutrition
Serving: 1 bun | Calories: 190kcal | Carbohydrates: 35.4g | Protein: 5.2g | Fat: 2.8g | Saturated Fat: 1.5g | Cholesterol: 6mg | Potassium: 69mg | Fiber: 1.3g | Sugar: 1.9g | Calcium: 10mg | Iron: 2mg