
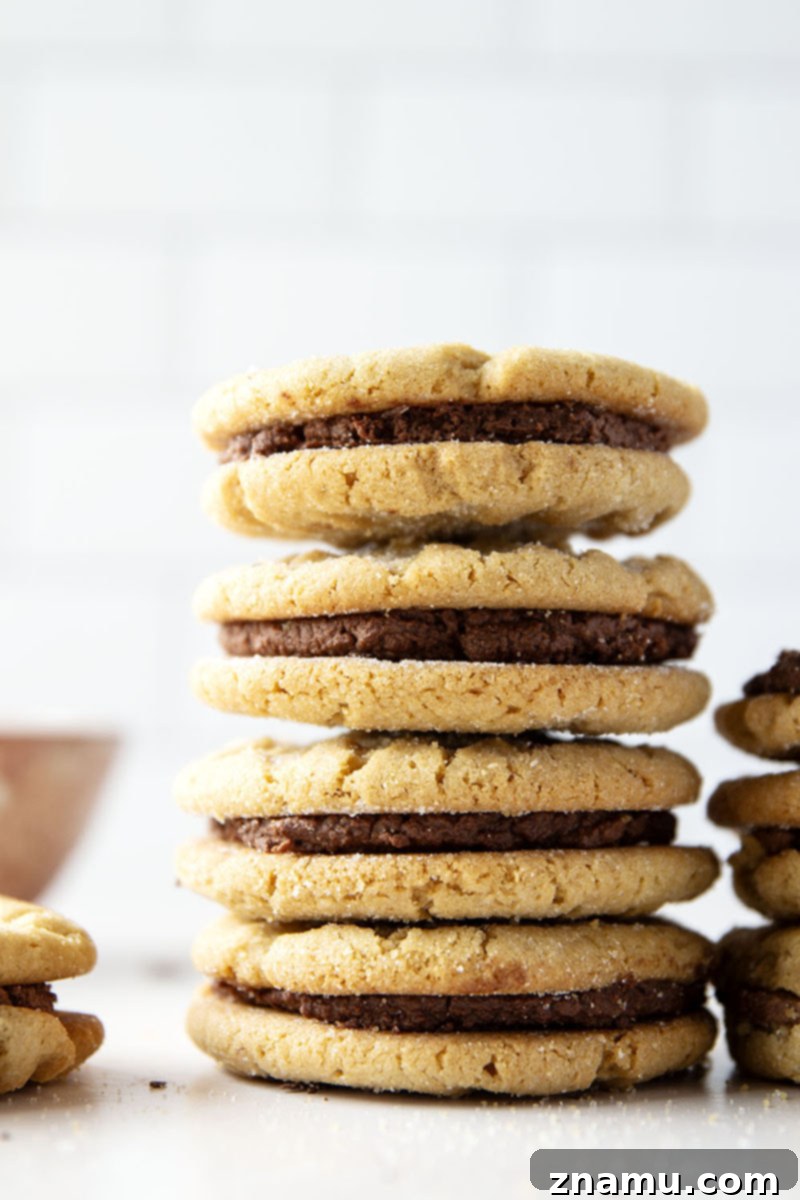
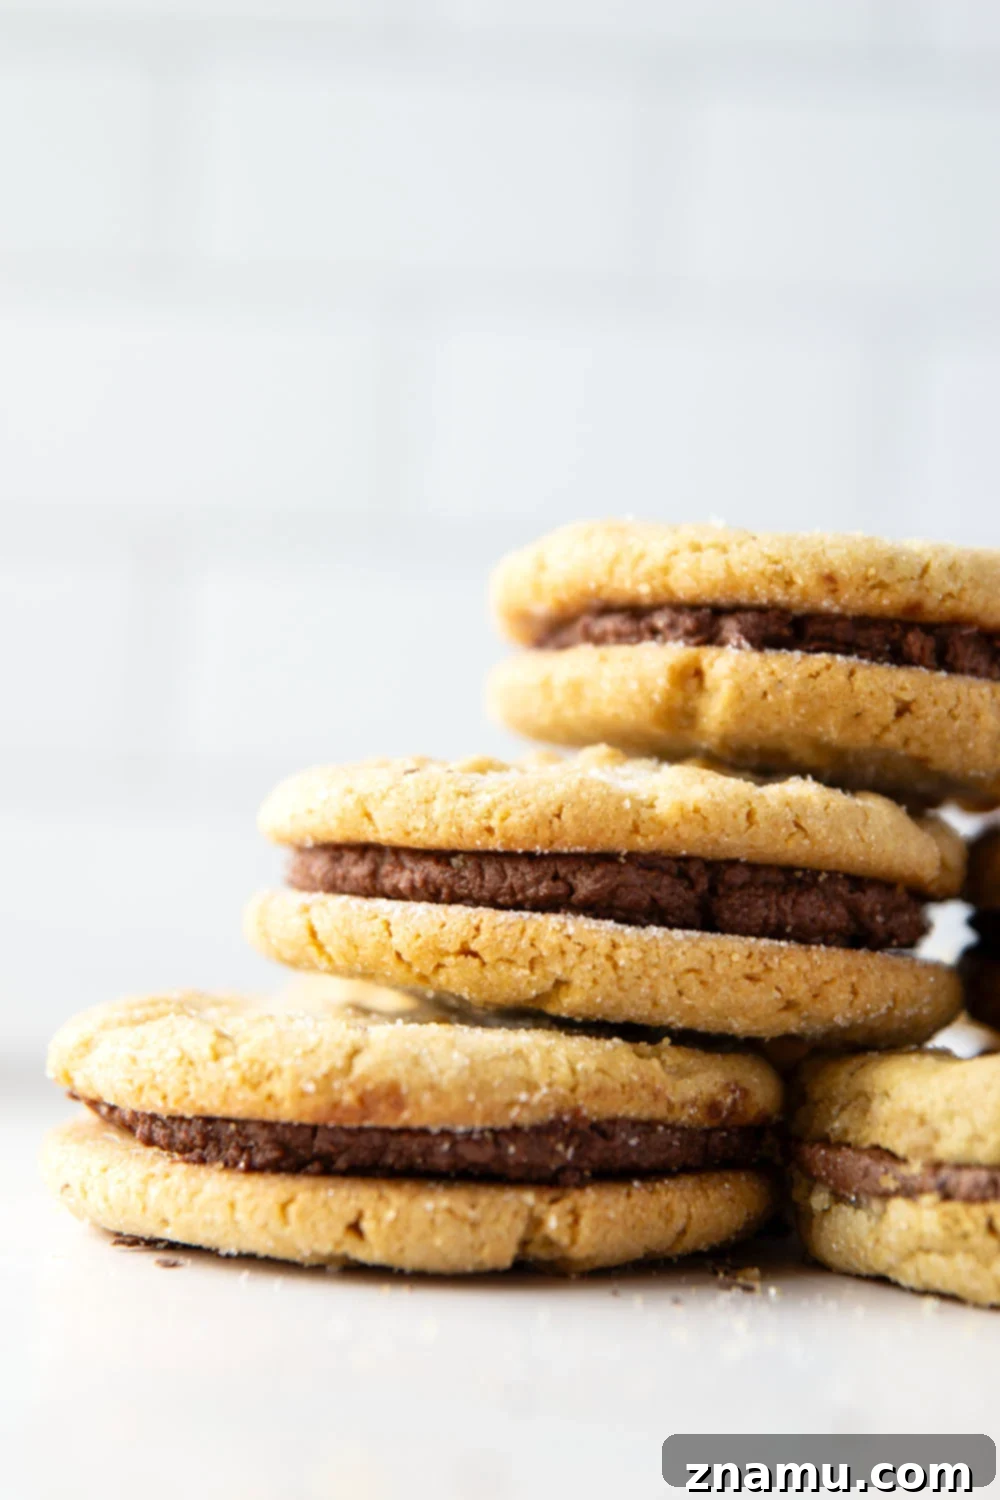
Indulge in the ultimate treat: Chocolate Peanut Butter Sandwich Cookies! These delightful cookies feature a fluffy, rich whipped chocolate ganache nestled between light and crispy peanut butter cookies, creating a perfect symphony of flavors and textures that will captivate any dessert lover.
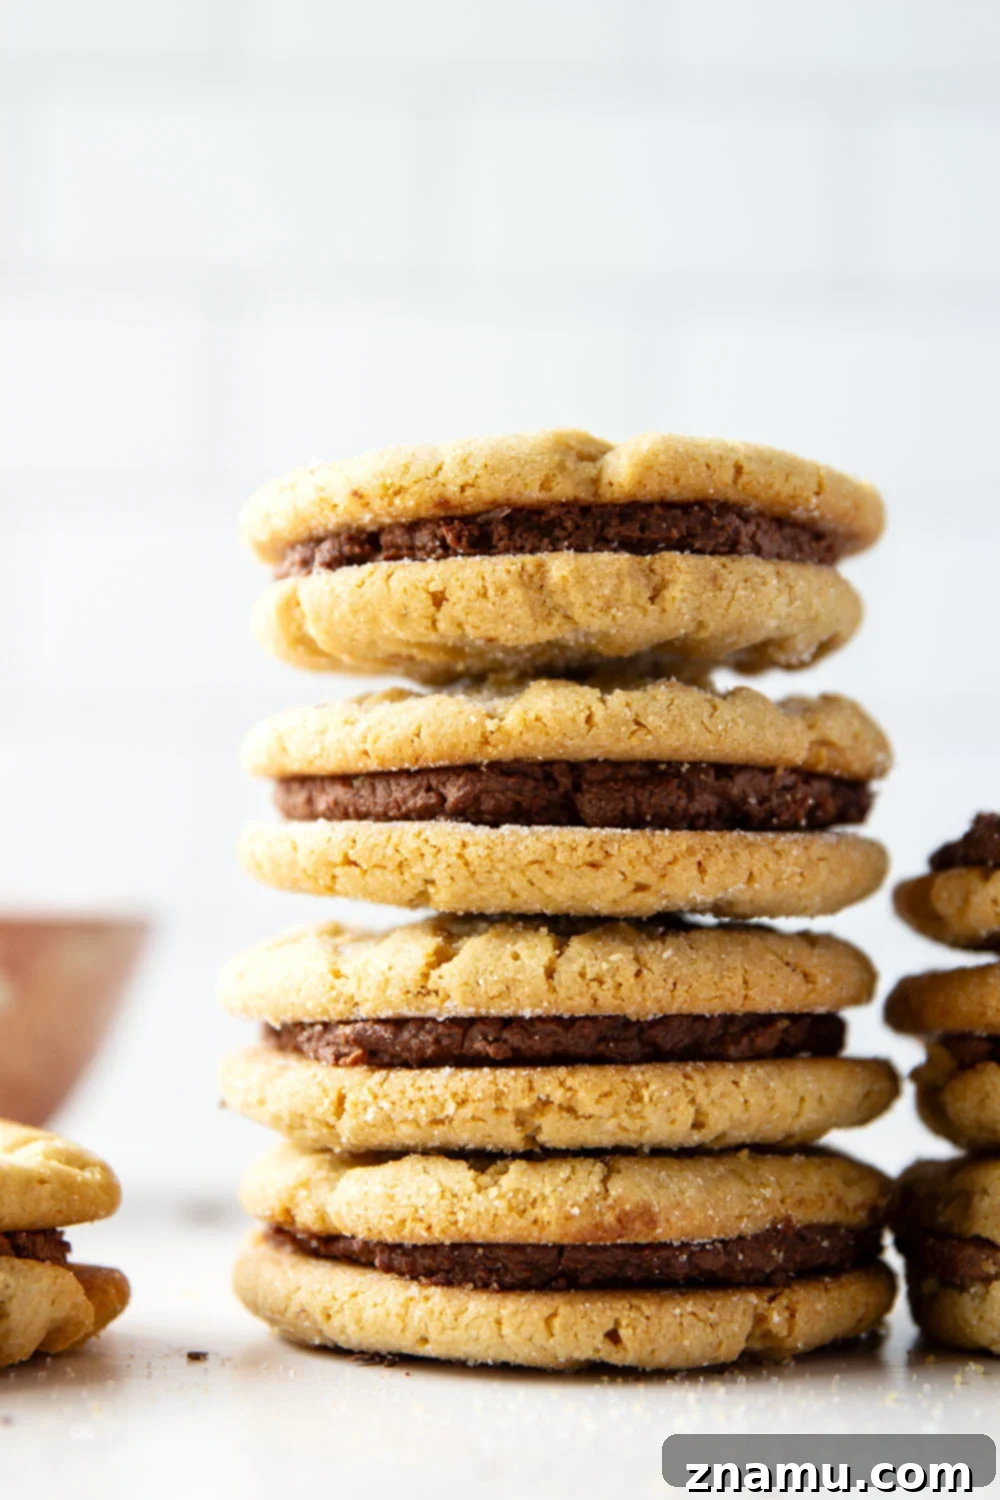
Bid farewell to mundane, plain peanut butter cookies and say a resounding hello to an exciting, elevated dessert experience with these new and improved sandwich cookies. This ingenious creation effectively gives you two delectable cookies for the price of one, magnificently brought together by an undeniably exquisite chocolate filling. It’s not merely a cookie; it’s a gourmet delight designed to satisfy even the most discerning sweet tooth.
For those who consider themselves serious peanut butter aficionados, this recipe is nothing short of a revelation. It’s the ultimate way to achieve a perfect balance of salty and sweet, creamy and crisp. Trust us, this deal is an absolute no-brainer for anyone who appreciates the legendary combination of peanut butter and chocolate. Just be prepared to stock up on milk, because a tall, cold glass is the perfect companion for these irresistible beauties!
The stellar foundation for these impressive sandwich cookies is none other than our beloved, tried-and-true classic crispy peanut butter cookies! If you’ve had the pleasure of baking this recipe before, you’ll know precisely the delightful texture and intense peanut butter flavor that awaits. These cookies are celebrated for their remarkably light and crisp texture, making them the ideal candidate for sandwiching a rich, creamy filling.
And what could possibly pair more dreamily with a classic crispy peanut butter cookie than a luxurious, homemade whipped chocolate ganache? This decadent filling elevates the entire dessert, creating a harmonious blend of textures and flavors that will surprise and delight. The initial crunch of the peanut butter cookie yields to the smooth, airy embrace of the chocolate ganache, offering a multi-layered sensory experience that is truly unforgettable.
Discover the Irresistible Charm of These Sandwich Cookies
These aren’t just any cookies; they are a carefully crafted masterpiece designed for maximum enjoyment and ease of preparation. Here’s what sets our Chocolate Peanut Butter Sandwich Cookies apart from the rest:
- A divine, melt-in-your-mouth crispy peanut butter cookie base that delivers authentic, nutty flavor in every bite. This perfectly textured cookie provides the ideal contrast to the creamy filling.
- A light and fluffy whipped chocolate ganache filling that is rich in chocolate flavor without being overly sweet or heavy. Its airy consistency is perfect for a sandwich cookie.
- Remarkably easy to make ahead of time, making them perfect for entertaining, holiday gatherings, or simply having a batch of gourmet treats ready to enjoy throughout the week.
- A harmonious balance of sweet and savory, perfectly blending the robust flavor of peanut butter with the sophisticated richness of semisweet chocolate.
- An elegant presentation that belies their simple preparation, making them an impressive dessert for any occasion.
Mastering the Art of Making Peanut Butter Chocolate Sandwich Cookies
Crafting these exquisite sandwich cookies is a rewarding journey, resulting in a dessert that’s guaranteed to be a crowd-pleaser. We’ll guide you through each essential step, ensuring both your peanut butter cookies achieve perfect crispness and your chocolate ganache is wonderfully fluffy. While the full, step-by-step recipe is thoughtfully provided at the bottom of this post, let’s first explore the key ingredients and techniques that will transform your baking experience.
Essential Ingredients for Your Delectable Cookies
The success of any outstanding baked good hinges on the quality and preparation of its ingredients. For these remarkable Chocolate Peanut Butter Sandwich Cookies, a few foundational items are all you need. Pay attention to the details, especially regarding chocolate and butter, as they significantly influence the final texture and flavor.
- Unsalted Butter (Softened): Critical for achieving a tender crumb in your cookies and a rich base. Softened butter creams beautifully with sugars, incorporating air for a lighter texture.
- Granulated Sugar: Provides sweetness and contributes to the cookie’s delightful crispness.
- Light Brown Sugar: Adds a subtle hint of molasses flavor and helps keep the cookies slightly chewy while maintaining their crisp exterior.
- Creamy Peanut Butter: The star flavor! Choose a smooth, creamy variety for best results and consistent texture. Avoid natural, oily peanut butter as it can alter the cookie’s structure.
- Large Egg (Room Temperature): Acts as a binder and adds moisture. A room temperature egg emulsifies better with the other ingredients, leading to a smoother, more uniform dough.
- Vanilla Extract: Essential for enhancing and deepening the flavors of both the peanut butter cookies and the chocolate ganache.
- All-Purpose Flour: The primary structural component. Accurate measurement (using the spoon-and-level method) is crucial to prevent dense, dry cookies.
- Baking Soda: A leavening agent that helps the cookies rise slightly and spread to their perfect, thin crispness.
- Kosher Salt: A flavor amplifier that balances the sweetness and highlights the nutty notes of the peanut butter and the richness of the chocolate.
- Heavy Whipping Cream: The liquid base for your luxurious ganache. Its high-fat content ensures a stable, smooth emulsion and the ability to whip into a light, airy filling.
- Finely-Chopped Semisweet Chocolate: Crucial for the ganache. Using high-quality semisweet chocolate (around 60-70% cacao) will yield the best flavor and melting consistency. Finely chopping it ensures it melts quickly and evenly into the hot cream.
Chocolate Ganache 101: From Simple to Sublime
Chocolate ganache is a truly versatile and elegant confection that every home baker should have in their repertoire. It’s a surprisingly simple concept, typically involving a 1:1 ratio of high-quality chocolate and heavy cream, often enhanced with a pinch of salt and vanilla extract for added depth. Understanding the basics will open up a world of dessert possibilities.
Crafting the Perfect Classic Chocolate Ganache:
The process begins by gently heating heavy cream until it’s just steaming. It’s vital to avoid bringing it to a rolling boil, as overheating can cause the chocolate to seize or burn. Once the cream is heated, pour it directly over your finely chopped chocolate. Allow the mixture to rest for a minute or two; this gives the hot cream time to melt the chocolate thoroughly. Then, begin whisking gently from the center outwards until the mixture transforms into a smooth, glossy, and homogenous emulsion. Finally, stir in a pinch of kosher salt and a splash of vanilla extract to complete your rich and velvety classic chocolate ganache. This base can be used for glazes, truffles, or as a decadent sauce.
Elevating to Whipped Chocolate Ganache for Filling:
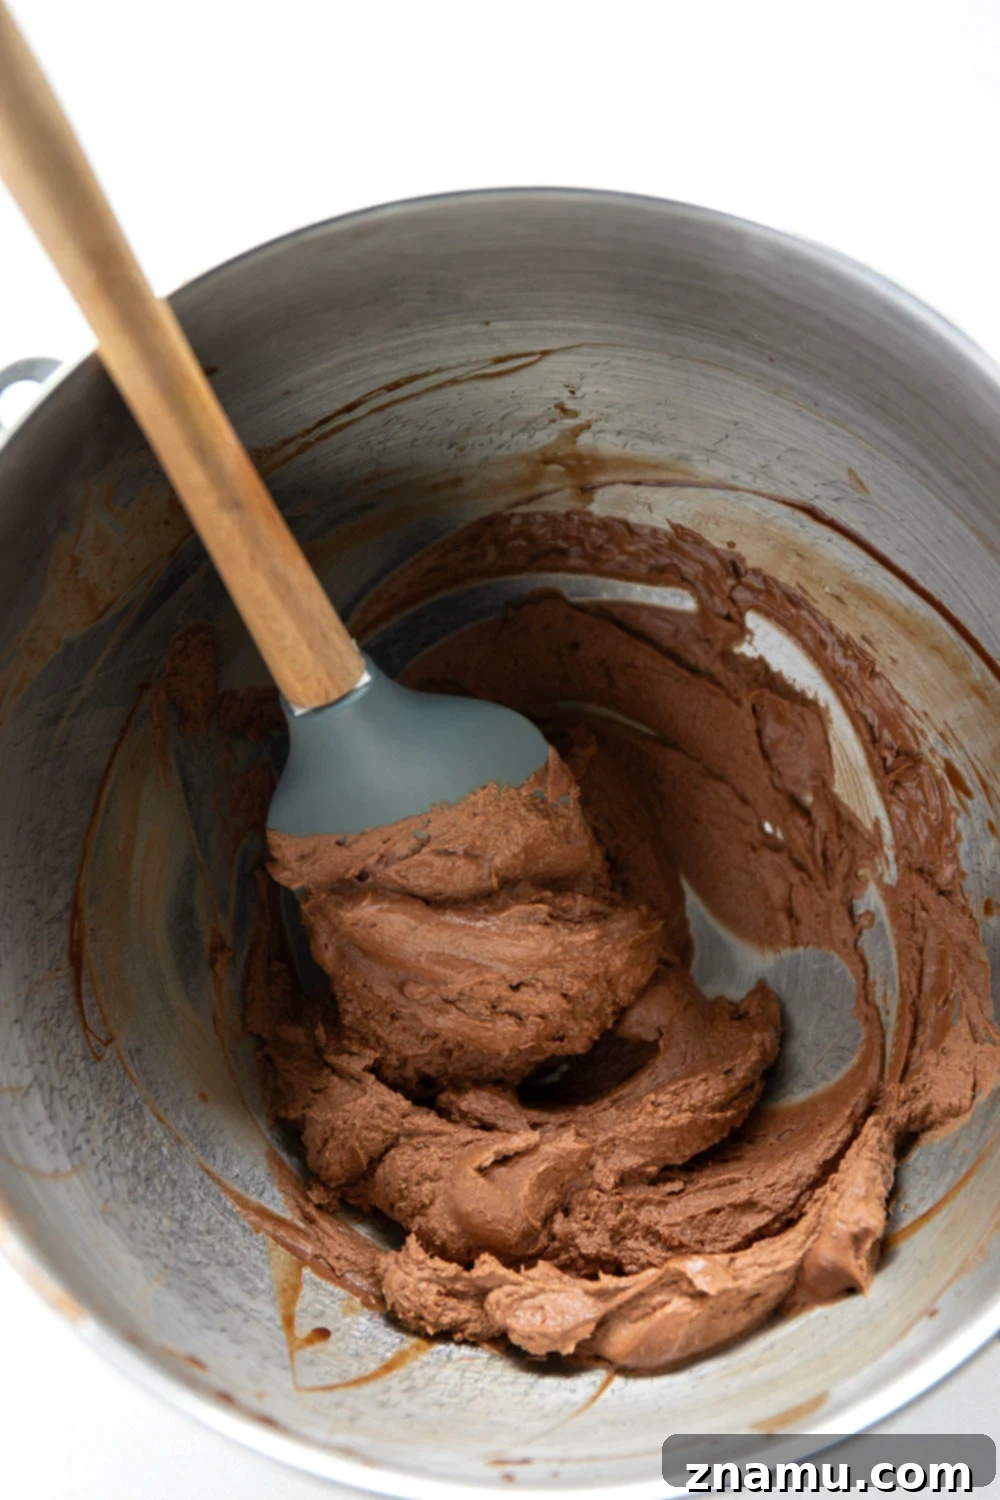
To achieve the light, airy, and incredibly spreadable filling perfect for these sandwich cookies, an additional, simple step is required. Once your classic chocolate ganache is made, allow it to cool completely at room temperature. This cooling period is critical and typically takes about an hour, or until the ganache reaches a consistency akin to thick melted peanut butter – still soft, but no longer liquid. At this point, transfer the cooled ganache to the bowl of a stand mixer fitted with a whisk attachment (or use a hand mixer). Whip the ganache on high speed until it becomes light, fluffy, and holds stiff peaks, similar to a chocolate mousse. It will lighten in color and volume, becoming the ideal texture for piping or spreading generously between your peanut butter cookies.
Essential Tips for Flawless Chocolate Ganache:
- Quality of Chocolate: The single most important factor. Always opt for a high-quality bar chocolate (e.g., Ghirardelli, Callebaut, Lindt) with about 60-70% cocoa solids. Chocolate chips often contain stabilizers that prevent smooth melting and can result in a grainy ganache.
- Mind the Heat: Heat the heavy cream until it’s just steaming, not boiling. Boiling cream can scald and negatively affect the texture and flavor of the ganache.
- Patience is a Virtue: When making whipped ganache, do not rush the cooling phase. If you attempt to whip it too soon, it won’t achieve the desired fluffy texture. If it becomes too cold and firm, it won’t whip properly; gently warm it for a few seconds over a double boiler to soften it slightly before whipping.
- Troubleshooting Ganache: If your ganache appears split or grainy, gently warm about a tablespoon of fresh heavy cream and slowly whisk it into the ganache until it comes back together smoothly.
Expert Tips for Crafting the Perfect Peanut Butter Sandwich Cookies
Achieving truly outstanding sandwich cookies at home involves a few simple yet crucial techniques. These expert tips will guide you toward creating cookies that are perfectly crispy, bursting with flavor, and beautifully assembled, ensuring your baking endeavors are met with success and delight.
- Measure Flour Correctly: Accuracy in baking is paramount, especially when it comes to flour. The “spoon-and-level” technique is the gold standard to prevent over-measuring, which is a common cause of dry, dense, or crumbly cookies. Instead of scooping directly with the measuring cup, use a spoon to lightly scoop flour into the measuring cup, then use the back of a knife or another flat edge to level off any excess. This ensures you have the precise amount of flour needed for the perfect cookie texture.
- Cream Butter and Sugars Thoroughly: Always start with unsalted butter softened to true room temperature; it should be pliable but not melted or greasy. Creaming the softened butter with both granulated and brown sugars until the mixture is light, fluffy, and noticeably pale in color is crucial. This process incorporates air, which is vital for achieving a tender texture and ensuring the cookies spread just right during baking. This step typically takes 2-3 minutes of beating with a stand mixer.
- Utilize Room Temperature Egg: Similar to softened butter, a room temperature egg integrates much more smoothly and evenly into your dough. Cold eggs can cause the fat in your batter to seize, leading to a less homogenous mixture. If you forget to take your egg out in advance, simply submerge it in a bowl of warm (not hot) water for about 5-10 minutes to bring it to temperature quickly.
- Chill the Dough for Optimal Results: This step is non-negotiable for superior peanut butter cookies. Chilling the dough for at least 2 hours (and up to 6 days) allows the butter to firm up, preventing the cookies from spreading too much in the oven. It also gives the flour time to fully hydrate, leading to a more developed flavor and a better overall texture. Don’t skip this, especially if you want that classic criss-cross pattern to hold.
- Flatten Cookies with a Fork Before Baking: This iconic criss-cross pattern isn’t just for looks; it serves a functional purpose for peanut butter cookies. Gently pressing a fork into each dough ball, first in one direction and then perpendicular to it, helps to flatten the cookies slightly. This encourages even spreading during baking, contributes to their signature crispy texture, and ensures they’re uniform in thickness for perfect sandwiching.
- Allow Cookies to Cool Completely Before Filling: This is arguably the most critical step for successful sandwich cookies. Filling warm cookies with ganache is a recipe for disaster; the heat will cause the ganache to melt and ooze, making a messy situation. Ensure your peanut butter cookies are entirely cooled on a wire rack for at least 30 minutes to an hour before you even think about adding that glorious whipped chocolate ganache.
Exciting Recipe Variations to Spark Your Creativity
While our Chocolate Peanut Butter Sandwich Cookies are undeniably a masterpiece in their original form, they also provide a fantastic canvas for culinary exploration. Don’t hesitate to experiment with these creative ideas to personalize this classic dessert and tailor it to various tastes or occasions.
- Unleash Your Inner Pastry Chef with Different Fillings: The whipped chocolate ganache is spectacular, but the possibilities for fillings are endless!
- Rich Chocolate Buttercream: For an even more intensely sweet and dense chocolate experience, a classic buttercream is a fantastic alternative.
- Classic Vanilla Buttercream: A smooth, creamy vanilla frosting offers a delightful, traditional contrast to the robust peanut butter flavor.
- Tangy Cream Cheese Frosting: The slight tanginess of cream cheese frosting pairs surprisingly well with peanut butter, adding a sophisticated twist.
- Decadent Salted Caramel Sauce: A gooey, sweet, and slightly salty caramel filling elevates these cookies to an extraordinary level of indulgence.
- Peanut Butter Frosting: For the ultimate peanut butter lover, a fluffy peanut butter frosting creates a delightful double-PB sensation.
- Explore Alternative Cookie Bases: The sandwich cookie concept is wonderfully versatile, allowing for endless combinations.
- Soft Chocolate Chip Cookies: Imagine a peanut butter ganache embraced by two soft, chewy chocolate chip cookies – pure heaven!
- Delicate Sugar Cookies: A neutral and sweet sugar cookie base offers a versatile canvas for any filling, allowing its flavors to shine.
- Warm Snickerdoodles: The cinnamon-sugar coating of a snickerdoodle would introduce a warm, spicy counterpoint to a rich chocolate or caramel filling.
- Hearty Oatmeal Cookies: For a chewier, more substantial sandwich cookie with a comforting, wholesome appeal, oatmeal cookies are an excellent choice.
- Elevate with Extra Toppings and Drizzles: Add an additional layer of flavor, texture, and visual appeal to your assembled sandwich cookies.
- Melted Chocolate Drizzle: After assembling, artfully drizzle the finished sandwich cookies with extra melted semisweet or dark chocolate for an intensified chocolate kick and an elegant finish.
- Finely Minced Peanuts: Sprinkle finely chopped roasted peanuts over the chocolate drizzle or around the edges of the ganache for added crunch and a boost of peanut flavor.
- Flaky Sea Salt: A delicate sprinkle of flaky sea salt on top of the chocolate or ganache beautifully enhances the flavors of both the chocolate and peanut butter, adding a gourmet touch.
- Colorful Sprinkles: Perfect for birthdays, holidays, or any celebration where a festive touch is desired!
Storing and Freezing Your Delicious Sandwich Cookies
To ensure your Chocolate Peanut Butter Sandwich Cookies remain as fresh and delightful as the day they were baked, proper storage is essential. These guidelines will help you enjoy them for several days or save them for future cravings.
Storing Assembled Sandwich Cookies: Once you’ve filled and assembled your cookies, store them in an airtight container at room temperature. They will maintain their optimal freshness, flavor, and texture for up to 2 days. While they might still be edible beyond this period, the whipped ganache tends to lose some of its fluffy, airy consistency, and the cookies might soften. For the absolute best experience, aim to consume them within 48 hours.
Freezing Unfilled Peanut Butter Cookies: If you’re planning a large batch or prefer to prepare components in advance, you can freeze the baked peanut butter cookies on their own. Allow the cookies to cool completely on a wire cooling rack. Once fully cooled, arrange them in a single layer on a baking sheet and place in the freezer until they are solid (this usually takes about 30 minutes to an hour). After they are frozen solid, transfer them to an airtight, freezer-safe container or a heavy-duty freezer bag, layering them with parchment paper to prevent sticking. They can be stored in the freezer for up to 2 months without significant loss of quality.
Storing Whipped Chocolate Ganache: For the fluffiest results, it’s generally best to whip the ganache just before assembly. However, you can make the plain (unwhipped) ganache ahead of time. Once it has cooled and thickened (to the consistency of melted peanut butter), transfer it to an airtight container and store it in the refrigerator for up to a week. When ready to use, allow it to come to room temperature, stir it to loosen, and then whip it to stiff peaks as directed in the recipe. Whipped ganache itself can be frozen for a shorter period (1-2 weeks), but it might lose some of its airy texture upon thawing; a quick re-whip can sometimes revive it.
Thawing and Assembling Frozen Cookies: To enjoy your frozen peanut butter cookies, simply remove them from the freezer and allow them to thaw completely at room temperature. This usually takes about 30-60 minutes. Once thawed, proceed with making a fresh batch of whipped chocolate ganache (or use refrigerated unwhipped ganache that has been brought to room temperature and whipped), then fill and assemble your delightful sandwich cookies. This method ensures both the cookie base and the creamy filling are at their prime texture and flavor.
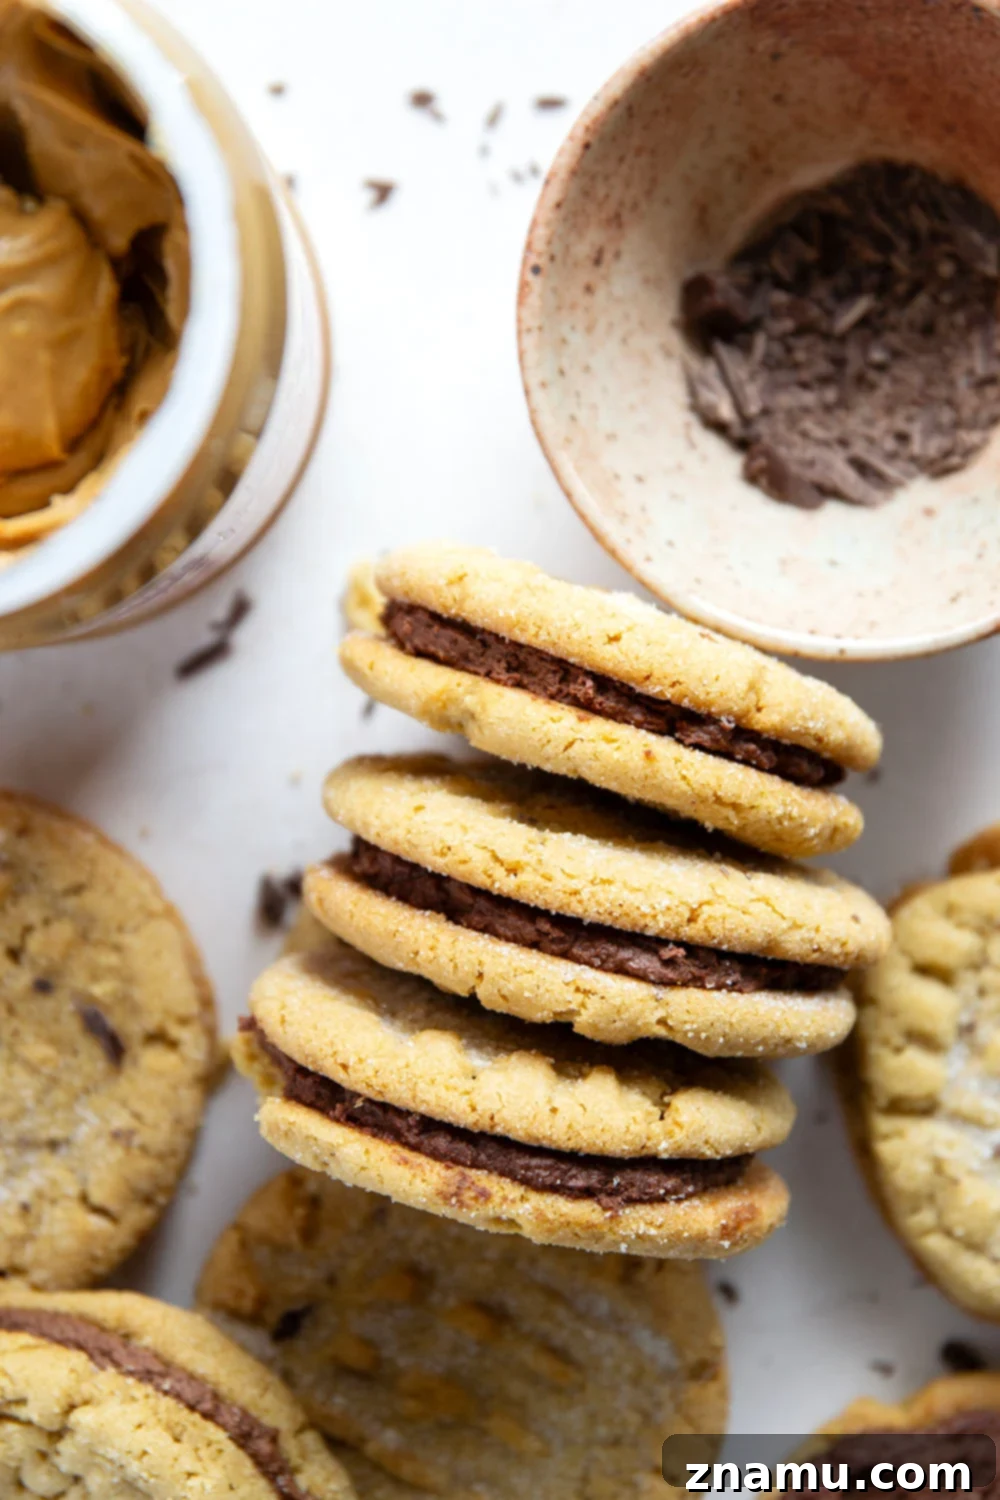
To all the passionate peanut butter lovers, consider these cookies your personal slice of culinary heaven! Every single bite is a celebration, packed with the creamy, rich goodness of peanut butter, exquisitely contrasted by the ethereal fluffiness and deep chocolate essence of the whipped ganache. This perfect marriage of textures and a symphony of balanced flavors culminates in an utterly divine dessert experience that you’ll undoubtedly crave again and again.
A friendly word to the wise: these sandwich cookies are incredibly addictive and have a tendency to vanish remarkably quickly! We highly recommend making them when you have a cheerful crew around to share the deliciousness. Otherwise, you might just find yourself indulging in the entire batch single-handedly – and truthfully, who could possibly blame you for such a delightful transgression?
Loved this recipe? We encourage you to save it for future baking adventures using your preferred recipe box feature. We’d also be absolutely thrilled to see your homemade creations! Please take a moment to leave a comment and a star rating below to share your experience. You can also share a photo on Instagram and tag us @wholeandheavenlyoven using the hashtag #wholeandheavenlyoven. Your feedback and beautiful shares truly inspire us!
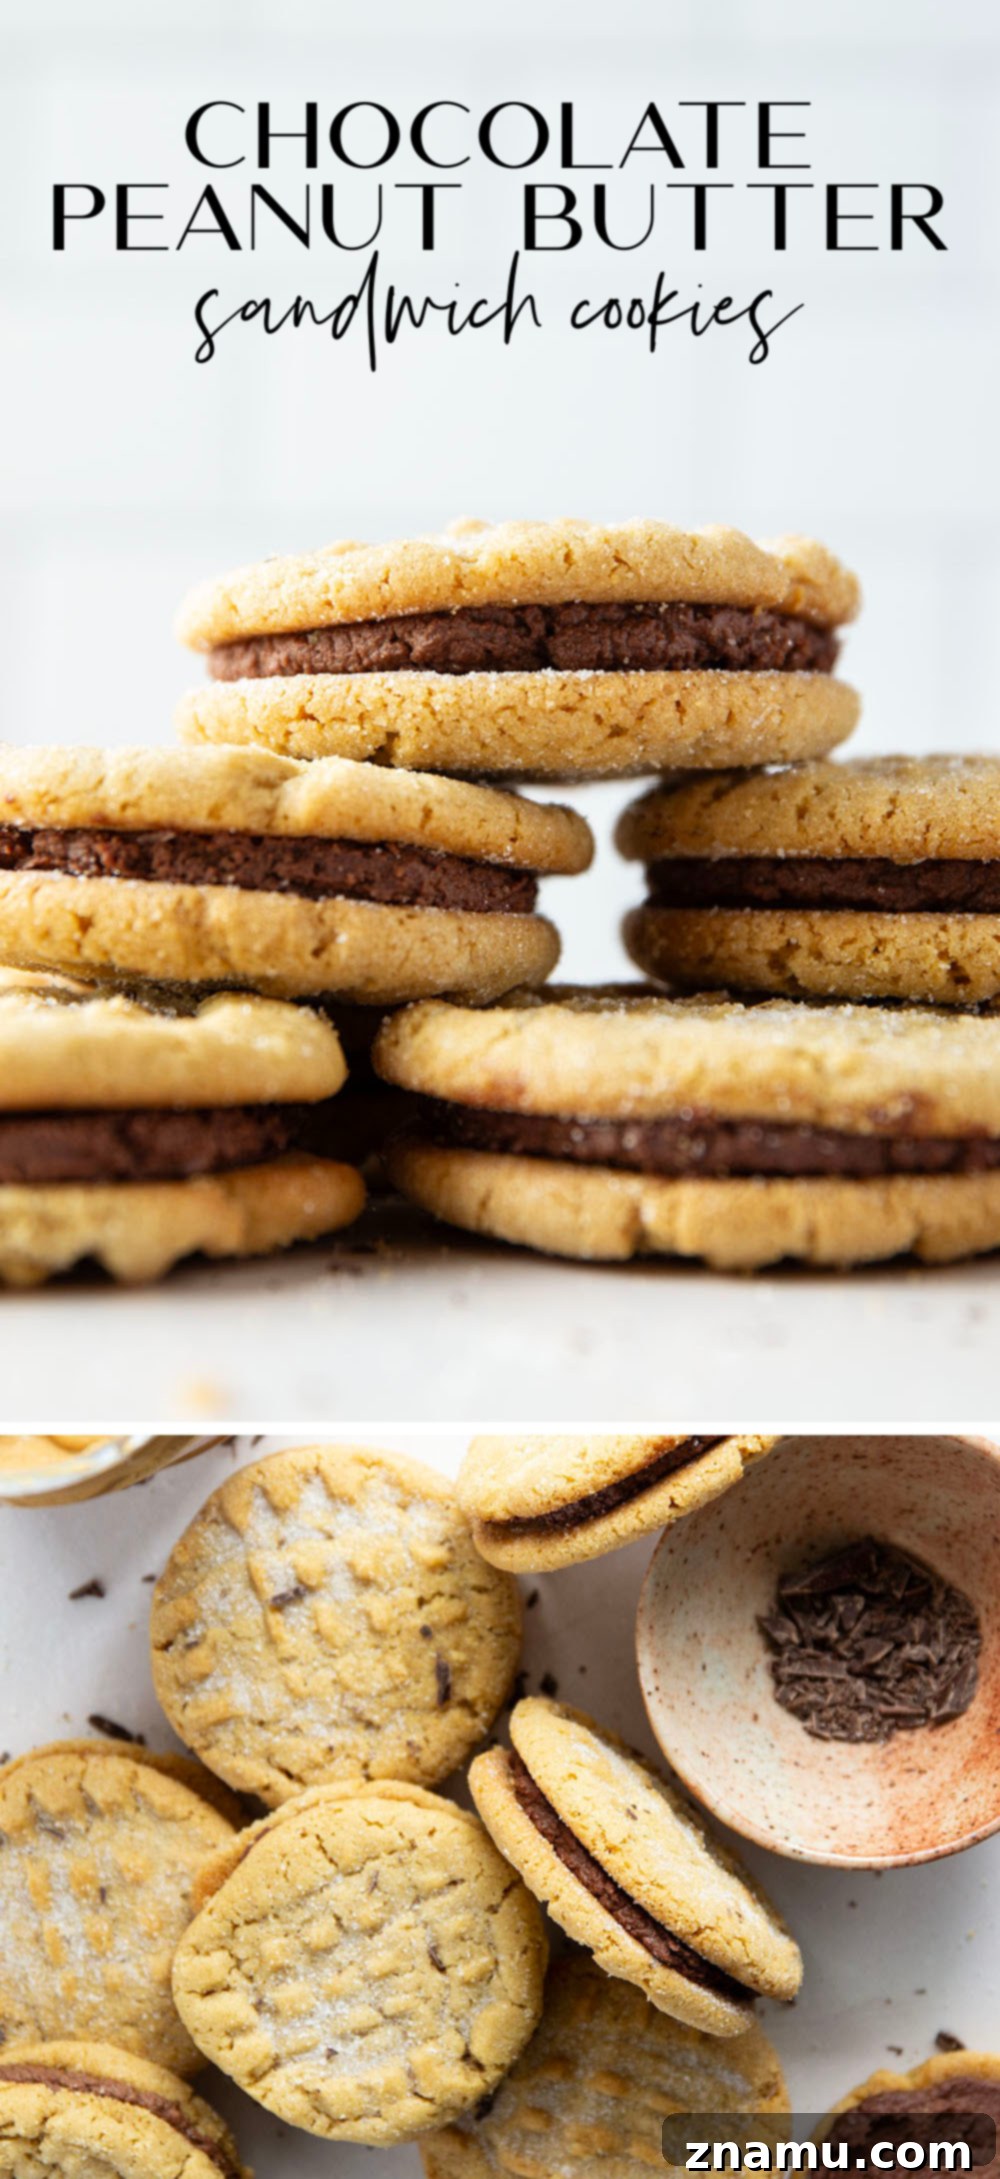
More Irresistible Peanut Butter Baked Goods to Discover Next!
If your heart beats for peanut butter desserts, you’re in luck! We have an array of other delectable recipes waiting to be baked and savored. Expand your baking repertoire and indulge in more amazing creations:
- Wholesome Banana Peanut Butter Oat Bars
- Decadent Peanut Butter Cheesecake Bars
- Our Beloved Crispy Peanut Butter Cookies (The Foundation for This Recipe!)
Peanut Butter Sandwiches With Whipped Chocolate Ganache
This recipe may include paid links. As an Amazon Associate, I earn a commission from qualifying purchases.
Ingredients
Peanut Butter Cookies
- 1/2 cup unsalted butter, softened
- 1/2 cup granulated sugar
- 1/4 cup light brown sugar
- 1/2 cup creamy peanut butter
- 1 large egg, room temperature
- 1 teaspoon vanilla extract
- 1 cup all-purpose flour (spooned and leveled)
- 1 teaspoon baking soda
- 1/4 teaspoon kosher salt
- Granulated sugar for rolling cookies, optional
Whipped Chocolate Ganache
- 1 cup finely-chopped semisweet chocolate
- 1 cup heavy whipping cream
- 1 teaspoon vanilla extract
- 1/4 teaspoon kosher salt
Instructions
For the Peanut Butter Cookies
-
Preheat oven to 350°F (175°C). Line two baking sheets with parchment paper and set aside.
-
In the bowl of a large stand mixer fitted with a paddle attachment (or using a large mixing bowl and a wooden spoon), combine the softened butter, granulated sugar, and light brown sugar. Beat on medium speed for about 2 minutes, or until the mixture is light, creamy, and smooth. Incorporate the creamy peanut butter, large egg, and vanilla extract, mixing until fully blended and smooth.
-
In a separate small bowl, whisk together the all-purpose flour, baking soda, and kosher salt. Gradually add the dry flour mixture to the wet peanut butter mixture, mixing on low speed or by hand until the dough is just combined. Be careful not to overmix.
-
Wrap the cookie dough tightly in plastic wrap and chill in the refrigerator for a minimum of 2 hours. This chilling period is crucial for preventing excessive spreading during baking and developing flavor. The dough can be chilled for up to 6 days.
-
Once ready to bake, remove the dough from the refrigerator and allow it to sit at room temperature for 10-15 minutes if it’s too firm. Preheat your oven back to 350°F (175°C). Scoop the dough into 1-inch balls and arrange them 2 inches apart on your prepared baking sheets. For extra crunch and sparkle, you may optionally roll the dough balls in granulated sugar before placing them on the sheet. Use a fork to gently press a criss-cross pattern into the top of each dough ball, slightly flattening them.
-
Bake the cookies for 10-12 minutes, or until the edges are lightly golden brown and the centers are just set. Do not overbake, as they will continue to crisp up as they cool. Allow the cookies to cool on the baking sheet for 10 minutes before carefully transferring them to a wire cooling rack to cool completely. This is vital before adding the ganache.
For the Whipped Chocolate Ganache
-
Place the finely-chopped semisweet chocolate in the bowl of a stand mixer or a heatproof mixing bowl. In a small saucepan, heat the heavy whipping cream over medium heat until it is just steaming around the edges (do not let it boil). Pour the hot heavy cream directly over the chopped chocolate and let it sit undisturbed for 2-3 minutes to allow the chocolate to melt. Then, whisk gently until the chocolate is fully melted and the mixture is smooth and glossy. Stir in the vanilla extract and kosher salt until well combined.
-
Allow the chocolate ganache mixture to sit at room temperature for approximately 1 hour, or until it has thickened to the consistency of melted peanut butter. This cooling period is crucial for achieving the proper texture for whipping.
-
Once cooled and thickened, attach a whip attachment to your stand mixer (or use a hand mixer). Whip the chocolate mixture on high speed until it becomes light, fluffy, and forms stiff peaks. Be careful not to over-whip, as it can become grainy.
-
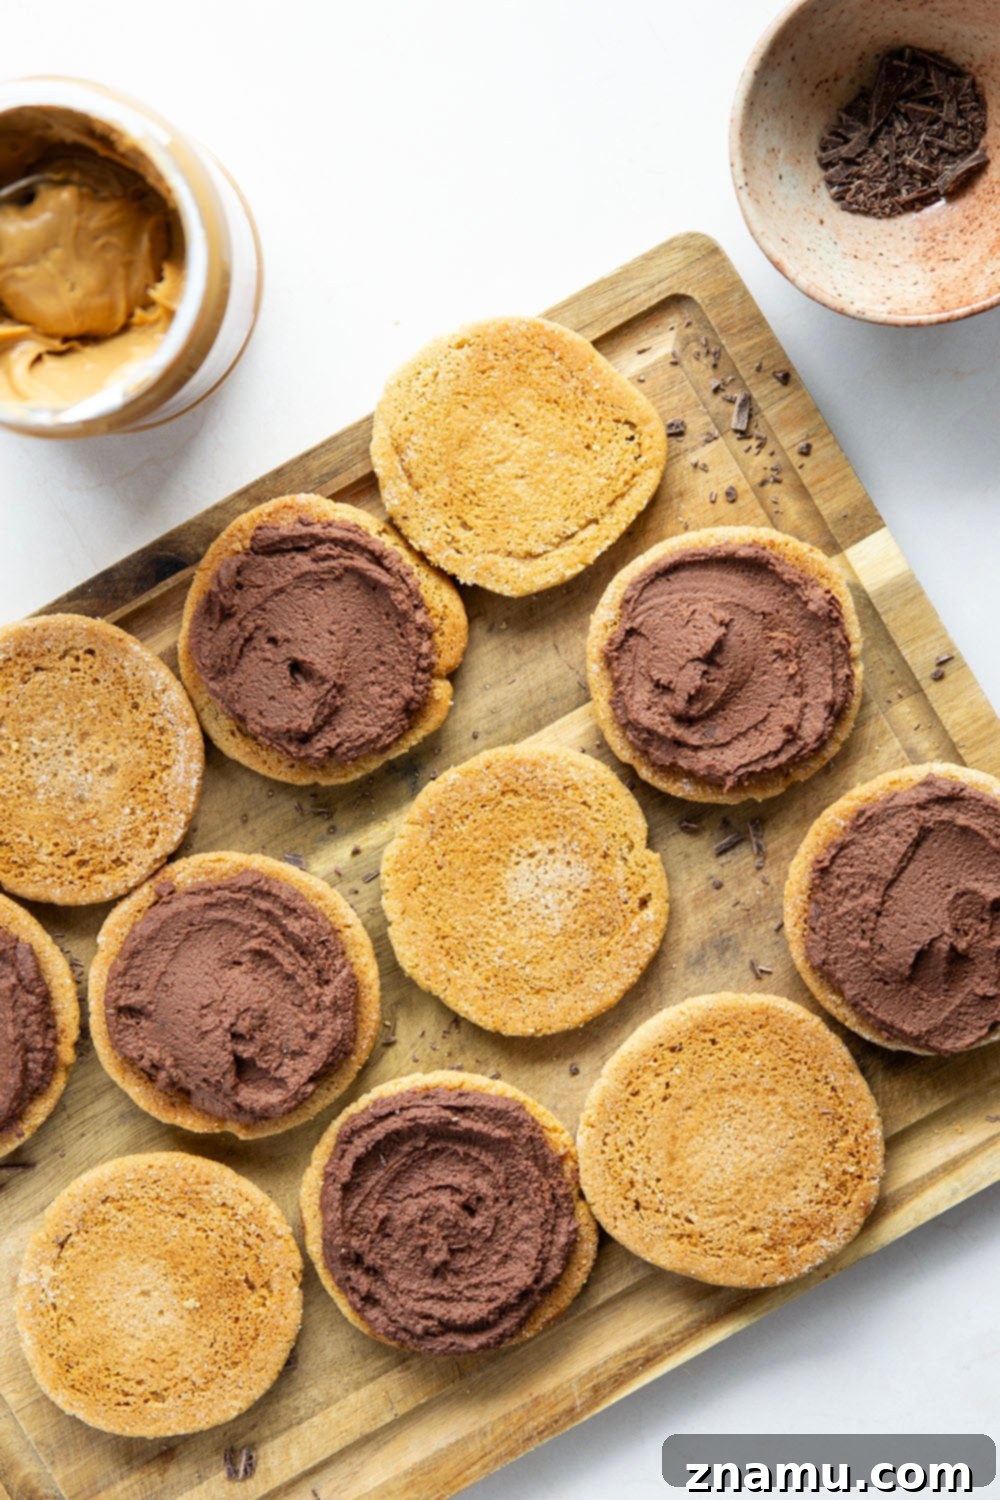
To assemble the sandwich cookies, spread a generous amount of the fluffy whipped chocolate ganache onto the flat bottom of half of the completely cooled peanut butter cookies. Take the remaining peanut butter cookies and gently place them on top of the ganache-covered cookies to form delightful sandwiches. Press lightly to secure. Serve immediately and enjoy the perfect balance of flavors and textures!
Notes
Storing Instructions: Store assembled cookie sandwiches in an airtight container at room temperature for up to 2 days for optimal freshness and texture. For longer storage, refer to the detailed “Storing and Freezing Solutions” section above in the article.
Nutrition Information (per serving)
This post was updated with new recipe adjustments and photos on 4/24/25.