

Irresistible Fudgy Red Velvet Cookies: Your Guide to Baking Perfection
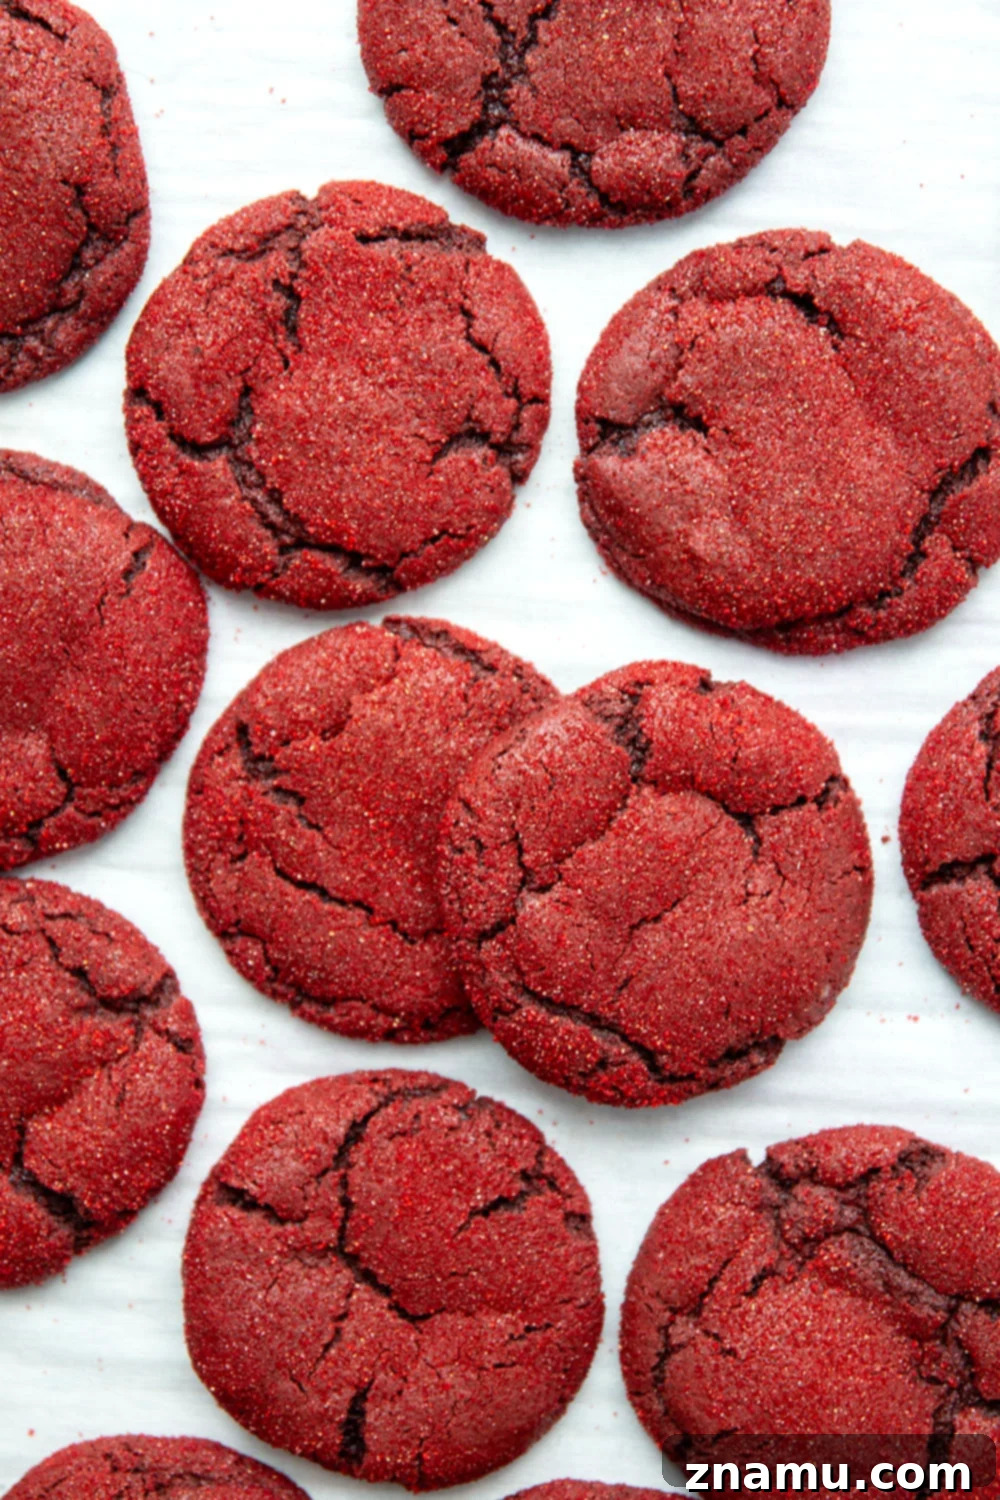
Indulge in the rich, fudgy delight of these red velvet cookies, the ultimate festive treat for any celebration. Elevate their charm by rolling them in sparkly red sugar for an extra touch of elegance and visual appeal.

For all red velvet enthusiasts, prepare to be captivated! This recipe promises a batch of cookies destined to become your new favorite. These aren’t just any cookies; they are a celebration in every bite, offering that quintessential red velvet experience beloved by so many. With their deep, vibrant red hue and an irresistible texture, these cookies are a true masterpiece, perfect for any special gathering or a cozy treat at home.
Imagine biting into a cookie that’s wonderfully chocolatey yet distinctly vanilla, with a subtle tang that makes red velvet so unique. These dazzling little gems embody everything a good red velvet dessert should be. They are an absolute essential for Valentine’s Day, Christmas, or any occasion where you want to add a touch of romance or festive cheer. Who could resist a thoughtful gift of these beautifully crafted, sparkly red delights?

Beyond their stunning appearance, these cookies boast an incredibly straightforward preparation process. The dough comes together in a flash, making them an ideal choice for bakers of all skill levels. Even better, you can prepare the dough in advance, storing it in the refrigerator until you’re ready to bake. This convenience means you can have freshly baked, warm red velvet cookies whenever the craving strikes, without the last-minute rush.
What Makes Our Red Velvet Cookies Stand Out?
These aren’t just ordinary red velvet cookies; they are crafted to deliver an exceptional experience. Every element of this recipe is designed to ensure you get the most delicious and visually appealing results. Here’s what makes these red velvet cookies truly special:
- An Unparalleled Soft and Chewy Texture: Forget dry or crumbly cookies. Our recipe yields a wonderfully soft, almost fudgy interior with perfectly chewy edges, creating a delightful contrast that melts in your mouth.
- The Perfect Balance of Vanilla and Chocolate Flavor: Red velvet is all about harmony. These cookies feature a distinct yet subtle cocoa flavor, beautifully complemented by a generous hint of vanilla, and that signature faint tang that makes red velvet so unique.
- Vibrant, Deep Shade of Red: Achieve the iconic, rich red color that makes these cookies so visually striking. Each cookie boasts an intense hue that is sure to impress and capture the festive spirit.
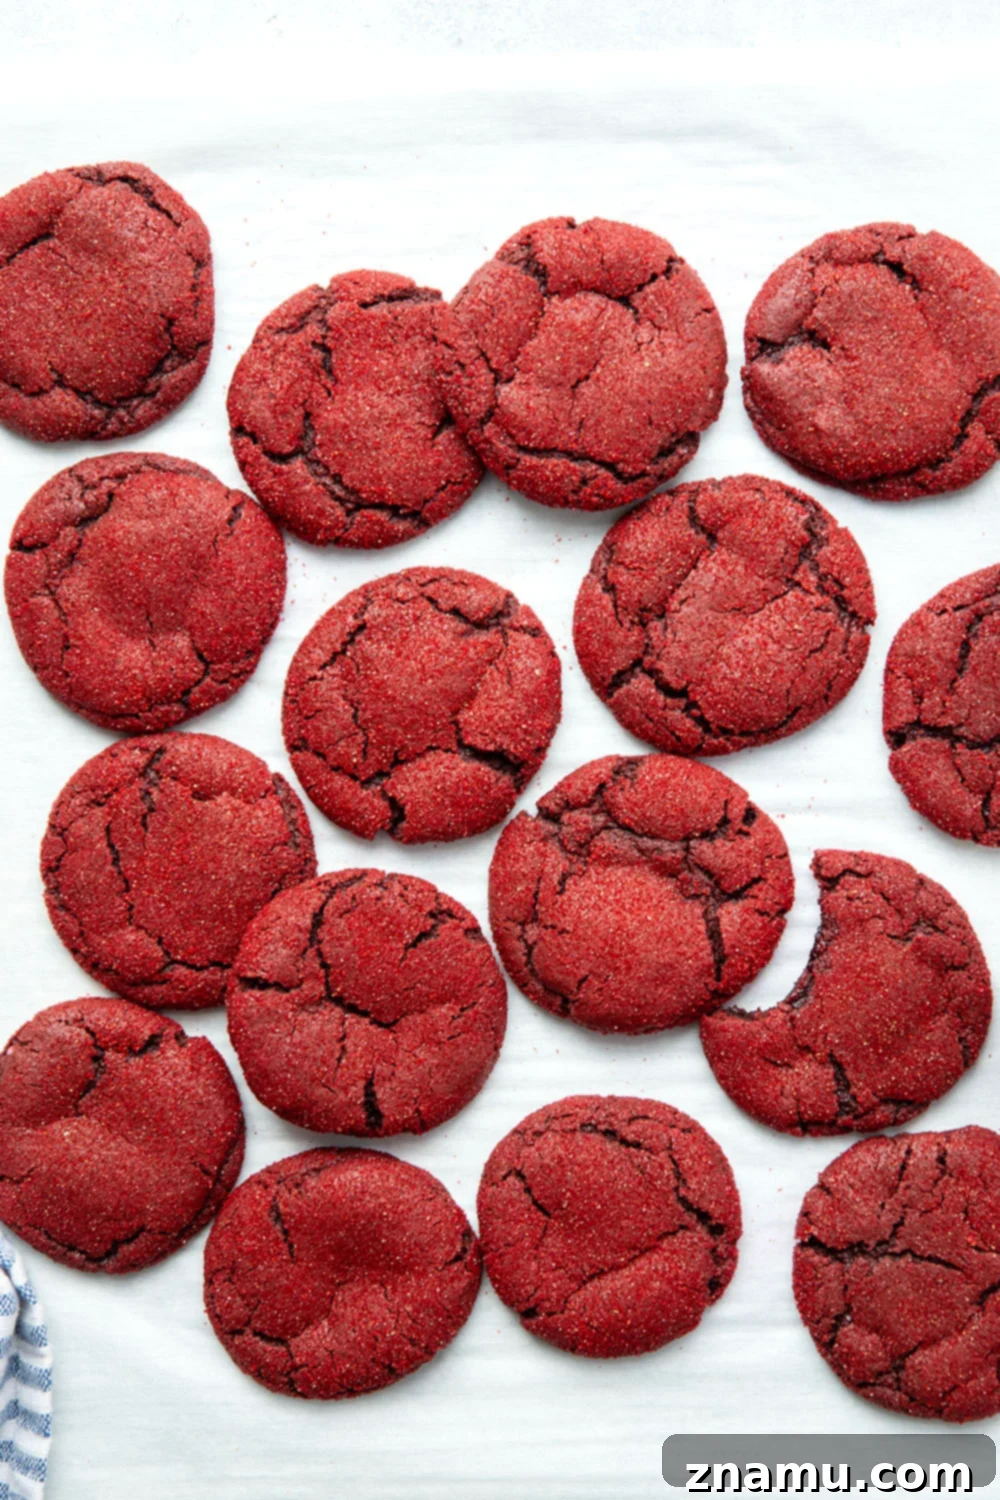
- Sparkling Presentation: Rolled in a delicate coating of red sanding sugar, the tops of these cookies shimmer and catch the light, adding a glamorous touch that elevates them from simple treats to show-stopping desserts.
These combined features create a cookie that is not only delicious but also a feast for the eyes, perfect for sharing, gifting, or simply enjoying yourself.
Essential Ingredients for Baking Success
Creating these sensational red velvet cookies begins with understanding the role of each ingredient. While the full recipe and exact measurements are provided further down, let’s explore why each component is crucial for achieving the perfect taste and texture:
- Unsalted Butter: The foundation of any good cookie, softened unsalted butter provides richness, moisture, and helps create that desirable chewy texture. Using unsalted butter allows you to control the overall salt content of the cookie.
- Granulated Sugar: Beyond sweetness, sugar plays a vital role in the cookie’s structure and texture, contributing to both crisp edges and a soft, chewy center.
- Large Egg (Room Temperature): An egg acts as a binder, adding moisture, richness, and helping to emulsify the ingredients. Using a room-temperature egg ensures it incorporates smoothly into the butter and sugar mixture, creating a more cohesive dough.
- Vanilla Extract: Essential for enhancing the classic red velvet flavor profile, vanilla extract brings warmth and depth, complementing the subtle cocoa notes.
- Red Food Coloring: This is what gives red velvet its iconic, vibrant red hue. We recommend using a quality liquid or gel food coloring to achieve a deep, consistent color.
- All-Purpose Flour (Spoon and Leveled): The structural backbone of the cookie. Proper measurement is key here; the “spoon and level” technique prevents over-measuring, which can lead to dry, dense cookies.
- Unsweetened Cocoa Powder: Provides the subtle chocolate flavor that defines red velvet, and also contributes to the deep red color when combined with food coloring. Don’t underestimate its importance!
- Baking Soda: A leavening agent that reacts to create the perfect puffy, cracked tops and ensures a tender crumb.
- Kosher Salt: A pinch of salt is crucial for balancing the sweetness and enhancing all the other flavors, making the cookies taste richer and more complex.
- Red Sanding Sugar (Optional, but Recommended): This coarse sugar provides a beautiful, sparkling finish and adds a delightful subtle crunch to the exterior of the cookies, making them even more festive and appealing.
Mastering the Art of Red Velvet Cookie Preparation
(You’ll find the complete, detailed recipe at the bottom of this post, but here’s a deeper dive into the steps and key techniques for perfect results.)
Creating truly exceptional red velvet cookies is a delightful process that combines simple steps with a few expert tips. Follow these guidelines to ensure your cookies are nothing short of perfection.
- Cream Butter and Sugar to Perfection: The first crucial step is to ensure your unsalted butter is properly softened to room temperature. This allows it to cream effectively with the granulated sugar. Beat them together for several minutes until the mixture is light, fluffy, and visibly smooth. This process incorporates air, which is fundamental for a soft and chewy cookie texture. Don’t rush this step!
- Incorporate Room Temperature Egg: Just like the butter, using a large egg at room temperature is essential. It will mix much more cohesively into the creamed butter and sugar, preventing the mixture from separating and ensuring a smooth, emulsified dough base. Add the vanilla extract and red food coloring at this stage, beating until everything is thoroughly combined and vibrant.
- Accurate Flour Measurement: When measuring your all-purpose flour, always use the “spoon and level” technique. This means using a spoon to lightly scoop flour into your measuring cup, then leveling off the top with the back of a knife. This prevents over-measuring, which can lead to dry, dense, or cake-like cookies. Combine it with cocoa powder, baking soda, and kosher salt in a separate bowl before adding to the wet ingredients.
- Achieving the Iconic Deep Red Shade: For that truly unmistakable red velvet color, 1 tablespoon of quality liquid or gel red food coloring is usually the sweet spot. You want a deep, rich hue, not a pale pink.
- Mixing Method Flexibility: This recipe is wonderfully versatile! Whether you prefer the convenience of a stand mixer with a paddle attachment for effortless mixing, or the traditional charm of mixing by hand with a sturdy wooden spoon in a large bowl, the results will be equally delicious. Just be mindful not to overmix the dough once the flour is added.
- The Critical Chill Time: This step is non-negotiable for superior red velvet cookies. Chilling the dough for at least 1 hour (and up to 6 days!) before baking serves multiple purposes: it prevents excessive spreading, resulting in thicker, chewier cookies, and allows the flavors to meld and deepen, enhancing the overall taste.
- Add a Touch of Sparkle with Red Sanding Sugar: While optional, rolling the dough balls in red sanding sugar before baking adds a beautiful visual element and a delightful textural crunch. It makes these festive cookies truly stand out, especially for holidays or special occasions.
Planning Ahead: Storing Red Velvet Cookie Dough
One of the many benefits of this red velvet cookie recipe is its incredible flexibility for meal prep and make-ahead baking. You can easily prepare the dough well in advance, allowing you to bake fresh cookies whenever the moment calls for it, without the fuss of starting from scratch.
- Refrigeration: Once your dough is mixed, wrap it tightly in plastic wrap. It can be stored in the refrigerator for up to 6 days. This is perfect for preparing ahead for a party or having dough on hand for impromptu baking sessions.
- Freezing: For longer storage, you can freeze the cookie dough for up to 1 month. Shape the dough into balls first, or simply wrap the entire batch tightly in plastic wrap and then place it in an airtight freezer-safe bag or container.
- Thawing Instructions: If freezing, make sure to allow the dough to thaw completely in the refrigerator before proceeding with shaping into balls (if not already done) and baking. This ensures even baking and the best texture.
Having pre-made dough on hand is a game-changer for busy schedules, ensuring you can enjoy warm, homemade red velvet cookies with minimal effort.
Delicious Variations to Personalize Your Red Velvet Cookies
While these red velvet cookies are perfect as is, they also serve as an excellent base for creative variations. Feel free to experiment with these ideas to put your unique twist on this beloved treat:
- Amp Up the Chocolate: For an extra dose of chocolatey goodness, fold 1/2 cup of semisweet, dark, or even white chocolate chips into the dough during the final mixing stage. Chocolate chunks would also be a fantastic addition, creating pockets of melty chocolate in every bite.
- Luxurious Glazes and Drizzles: Elevate the sophistication by drizzling cooled cookies with a simple glaze. A classic cream cheese glaze, made from cream cheese, powdered sugar, and a touch of vanilla, is highly recommended and perfectly complements the red velvet flavor. A simple white chocolate drizzle also adds an elegant touch.
- Indulgent Sandwich Cookies: Transform these chewy cookies into decadent sandwich cookies. Once completely cooled, fill them with your favorite frosting. A rich cream cheese frosting is a natural pairing for red velvet, but a classic chocolate buttercream would also be an incredible choice.
- Subtle Flavor Enhancements: For a slightly different flavor profile, consider adding a few drops of almond extract alongside the vanilla, or a hint of orange zest to the dough for a bright, citrusy note that surprisingly complements the cocoa.
Storage and Freezing: Keeping Your Cookies Fresh
Ensuring your delicious red velvet cookies remain fresh and enjoyable for as long as possible is key. Proper storage helps maintain their soft, fudgy texture and vibrant flavor.
- Storing Baked Cookies at Room Temperature: Once your cookies have cooled completely on a wire rack, transfer them to an airtight container. Store them at room temperature for up to 4 days. Stacking them carefully, perhaps with a piece of parchment paper between layers, can help prevent them from sticking together.
- Freezing Baked Cookies for Longer Preservation: If you’ve baked a large batch or simply want to enjoy these treats at a later date, these cookies freeze beautifully. Once completely cool, arrange them in a single layer on a baking sheet and flash freeze for about 30 minutes until firm. Then, transfer the frozen cookies to an airtight, freezer-safe container or a heavy-duty freezer bag. They can be frozen for up to 2 months.
- Thawing Frozen Cookies: To enjoy frozen cookies, simply remove them from the freezer and let them thaw completely at room temperature. Once thawed, they will retain their wonderful texture and flavor for about 3-4 days when stored in an airtight container.
While these cookies maintain their perfect softness and chewiness for several days, honestly, there’s a zero percent chance they’ll last that long! Nobody can resist the tempting chewy, fudge-like texture and the delightful sparkle of the red sugar they’re rolled in. They truly are that good.
Trust me, baking a batch, or even three, of these beautiful red velvet cookies is the absolute best way to celebrate Valentine’s Day, brighten a holiday, or simply treat yourself and your loved ones to something extraordinary.
Your Go-To Recipe for Festive Indulgence
From their stunning appearance to their melt-in-your-mouth texture and perfectly balanced flavor, these fudgy red velvet cookies are truly a joy to bake and an even greater joy to eat. They embody the warmth and indulgence of homemade baking, making them an ideal choice for any occasion that calls for a touch of sweetness and cheer. Whether you’re preparing them for a special holiday, a thoughtful gift, or simply to satisfy a craving, this recipe guarantees a delightful experience from start to finish. The ease of preparation, combined with the option for make-ahead dough, ensures that these cookies can fit into even the busiest of schedules, bringing fresh-baked goodness right to your table.
We encourage you to embark on this baking adventure and discover the magic of these red velvet cookies for yourself. Share the love, share the sparkle, and most importantly, savor every delicious bite!
Don’t forget to save this incredible recipe using the ‘save to recipe box’ button below! If you give it a try, please let us know how it turned out. Leave a comment and a star rating below, or capture a photo and share it on Instagram, tagging us @wholeandheavenlyoven and using the hashtag #wholeandheavenlyoven. We love seeing your creations!

For a visual step-by-step guide, check out these cookies being made on our Google Web Stories.
Looking for more easy cookie recipes to bake next? Explore these delightful options:
- Decadent Chocolate Molasses Crinkle Cookies
- Delicious Streusel Strawberry White Chocolate Cookies
- Classic Butter Pecan Shortbread Cookies

Save To Recipe BoxSaved!
Print
Pin
Red Velvet Cookies
This recipe may included paid links. As an Amazon Associate, I earn a commission from qualifying purchases.
Ingredients
- 1/2 cup unsalted butter, softened
- 1 cup granulated sugar
- 1 large egg, room temperature
- 2 teaspoons vanilla extract
- 1 tablespoon liquid red food coloring
- 1-1/2 cups all-purpose flour (spooned and leveled)
- 1/4 cup unsweetened cocoa powder
- 1 teaspoon baking soda
- 1/4 teaspoon kosher salt
- Red sanding sugar for rolling, optional
Instructions
-
Place softened butter and granulated sugar in the bowl of a large stand mixer fitted with a paddle attachment (or a large mixing bowl for hand mixing). Beat on medium speed or by hand until the mixture is creamy and light, about 2 minutes. Add the room-temperature egg, vanilla extract, and red food coloring, then continue beating until thoroughly combined and smooth.
-
In a separate medium bowl, whisk together the all-purpose flour, unsweetened cocoa powder, baking soda, and kosher salt. Gradually fold the dry ingredients into the wet butter mixture until the dough is just combined. Be careful not to overmix. Wrap the dough tightly in plastic wrap and chill in the refrigerator for at least 1 hour, or up to 6 days. This chilling step is crucial for preventing spread and developing flavor.
-
When you are ready to bake, preheat your oven to 350°F (175°C). Line two large baking sheets with parchment paper for easy cleanup and to prevent sticking.
-
Scoop the chilled dough into approximate 1-inch balls. If desired, gently roll each dough ball in red sanding sugar until evenly coated for a beautiful sparkly finish. Place the prepared dough balls about 1 inch apart on the parchment-lined baking sheets.
-
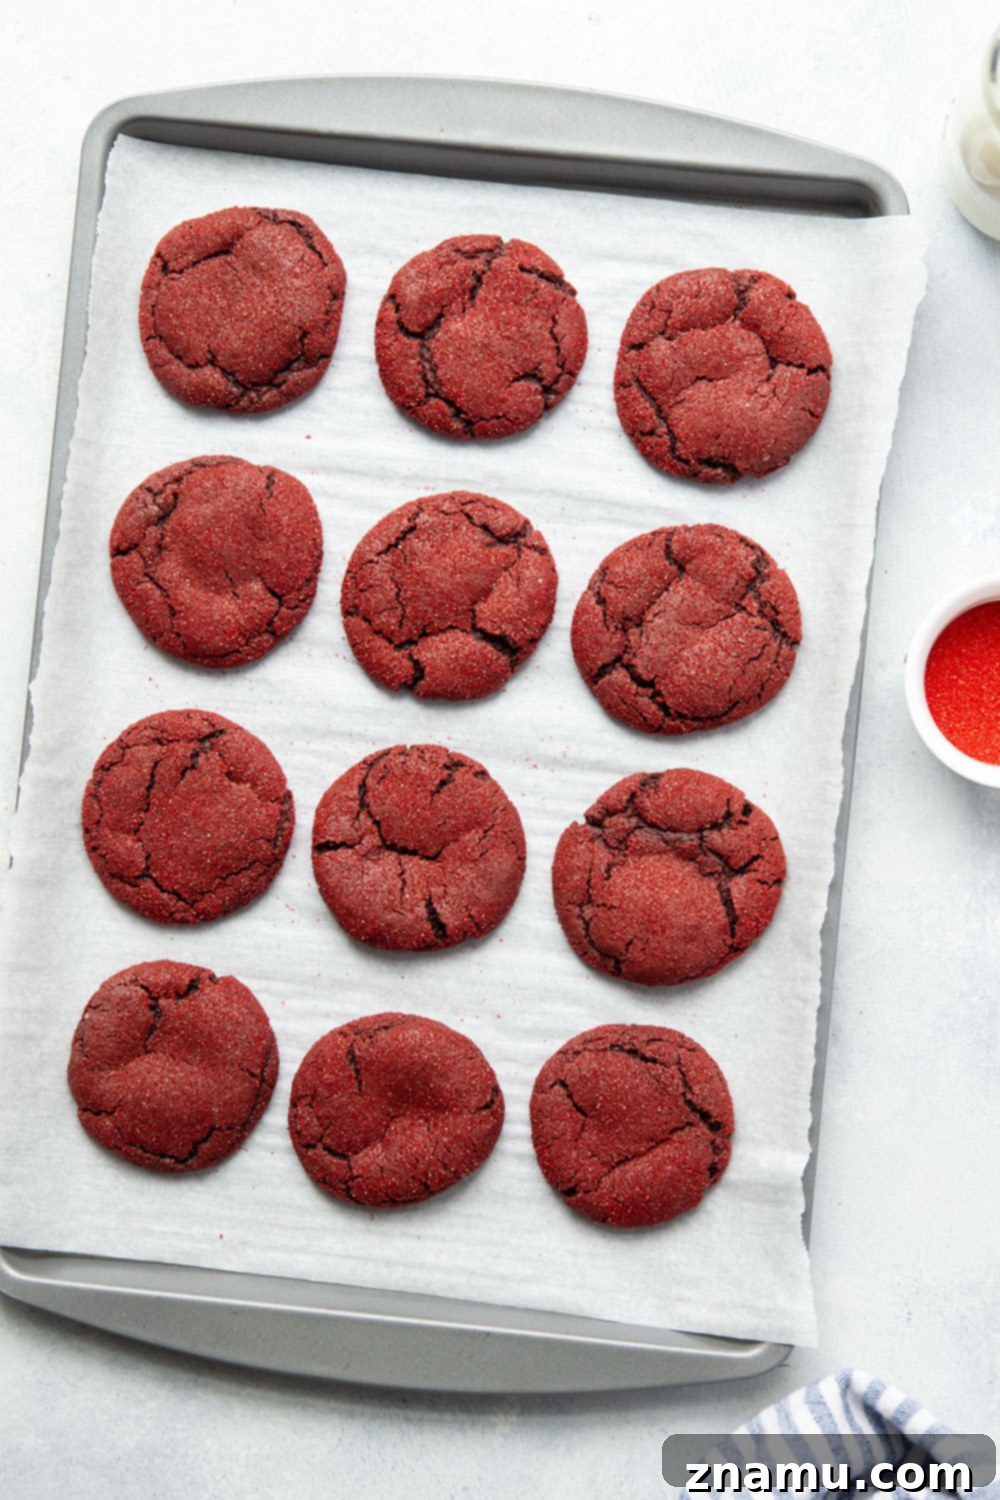
Bake the cookies in the preheated oven at 350°F (175°C) for 10-12 minutes, or until the cookies are puffy, the edges are set, and the tops show beautiful cracks. They may still appear slightly soft in the center, which is perfect for a fudgy texture. Allow the cookies to cool on the baking sheet for 10 minutes before carefully transferring them to a wire rack to cool completely. Enjoy your homemade red velvet perfection!
Notes
Store fully cooled cookies in an airtight container at room temperature for up to 4 days to maintain their soft and chewy texture. For longer storage, see our guide above on freezing baked cookies.
Nutrition
This post was updated with new recipe adjustments and photos on 1/5/24.