
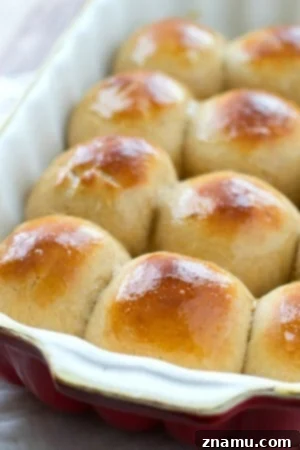
Say goodbye to store-bought and hello to the most incredible homemade King’s Hawaiian Bread Rolls you’ll ever taste! Once you experience their unparalleled softness and sweet, buttery flavor fresh from your oven, you’ll understand why these rolls are an absolute game-changer. They’re surprisingly simple to make and offer fantastic make-ahead and freezing options, making them perfect for any occasion.
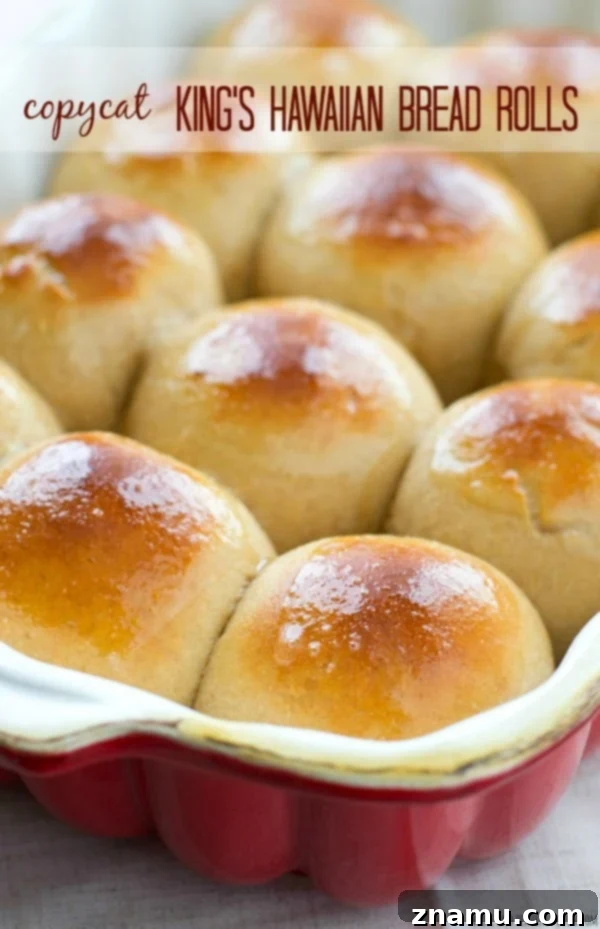
Prepare to elevate your baking game with these incredible King’s Hawaiian Bread Rolls! Forget everything you thought you knew about packaged rolls because these homemade beauties are on a different level. We’re talking about a sweet, pillowy soft texture that melts in your mouth and a subtle tang from real pineapple juice that sets them apart. Seriously, every single carb is worth it, and we promise you’ll be hooked from the first bite.
These aren’t just any dinner rolls; they are the ultimate foundation for creating delicious sliders, elevating a simple lunch sandwich, or simply enjoying warm, buttery bread fresh from the oven. Their distinct flavor and superior texture make them incredibly versatile for both savory and sweet applications.
While the convenience of store-bought King’s Hawaiian rolls might seem appealing, there’s truly no comparison to the freshness and flavor of a batch made from scratch. And here’s the best part: these copycat Hawaiian rolls are incredibly easy to prepare. They rely on basic pantry ingredients you likely already have on hand, and the minimal effort required pays off tenfold in taste and aroma. Trust us, the extra few minutes of preparation are well worth it for the superior results.
Let’s be honest: the bread is arguably the most crucial component of any great sandwich. These tender, slightly sweet buns are engineered for perfection, transforming ordinary ingredients into extraordinary mini sliders or hearty sandwiches. Once you incorporate these into your culinary repertoire, you’ll wonder how you ever managed without them. Their unique flavor profile complements a wide array of fillings, from pulled pork to grilled chicken, making them a staple for family meals and entertaining alike.
Why Homemade King’s Hawaiian Rolls Are a Must-Try
Stepping into the world of homemade bread can seem daunting, but these King’s Hawaiian rolls are incredibly forgiving and rewarding. Beyond the sheer joy of baking, there are undeniable advantages to making these rolls yourself:
- Unbeatable Freshness: Nothing compares to the taste and aroma of bread baked just hours ago. The warmth and delicate texture are something store-bought rolls simply can’t replicate.
- Control Over Ingredients: You know exactly what goes into your rolls – fresh, high-quality ingredients, free from artificial preservatives or unnecessary additives.
- Cost-Effective: Making your own bread is often more economical in the long run, especially if you enjoy these rolls frequently.
- Therapeutic Process: The act of kneading dough and watching it rise can be incredibly calming and satisfying.
- Impress Your Guests: Serving warm, homemade rolls straight from the oven is a surefire way to delight family and friends.
Signature Features of These King’s Hawaiian Bread Rolls…
- A perfectly soft and fluffy texture inside, achieved through careful kneading and the right balance of moisture and fat. This results in an airy, melt-in-your-mouth crumb that is simply irresistible.
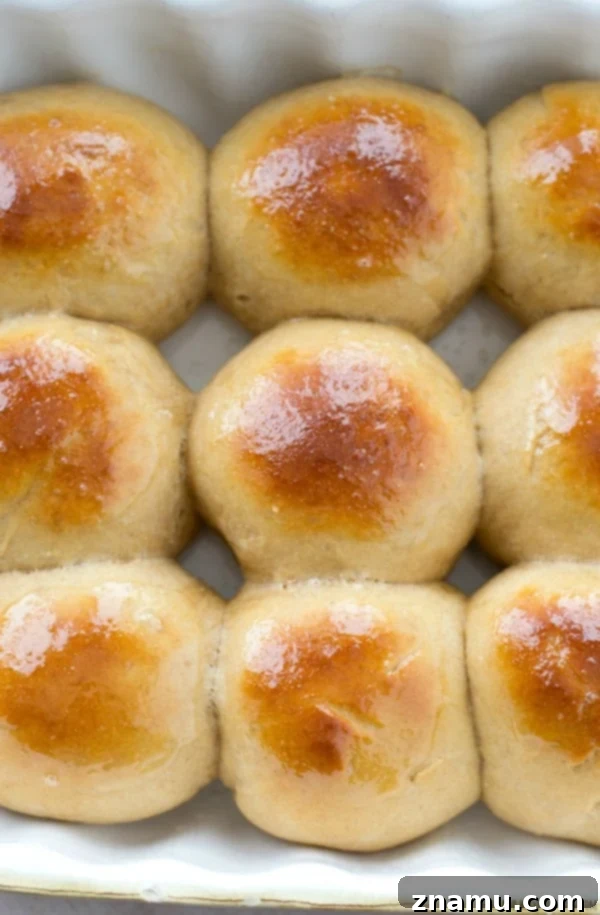
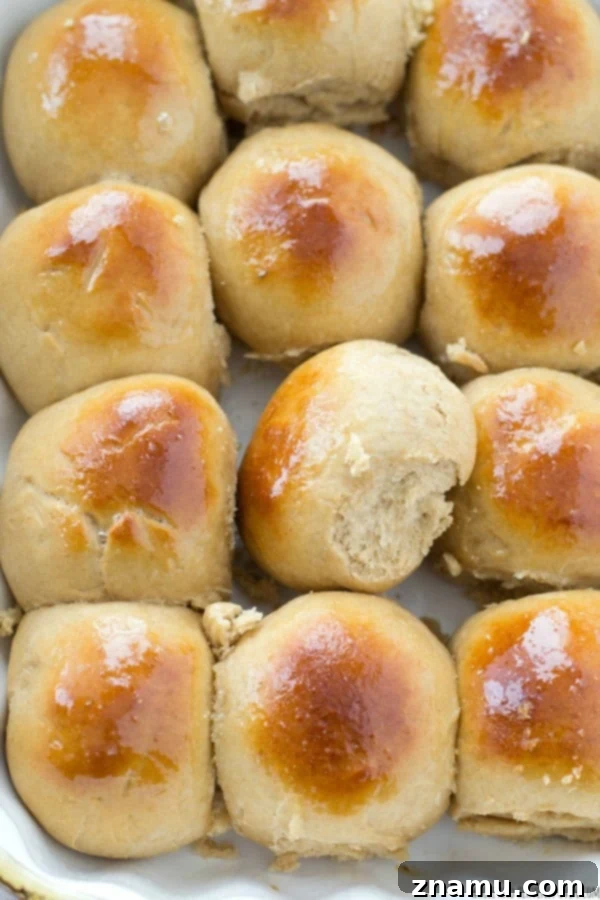
- A gorgeous golden honey-glazed exterior, providing a beautiful sheen and an extra layer of subtle sweetness. The glaze not only adds visual appeal but also contributes to the rolls’ signature flavor profile and tender crust.
- Authentic pineapple juice integrated directly into the dough. This key ingredient is what truly gives these rolls their famous King’s sweetness and unique, slight tang. The enzymes in the pineapple juice also work to tenderize the dough, contributing to that incredibly soft texture.
- Several convenient make-ahead AND freezing options, allowing you to prepare these rolls around your schedule, whether you need them fresh for a morning event or want to stash some in the freezer for future cravings.
Crafting the Perfect King’s Hawaiian Bread Rolls
Embarking on your homemade King’s Hawaiian roll journey is a delightful experience. The process is straightforward, ensuring that even novice bakers can achieve spectacular results. The secret lies in understanding the role of each ingredient and patiently allowing the dough to develop its signature texture and flavor.
Understanding the Ingredients
Success begins with quality ingredients. Here’s a quick look at the stars of this recipe:
- Active Dry Yeast: The leavening agent that makes your rolls light and airy. Ensure it’s fresh for optimal activity.
- Warm Milk (110°F): Crucial for activating the yeast. Too hot, and you’ll kill it; too cold, and it won’t activate.
- Pineapple Juice: The star ingredient, providing natural sweetness and a subtle tang while tenderizing the dough.
- Sugar: Feeds the yeast, contributes to the rolls’ sweetness, and aids in browning.
- Melted Butter (Cooled): Adds richness, flavor, and helps achieve that incredibly soft crumb.
- Large Egg: Enhances the dough’s structure, adds richness, and contributes to a beautiful golden color.
- Salt: Essential for flavor balance and controlling yeast activity.
- All-Purpose Flour: The foundation of your rolls. The amount can vary slightly depending on humidity, so add gradually.
- Egg White & Honey (for glaze): Creates that iconic golden, shiny finish and a touch more sweetness.
Making the Dough: The Heart of Your Rolls
The dough for these King’s Hawaiian rolls is remarkably cooperative and can be prepared using either a stand mixer with a dough hook or by hand in a large mixing bowl. Both methods yield fantastic results, so choose what works best for you!
- Begin by gently warming your milk to precisely 110°F. This temperature is vital for properly activating the active dry yeast without harming it. Once the milk reaches the correct temperature, pour it into the bowl of your stand mixer (or a large mixing bowl if kneading by hand) and sprinkle the yeast over it. Let this mixture stand undisturbed for about 5 minutes. You’ll know your yeast is active and healthy when it becomes foamy and slightly bubbly on the surface. If it doesn’t foam, your yeast might be old, or your milk temperature was off, and it’s best to start again.
- After the yeast is activated, incorporate the pineapple juice, granulated sugar, cooled melted butter, a large egg, and salt into the yeast mixture. Mix these wet ingredients thoroughly until everything is well combined and uniform. This blend forms the flavorful liquid base for your dough.
- Now, begin adding the all-purpose flour, starting with 3-1/2 cups. Mix on low speed (or by hand with a sturdy spoon) until the dough starts to come together and pulls away from the sides of the bowl. The ideal dough consistency is soft and slightly tacky, but not overly sticky. If your dough still feels too sticky, add additional flour, one tablespoon at a time, mixing well after each addition, until the dough reaches the desired texture. Avoid adding too much flour, as this can result in dense, dry rolls.
- Once the dough has formed, it’s time for kneading. If you’re using a stand mixer, attach the dough hook and knead on medium speed for approximately 6-8 minutes. The dough should become smooth, elastic, and pass the “windowpane test” (where a small piece of dough can be stretched thin enough to see light through it without tearing). If you’re kneading by hand, turn the dough onto a lightly floured surface and knead it gently but firmly for the same duration. Use a push-and-fold technique until the dough is smooth, pliable, and elastic.
- Form the kneaded dough into a neat ball and place it in a large, lightly greased bowl, turning the dough once to ensure the top is also greased. This prevents the dough from drying out. Cover the bowl tightly with plastic wrap and let it rise in a warm, draft-free place until it has doubled in size, which typically takes about 1 to 1-1/2 hours. This “first rise” or bulk fermentation is crucial for developing flavor and texture.
Baking the Rolls: Achieving Golden Perfection
Once your dough has completed its first rise, the next steps are about shaping and baking these delightful rolls to a beautiful golden finish.
- Gently punch the risen dough down to release the accumulated gases. This helps to redistribute the yeast and create a finer crumb structure. Turn the dough out onto a lightly floured surface and divide it into 12 even portions. For best results and uniform rolls, you can use a kitchen scale to ensure each portion weighs the same.
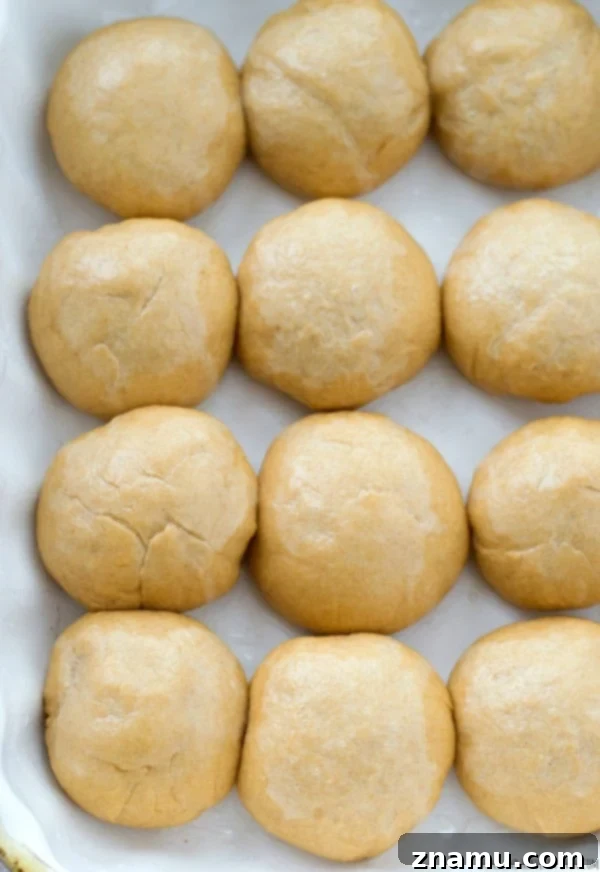
- Roll each dough portion into a smooth, tight ball. This can be done by cupping your hand over the dough on the counter and rolling it in a circular motion until a smooth surface forms. Arrange these perfectly shaped dough balls in a greased 9×13 baking pan, ensuring they are placed close enough to touch slightly when they rise, allowing them to bake into pull-apart rolls.
- Lightly cover the baking pan with plastic wrap and let the rolls undergo their final rise, also known as proofing. This second rise should take approximately 30 minutes, or until the rolls have visibly doubled in size and look puffy. This step ensures a light and airy final product.
- While the rolls are proofing, preheat your oven to 375°F (190°C). Once the rolls have finished rising, carefully remove the plastic wrap. In a small bowl, whisk together one egg white with one tablespoon of water, then gently brush this egg wash mixture over the tops of the rolls. This creates a beautiful golden sheen and helps the honey adhere. Drizzle or gently brush 2 tablespoons of honey evenly over the tops of the rolls.
- Bake the rolls in the preheated oven for 20-25 minutes, or until they achieve a gorgeous golden brown color on top. Keep an eye on them towards the end of the baking time to prevent over-browning. Once baked, remove the pan from the oven and let the rolls cool in the pan for at least 15 minutes. This allows them to set slightly before you remove them to serve warm.
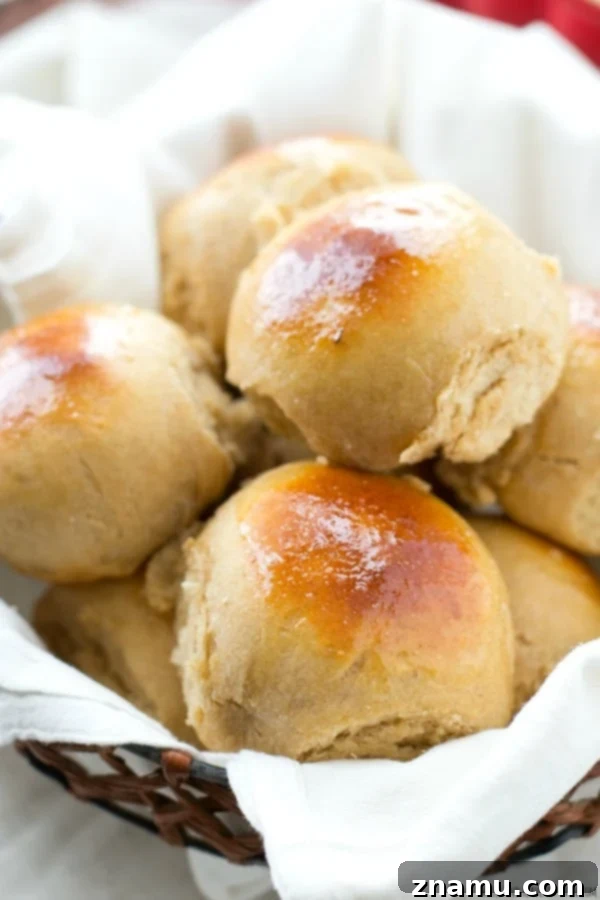
For optimal freshness, store these magnificent rolls in an airtight container at room temperature for up to 3 days. However, their irresistible taste means they rarely last that long! Continue reading for fantastic make-ahead options that provide even more flexibility.
Clever Make-Ahead and Freezing Options for Convenience
One of the many benefits of making these King’s Hawaiian Bread Rolls from scratch is the flexibility they offer. You can easily prepare them in advance, fitting perfectly into your busy schedule.
- Option 1: Overnight Cold Fermentation for Enhanced Flavor. This method is perfect for preparing dough ahead of time and developing deeper, more complex flavors. Follow the recipe instructions for making and kneading the dough as usual. Instead of letting the dough rise at room temperature, place it in a greased bowl, cover it tightly with plastic wrap, and refrigerate it overnight, or for up to 12 hours. The cold temperature slows down the yeast activity, allowing for a longer, slower fermentation. The next morning, remove the dough from the fridge (still covered in its bowl) and let it sit on the counter for about 30 minutes to an hour to come closer to room temperature before proceeding with shaping, allowing for the second rise, and baking as directed.
- Option 2: Freeze Baked Rolls for Future Enjoyment. These rolls freeze beautifully, making them ideal for meal prepping or always having a fresh-tasting batch on hand. For best results, freeze the rolls the same day you bake them to lock in maximum freshness. Ensure they are completely cooled to room temperature before freezing. Once cool, you can either wrap individual rolls tightly in plastic wrap and then place them in a freezer-safe bag, or place the entire batch in an airtight freezer container. They will keep well in the freezer for up to 2 months. When you’re ready to enjoy them, simply thaw the rolls at room temperature or gently reheat them in a warm oven (covered with foil to prevent drying) until warm through. Serve them fresh and warm!
The Irresistible Allure: Soft, Sweet, and Versatile
These homemade King’s Hawaiian rolls are truly remarkable. Their texture is unbelievably soft, almost cloud-like, providing a delicate contrast to their perfectly balanced sweetness. The subtle hint of pineapple isn’t overpowering but adds a depth of flavor that distinguishes them from ordinary bread rolls. They are, quite simply, the perfect canvas for any sandwich creation you can dream up.
Imagine pulling apart a warm, fluffy roll, steam gently rising, and the aroma of sweet bread filling your kitchen. Has there ever been a more glorious sight or scent in the history of breadmaking? We don’t think so. The satisfaction of creating something so delicious and comforting from scratch is truly unparalleled.
Be warned: having these rolls around will undoubtedly lead to constant sandwich cravings! But don’t worry, it’s a good problem to have. Their versatility extends far beyond just sliders. They make fantastic breakfast sandwiches, complement savory roasts, and can even be enjoyed simply with a smear of butter and jam. Get ready for a new obsession!
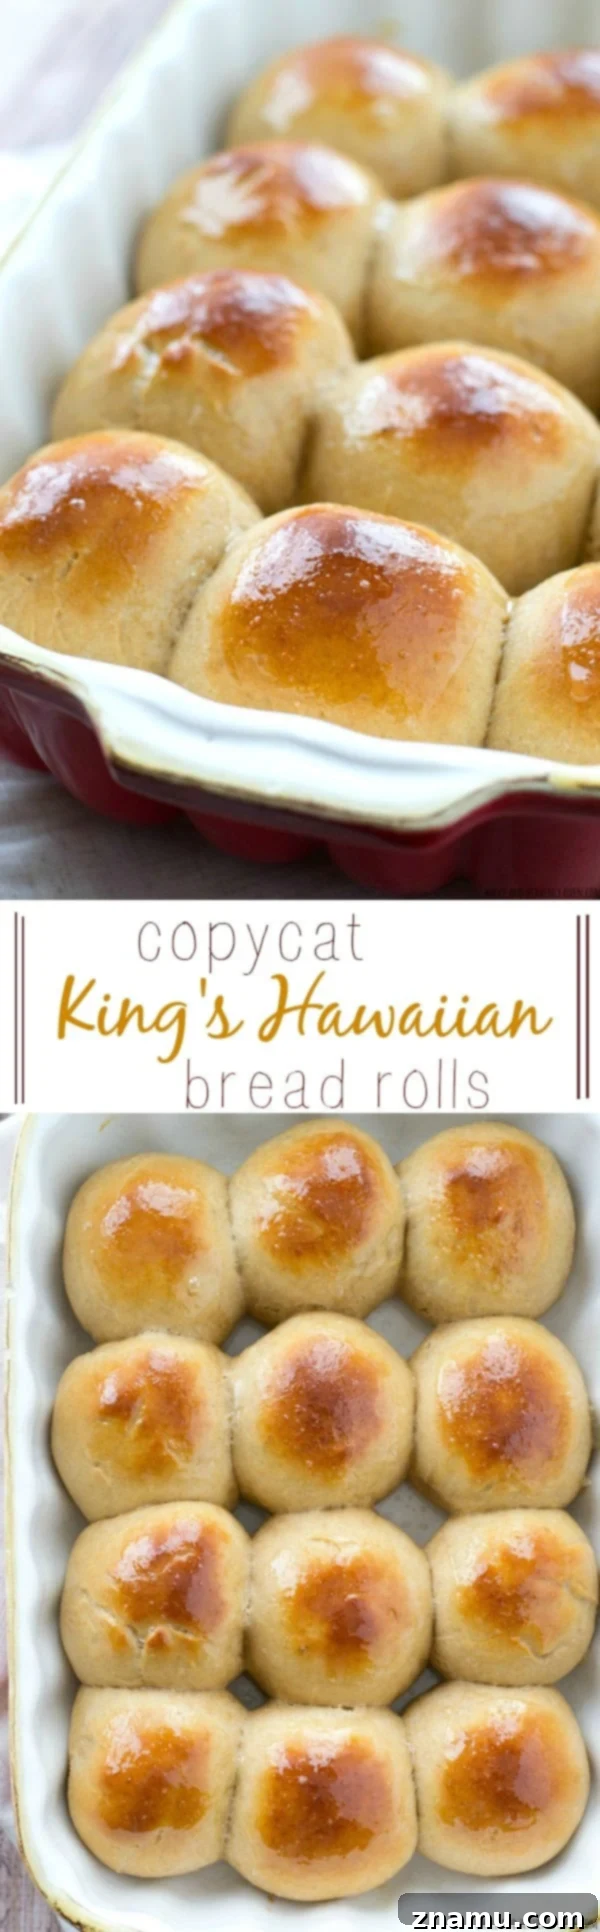
Need some inspiration for what to pair with these sensational rolls? They are truly designed to complement a variety of fillings and flavors. Check out these mouth-watering recipes that make perfect use of your fresh, homemade Hawaiian buns:
- Grilled Blackened Chicken Sandwiches with Mango Avocado Salsa
- Barbecue Chicken Sliders with Peach Scallion Slaw
- Instant Pot Pineapple BBQ Beef Sandwiches
For a visual guide, you can watch these delightful Hawaiian bread rolls being made step-by-step. Find the full process on Google Web Stories!
Save To Recipe Box
Print Recipe
Pin Recipe
Rating: 4.28 from 22 votes
Copycat King’s Hawaiian Bread Rolls
This recipe may included paid links. As an Amazon Associate, I earn a commission from qualifying purchases.
Ingredients
- 2-1/2 teaspoons active dry yeast
- 1/2 cup warm milk (110F)
- 3/4 cup pineapple juice
- 1/4 cup sugar
- 1/3 cup melted butter, cooled
- 1 large egg
- 1-1/2 teaspoons salt
- 3-1/2 to 4 cups all-purpose flour
- 1 egg white (lightly beaten with 1 tablespoon water)
- 2 tablespoons honey
Instructions
- In the bowl of a large stand mixer attached with a dough hook OR in a large bowl, dissolve yeast in warm milk. Let stand 5 minutes then mix in pineapple juice, sugar, melted butter, egg, and salt until combined.
- Add 3-1/2 cups flour to liquid mixture and mix until dough pulls away from sides of bowl (if dough seems too sticky, add 1 tablespoon flour at a time until dough is smooth and tacky).
- If using mixer, knead dough on medium speed until smooth and elastic, about 6-8 minutes. If making by hand, turn dough onto a floured surface and gently knead until smooth and elastic, about 6-8 minutes. Place dough in a large greased bowl, turning once to grease top. Cover bowl with plastic wrap and let rise until doubled, about 1-1/2 hours.
- Punch risen dough down and divide into 12 pieces. Roll dough pieces into smooth balls and place in a greased 9×13 baking pan. Cover pan with plastic wrap and let rise 30 minutes or until doubled.
- Remove plastic wrap from pan and gently brush rolls with egg white and honey. Bake rolls at 375F 20-25 minutes or until golden brown. Let rolls cool in pan at least 15 minutes, then remove from pan and serve warm.
For a step-by-step guide to making this recipe, check out the video!
(Video content related to this recipe would typically be embedded here. Please refer to the source for the video.)
Notes
Tried this recipe?
Leave a comment and rating below. Feel free to share a picture on Instagram and tag @wholeandheavenlyoven or hashtag it #wholeandheavenlyoven