

Discover the ultimate homemade treat: these irresistible Roasted Garlic Cheddar Biscuits. Featuring a beautiful roasted garlic flavor and generous amounts of gooey cheddar cheese, they are ready in minutes and boast an incredibly light and flaky texture. Elevate your next meal with this simple yet sensational recipe!

Welcome to a culinary journey that will introduce you to the most delightfully addictive biscuits you’ll ever bake! Forget everything you thought you knew about classic cheddar biscuits; these homemade roasted garlic cheddar biscuits are in a league of their own. While they share a comforting familiarity with popular restaurant versions, we’re taking things to an entirely new level by incorporating the deep, nuanced flavors of roasted garlic instead of conventional garlic powder. The result is nothing short of extraordinary – a rich, savory, and unbelievably satisfying biscuit that will have everyone begging for more.
The subtle sweetness and profound umami of roasted garlic truly transform these biscuits, infusing every bite with an unparalleled depth of flavor. Coupled with pockets of melted, tangy cheddar cheese, these biscuits strike a perfect balance between savory and utterly comforting. They are designed to be light, airy, and incredibly flaky, crumbling perfectly with each mouthful. Whether served as a side dish, a breakfast pastry, or a standalone snack, these biscuits are guaranteed to become a new favorite in your kitchen.
Why These Roasted Garlic Cheddar Biscuits Are a Must-Try
These aren’t just any biscuits; they are a celebration of flavor and texture, crafted to bring joy to your taste buds. Inspired by timeless Southern baking traditions, this recipe builds upon a foundation that ensures a truly superior biscuit experience. Here’s what makes these roasted garlic cheddar biscuits stand out:
- A **remarkably light and flaky texture**: Each biscuit boasts delicate layers that separate easily, melting in your mouth with a buttery richness.
- An abundance of **gooey cheddar cheese** combined with the nutty, sweet notes of **roasted garlic**: This pairing creates a complex flavor profile that is both robust and incredibly satisfying.
- **Quick preparation**: Despite their gourmet taste, these biscuits come together with minimal effort, making them perfect for any day of the week.
- Requires only **a handful of common ingredients**: You likely have most of what you need in your pantry already.
- **Beyond the ordinary**: Moving past simple garlic powder, the use of roasted garlic elevates the flavor from good to absolutely sensational, offering a sophisticated twist on a classic.
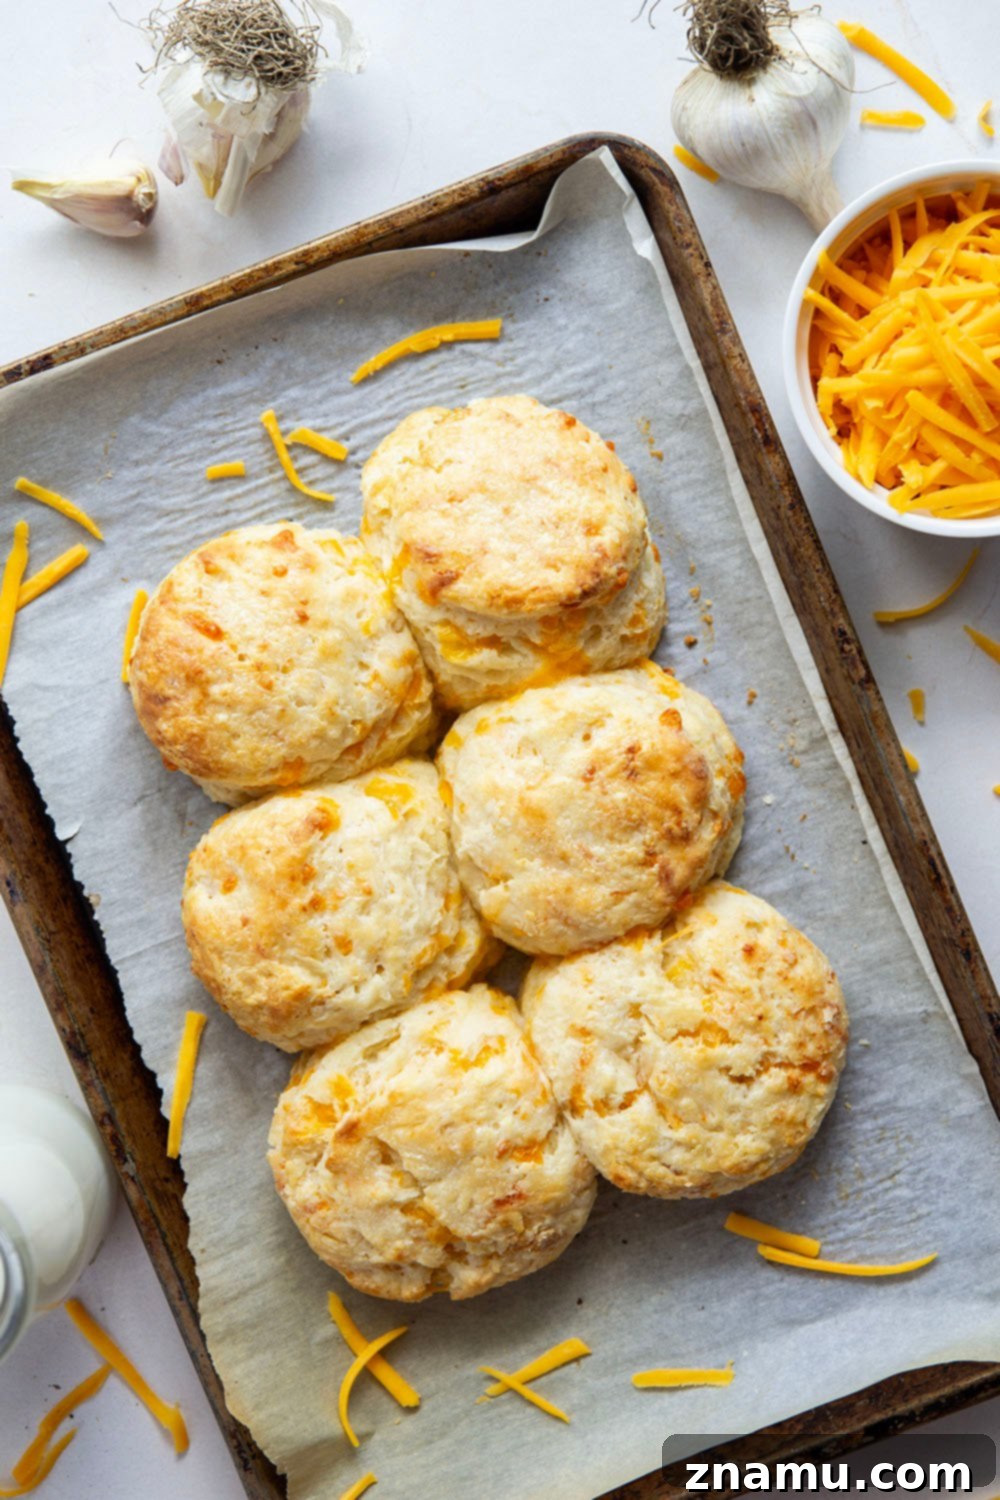
Our recipe follows the time-tested base from classic southern-style buttermilk biscuits, known for their sky-high rise and incredibly tender crumb. If you’ve ever had the pleasure of trying that recipe, you’ll recognize the promise of a SUPER buttery and flaky texture, complemented by a subtle tangy buttermilk flavor in every single bite. Achieving this level of perfection requires minimal effort, especially with a few straightforward tricks and tips that we’ll share to ensure your biscuits turn out flawless every time. There’s no complex alchemy here, just simple steps leading to spectacular results.
The Magic of Roasted Garlic: A Flavor Transformation
While garlic powder offers a quick burst of garlic essence, roasted garlic provides an entirely different experience. Roasting garlic transforms its sharp, pungent notes into a mellow, sweet, and nutty flavor profile. This caramelization process brings out the natural sugars in the garlic, resulting in a spreadable, golden-brown paste that is intensely aromatic and deeply savory. It’s this profound difference that truly sets these biscuits apart, imparting a sophisticated and comforting taste that powdered garlic simply cannot replicate. The slow roasting process mellows any harshness, leaving behind a rich, umami essence that perfectly complements the sharp cheddar.
How to Roast Garlic for the Best Flavor
Roasting garlic is a surprisingly simple method that unlocks a world of rich, nutty flavors, making it a valuable addition to countless dishes. For these biscuits, it’s a non-negotiable step that promises a superior taste. To roast the garlic, simply take a whole head of garlic, slice about 1/2-inch off the top to expose the cloves, and place it on a piece of aluminum foil. Drizzle generously with olive oil and season lightly with salt and pepper. Wrap the foil tightly around the garlic head to create a sealed packet, ensuring no steam escapes. Roast this packet in a preheated oven at 400°F (200°C) for 30-35 minutes, or until the cloves are incredibly soft, golden-brown, and easily mashed. Once cooled slightly, gently squeeze the softened garlic from their skins and mash them into a smooth paste. This paste can be made ahead of time and stored in the refrigerator for convenience, making your biscuit baking even quicker.

Mastering the Perfect Biscuit Texture: Tips for Success
Achieving those coveted tall, flaky layers in your biscuits isn’t a secret art; it’s a science, and we’re here to share the tried-and-true techniques that guarantee success every time. Follow these essential tips to create biscuits that are light, airy, and spectacularly layered, just like your favorite bakery-style treats:
- Measure flour correctly: Precision in baking is key, especially with flour. The “spoon-and-level” technique is crucial to prevent over-measuring, which can lead to dense, dry biscuits. Instead of scooping directly with your measuring cup, use a spoon to lightly scoop flour into the cup until it overflows. Then, use the flat side of a knife or a straight edge to level off the excess flour. This ensures you’re using the exact amount needed for optimal texture.
- Use extremely cold butter: The secret to flaky biscuits lies in cold fat. As the cold butter melts in the hot oven, it releases steam, creating pockets of air that result in those desirable flaky layers. For the best results, grate your cold unsalted butter using the large holes of a box grater. This creates small, consistent pieces that are easier to incorporate. After grating, place the butter back in the freezer for at least 30 minutes before mixing it into the dry ingredients to ensure it’s as cold as possible.
- Build layers into biscuits: To maximize height and flakiness, employ a simple layering trick. After gently combining your dough, pat it out into a roughly 1-inch thick square. Cut this square into four equal pieces. Stack these four pieces directly on top of each other. Then, gently flatten the stacked dough back down to a 1-inch thickness. This process effectively folds the dough multiple times, creating numerous layers within each biscuit, ensuring they rise beautifully.
- Chill biscuits before baking: Just like the butter, keeping the entire biscuit dough cold before it hits the oven is paramount. Once you’ve cut out your biscuits and arranged them on the baking sheet, place the entire tray into the freezer for about 15 minutes. This quick chill helps to solidify the butter once more, preventing it from melting too quickly in the oven and locking in those precious layers.
- Brush tops of biscuits with heavy cream: For a beautiful golden-brown crust and an extra touch of richness, lightly brush the tops of your biscuits with heavy whipping cream just before baking. This not only enhances their appearance but also contributes to a slightly crispy exterior that contrasts wonderfully with the tender interior.
- Bake biscuits touching each other: To encourage maximum rise, arrange your biscuits in a cluster of rows on the baking sheet so that their sides are gently touching. As they bake, the biscuits will push against each other, forcing them to rise upwards rather than spreading outwards. This technique is key for achieving those wonderfully tall, impressive biscuits.
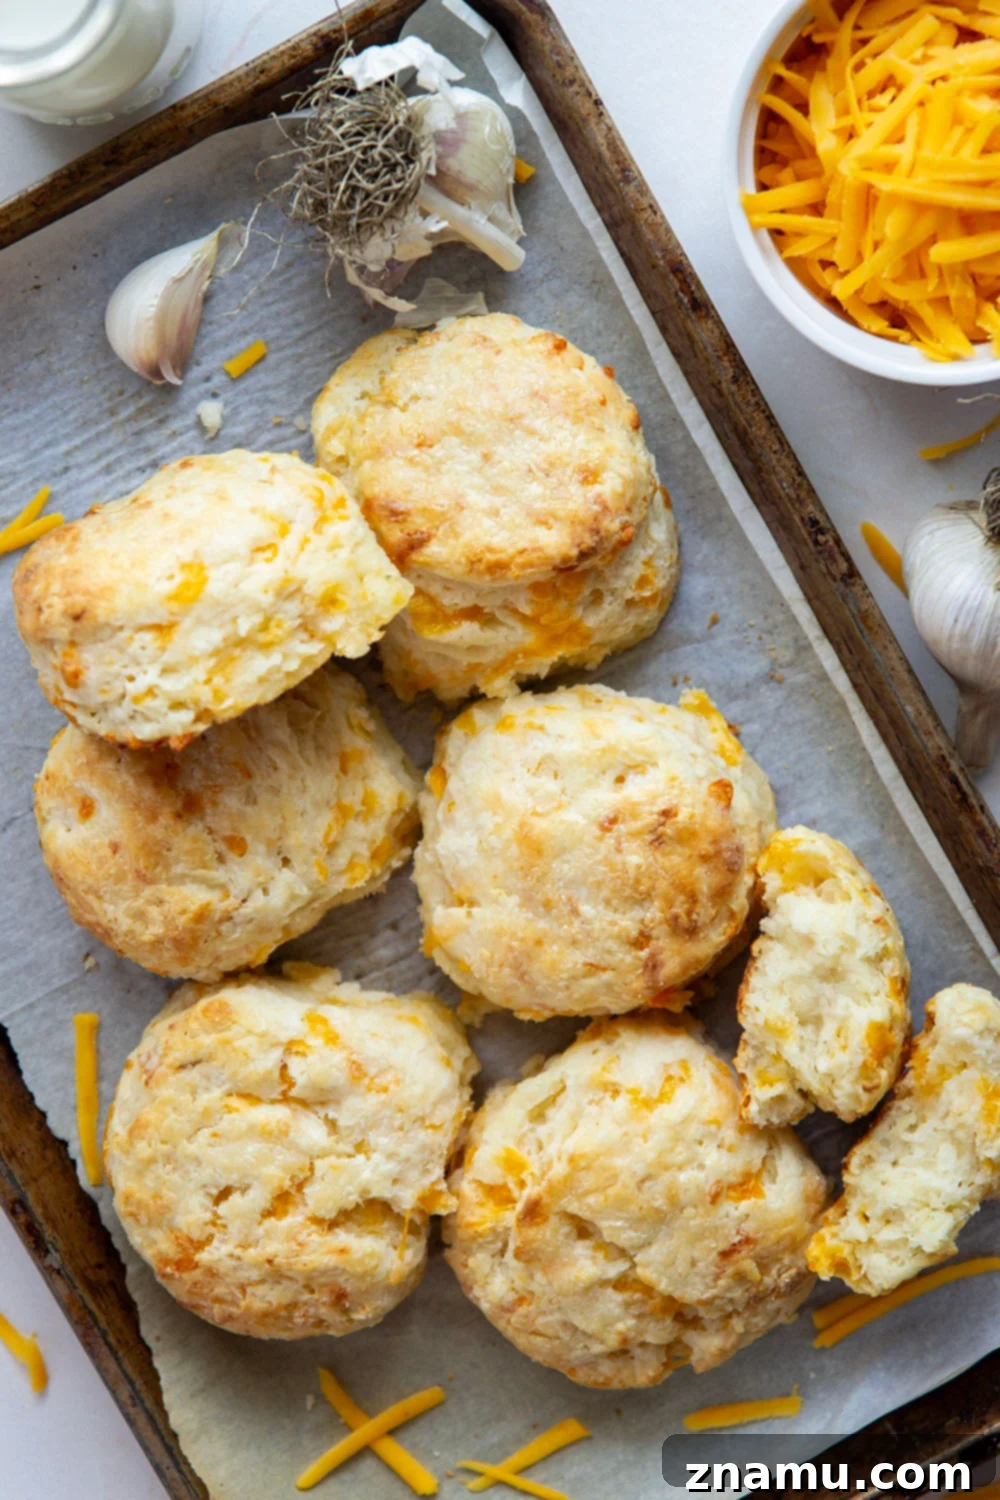
Essential Ingredients You Will Need
Crafting these exceptional roasted garlic cheddar biscuits requires a selection of fresh, high-quality ingredients. Each component plays a vital role in achieving the perfect flavor and texture. Here’s your shopping list:
- Garlic: One medium head, to be roasted for its sweet, nutty essence.
- Olive oil: A small amount for roasting the garlic, enhancing its flavor and preventing burning.
- All-purpose flour: The foundation of our biscuits, ensure it’s measured correctly (spooned and leveled).
- Baking powder: The primary leavening agent, crucial for a high rise and tender crumb.
- Granulated sugar: Just a touch to balance the savory flavors and aid in browning.
- Kosher salt: Essential for seasoning the dough and bringing out all the flavors.
- Unsalted butter: Must be very cold and grated, vital for creating those flaky layers.
- Heavy whipping cream: Used in the dough for richness and for brushing the tops before baking.
- Buttermilk: Adds a delightful tang and contributes to a tender texture by reacting with the baking powder.
- Cheddar cheese: Shredded, for its sharp flavor and irresistible gooey pockets throughout the biscuits.
Customizing Your Biscuits: Delightful Recipe Variations
While the classic roasted garlic cheddar biscuit is a masterpiece on its own, don’t hesitate to experiment with these ideas to put a fresh spin on this beloved recipe. Customizing your biscuits allows you to tailor them to your personal preferences or the occasion, adding new dimensions of flavor:
- For a quicker garlic flavor (skip the roasting): If time is of the essence or you prefer a more pungent garlic note, you can opt to sauté 3 minced cloves of fresh garlic in a little olive oil until fragrant and softened, then add this directly to the biscuit dough. While it won’t have the same sweetness as roasted garlic, it still provides a delicious alternative.
- Introduce fresh herbs: Elevate the aromatic profile by adding 1 tablespoon of finely minced fresh herbs to your dough. Dill offers a bright, refreshing note, rosemary provides a woody, earthy essence, thyme contributes a subtle, savory depth, and parsley brightens the overall flavor. Choose your favorite or combine a few for a unique blend.
- Experiment with different cheeses: Cheddar is a classic, but many other cheeses can work wonders in these biscuits. Try shredded sharp white cheddar for a more intense tang, Gouda for a creamy, slightly sweet undertone, mozzarella for incredible meltiness, pepper jack for a spicy kick, or Parmesan cheese for a salty, umami-rich twist. Feel free to mix and match cheeses for a custom blend!
- Add a hint of spice: For those who enjoy a little heat, a pinch of cayenne pepper or a small amount of finely diced jalapeño (seeds removed for less heat) can be added to the dough along with the cheese.
Storing and Freezing Your Delicious Biscuits
These roasted garlic cheddar biscuits are best enjoyed warm, straight from the oven, but they also store remarkably well. To maintain their freshness, allow the biscuits to cool completely before transferring them to an airtight container. Store them at room temperature for up to 4 days. For optimal enjoyment beyond the first day, we highly recommend toasting them gently in a toaster oven or warming them in a conventional oven (at about 300°F/150°C for 5-7 minutes) before serving. This revives their warmth and helps the cheddar cheese become wonderfully hot and melty again, bringing them back to their original glory.
For longer storage, these biscuits freeze beautifully. Once they have cooled completely, wrap individual biscuits tightly in plastic wrap, then place them in a freezer-safe bag or container. They can be frozen for up to 2 months without losing their quality. When you’re ready to enjoy them, simply thaw the biscuits on your countertop for a few hours, then reheat as desired. Reheating frozen biscuits directly in the oven (unwrapped) at a lower temperature like 325°F (160°C) for about 10-15 minutes can also work wonders, ensuring they are heated through and regain some of their original texture.
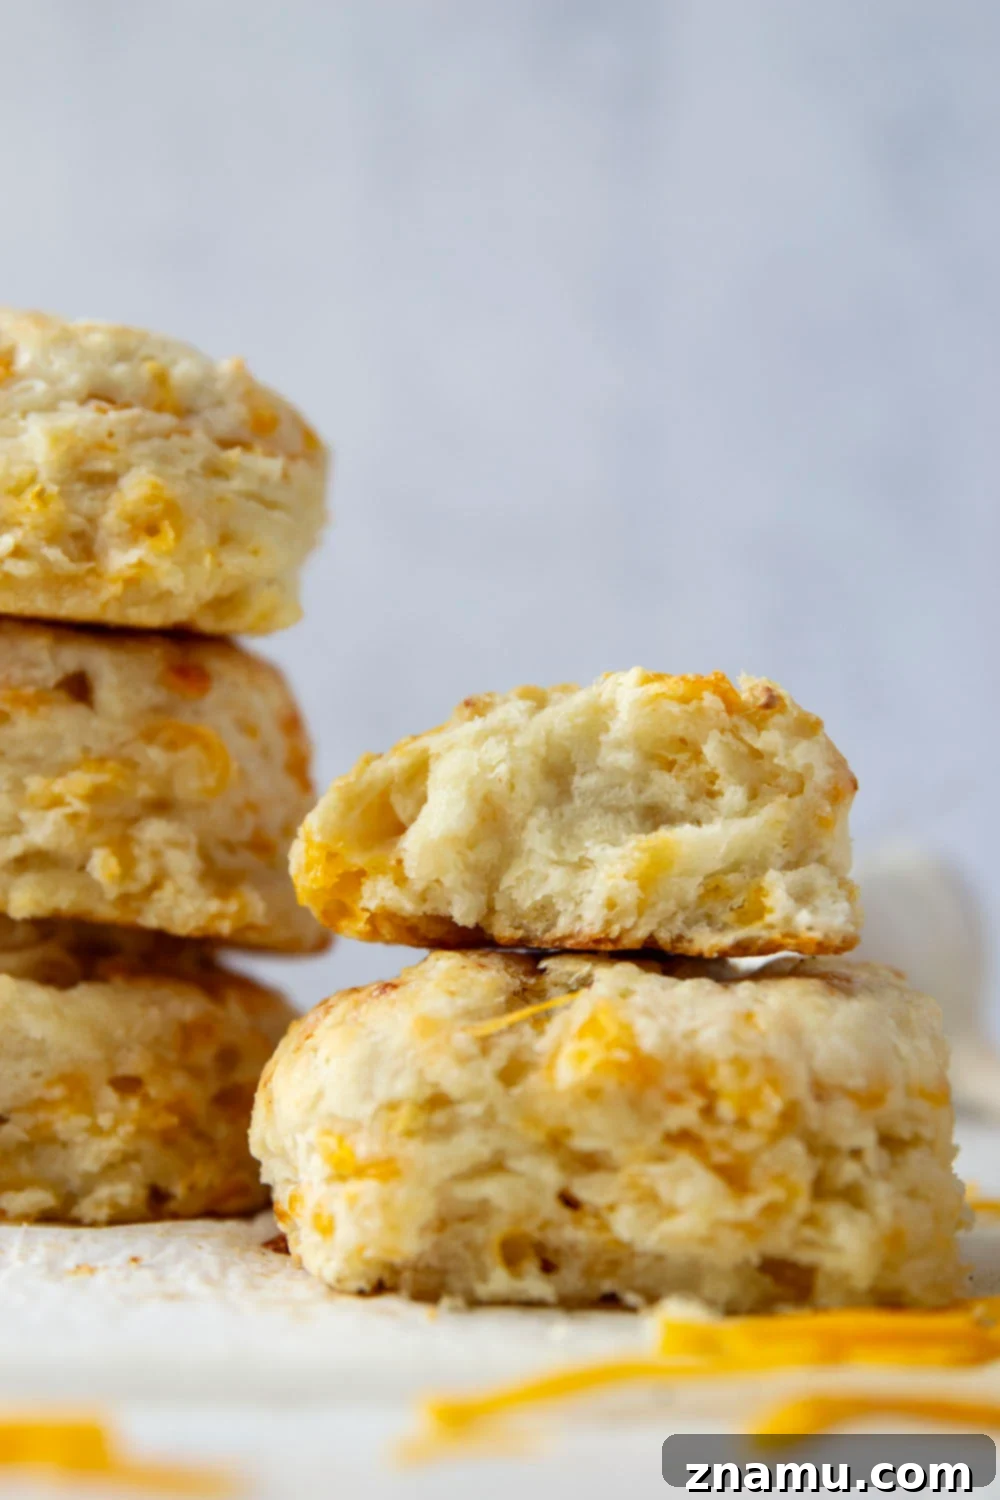
I truly implore you to savor these glorious biscuits hot from the oven! While your self-control might be tested, the experience of biting into one of these warm, cheesy, and garlicky masterpieces is an absolute must. The intoxicating aroma, the crisp exterior yielding to a tender, flaky interior, and the burst of rich flavors make for an unforgettable culinary moment. Honestly, you’ll be hard-pressed not to devour half the pan all by yourself. They are perfect for breakfast, brunch, or as a savory side to any meal.
Don’t forget to save this incredible recipe! You can use the ‘save to recipe box’ button below for easy access later. If you make these delectable biscuits, please share your experience! We’d love to hear from you. Leave a comment and a star rating below, or capture a photo and tag it on Instagram with #wholeandheavenlyoven so we can see your wonderful creations.
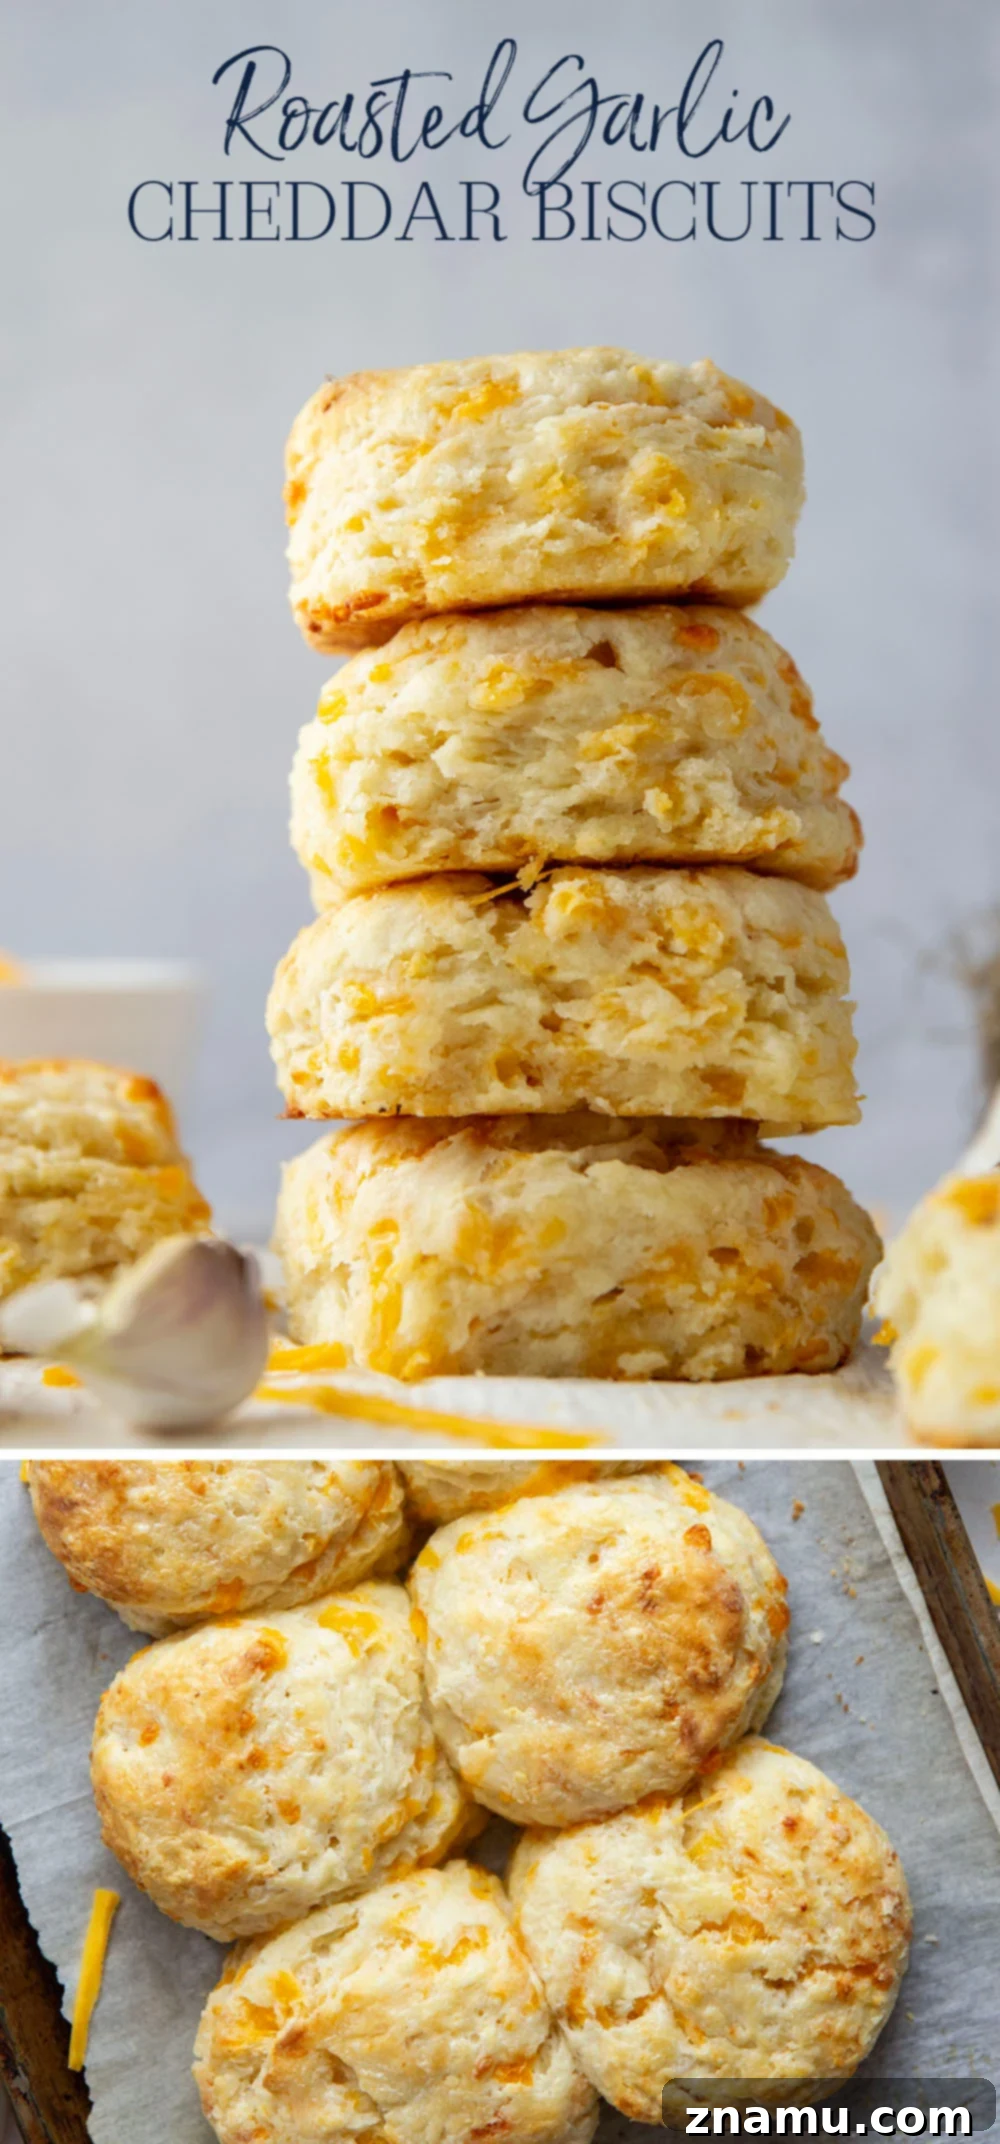
Craving more biscuit goodness? Bake up these other biscuit favorites next!
- Everything Bagel Biscuits
- Jalapeno Cheddar Biscuits
- Feta Sun-Dried Tomato Biscuits

Roasted Garlic Cheddar Biscuits
This recipe may included paid links. As an Amazon Associate, I earn a commission from qualifying purchases.
10 minutes
50 minutes
1 hour
6 biscuits
430 kcal
Ingredients
- 1 medium head garlic
- 1/2 teaspoon olive oil
- Salt and pepper to taste
- 2 cups all-purpose flour (spooned and leveled)
- 1 tablespoon baking powder
- 1 teaspoon granulated sugar
- 1 teaspoon kosher salt
- 1/2 cup unsalted cold butter (grated on the large holes of a box grater and frozen)
- 1 cup shredded cheddar cheese
- 1/4 cup heavy whipping cream
- 3/4 cup buttermilk
- Additional heavy cream for brushing on biscuits
Instructions
- Preheat oven to 400°F (200°C). Slice about 1/2-inch off the top of the garlic head. Arrange the garlic in the center of a tin foil rectangle and drizzle with olive oil, then season with salt and pepper. Fold the edges of the foil over the garlic and tightly seal to form a packet.
- Place the foil packet directly on the oven rack and roast at 400°F (200°C) for 30-35 minutes, until the garlic is a light golden brown and very soft. Allow the roasted garlic to cool slightly, then remove from the foil and skins, and finely mash into a paste.
- Keep the oven on and increase heat to 425°F (220°C). Line a medium sheet pan with parchment paper and set aside.
- In a large bowl, combine the flour, baking powder, sugar, and salt. Use a pastry cutter or your fingertips to work the frozen shredded butter and roasted garlic paste into the flour mixture until crumbly and resembling coarse meal.
- Add the shredded cheese, heavy cream, and buttermilk to the flour mixture. Gently fold with a spatula until a shaggy dough forms. Turn the dough out onto a lightly floured surface and gently knead several times until the dough just comes together. Avoid over-kneading.
- Lightly flour the surface again and pat the dough into a 1-inch thick square. Cut the square into 4 pieces using a bench scraper or knife, and stack the pieces on top of one another. Use your hands to gently flatten the dough back down to 1 inch thick. Use a 3-inch biscuit cutter to cut out biscuits. Reroll scraps gently once, if necessary, to cut out more biscuits.
- Place the biscuits in the center of the prepared sheet pan so that they are touching each other. Place the pan in the freezer for 15 minutes to chill the fats in the dough before baking. This helps achieve taller, flakier biscuits.
- Remove the biscuits from the freezer and brush the tops with additional heavy cream. Bake the biscuits at 425°F (220°C) for 13-16 minutes, or until golden brown on top and cooked through. Serve warm and enjoy immediately!
Notes
Storing Instructions
Store cooled biscuits in an airtight container at room temperature for up to 4 days. Biscuits may also be frozen for up to 2 months. Reheat gently for best results.
Nutrition
Calories: 430kcal |
Carbohydrates: 37g |
Protein: 10g |
Fat: 27g |
Saturated Fat: 16g |
Polyunsaturated Fat: 1g |
Monounsaturated Fat: 7g |
Trans Fat: 1g |
Cholesterol: 74mg |
Sodium: 761mg |
Potassium: 133mg |
Fiber: 1g |
Sugar: 3g |
Vitamin A: 858IU |
Vitamin C: 2mg |
Calcium: 311mg |
Iron: 2mg
This post was updated with new recipe adjustments and photos on 7/16/25.