
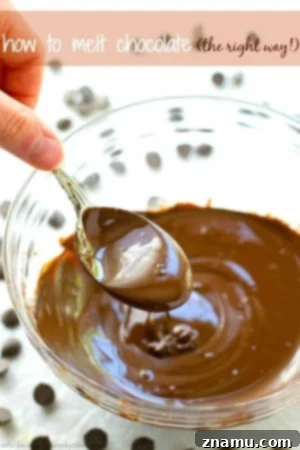
Unlock the secret to flawlessly melted chocolate every single time with this comprehensive guide. All you need are a few basic kitchen tools and your favorite chocolate!
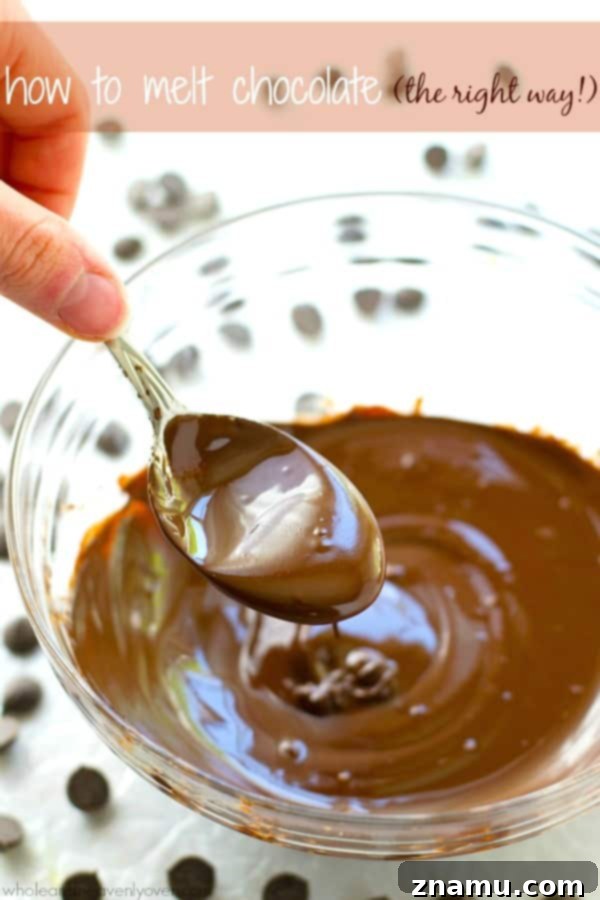
Welcome to the kitchen, chocolate lovers! We’re kicking off a brand new series designed to equip you with essential cooking tips and techniques I’ve gathered over years in the kitchen. Consider this your go-to “Sarah’s Culinary Corner” – a place where fundamental skills meet delicious results. And what better way to start than with a topic universally adored and often misunderstood: melting chocolate perfectly?
Whether you’re a seasoned baker or just dipping your toes into the world of homemade treats, mastering the art of melting chocolate is a foundational skill that will elevate countless recipes. From decadent desserts to simple chocolate-dipped delights, smooth, silky melted chocolate is the key to success.
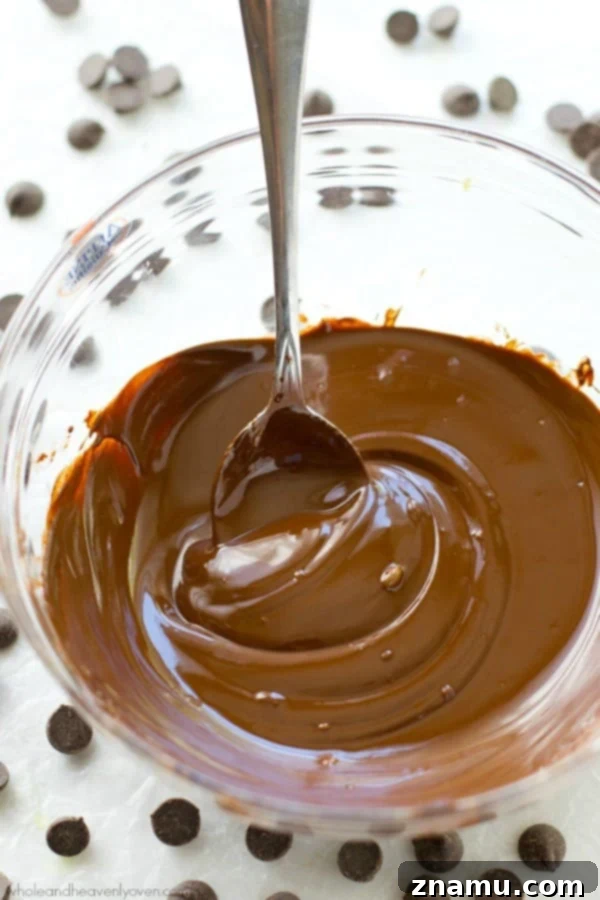
Why Mastering Chocolate Melting Matters
You might think melting chocolate is straightforward, but there’s a delicate science behind achieving that coveted glossy, fluid consistency. The wrong technique can lead to grainy, seized, or even burned chocolate – a disappointing outcome that can ruin your entire dessert. Perfectly melted chocolate, however, opens up a world of culinary possibilities, ensuring your creations are as beautiful as they are delicious.
Achieving the right texture isn’t just about aesthetics; it also affects the flavor and mouthfeel of your final product. Smoothly melted chocolate integrates better into batters, coats items more evenly, and contributes to a luxurious finish that unevenly melted chocolate simply can’t provide. It’s a small detail that makes a monumental difference.
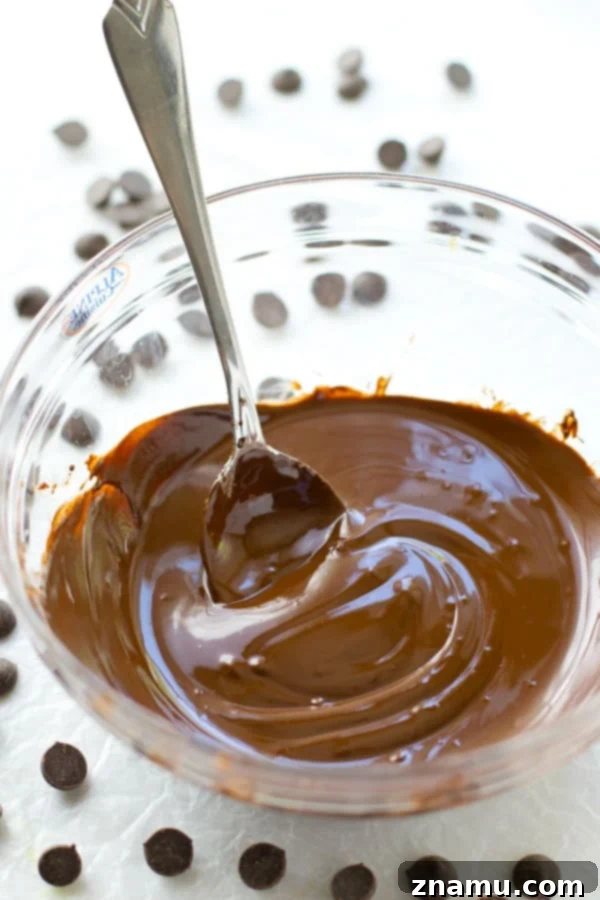
Common Pitfalls: What NOT to Do When Melting Chocolate
Before we dive into the “how-to,” let’s quickly address the most common mistakes that can sabotage your chocolate melting efforts. The biggest rookie error is applying direct, high heat. Chocolate is a sensitive ingredient; its cocoa solids and sugar content are prone to burning or seizing when exposed to intense temperatures. Melting chocolate directly in a saucepan over high heat often results in a scorched, bitter mess at the bottom, or a thick, clumpy, unworkable paste.
Another pitfall is introducing even a tiny amount of water directly into the chocolate. Water acts as a catalyst for seizing, turning your beautiful chocolate into a stiff, gritty substance that is almost impossible to recover. This is why the method we’re about to discuss is so crucial – it provides gentle, indirect heat while protecting the chocolate from direct contact with water.
The Secret Weapon: The Double Boiler Method
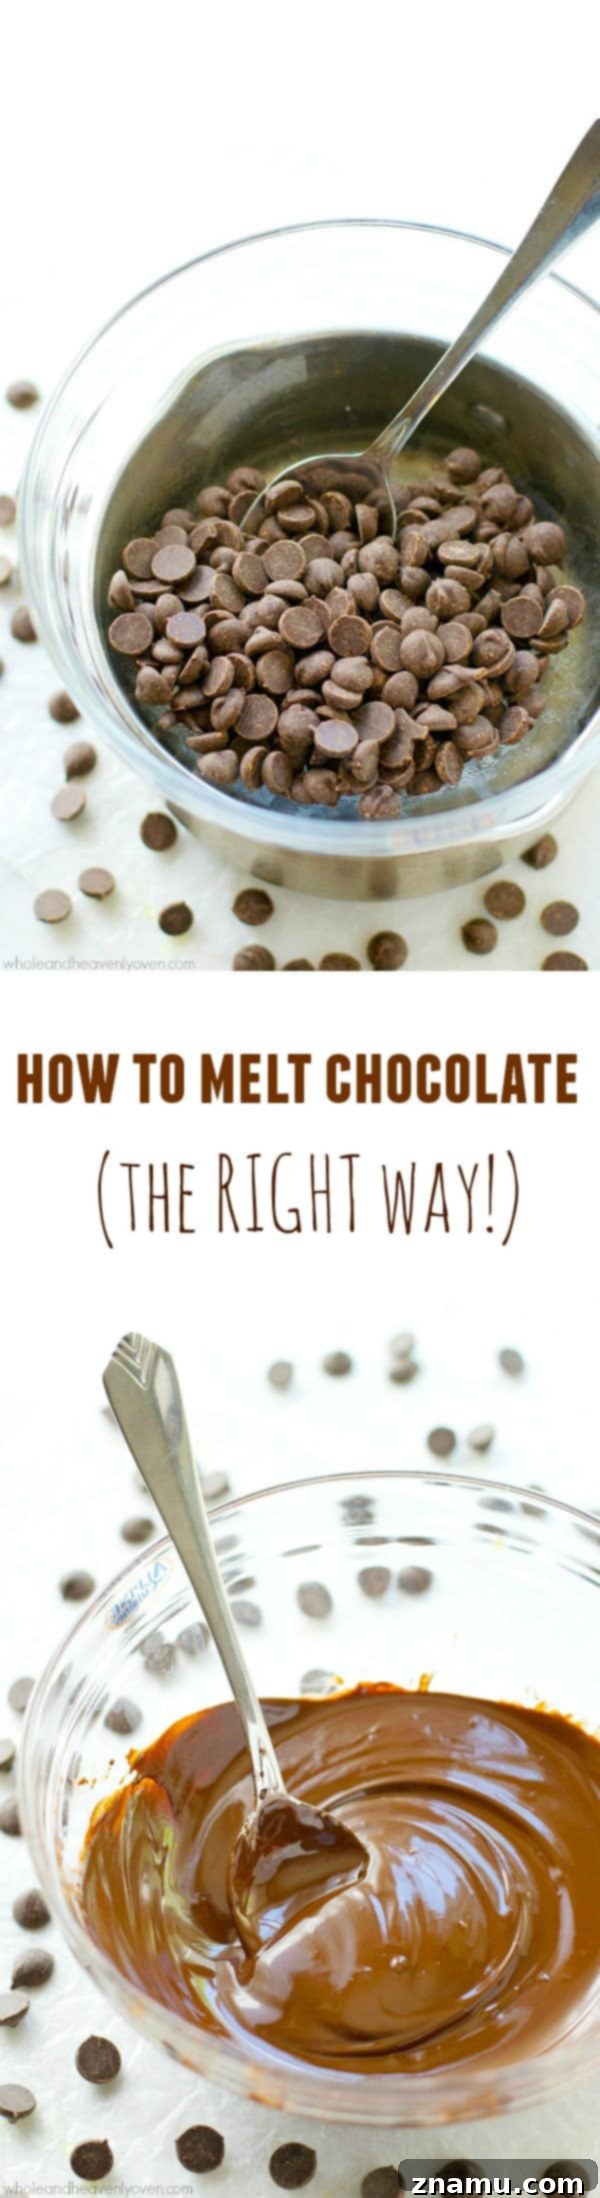
The safest and most reliable way to melt chocolate is using a double boiler, also known as a bain-marie. This technique ensures gentle, even heating, preventing scorching and maintaining the chocolate’s silky texture. You don’t need a fancy, dedicated double boiler; you can easily create one with items you already have in your kitchen.
What You’ll Need:
- **Chocolate:** Approximately 6-8 ounces (or as much as your recipe calls for). This method works wonderfully with various types, including semi-sweet, bittersweet, dark, unsweetened, milk, and white chocolate.
- **A Small Saucepan:** Ensure it’s large enough to hold about an inch of water.
- **A Heat-Proof Bowl:** Glass or stainless steel bowls work best. It should be slightly larger than your saucepan, allowing it to sit snugly on top without touching the water below.
- **A Spatula or Spoon:** For stirring.
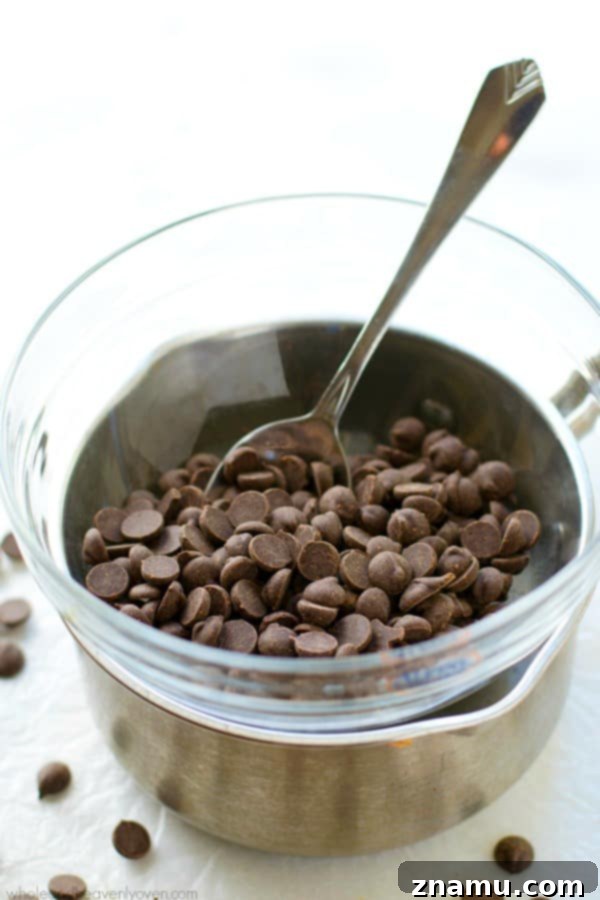
Step-by-Step Guide:
- **Prepare Your Setup:** Fill your small saucepan with about 1 inch (2.5 cm) of water. Place the saucepan on your stovetop.
- **Position the Bowl:** Set the heat-proof bowl on top of the saucepan. It’s critical that the bottom of the bowl does not touch the surface of the water in the pot. The steam, not the boiling water, is what gently melts the chocolate.
- **Add the Chocolate:** If using a chocolate bar, coarsely chop it into small, uniform pieces. If using chocolate chips, no chopping is necessary. Place all your chocolate into the heat-proof bowl.
- **Heat and Stir:** Turn the heat to medium. As the water in the saucepan begins to heat and simmer gently, the steam will rise and warm the bowl, slowly melting the chocolate. Stir the chocolate occasionally with your spatula or spoon to ensure even melting and prevent any hot spots.
- **Monitor for Smoothness:** Continue stirring until the chocolate is completely smooth, glossy, and free of any lumps. This usually takes just a few minutes. The water in the saucepan should be at a gentle simmer, not a vigorous boil.
- **Remove from Heat:** Once the chocolate is fully melted and silky, carefully remove the bowl from the saucepan. Be cautious of residual steam.
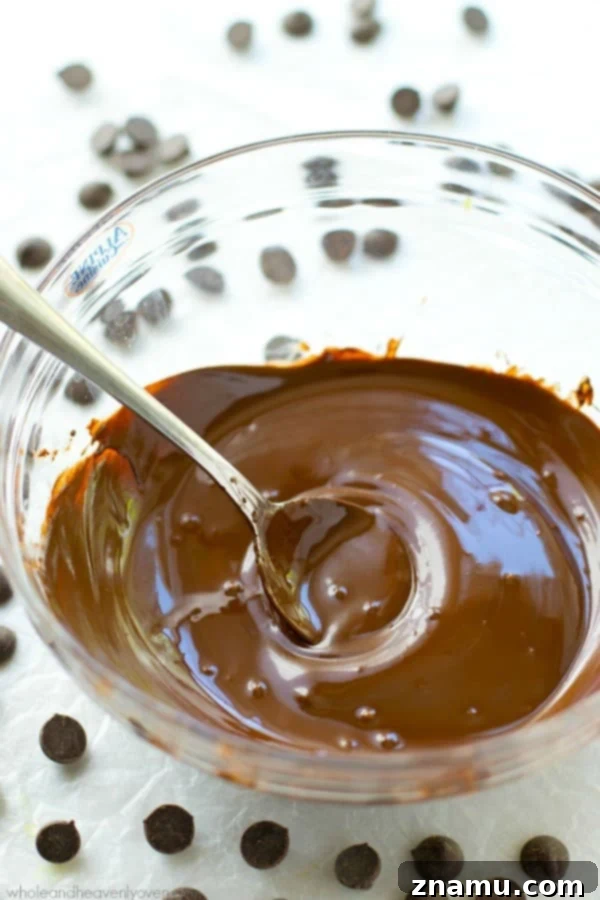
Tips for Success:
- **Chop Evenly:** For chocolate bars, ensure your pieces are roughly the same size so they melt at the same rate. This prevents some pieces from burning while others are still solid.
- **Avoid Water Contact:** Reinforce this – even a single drop of water into the chocolate can cause it to seize and become thick and grainy. Ensure your bowl and stirring utensils are completely dry.
- **Low and Slow:** Patience is key. Melting chocolate over moderate heat is much better than rushing it with high heat.
- **Don’t Overheat:** Once melted, remove the chocolate from the heat promptly. Overheating can cause it to lose its temper (if it’s tempered chocolate) or become thick and pasty.
- **Stir Consistently:** Regular stirring helps distribute the heat evenly and speeds up the melting process while ensuring a smooth consistency.
Troubleshooting Common Melting Issues
Even with the best intentions, sometimes things go awry. Here’s what to do if your chocolate misbehaves:
- **Seized Chocolate:** If your chocolate becomes thick, clumpy, and dull, it likely seized due to water exposure or overheating. You *might* be able to rescue it by stirring in a teaspoon of vegetable oil, shortening, or melted butter, one drop at a time, until it loosens up. However, it won’t regain its original glossy finish and is best used in recipes where texture is less critical, like brownies, rather than for dipping or coating.
- **Slightly Burned Chocolate:** If you detect a burnt smell or taste, unfortunately, there’s no saving it. Discard and start over with fresh chocolate and lower heat.
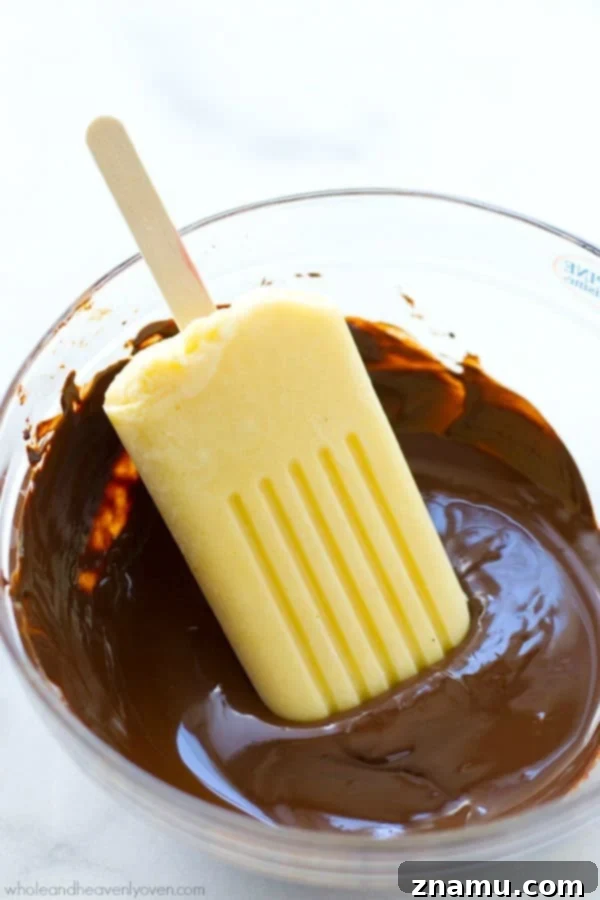
Unleash Your Creativity: Uses for Melted Chocolate
Now that you’re a master of melting, the fun truly begins! Perfectly melted chocolate is incredibly versatile. Here are just a few ideas to inspire your next culinary adventure:
- **Dip Your Favorites:** Transform simple treats by dipping them in melted chocolate. Think fresh fruit (strawberries, banana slices), pretzels, cookies, or even your homemade popsicles.
- **Drizzle with Delight:** Elevate desserts with elegant chocolate drizzles. Your truffles, cakes, cupcakes, pancakes, or even a simple bowl of ice cream will look and taste gourmet.
- **Homemade Candies & Barks:** Use melted chocolate as the base for creating your own chocolate barks. Spread it thinly on parchment paper, sprinkle with nuts, dried fruit, or sprinkles, and let it set. Break into pieces for an easy, impressive treat.
- **Chocolate Ganache:** Combine melted chocolate with warm heavy cream for a rich, luscious ganache that can be used as a glaze, frosting, or filling for cakes and pastries.
- **Fondue Fun:** Gather friends and family for a delightful chocolate fondue experience. Provide an array of dipping items like fruit, marshmallows, and small cakes.
- **Decorations:** Pipe intricate designs or simple swirls onto parchment paper with melted chocolate. Let them set, then carefully peel them off to create edible decorations for your desserts.
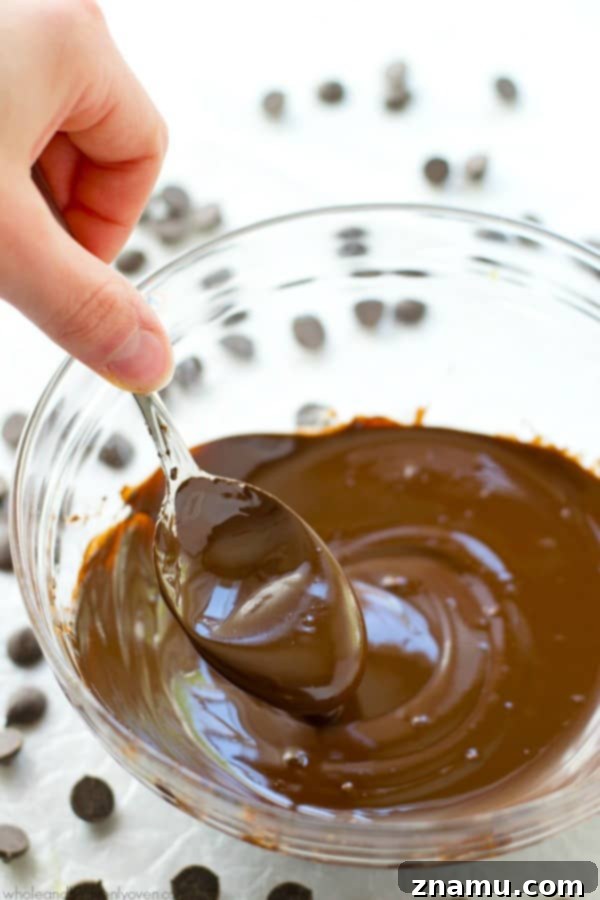
And, of course, the most important application of all: a good old-fashioned taste-test with a spoon. It’s a critical quality control step, after all! Someone’s got to make sure it’s absolutely perfect before it makes its way into your culinary masterpieces.
This simple technique will transform your baking and dessert-making, making every chocolate endeavor a smooth and delicious success. Practice makes perfect, so don’t hesitate to melt some chocolate today!
Print
Pin
How To Melt Chocolate (the right way!)
This recipe may included paid links. As an Amazon Associate, I earn a commission from qualifying purchases.
Prep Time 5
Total Time 5
Ingredients
- Coarsely-chopped chocolate OR chocolate chips (unsweetened, bittersweet, white chocolate, semisweet, etc.)
Instructions
-
Fill a small pot with 1 inch of water. Position a heat-proof bowl over the pot, ensuring the water does not touch the bowl. Turn heat to medium. Stir chocolate occasionally until completely smooth and melted (water should come to a low simmer).
-
Remove from heat and use the melted chocolate immediately for your desired application.
Tried this recipe?Leave a comment and rating below. Feel free to share a picture on Instagram and tag @wholeandheavenlyoven or hashtag it #wholeandheavenlyoven