
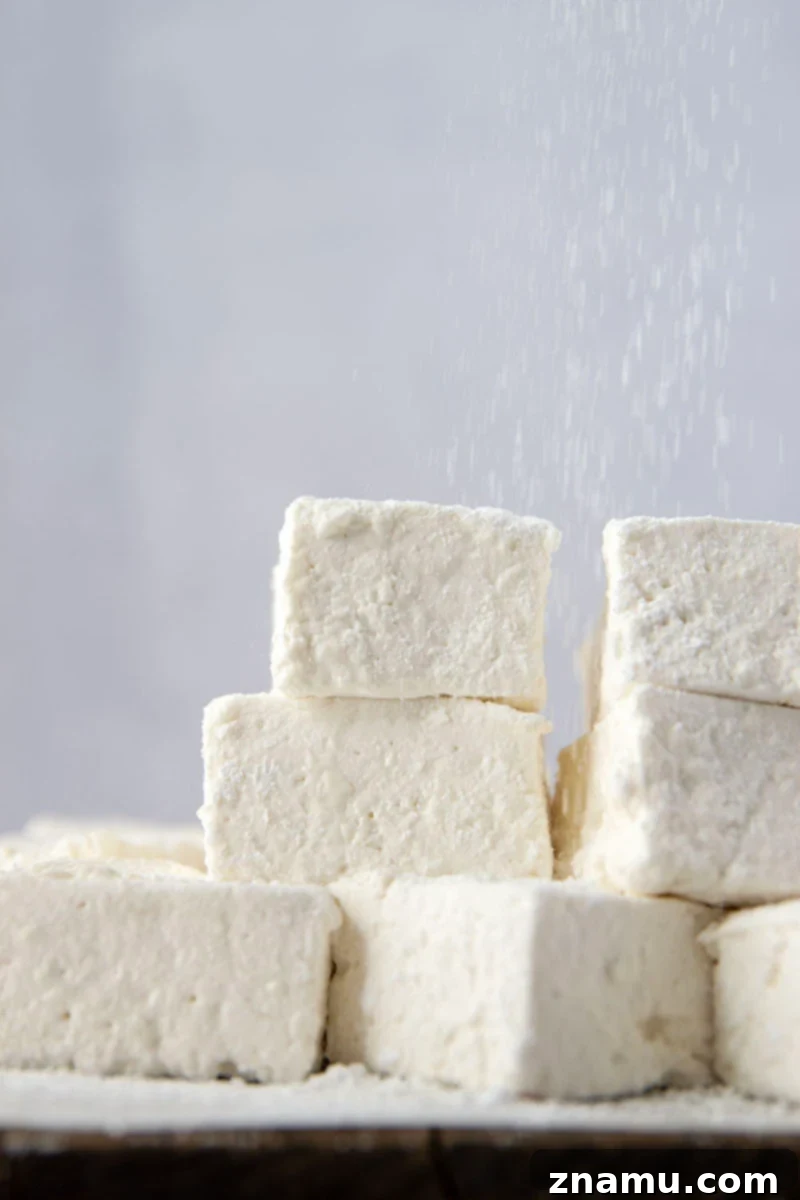
Discover the joy of crafting your own super easy homemade marshmallows, naturally flavored with golden honey and completely free from corn syrup! These ethereal treats boast a cloud-like softness and a taste that far surpasses any store-bought variety.
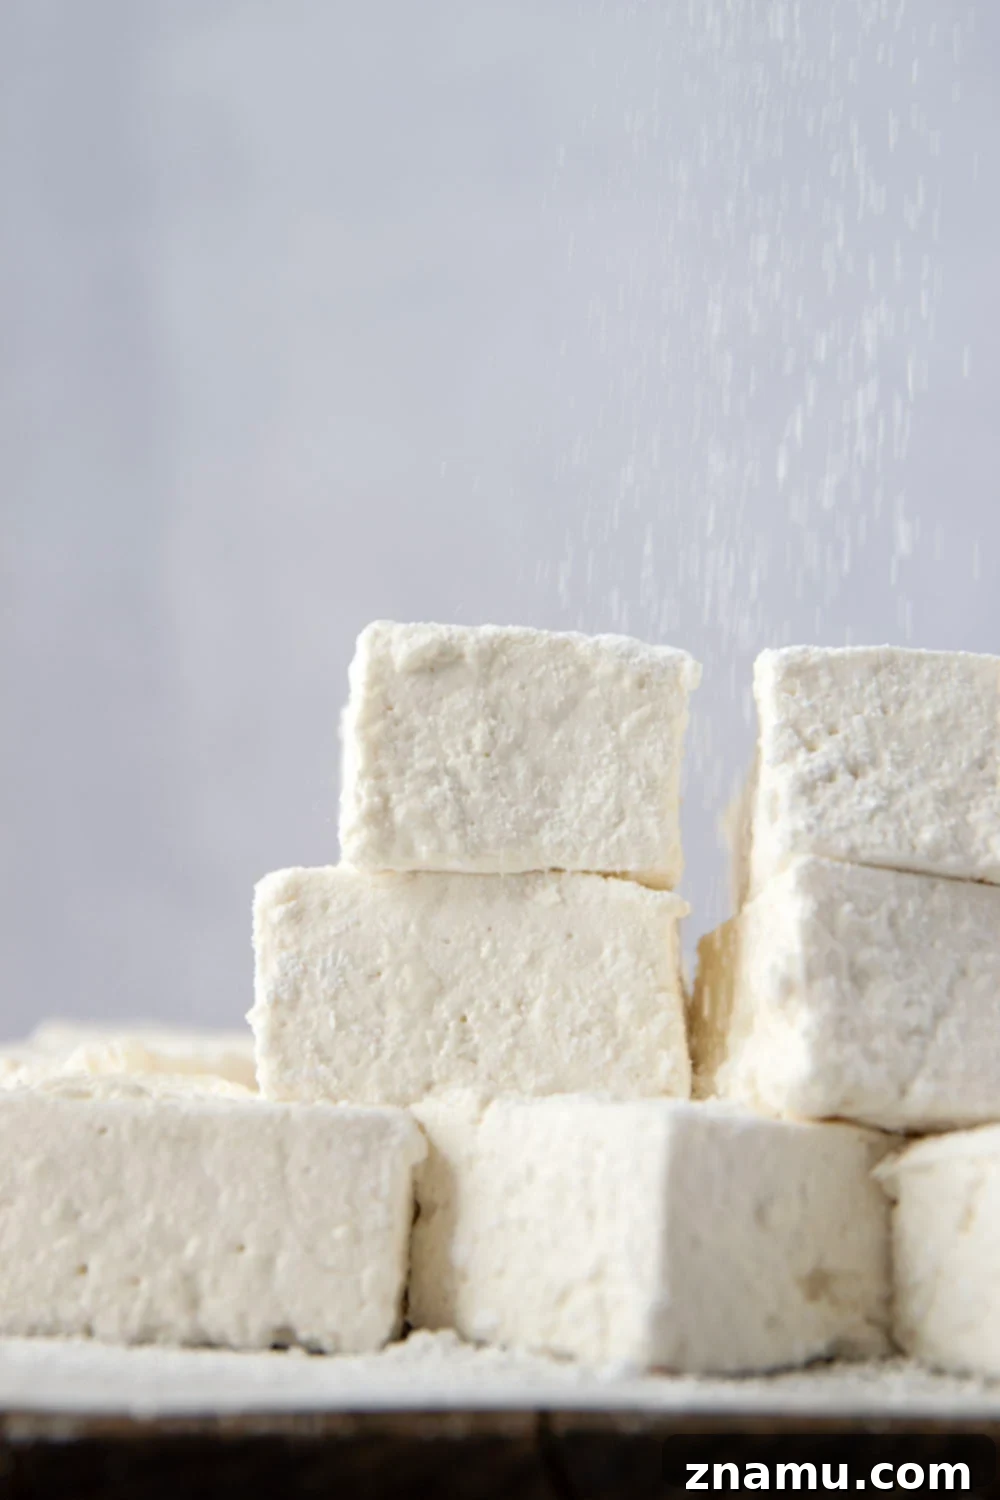
The Ultimate Guide to Homemade Honey Marshmallows (No Corn Syrup!)
Embark on your next delightful culinary adventure and prepare to elevate your dessert game! Homemade marshmallows are not just a simple sweet treat; they’re a transformative experience for your taste buds. Once you try these fluffy, melt-in-your-mouth creations, your perception of marshmallows – especially for s’mores, hot cocoa, or snacking – will be forever changed.
At first glance, the idea of making marshmallows from scratch might seem like an unnecessary endeavor, a wasted effort perhaps. But I urge you to reconsider! These fluffy little gems are truly worth every minute of your time. The difference between homemade and store-bought is simply incomparable. They are a revelation!
To give you a genuine idea of just how incredible these homemade honey marshmallows are, I’ll confess: I’m typically not a fan of marshmallows. In fact, I’d go as far as to say I’m usually a “marshmallow hater.” However, it turns out my aversion was solely directed at the bland, overly sweet, and often rubbery store-bought versions. These homemade delights? I absolutely could not get enough of them. They are a game-changer that will convert even the most skeptical palates.
Crafting these exquisite honey marshmallows involves only a few straightforward steps. Don’t be intimidated; I’ll guide you through each and every stage with clear instructions, making the process incredibly easy to follow. With a little attention to detail, you’ll be perfecting these delectable treats every single time you make them – which, trust me, is going to be quite often once you taste their irresistible flavor and texture.
Why Choose Homemade Honey Marshmallows?
There are countless reasons to swap your supermarket marshmallows for these homemade wonders. Beyond the satisfaction of creating something truly special in your own kitchen, homemade marshmallows offer an unparalleled quality that mass-produced versions simply cannot match. Here’s what makes them stand out:
- Unrivaled Texture: Experience a truly soft and impossibly fluffy texture that practically dissolves on your tongue, far from the chewy density of commercial marshmallows.
- Exquisite Flavor Profile: Indulge in a delicate balance of vanilla and natural honey flavor, a sophisticated sweetness that is both comforting and captivating. Without corn syrup, the pure taste of honey shines through beautifully.
- Simple Ingredients, Quick Prep: Despite their gourmet appeal, these marshmallows require only minutes to prep with simple, accessible ingredients you likely already have in your pantry.
- No Corn Syrup: For those looking to avoid corn syrup, this recipe is a perfect alternative, relying on honey for a natural, rich sweetness.
- Customizable Fun: Once you master the basic recipe, the possibilities for flavor variations and colors are endless, allowing you to personalize your marshmallows for any occasion.
The Magic Behind Fluffy Marshmallows
The secret to achieving that coveted cloud-like texture lies in a few key principles. Gelatin provides the essential structure, while the careful heating and beating of the sugar and honey syrup incorporate air, creating a stable, fluffy foam. The absence of corn syrup means we rely on honey and granulated sugar for sweetness and to prevent crystallization, contributing to a superior flavor and texture.
Essential Ingredients You Will Need
Gathering your ingredients is the first step to marshmallow mastery. You’ll notice this recipe uses common pantry staples, making it accessible for any home baker.
- Powdered sugar: Crucial for dusting the pan and coating the finished marshmallows, preventing stickiness and providing that classic finish.
- Unflavored gelatin: The foundational ingredient that gives marshmallows their distinctive bouncy structure.
- Water: Used to bloom the gelatin and create the sugar syrup.
- Granulated sugar: Provides bulk sweetness and helps achieve the right consistency when cooked into a syrup.
- Honey: Our star ingredient! It replaces corn syrup, adding a beautiful amber color, a unique floral sweetness, and contributes to the marshmallow’s soft texture.
- Kosher salt: A pinch of salt enhances all the flavors, balancing the sweetness and adding depth.
- Vanilla extract: A must-have for classic marshmallow flavor, complementing the honey wonderfully.
Photo Tutorial: Visualizing Each Step
To ensure your success, follow this detailed photo tutorial below for step-by-step visual guidance. Seeing each stage of the process will build your confidence and help you achieve perfect results every time. (Note: Specific photos are linked via image tags; refer to your article’s layout for placement.)
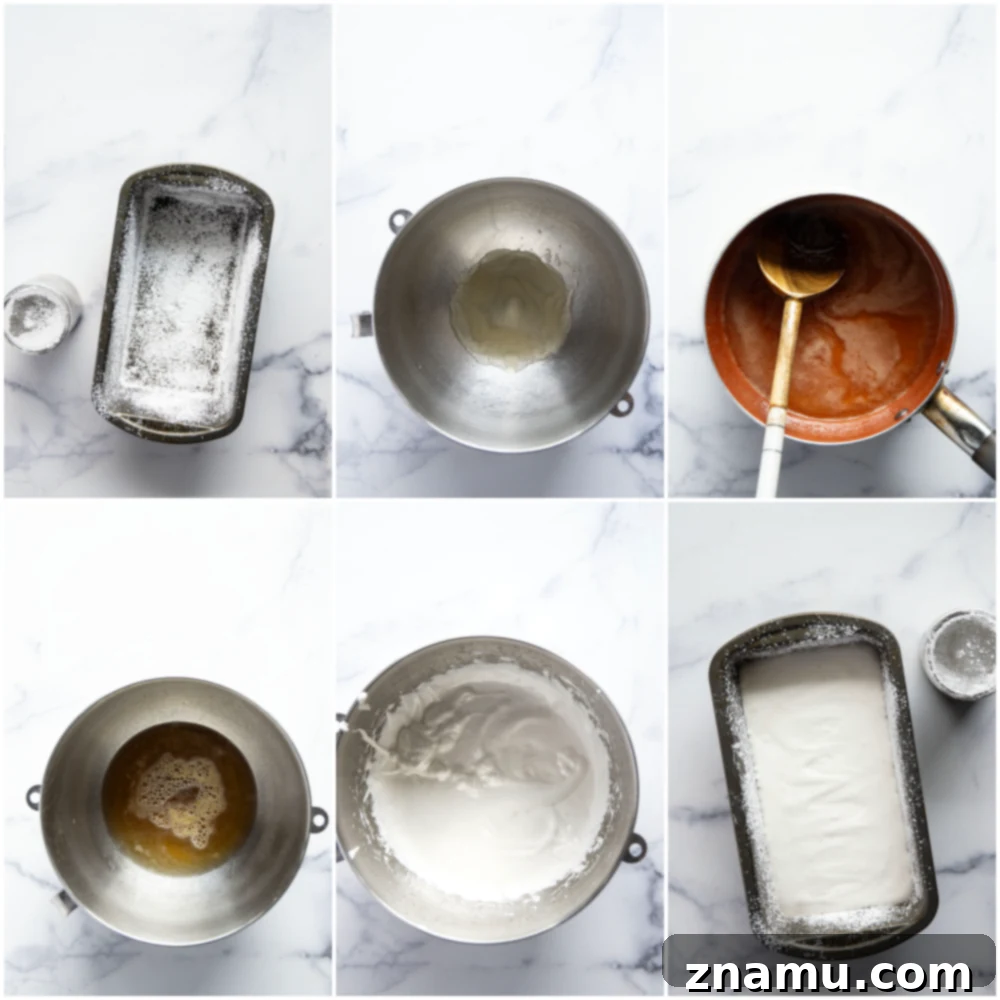
Expert Tips for Perfect Homemade Marshmallows
Making marshmallows is more an art of precision than difficulty. Following these expert tips will ensure your honey marshmallows turn out perfectly soft, fluffy, and utterly delicious every single time. Avoiding common pitfalls is key to success:
- Humidity is the Enemy: Do not make on a humid day. Marshmallows are highly sensitive to moisture in the air. High humidity can prevent them from setting up properly, resulting in a sticky, gooey mess rather than firm, fluffy squares. For the best results, choose a dry day to make your marshmallows.
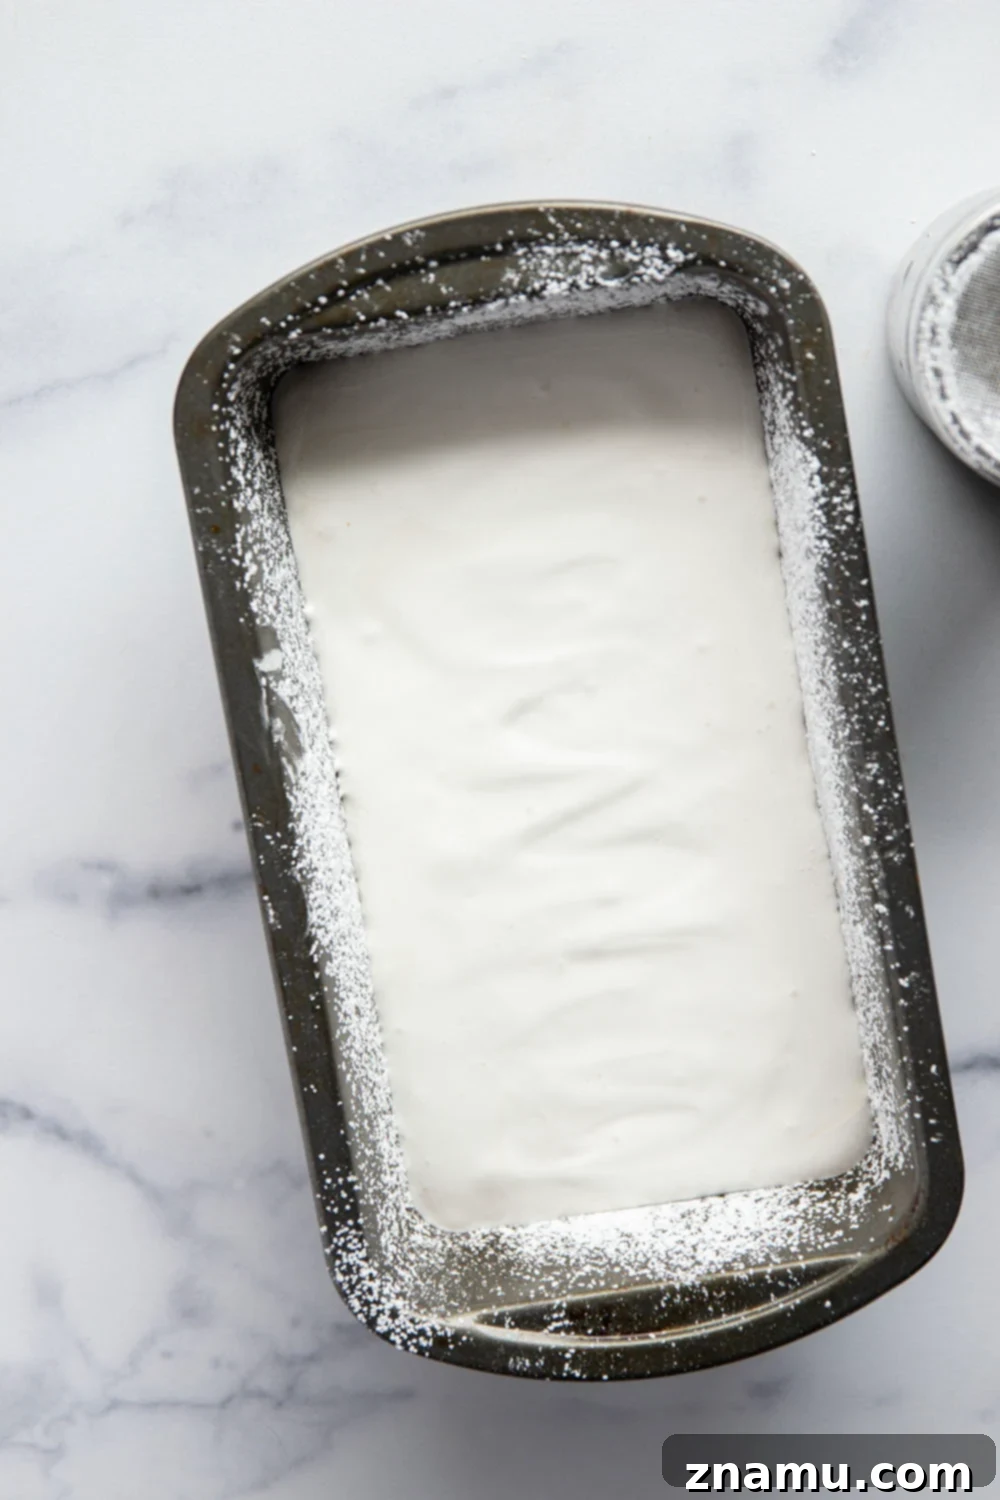
- Prepare Your Pan Diligently: Generously grease your pan and dust it thoroughly with powdered sugar. This creates a non-stick surface, making it significantly easier to lift the marshmallows out once they’ve set. Don’t skimp on this step!
- Bloom the Gelatin Correctly: Always bloom the gelatin by sprinkling it over cold water and letting it sit for 5-10 minutes. This softens the gelatin granules and ensures they dissolve smoothly and evenly into the hot sugar syrup, preventing any gritty texture.
- Achieve the Right Syrup Temperature: Precisely heat the honey syrup to 240°F (115°C). This “soft ball” stage is critical for the marshmallow’s final texture. I highly recommend using a reliable candy thermometer for accuracy. Undercooking will lead to a runny marshmallow, while overcooking can result in a hard, brittle candy.
- Utilize a Stand Mixer: For optimal aeration and consistency, use a stand mixer with the whisk attachment. A hand mixer can work, but a stand mixer provides consistent, vigorous beating without tiring your arms, which is essential for achieving maximum fluffiness.
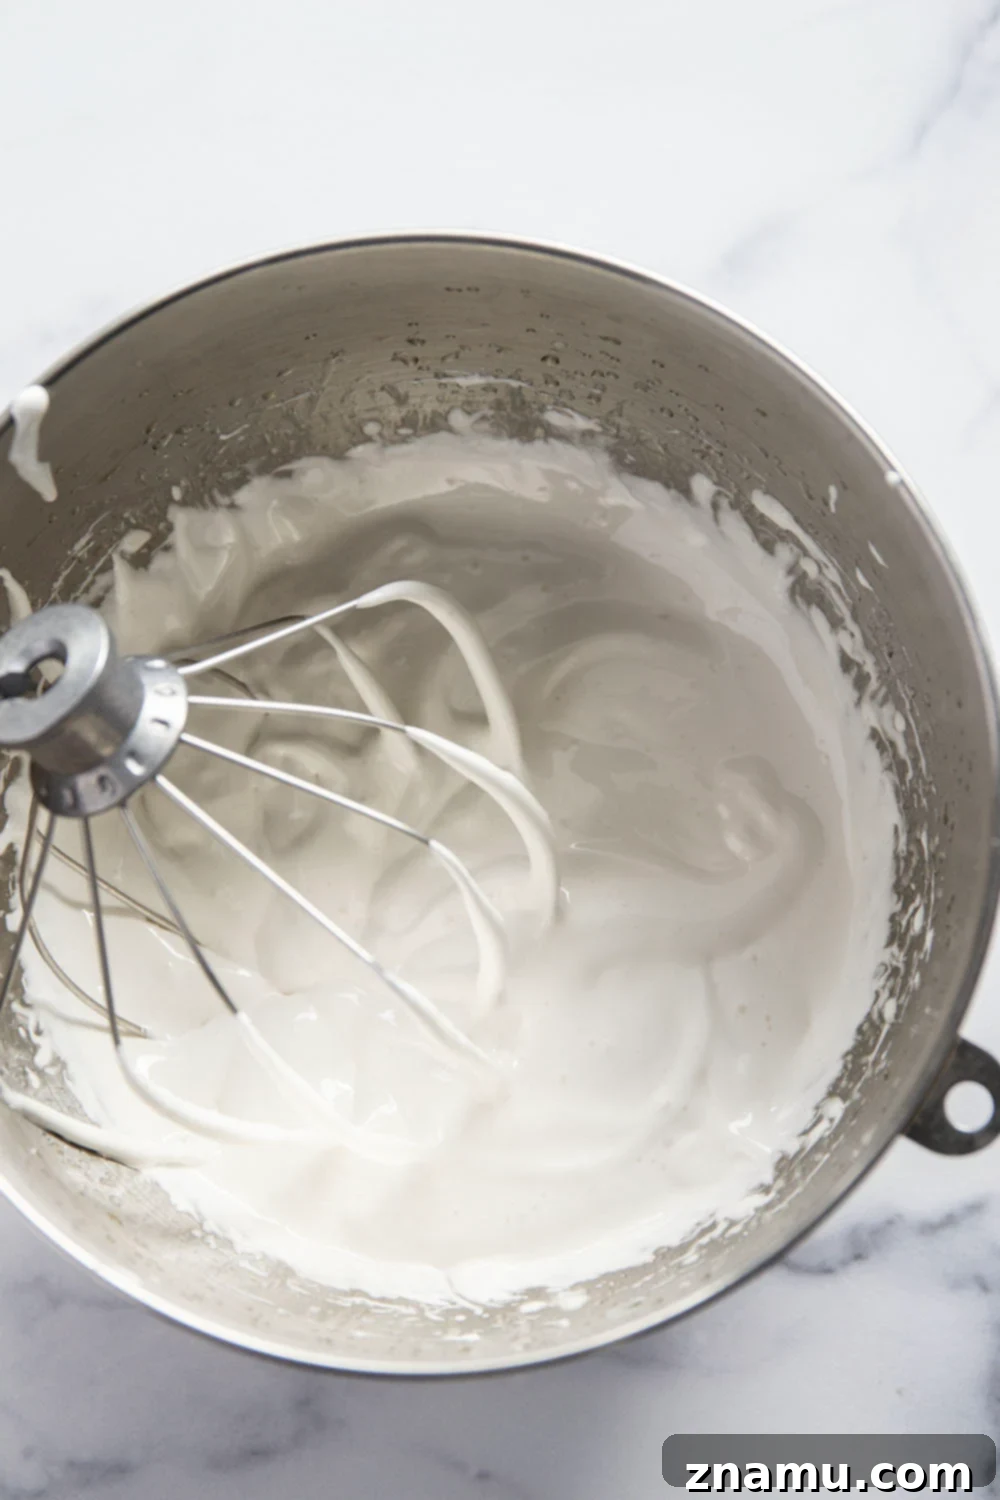
- Beat for the Right Duration: Beat the marshmallow mixture for 8-10 minutes. The mixture will start off looking liquidy and somewhat brown, but within a few minutes, it should gradually transform into a thick, white, and gloriously fluffy cloud. The marshmallows are done when you can lift the whisk attachment, and the mixture forms a thick ribbon that holds its shape when it falls back into the bowl. This indicates enough air has been incorporated.
- Act Quickly when Spreading: Once whipped, spread the marshmallows into the prepared pan immediately. The mixture begins to set surprisingly fast, so work swiftly and efficiently to ensure an even layer.
- Allow Ample Setting Time: Allow marshmallows to set for a minimum of 6 hours. For the absolute best results and a perfectly firm yet tender texture, I even prefer an overnight set time. Patience here is rewarded!
- Clean Your Knife Between Cuts: To ensure beautifully neat and uniform squares, clean your knife between each cut. A quick wipe with a damp cloth or a dip in hot water will prevent sticking and tearing.
- Roll in Powdered Sugar: After cutting, roll each marshmallow in additional powdered sugar. This not only prevents them from sticking to each other but also gives them that signature marshmallow texture and appearance.
Creative Ways to Enjoy Your Homemade Marshmallows
Once you’ve successfully crafted a batch of these glorious homemade honey marshmallows, the fun truly begins! Their superior flavor and texture make them versatile for various culinary applications:
- As a decadent brownie topper: A warm brownie crowned with a toasted homemade marshmallow is pure bliss.
- In gourmet s’mores: Elevate your campfire classic! The melting quality of these marshmallows takes s’mores to an entirely new level.
- Swirled into hot cocoa: Transform a simple mug of hot chocolate into a luxurious experience with a few honey-kissed marshmallows floating on top.
- All on their own!: Honestly, these are so good you’ll want to eat them straight from the tray. They make a perfect little sweet bite for any time of day.
- Gift Giving: Package them beautifully in cellophane bags or decorative boxes for a unique and thoughtful homemade gift.
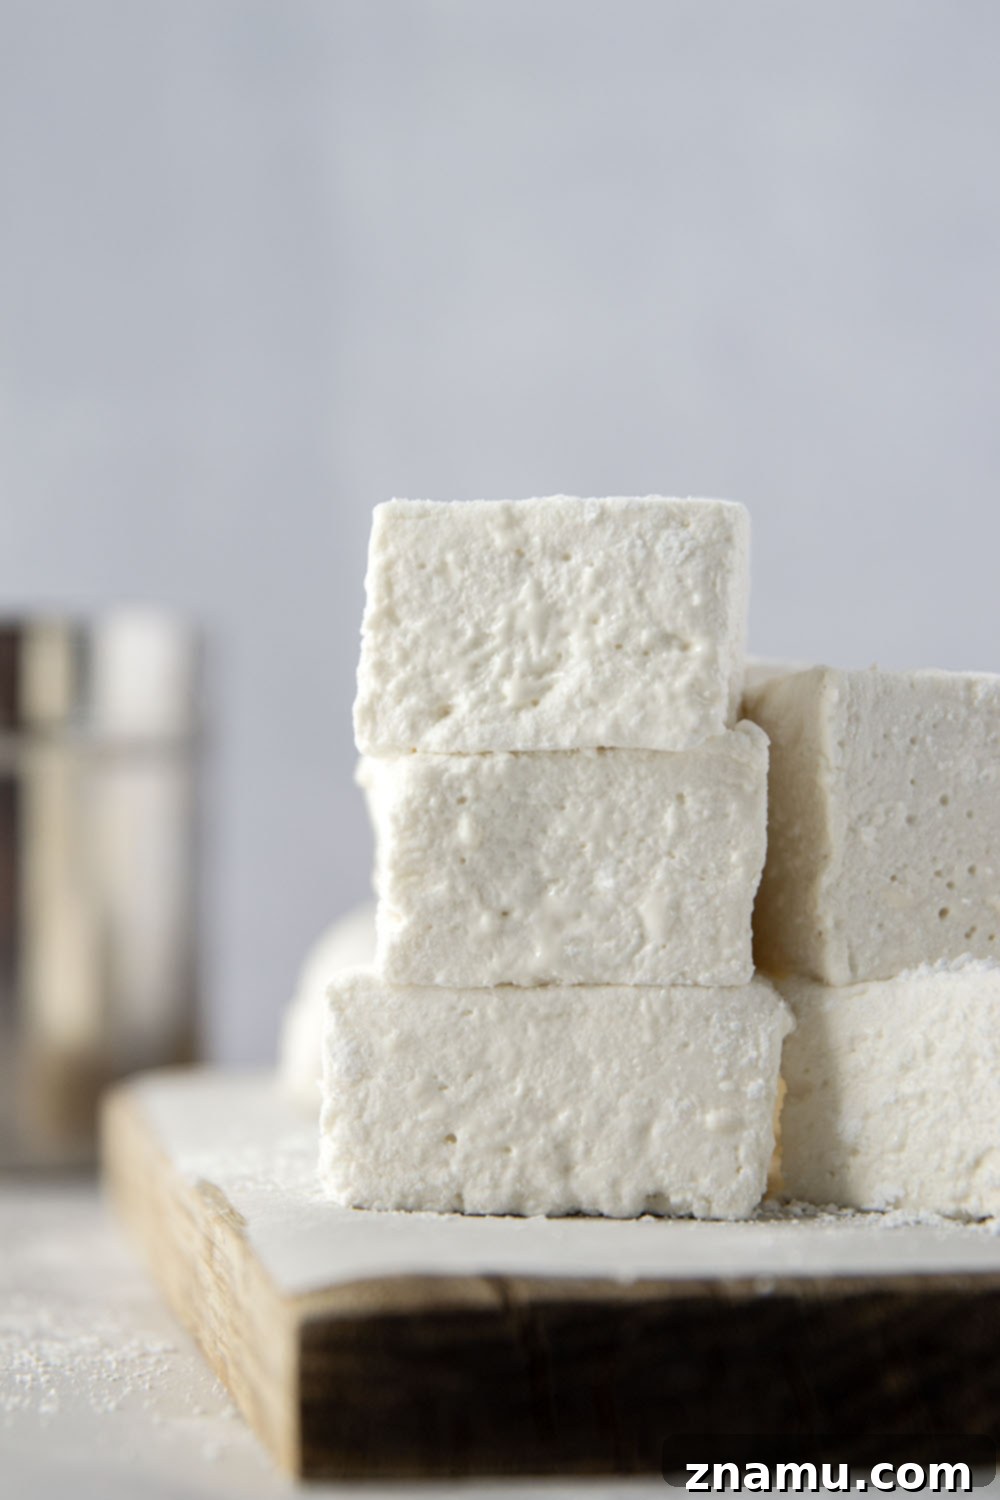
However you choose to enjoy these heavenly marshmallows, I can guarantee they’ll be an absolute hit with everyone who tries them! The incredibly fluffy texture simply melts in your mouth, and the harmonious blend of vanilla and honey flavors perfectly complements each other, creating an unforgettable taste sensation.
Just be warned: you’ve pretty much ruined store-bought marshmallows for yourself forever. But honestly, who could ever go back after experiencing these?
Don’t forget to save this incredible recipe using the ‘save to recipe box’ button below! If you make it, please share your experience. Leave a comment and star rating below, or capture a photo and tag it on Instagram with #wholeandheavenlyoven. Your feedback helps our community!
Frequently Asked Questions (FAQ)
Can I use a hand mixer instead of a stand mixer?
While a stand mixer with a whisk attachment is highly recommended for optimal aeration and ease, you can use a powerful hand mixer. Be prepared for a longer beating time and potentially a slightly less airy marshmallow due to the difference in power and consistent speed.
How long do homemade marshmallows last?
When stored properly in an airtight container in the refrigerator, homemade honey marshmallows can last up to 2 weeks. They are best enjoyed within the first week for peak freshness and texture.
Can I add other flavors to these marshmallows?
Absolutely! The beauty of homemade marshmallows is customization. You can experiment with extracts like almond, peppermint, or even a touch of orange zest or instant espresso powder for different flavor profiles. Add them along with the vanilla extract in the final beating stage.
Why did my marshmallows not set?
Several factors can lead to marshmallows not setting. The most common reasons are: 1) High humidity in the environment; 2) The sugar syrup not reaching the correct temperature (240°F); 3) Not beating the mixture long enough to incorporate sufficient air; or 4) Not allowing enough time for the marshmallows to set in the pan.
Try these other sweet treats next!
- Delightful Coconut Cupcakes
- Classic Vanilla Pound Cake
- Irresistible Berry Mini Cheesecakes
Save To Recipe Box
Saved!
Print
Pin
Homemade Honey Marshmallows (No Corn Syrup)
This recipe may included paid links. As an Amazon Associate, I earn a commission from qualifying purchases.
Ingredients
- Powdered sugar for dusting
- 2 teaspoons unflavored gelatin
- 1/2 cup water, divided
- 3/4 cup granulated sugar
- 1/2 cup honey
- 1/4 teaspoon kosher salt
- 1 teaspoon vanilla extract
Instructions
-
Lightly butter a 9×5 inch loaf pan, then dust it thoroughly with powdered sugar to prevent sticking. Set this prepared pan aside.
-
In the bowl of a stand mixer (or a large mixing bowl if using a hand mixer), sprinkle the unflavored gelatin over 1/4 cup of cold water. Allow it to sit undisturbed for about 5-10 minutes to “bloom” or soften. This step is crucial for the gelatin to dissolve properly.
-
In a medium saucepan, combine the remaining 1/4 cup of water, granulated sugar, honey, and kosher salt. Stir the mixture well. Place the saucepan over medium heat and cook the syrup, stirring occasionally, until it reaches precisely 240°F (115°C) on a candy thermometer. Do not rush this step, as accurate temperature is vital for the marshmallow’s texture.
-
With the stand mixer on low speed, very slowly and carefully pour the hot sugar syrup in a steady stream over the bloomed gelatin mixture. Once all the syrup is added, increase the mixer speed to high. Beat the mixture vigorously for 8-10 minutes. The mixture will initially be thin and slightly brown, but it will gradually transform into a thick, glossy, white, and incredibly fluffy consistency. The marshmallows are properly whipped when the mixture forms a thick ribbon that holds its shape as you lift the whisk attachment from the bowl. In the final 30 seconds of beating, add the vanilla extract and mix until just combined.
-
Immediately transfer the marshmallow mixture into your prepared pan. This step needs to be done quickly, as the marshmallows will begin to set very rapidly. Use an oiled spatula or your buttered hands to spread the mixture evenly into the pan. Once spread, cover the pan tightly with plastic wrap and allow the marshmallows to set at room temperature for at least 6 hours, or preferably overnight, for the best firm texture.
-
Once fully set, dust the top of the marshmallows with powdered sugar. Invert the pan onto a clean, powdered-sugar-dusted surface. Lightly dust your knife with powdered sugar and cut the marshmallow slab into 1-inch squares. For clean cuts, wipe your knife with a damp cloth or re-dust it with powdered sugar between each cut. Roll the cut marshmallow squares in additional powdered sugar to fully coat them, preventing stickiness. Store these delightful homemade honey marshmallows in an airtight container in the refrigerator for up to 2 weeks.
Notes
For optimal freshness and texture, store your homemade honey marshmallows in an airtight container in the refrigerator for up to 2 weeks. Ensure they are well-coated in powdered sugar to prevent sticking.
Nutrition
A fun fact for you: My 3-year-old sister adorably refers to these marshmallows as “mush-mellows.” And my younger brother once mistakenly called them “mushrooms.” I nearly burst into laughter! Such sweet memories are made around these treats.
This post was updated with new recipe adjustments and photos on April 17, 2025.