
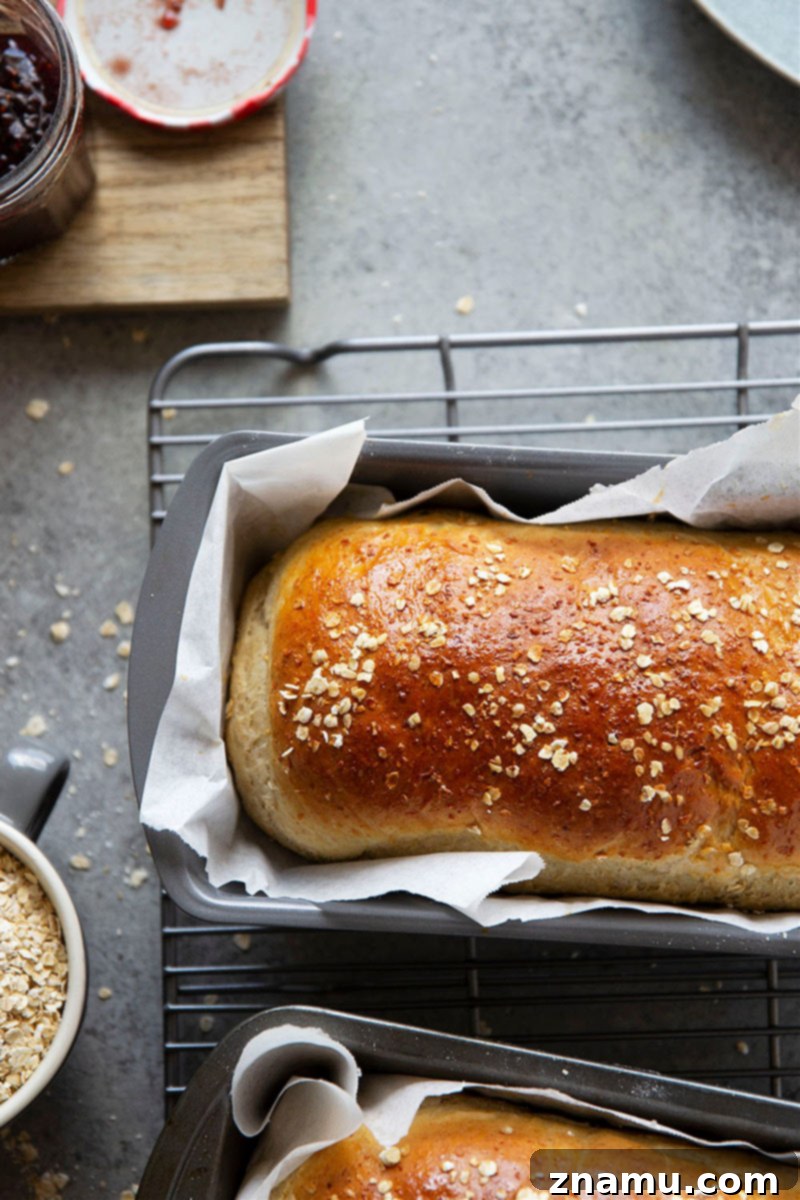
Master the Art of Homemade Honey Oat Bread: A Beginner-Friendly Recipe for Wholesome Goodness
Discover the joy of baking your own Honey Oat Bread at home! This incredibly easy recipe is perfect for beginning bread bakers, yielding hearty loaves ideal for sandwiches, toast, or simply enjoyed warm from the oven with a generous drizzle of honey.
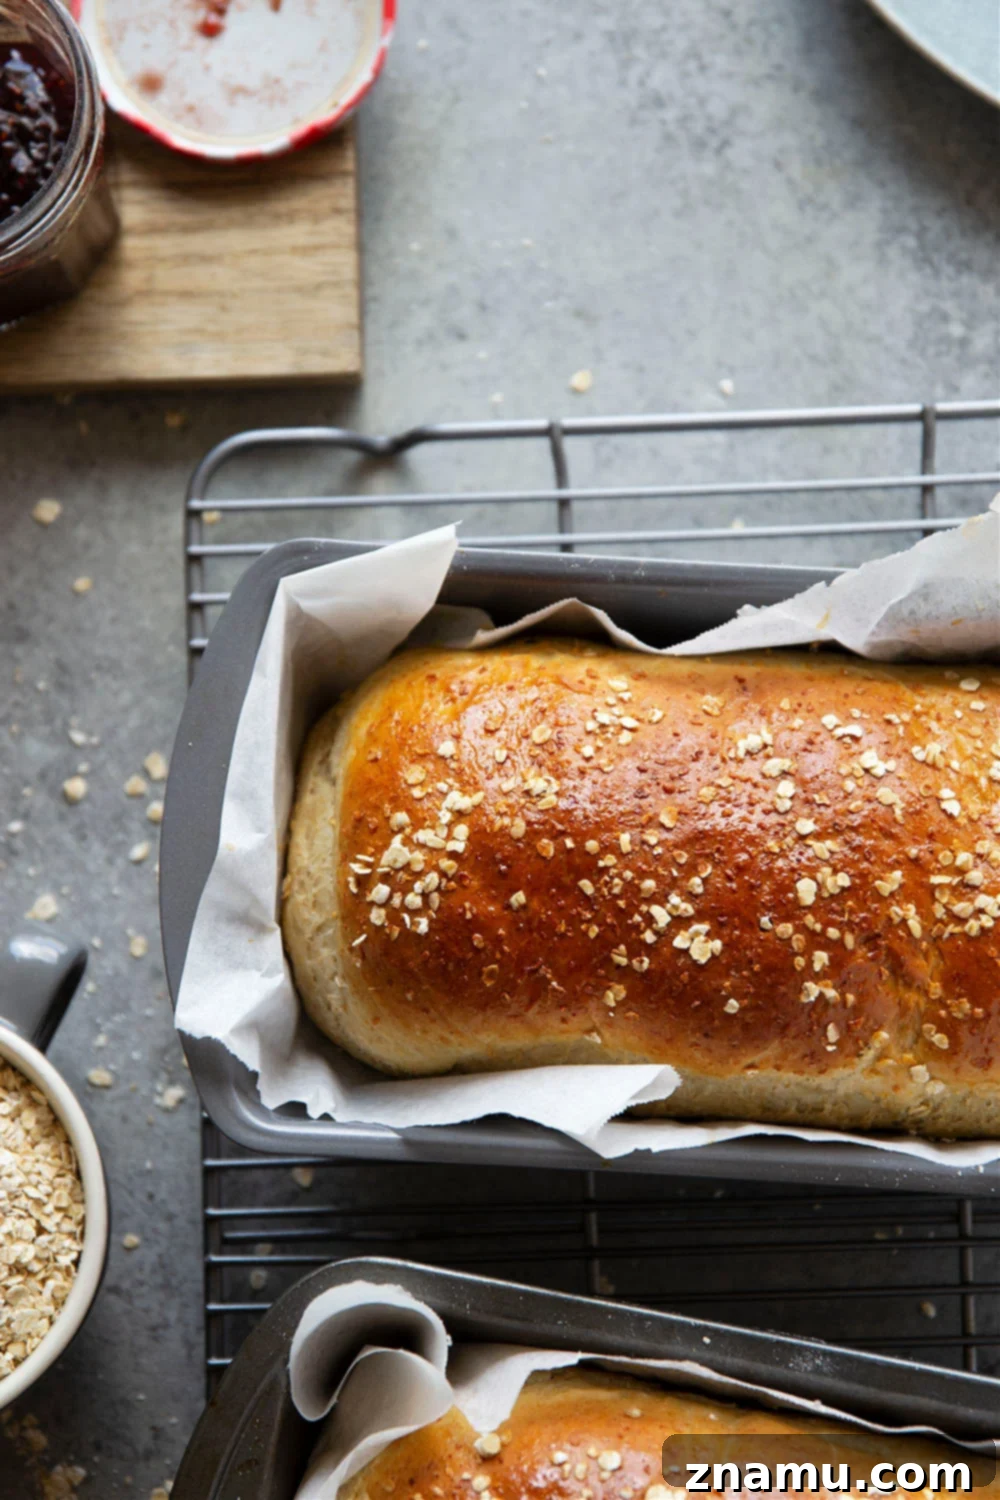
There’s something undeniably special about homemade bread. It’s more than just food; it’s an experience, a scent that fills your home, and a taste that far surpasses anything you can buy at the store. While picking up a loaf from the supermarket is certainly convenient, embarking on the journey of baking your own bread is a truly rewarding endeavor that can profoundly elevate your culinary skills and everyday meals. This Honey Oat Bread recipe is designed to be your perfect entry point into the delightful world of yeast baking, proving that delicious, wholesome bread is well within reach for even the most novice bakers.
If the thought of working with yeast has seemed intimidating in the past, consider this your official invitation to dive in! This recipe is incredibly forgiving and features techniques that are easy to grasp, making the dough a dream to work with. You won’t even need a stand mixer to achieve fantastic results – we’ll cover how to make this delightful bread both by hand and with a machine, ensuring everyone can partake in the magic of fresh-baked goodness.
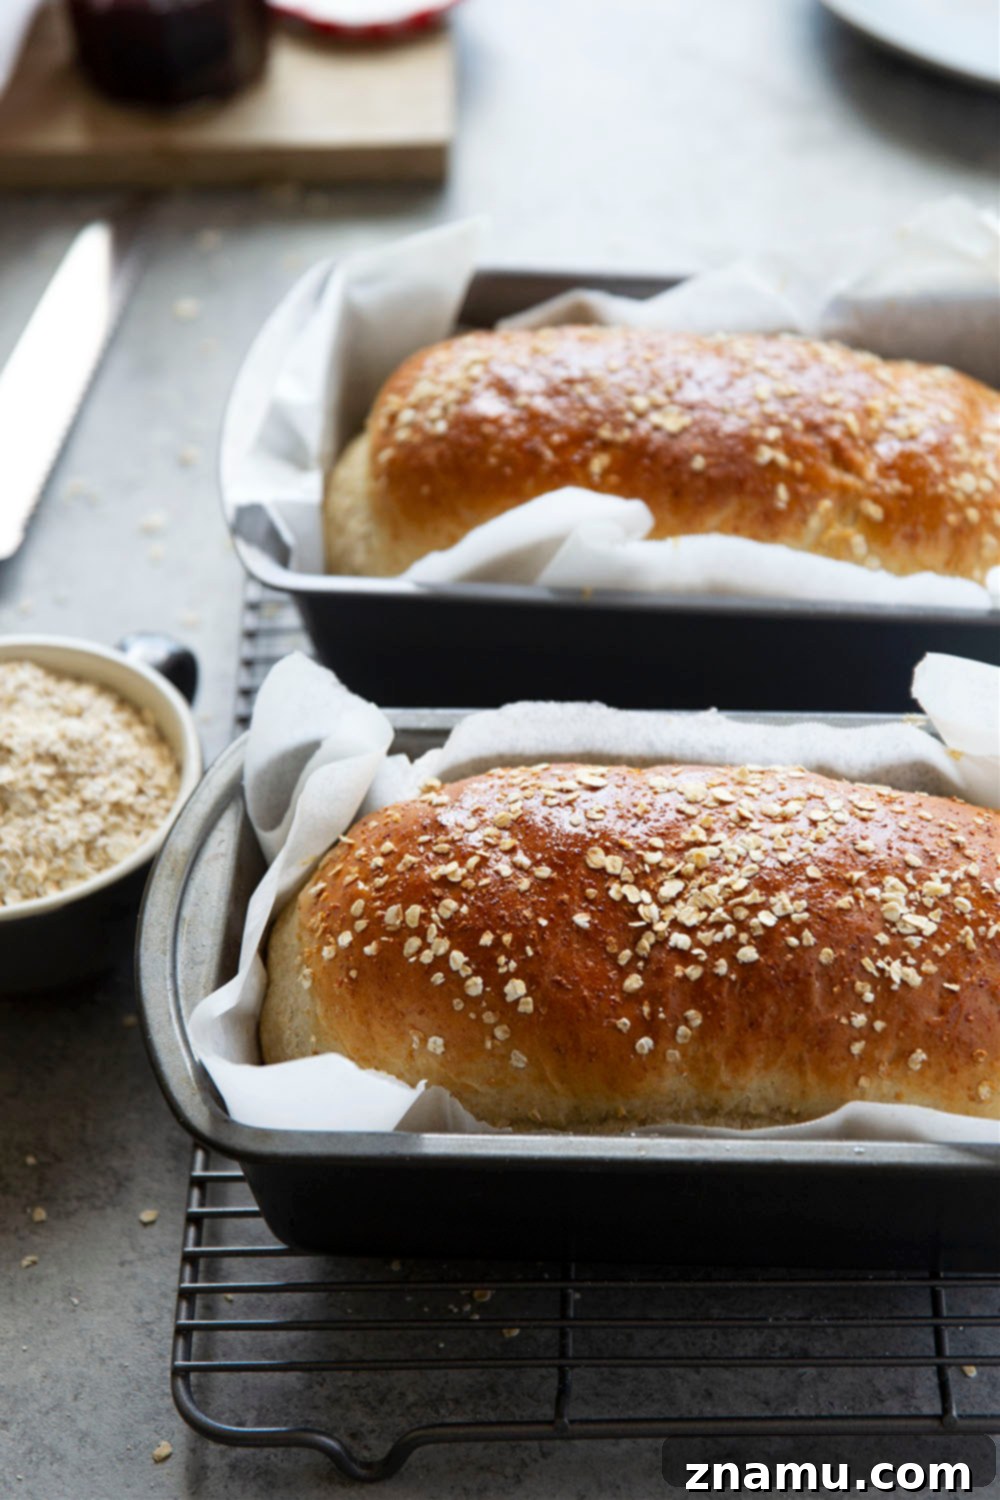
This particular bread holds a special place in my heart, evoking warm, nostalgic memories. I grew up with the comforting aroma of my mom’s homemade bread baking every Wednesday morning, a tradition she continues to this day. There truly is nothing quite like it – the soft texture, the subtle sweetness, and the hearty comfort it provides. For me, bread isn’t just sustenance; it’s a symbol of good memories and the promise of a delicious future. That’s the undeniable magic of baking bread from scratch.
Why You’ll Love This Honey Oat Bread
Our Honey Oat Bread recipe offers a fantastic combination of texture and flavor that makes it an instant family favorite. Here’s what makes it truly exceptional:
- Perfectly Balanced Texture: Enjoy a soft, hearty crumb with just the right amount of chewiness, thanks to the wholesome blend of whole wheat flour and rolled oats.
- Naturally Sweetened: A delightful, light honey flavor permeates every slice, offering a comforting sweetness without being overpowering.
- Beginner-Friendly Dough: The dough is incredibly easy to handle, making it ideal for those new to yeast bread baking. Its forgiving nature helps build confidence in your baking journey.
- Versatile Preparation: Whether you prefer the convenience of a stand mixer or the satisfying rhythm of kneading by hand, we provide clear instructions for both methods, ensuring success for everyone.
Making Your Wholesome Honey Oat Bread
Creating this delicious Honey Oat Bread is a straightforward process, designed to be enjoyable and rewarding. Let’s walk through the essential ingredients and key steps to bring these golden loaves to life.
Essential Ingredients You Will Need
The beauty of this recipe lies in its simplicity, requiring only a handful of common pantry staples to create something truly extraordinary. Each ingredient plays a crucial role in developing the bread’s characteristic flavor, texture, and rise:
- Active Dry Yeast: The magic behind the rise! Ensure your yeast is fresh and active for best results.
- Warm Water: Crucial for activating the yeast. The temperature must be just right – not too cold, not too hot.
- Egg + Egg White: Adds richness, helps with structure, and provides a beautiful golden crust when used as a wash.
- Honey: Not only sweetens the bread but also acts as food for the yeast, contributing to a better rise and flavor.
- Oil (Coconut, Canola, Vegetable, or Olive): Adds moisture and tenderness to the bread, keeping it soft.
- Salt: Enhances flavor and regulates yeast activity, preventing over-proofing.
- Whole Wheat Flour: Contributes to the hearty texture, nutty flavor, and nutritional value.
- All-Purpose Flour: Provides the necessary structure and softness for a well-rounded loaf.
- Quick-Cooking Oats: Adds a delightful chewiness and wholesome texture, making the bread more substantial.
Choosing Your Tools: Stand Mixer vs. Mixing by Hand
One of the many appealing aspects of this recipe is its adaptability. You can achieve excellent results whether you prefer the convenience of a stand mixer or the hands-on satisfaction of mixing and kneading by hand. While working by hand requires a bit more physical effort and arm strength, it is absolutely achievable and can be a wonderfully meditative process!
If using a stand mixer: Attach the dough hook and set your mixer to a medium speed. Allow the machine to knead the dough for approximately 5-7 minutes. You’ll know it’s ready when the dough becomes smooth, elastic, and can be stretched without tearing easily.
If mixing by hand: Use a large, sturdy mixing bowl and a wooden spoon to combine the ingredients initially. Once the dough comes together, turn it out onto a lightly floured surface. Knead the dough vigorously for about 10 minutes. The dough is properly kneaded when it feels smooth, springs back when poked, and passes the “windowpane test” (can be stretched thin enough to see light through it without tearing).
The Importance of Kneading: Kneading isn’t just a step; it’s a fundamental process in yeast bread making. As you knead, you are actively developing gluten, a protein network that gives the dough its elasticity and strength. This gluten structure is what traps the carbon dioxide gas produced by the yeast, allowing the bread to rise beautifully and achieve a light, airy volume. Rushing this step will result in a denser, less appealing loaf, so don’t skip or cut short the kneading time!
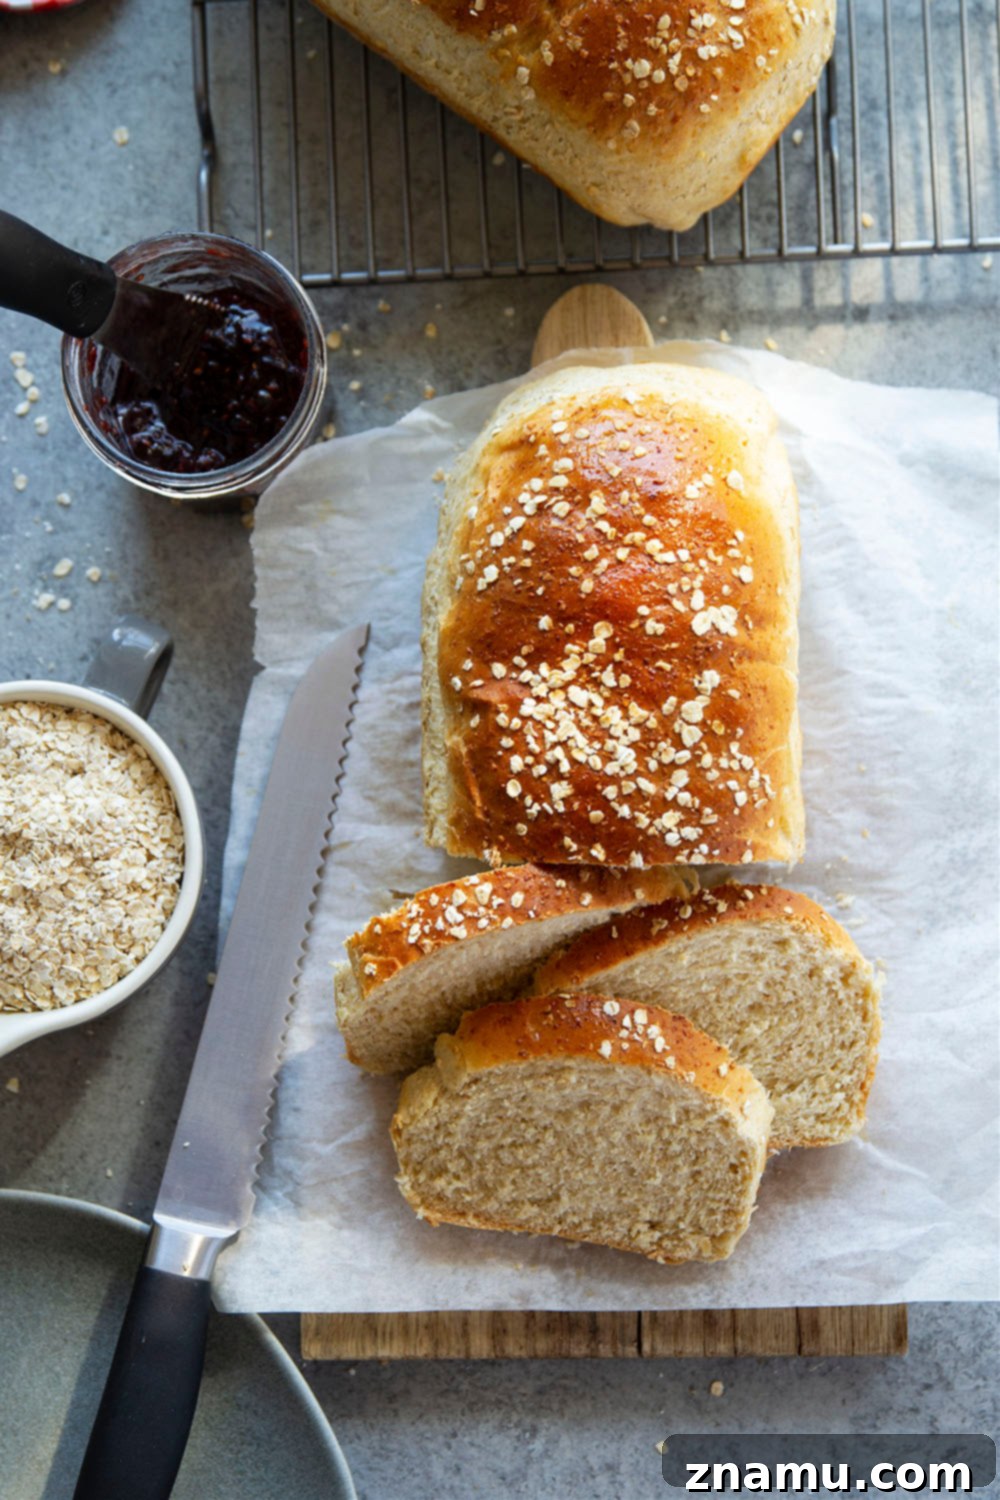
Top Tips for Perfect Honey Oat Bread
Achieving a consistently perfect loaf of Honey Oat Bread is simple with these expert tips. Pay attention to these details, and you’ll be rewarded with beautifully risen, flavorful bread every time:
- Maintain Optimal Water Temperature: The ideal temperature for your warm water is around 110°F (43°C). Use a kitchen thermometer to ensure accuracy. Water that is too cold won’t activate the yeast, while water that is too hot will kill it, preventing your bread from rising.
- Choose the Right Oats: Quick-cooking oats are recommended for this recipe due to their softer texture, which integrates seamlessly into the dough. If you only have old-fashioned rolled oats, a quick pulse in a food processor to break them down slightly will work as a good substitute.
- Measure Flour Accurately: Over-measuring flour is a common pitfall that can lead to dry, dense bread. Always use the “spoon-and-level” technique: spoon flour lightly into your measuring cup until it overflows, then level off the excess with the back of a knife. Do not pack the flour down.
- Knead Thoroughly: As discussed, proper kneading is crucial for gluten development, which forms the structural backbone of your bread. Continue kneading until the dough feels smooth, elastic, and can be stretched several inches without tearing.
- Allow for Sufficient First Rise: After kneading, place the dough in a clean, greased bowl, cover it with plastic wrap, and let it rise in a warm place until it has doubled in size. This typically takes about 1 to 1.5 hours, depending on your kitchen’s environment.
- Ensure a Warm Rising Environment: Yeast thrives in warmth. An ambient temperature of 75-80°F (24-27°C) in your kitchen is ideal for dough to rise effectively. If your kitchen is cool, consider placing the covered bowl in a slightly warm (but not hot) oven (turned off, with just the light on) or near a sunny window.
- Proper Loaf Shaping for Height: After the first rise and punching down the dough, divide it into two equal portions. Roll each portion into a 9×12-inch rectangle. Tightly roll each rectangle from the shorter side into a cylinder, tucking the ends underneath. This rolling technique is a secret for achieving extra height and a beautiful, even crumb in your finished loaves. Place them seam-side down in your prepared 9×5-inch loaf pans.
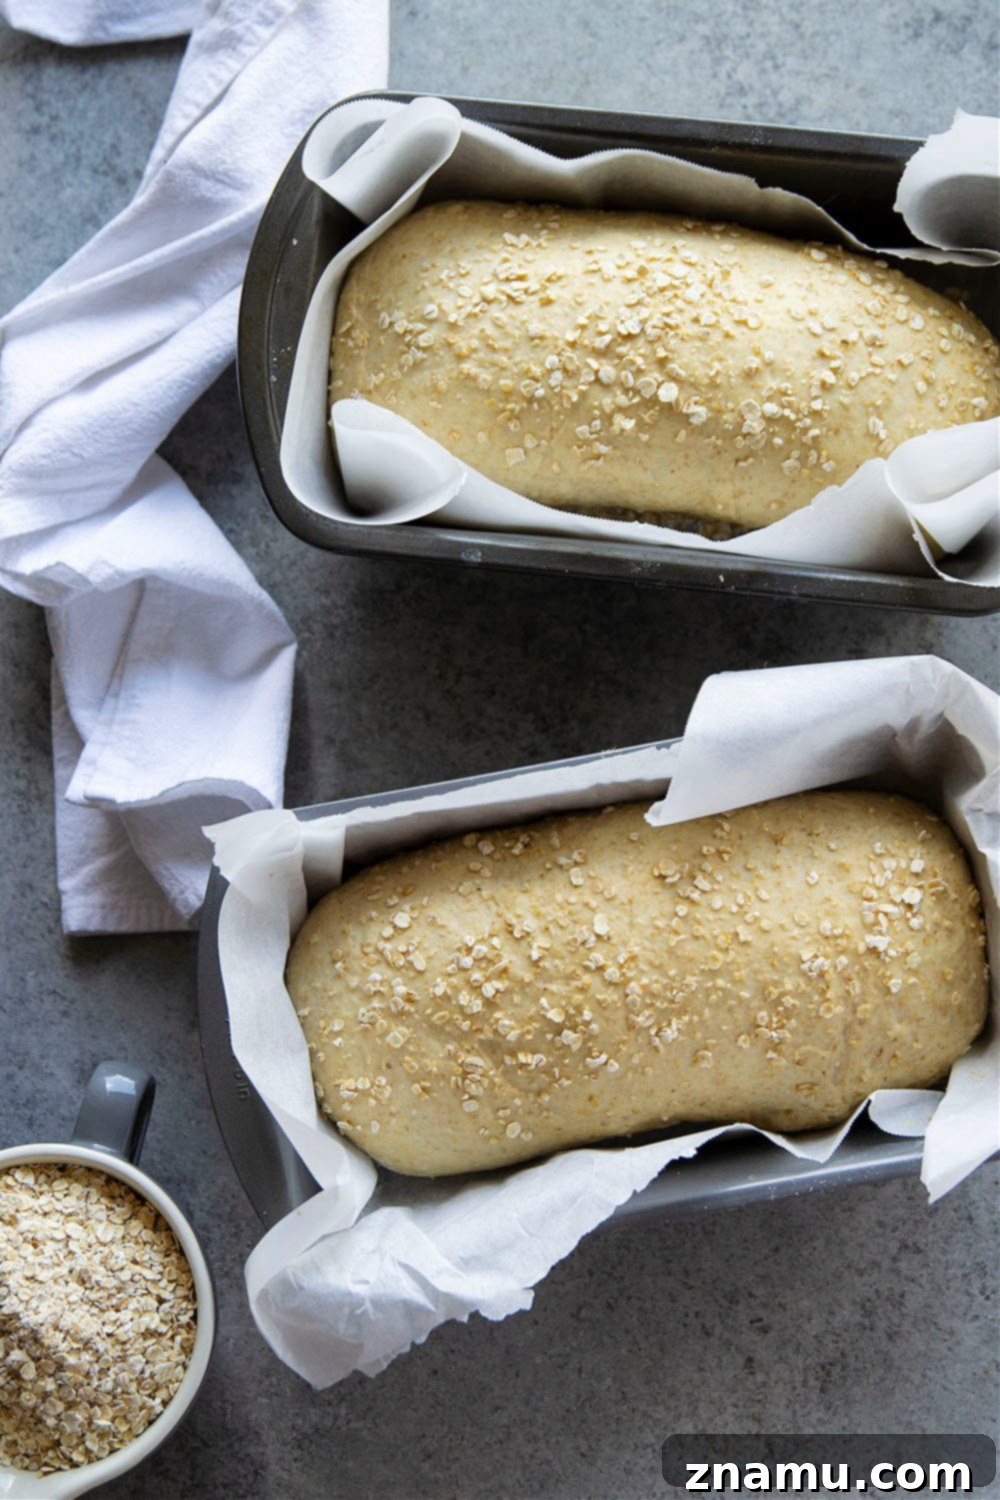
- Apply an Egg Wash: Brushing the tops of your loaves with an egg white and water mixture before baking contributes to a gorgeous, deep golden-brown crust. For an extra touch of visual appeal and flavor, sprinkle a few additional oats on top of the egg wash.
- Allow for a Second Rise: After shaping and applying the egg wash, let your loaves rise again in a warm place until they have doubled in size. This second rise, also known as proofing, is vital for the bread’s final texture and volume. This may take 30-45 minutes, or up to an hour, depending on the warmth of your kitchen.
- Bake at the Correct Temperature: Preheat your oven to 350°F (175°C). Bake the bread for 25-30 minutes, or until the loaves are a rich golden brown. For absolute certainty, use a kitchen thermometer to check the internal temperature; it should register 190°F (88°C) when fully baked. This ensures the bread is cooked through without being over-baked.
- Cool Completely Before Slicing: Patience is key! Allow the bread to cool completely on a wire rack before attempting to slice it. Warm bread is delicate and can be gummy. Cooling allows the internal structure to set, making it much easier to slice cleanly with a serrated knife.
Delicious Ways to Enjoy Your Homemade Bread
Once your beautiful Honey Oat Bread is cooled and sliced, the possibilities for enjoyment are endless!
- Hearty Sandwiches: Its robust texture and slight sweetness make it an ideal foundation for both savory and sweet sandwiches. Think turkey and cheddar, or peanut butter and banana.
- Toasted Perfection: Slice and toast for a delightful crunch, perfect for breakfast or a light snack.
- Accompaniment to Meals: Serve alongside a comforting bowl of soup, a hearty stew, or a fresh salad to soak up all the delicious flavors.
- Simple Indulgence: Enjoy a warm slice fresh from the oven with a smear of butter, your favorite jam, or a luxurious drizzle of extra honey.
Storing and Freezing Your Honey Oat Bread
To ensure your homemade Honey Oat Bread stays fresh and delicious for as long as possible, proper storage is essential.
For Countertop Storage: Once the bread has cooled completely to room temperature, seal it tightly in a resealable plastic bag or an airtight container. Stored this way, it will remain fresh and soft on your kitchen counter for up to 3 days. We’ve found that after the third day, the bread may start to lose some of its moisture and become slightly drier.
For Freezing: Freezing is an excellent way to preserve the freshness of your homemade bread for an extended period. Allow the loaves to cool completely, then wrap them tightly in plastic wrap, followed by a layer of aluminum foil, or place them in a freezer-safe ziplock bag. It can be frozen for up to 1 month. For optimal freshness, we highly recommend freezing the bread on the very same day you bake it.
Reheating Frozen Bread: To enjoy frozen bread, simply thaw it at room temperature. Individual slices can be reheated in the microwave on high for 15-30 seconds. For a whole loaf or multiple slices, wrap the bread in tin foil and reheat it in a 350°F (175°C) oven for 10-15 minutes, or until warmed through and soft.
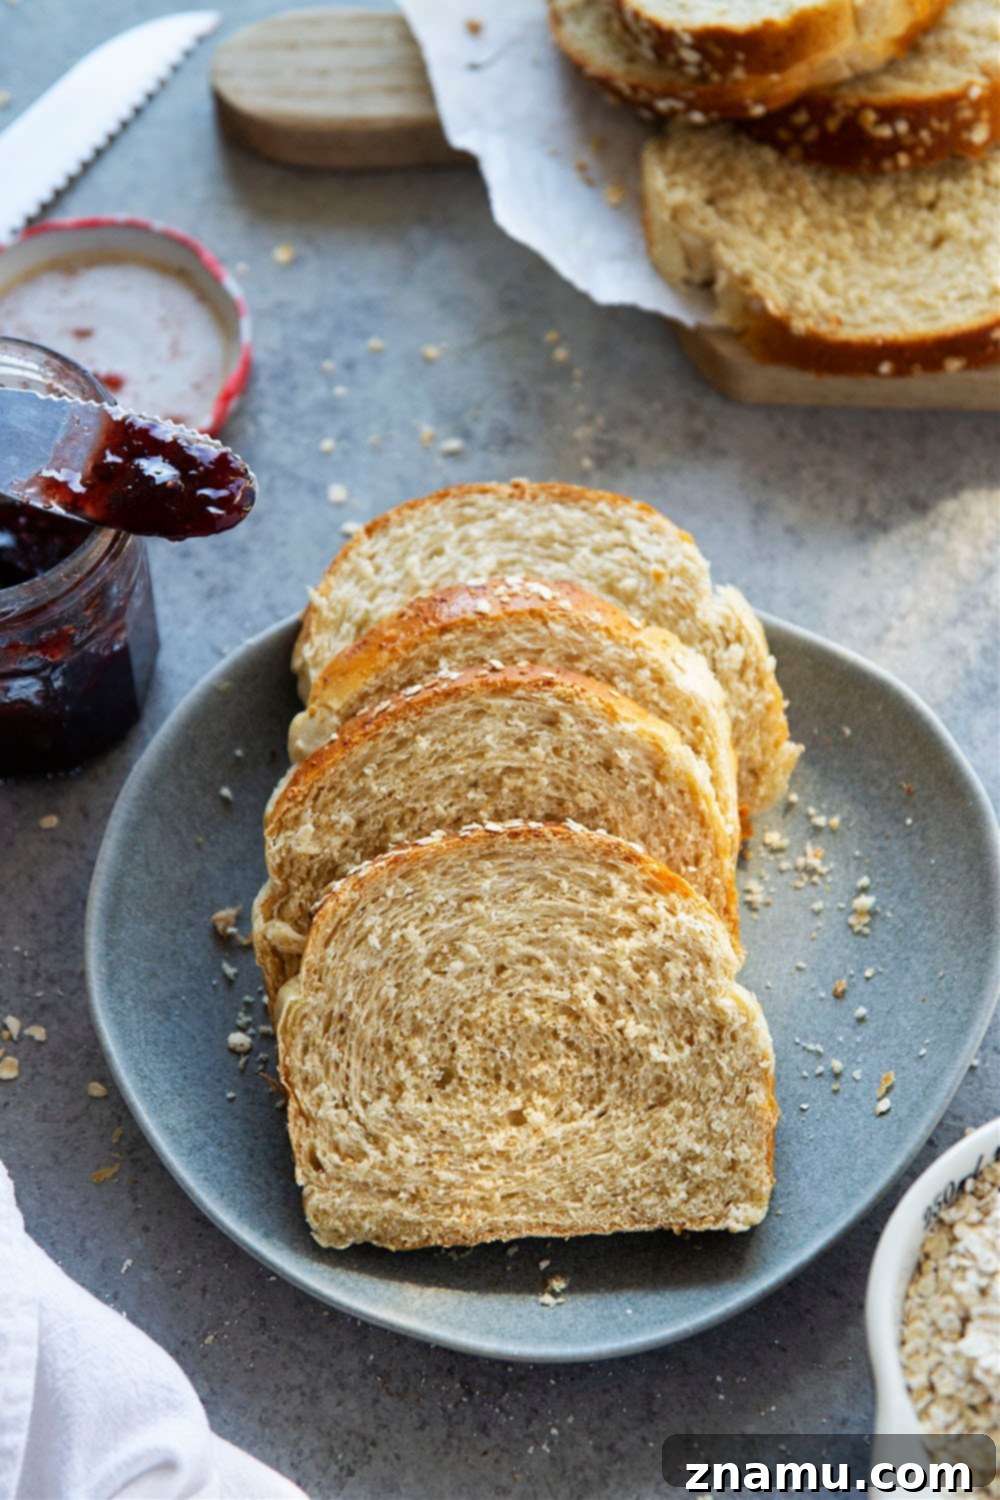
This bread may not be considered “fancy” in the gourmet sense, but its straightforward, wholesome goodness is precisely why you absolutely need it in your life. The hearty texture makes it exceptionally robust for any sandwich creation you can dream up, providing a satisfying foundation for your favorite fillings. However, please don’t overlook the simple pleasure of enjoying a warm slice, perhaps with a generous drizzle of golden honey, savoring its natural sweetness and comforting aroma.
And if you find yourself wondering if two loaves of this delicious bread might be too much, trust me when I say it’s not. In fact, you will undoubtedly want that much, and quite possibly, even more! Once you experience the unparalleled taste and texture of homemade Honey Oat Bread, a single loaf simply won’t suffice.
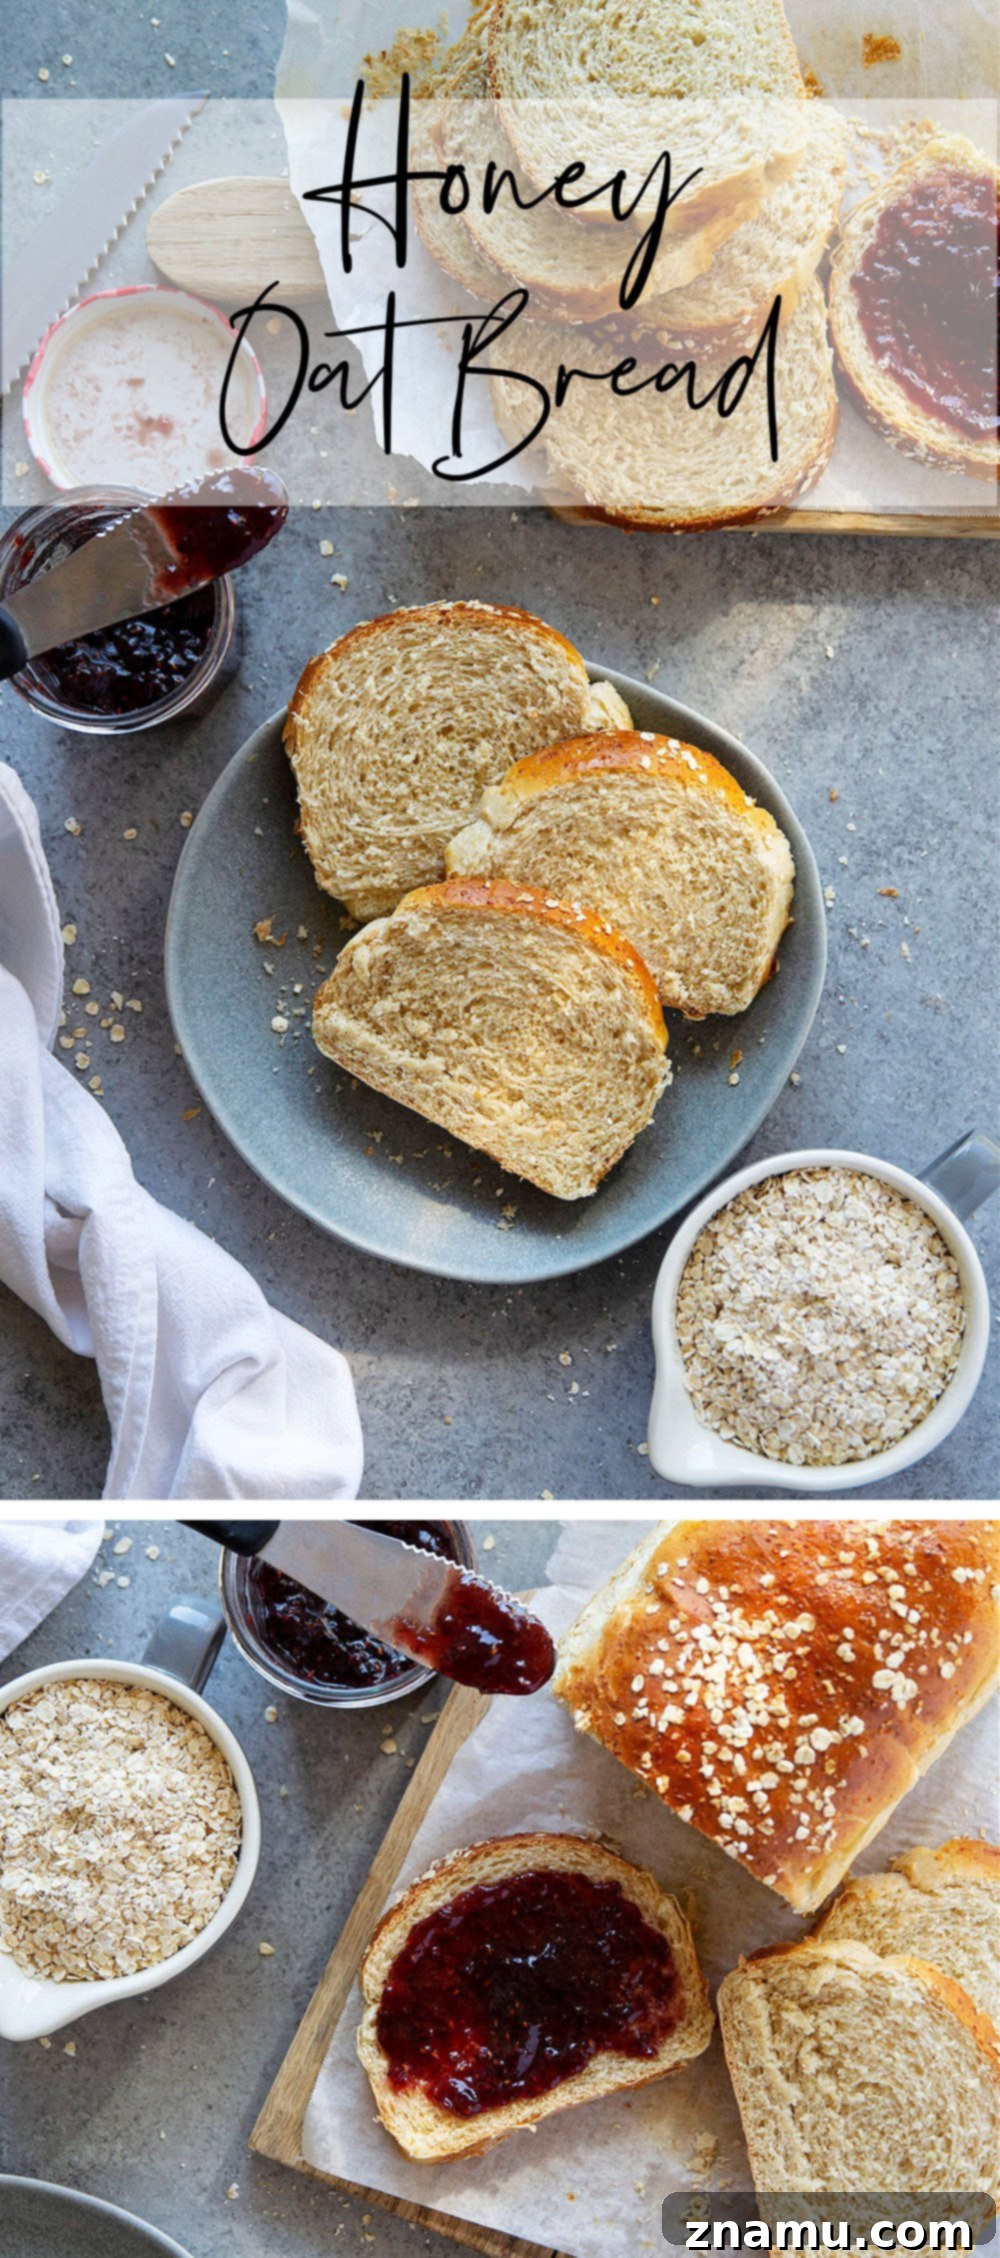
Honey Oat Bread Recipe

Homemade honey oat bread is easy to make at home and perfect for beginning bread bakers! – Try this hearty bread in sandwiches, toast, or warm from the oven with a drizzle of honey!
This recipe may included paid links. As an Amazon Associate, I earn a commission from qualifying purchases.
Ingredients
- 1-1/2 cups warm water (110F)
- 2-1/2 teaspoons (or one 1/4 oz package) active dry yeast
- 1/4 cup honey
- 1 large egg, lightly beaten
- 2 tablespoons melted coconut oil (or canola, vegetable, or olive)
- 1-1/2 teaspoons salt
- 3/4 cup quick-cooking oats, plus extra for topping
- 1 cup whole wheat flour (spooned and leveled)
- 4 to 4-1/2 cups all-purpose flour (spooned and leveled)
- 1 large egg white, mixed with 1 tablespoon water (for egg wash)
Instructions
- Place warm water in the bowl of a stand mixer fitted with a dough hook OR a large bowl. Dissolve yeast in water and let stand 5 minutes until foamy.
- Mix honey, egg, and coconut oil into the yeast mixture until smooth. Add salt, oats, whole wheat flour, and 4 cups of all-purpose flour to the bowl and mix on low speed (if using a stand mixer) OR with a wooden spoon (if making dough by hand) until the dough pulls away from the sides of the bowl, about 2 minutes of mixing. (If the dough seems a bit wet, add additional all-purpose flour by the tablespoon until the dough pulls away from the sides of the bowl).
- If making dough in a stand mixer, knead the dough in the mixer on low speed for 5-7 minutes until the dough is stretchy and elastic. If making dough by hand, turn the dough onto a lightly floured surface and knead by hand until the dough is stretchy and elastic, about 10 minutes of kneading.
- Place the dough in a greased bowl, turning once to grease the top. Cover the bowl with plastic wrap and let rise in a warm place at room temperature for 1 to 1-1/2 hours until the dough is doubled in size.
- Once the dough has doubled in size, preheat the oven to 350F (175C). Line two 9×5-inch loaf pans with parchment paper OR lightly grease them. Set aside.
- Punch the risen dough down and turn it onto a floured surface. Divide the dough in half and roll each half out into a 9×12-inch rectangle. Tightly roll each rectangle starting at the short side, pinching the ends to seal. Transfer each loaf to the prepared pans, tucking the ends under.
- Brush each loaf with the egg white/water mixture and sprinkle with additional oats. Allow the loaves to rise in a warm place at room temperature for 30-45 minutes until doubled in size.
- Bake loaves at 350F (175C) for 25-30 minutes until the bread is a deep golden brown and registers 190F (88C) on a kitchen thermometer.
- Cool bread completely in pans on a wire cooling rack. Once cooled, remove from pans and use a serrated knife to cut into slices. Enjoy!
Notes
Storing Instructions
Wrap cooled bread well and store on the counter for up to 3 days.
Bread may also be frozen for up to 1 month. We recommend freezing bread the day you make it, if possible, to preserve freshness. Thaw bread and reheat for serving.
Nutrition
Serving: 2 slices | Calories: 259kcal | Carbohydrates: 49.3g | Protein: 7.1g | Fat: 3.6g | Saturated Fat: 2.2g | Cholesterol: 16mg | Sodium: 301mg | Potassium: 100mg | Fiber: 2.1g | Sugar: 6g | Calcium: 14mg | Iron: 3mg
More Yeast Breads to Try Next!
- Milk Bread Rolls
- Cheesy Pizza Focaccia Breadsticks
- Jalapeno Cheddar Focaccia
Tried this recipe?
Leave a comment and rating below! Feel free to share a picture on Instagram and tag @wholeandheavenlyoven or hashtag it #wholeandheavenlyoven