
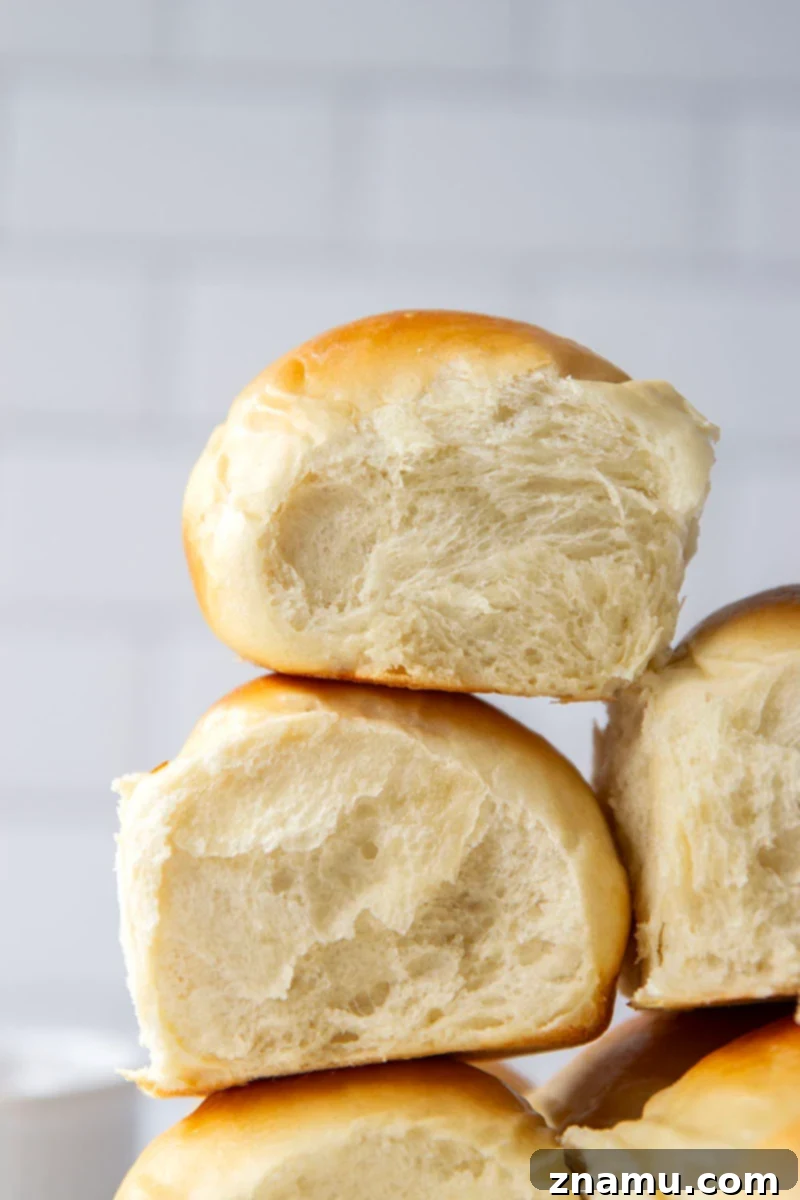
Perfect for any dinner, these pillow-soft overnight dinner rolls chill overnight in the refrigerator for easy baking the next day and their homemade flavor can’t be beat!
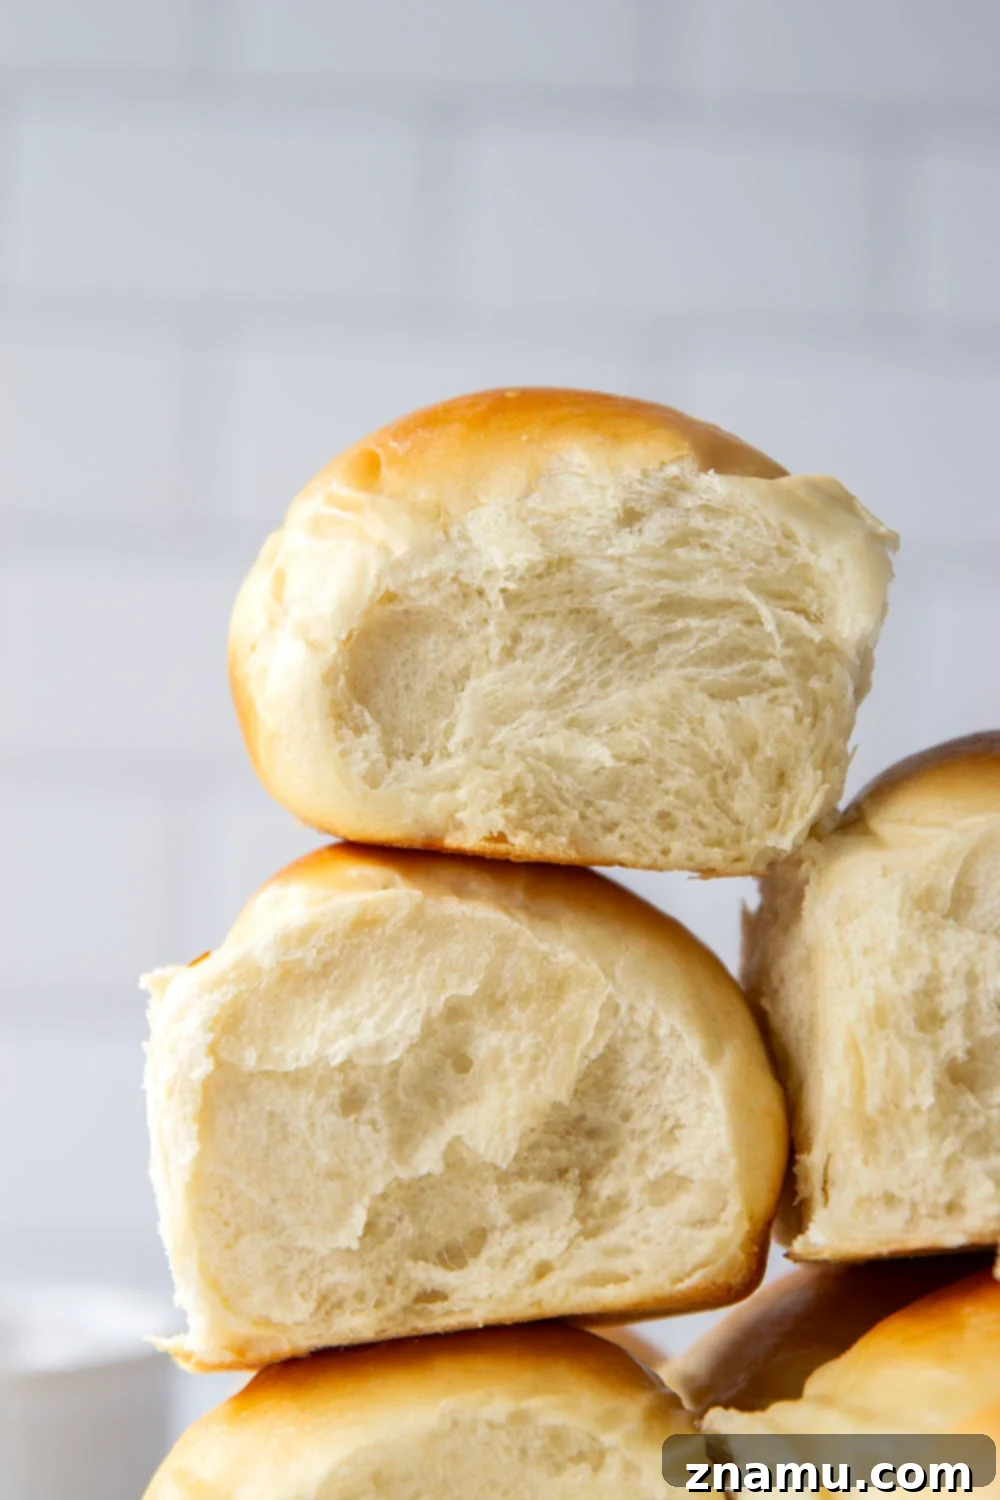
Transform your dinner table with the simplest, most delicious homemade rolls you’ll ever bake! These aren’t just any dinner rolls; they are a game-changer for anyone who loves fresh bread but dreads the day-of rush. Thanks to their ingenious overnight chilling method, these pillow-soft rolls deliver an unbeatable homemade flavor with minimal effort on baking day, making them suitable for any occasion, not just special holidays.
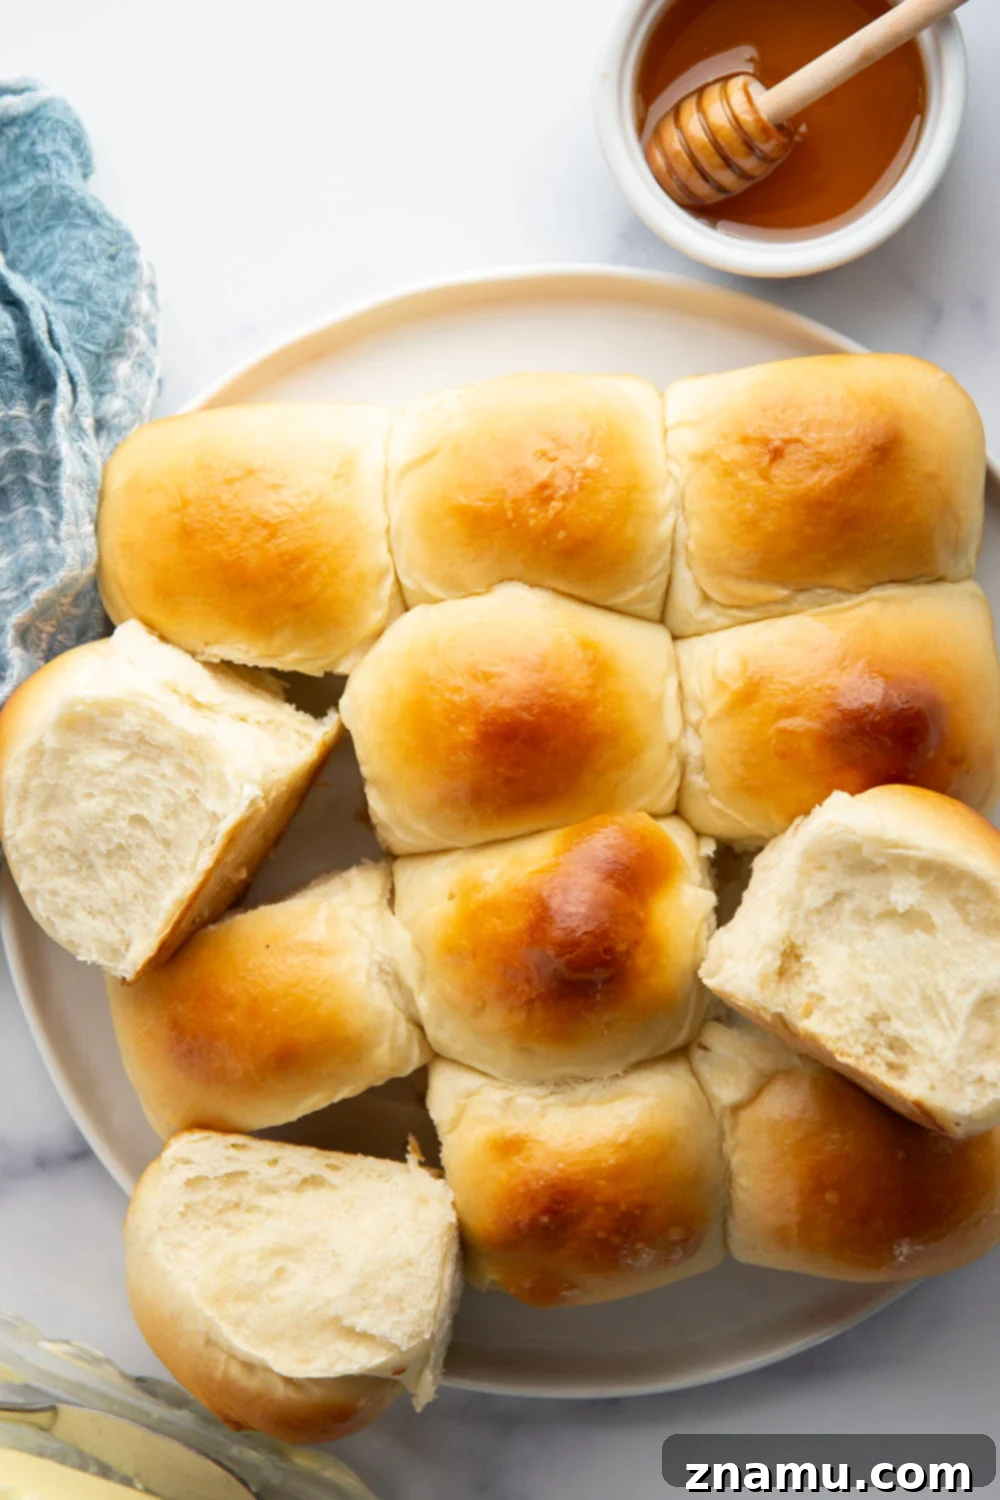
Imagine pulling apart a warm, fluffy roll, steam gently rising, its golden crust hinting at the tender interior. That’s the experience awaiting you with this recipe. It’s so good, you might find yourself building meals around these delightful wonders, just for an excuse to bake another batch.
If you’ve enjoyed our overnight cinnamon rolls, you’ll find the process for these dinner rolls wonderfully familiar. It involves a straightforward dough preparation, an initial rise, shaping the rolls, a relaxing overnight chill in the refrigerator, and then effortless baking the following day. This make-ahead magic means you can enjoy freshly baked rolls with incredible flavor and texture without waking up at dawn or rushing through dinner prep.
Prepare yourself for an unparalleled melt-in-your-mouth goodness that will redefine your expectations for homemade bread. The convenience paired with the outstanding taste makes these rolls a true culinary triumph.
These incredibly soft rolls have become a cherished tradition in my home. For years, I’ve enjoyed preparing them most Thursday nights, ready to bake and serve with our Friday dinners. The verdict is always the same: never any leftovers! I’m absolutely thrilled for you to embrace these rolls and integrate them into your own family’s cherished dinner traditions.
Why You’ll Adore These Overnight Dinner Rolls
This recipe isn’t just about making bread; it’s about making life easier and more delicious. Here’s why these rolls stand out:
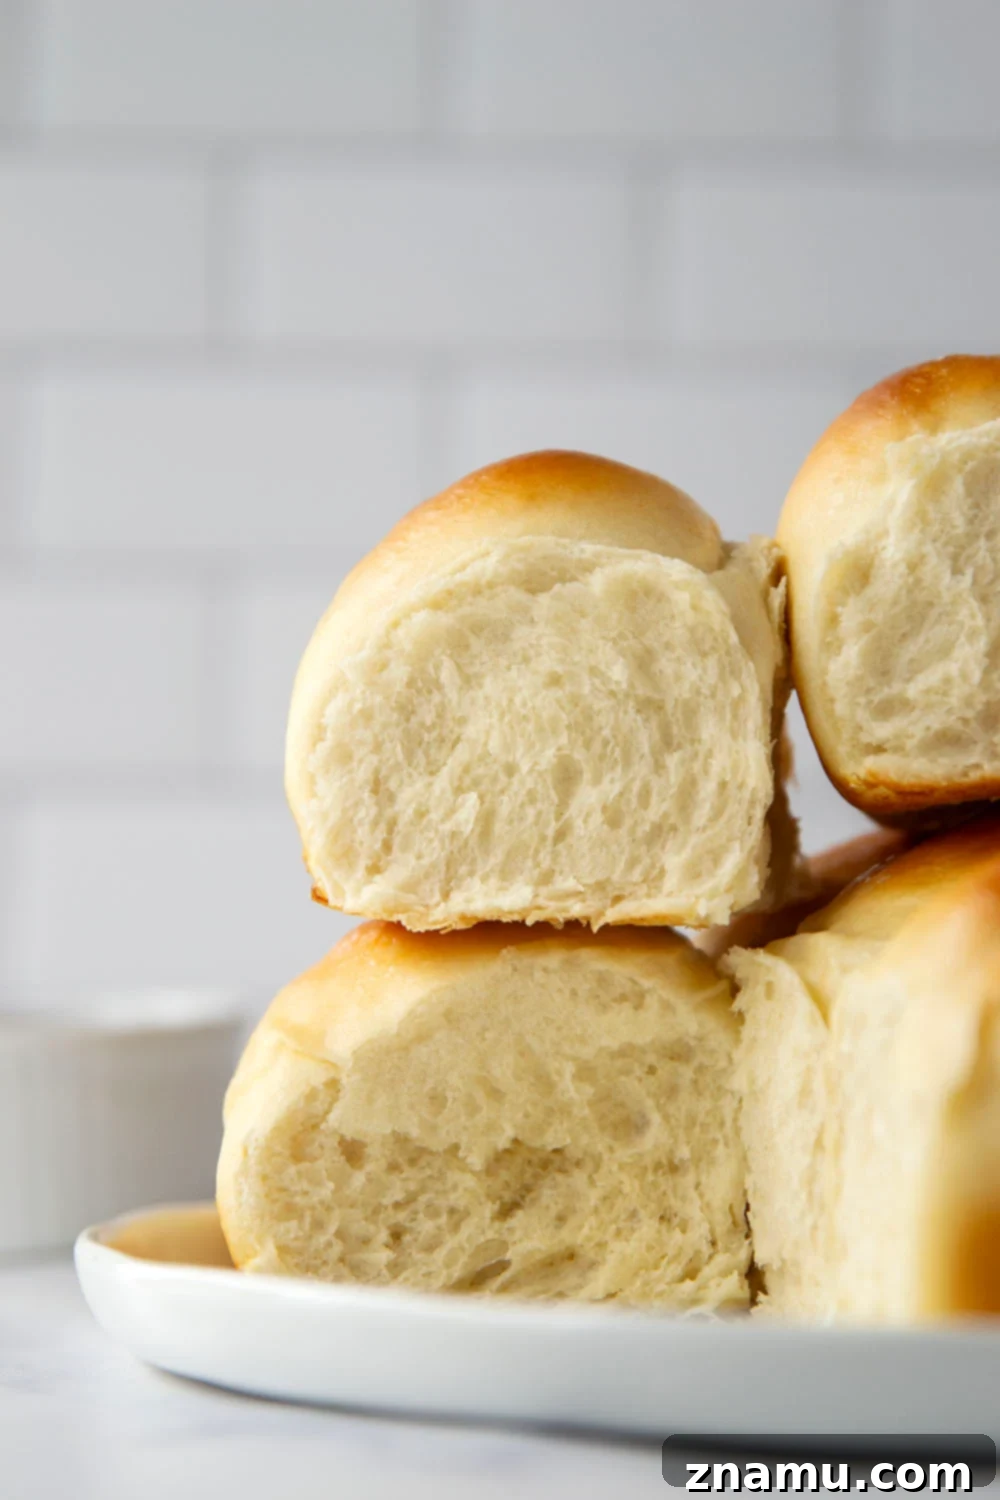
- A luxuriously soft and fluffy texture that melts in your mouth with every bite. The slow, cold fermentation truly enhances the crumb.
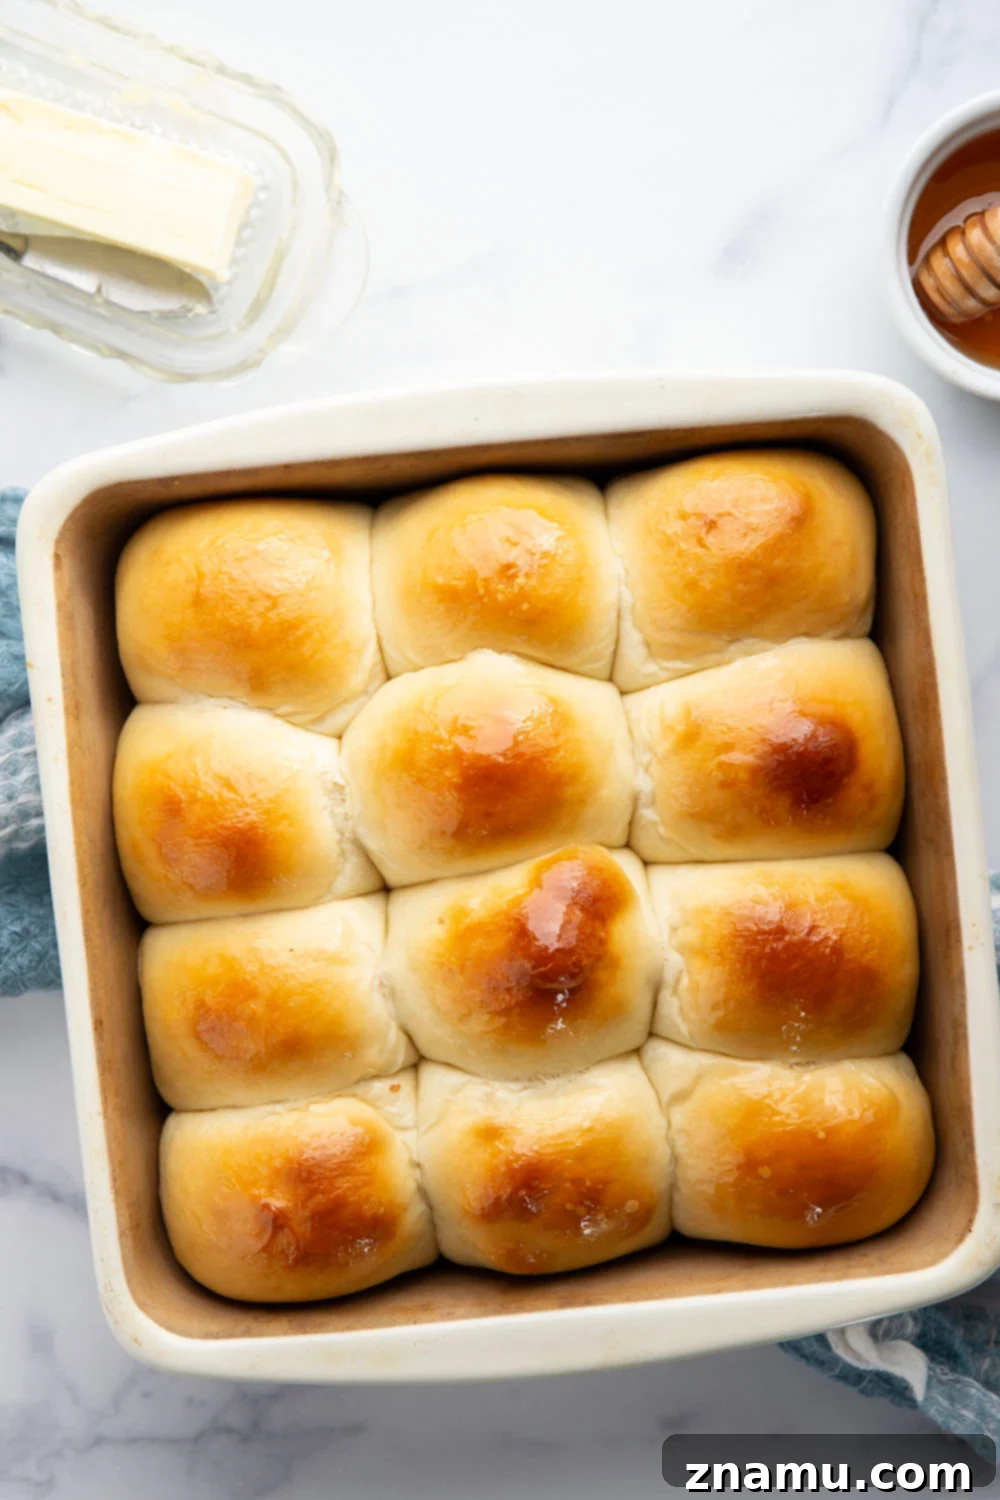
- A perfectly golden exterior with a subtle sheen, making them as appealing to the eye as they are to the palate. The egg wash contributes to this beautiful finish.
- Effortless overnight proofing that removes the stress from your baking day. Simply shape, chill, and bake when you’re ready.
- Quick baking means fresh, warm rolls can be on your table in under 30 minutes, even on busy weeknights.
- Deepened Flavor Profile: The extended cold fermentation allows the yeast to work slowly, developing complex flavors that simply aren’t present in quick-rise rolls.
- Incredible Convenience: Prepare most of the work the day before, leaving you free to enjoy your guests or focus on other dishes.
The Magic of Overnight Proofing: How it Works
The secret to these incredibly flavorful and tender rolls lies in the overnight chilling process, also known as cold fermentation. When yeast dough rises slowly in the cold environment of a refrigerator, several wonderful things happen:
- Enhanced Flavor Development: The prolonged fermentation gives the yeast more time to break down starches and sugars, producing more complex, nuanced flavors that a quick rise simply can’t achieve. This results in a depth of taste often associated with artisanal breads.
- Improved Texture: The cold slows down gluten development but also allows it to relax and expand more evenly. This contributes to the dough’s elasticity and ultimately yields an exceptionally soft, airy, and fluffy texture in the finished rolls.
- Increased Manageability: Chilled dough is much easier to handle and shape. It’s less sticky and holds its form better, which is particularly helpful when rolling out individual dinner rolls.
- Unmatched Convenience: The most practical benefit is the ability to do the bulk of the work a day in advance. This frees up precious time on the day you plan to serve them, making homemade rolls a realistic option for weeknights or special gatherings without added stress.
Making These Irresistible Dinner Rolls
Creating these delightful rolls is simpler than you might think, especially with the overnight method. Here’s a breakdown of what you’ll need and the general process.
Essential Ingredients You Will Need
The beauty of these rolls lies in their simple, wholesome ingredients, many of which you likely already have in your pantry:
- Active dry yeast: The living agent that makes our rolls light and airy. Ensure it’s fresh and active for best results.
- Warm water: Crucial for activating the yeast. The temperature is key – too hot will kill it, too cold won’t activate it.
- Granulated sugar: Provides food for the yeast and adds a touch of sweetness to the rolls.
- Egg: Adds richness, helps with structure, and contributes to the golden color.
- Kosher salt: Balances the sweetness and enhances the overall flavor of the bread.
- All-purpose flour: The main structural component. Proper measurement is vital for the right consistency.
- Unsalted butter: Adds incredible tenderness, flavor, and moisture to the dough. Softened butter incorporates best.
- Egg white wash: A simple mix of egg white and water brushed on top for a beautiful, golden sheen.
- Honey butter or salted butter: Optional, but highly recommended for serving to elevate the experience.
Choosing Your Mixing Method: Stand Mixer vs. Mixing Bowl
Whether you’re a seasoned baker with a stand mixer or prefer the hands-on approach, this dough is forgiving and works well with both methods.
If you choose to use a stand mixer: Opt for the dough hook attachment. This is ideal for efficiently kneading the dough. Let the machine work on medium speed for 5-7 minutes. You’ll know it’s ready when the dough becomes visibly stretchy and elastic, pulling cleanly away from the sides of the bowl.
If you are making the dough by hand: A large mixing bowl and a sturdy wooden spoon are your best tools. Once the ingredients are combined, turn the dough out onto a lightly floured surface. Knead by hand for about 10 minutes, or until the dough transforms into a smooth, pliable, and elastic texture. While it requires a bit more elbow grease, the satisfaction of kneading dough by hand is truly rewarding.
Expert Tips for Foolproof Overnight Dinner Rolls
Achieving perfectly pillow-soft and flavorful dinner rolls consistently is easier with a few key techniques. Follow these expert tips for guaranteed baking success:
- Accurate Water Temperature is Key (110°F): Always use a kitchen thermometer to ensure your warm water is between 105°F and 115°F. Around 110°F is ideal. Water that is too hot will kill the yeast, preventing your dough from rising. Too cold, and the yeast won’t activate properly, leading to a sluggish or non-existent rise.
- Measure Flour Correctly with Spoon-and-Level: Avoid dense rolls by not over-measuring your flour. The “spoon-and-level” technique is crucial: use a spoon to lightly scoop flour into your measuring cup, then level it off with the back of a knife or a straight edge. Never pack flour into the cup or scoop directly from the bag, as this can add up to 25% more flour than needed.
- Knead Dough Properly for Gluten Development: Kneading is fundamental for developing gluten, which forms the elastic structure of your rolls. Whether by hand or with a stand mixer, knead until the dough is smooth, supple, and passes the “windowpane test” (you can stretch a small piece thin enough to see light through it without tearing). This ensures a light and airy crumb.
- Allow Dough to Rise Until Doubled in Size: The first rise, known as bulk fermentation, is essential for flavor and texture. Place the kneaded dough in a lightly greased bowl, turn it once to coat, then cover it tightly with plastic wrap. Let it rise in a warm spot (ideally 75-80°F) for 1 to 1½ hours, or until it has clearly doubled in size. Don’t rush this step.
- Provide a Warm Environment for Rising: Yeast thrives in warmth. If your kitchen is cool, find a warm spot like near a sunny window (but not direct harsh sun), near a pilot light, or in a slightly warmed (but turned off) oven. A consistent temperature helps the yeast activate evenly.
- Chill Shaped Rolls for the Optimal 8-16 Hours: The overnight chill is where the magic happens. After shaping, arrange the rolls in your baking dish, cover tightly, and refrigerate for a minimum of 8 hours, up to a maximum of 16 hours. Chilling longer than 16 hours can sometimes cause the rolls to lose their optimal shape or texture. This slow proofing is key for flavor and convenience.
- Allow Rolls to Come to Room Temperature Before Baking: Straight from the fridge, the dough is too cold to bake immediately for optimal results. Remove the pan from the refrigerator 30-45 minutes before baking. This allows the rolls to warm up slightly and achieve a final, subtle puffiness, ensuring a beautiful rise in the oven.
- Brush Rolls with Egg Wash for a Golden Sheen: Just before baking, gently brush the tops of your rolls with an egg wash (typically a beaten egg mixed with a tablespoon of water or milk). This step is crucial for achieving that irresistible golden-brown, glossy crust that makes homemade rolls so appealing.
- Don’t Overbake: Overbaked rolls become dry and tough. Bake until they are a deep golden brown on top and register an internal temperature of 190-200°F (88-93°C) when checked with a kitchen thermometer.
- Brush with Butter After Baking: For an extra layer of flavor and softness, brush the hot rolls with a little melted unsalted butter immediately after they come out of the oven. This creates an even softer crust and adds a lovely richness.
Creative Recipe Variations to Explore
While these dinner rolls are perfect as is, they also serve as an excellent base for various flavor enhancements. Feel free to get creative and customize them to suit your meal or preferences:
- Infuse with Fresh Herbs: For an aromatic twist, gently fold 1-2 tablespoons of finely minced fresh rosemary, sage, thyme, or chives into the bread dough during the last minute of kneading. This adds a sophisticated herbaceous note that pairs wonderfully with savory dishes.
- Crown with Cheese: Before baking, sprinkle the tops of your shaped rolls generously with grated Parmesan, sharp cheddar, or tangy Asiago cheese. The cheese will melt and become golden and bubbly, adding a savory, crispy crust.
- Garlic Butter Goodness: After baking and while still warm, brush the rolls with melted garlic butter (melted butter mixed with a crushed garlic clove and a pinch of parsley). This is particularly fantastic with Italian or Mediterranean-inspired meals.
- Everything Bagel Seasoning: For a bold, savory kick, brush the rolls with egg wash and then sprinkle them with everything bagel seasoning before baking. You’ll get a delightful mix of sesame seeds, poppy seeds, dried garlic, and onion.
- Sweet Cinnamon Sugar Swirl: For a sweeter take, after the first rise, roll the dough into a rectangle, spread with softened butter, sprinkle with cinnamon sugar, and then roll up and slice like cinnamon rolls before placing in the pan for the overnight chill.
Storing and Freezing Your Delicious Rolls
Whether you’ve baked too many (is that even possible?) or want to prepare ahead, these rolls store beautifully:
These baked rolls will stay wonderfully fresh and soft when stored in an airtight container at room temperature for up to 4 days. For optimal enjoyment and that fresh-from-the-oven experience, I highly recommend briefly reheating them. Pop them into a 350°F (175°C) oven for 8-10 minutes, or warm individual rolls quickly in the microwave for about 15-30 seconds.
To freeze baked rolls, allow them to cool completely first. Then, wrap them tightly in plastic wrap, followed by aluminum foil, or place them in a freezer-safe bag. They will keep well in the freezer for up to 2 months. You can reheat them straight from the freezer in a 350°F (175°C) oven for 15-20 minutes, or thaw them on the counter first and then reheat as described above.
For ultimate make-ahead convenience, you can also freeze the unbaked, shaped rolls. After shaping and arranging them in the baking dish, freeze the entire pan (uncovered) until the rolls are solid. Then, transfer the frozen rolls to a freezer-safe bag or container. When you’re ready to bake, place the frozen rolls back in a greased baking dish and let them thaw and rise at room temperature for 3-5 hours (or longer if your kitchen is cool) until puffy, then bake as directed.
If you’ve ever felt intimidated by making homemade dinner rolls, let this be the recipe that completely changes your perspective! You simply won’t find a more low-stress, high-reward recipe that delivers such incredible results. The overnight method truly simplifies the process, making fresh, warm rolls a tangible reality for even the busiest home cooks.
The sensory delight of pulling these rolls apart, revealing their incredibly light and fluffy interior, is an experience like no other. Enjoying one warm from the oven, perhaps with a generous pat of homemade honey butter, is truly otherworldly and a simple pleasure everyone deserves in their life!
Save this recipe using the ‘save to recipe box’ button below. If you make it, please let us know! Leave a comment + star rating below, or take a photo and tag it on Instagram with #wholeandheavenlyoven.
More Delicious Yeast Roll Recipes to Explore Next!
If you loved these overnight dinner rolls, you might also enjoy experimenting with these other fantastic yeast roll recipes:
- Texas Roadhouse Yeast Rolls
- Pumpkin Dinner Rolls
- Milk Bread Rolls
Overnight Dinner Rolls
Perfect for any dinner, these pillow-soft overnight dinner rolls chill overnight in the refrigerator for easy baking the next day and their homemade flavor can’t be beat!
This recipe may include paid links. As an Amazon Associate, I earn a commission from qualifying purchases.
Prep Time: 30 minutes
Cook Time: 30 minutes
Rise Time: 2 hours (initial rise)
Total Time: 3 hours (active prep & initial rise) + 8-16 hours chill
Yields: 12 servings
Calories: 182kcal per roll
Rating: 5 out of 5 stars (from 1 vote)
Print Recipe | Pin Recipe
Ingredients
- 1 package (1/4 oz or 2-1/4 teaspoons) active dry yeast
- 1 cup warm water (110°F)
- 1/4 cup granulated sugar
- 1 large egg, lightly beaten
- 1-1/2 teaspoons kosher salt
- 3 to 3-1/2 cups all-purpose flour (spooned and leveled)
- 2 tablespoons unsalted butter, softened
- 1 large egg white mixed with 1 tablespoon water (for egg wash)
- Honey butter or salted butter for serving (optional)
Instructions
- Place warm water in the bowl of a stand mixer fitted with a dough hook OR a large bowl. Dissolve yeast in water and let stand 5 minutes until foamy.
- Mix sugar and egg into the yeast mixture until smooth. Add salt and 3 cups flour to the bowl and mix on low speed OR with a wooden spoon if making dough by hand until the dough pulls away from the sides of the bowl, about 2 minutes of mixing. (If the dough seems a bit wet, add additional flour by the tablespoon until it pulls away).
- Add softened butter by the tablespoon while the mixer is running or fold in by hand with a wooden spoon until the butter is fully combined into the dough.
- If making dough in a stand mixer, knead dough in the mixer on low speed for 5-7 minutes until the dough is stretchy and elastic. If making dough by hand, turn the dough onto a lightly floured surface and knead by hand until the dough is stretchy and elastic, about 10 minutes of kneading.
- Place the dough in a greased bowl, turning once to grease the top. Cover the bowl with plastic wrap and let rise in a warm place at room temperature for 1 to 1-1/2 hours until the dough is doubled in size.
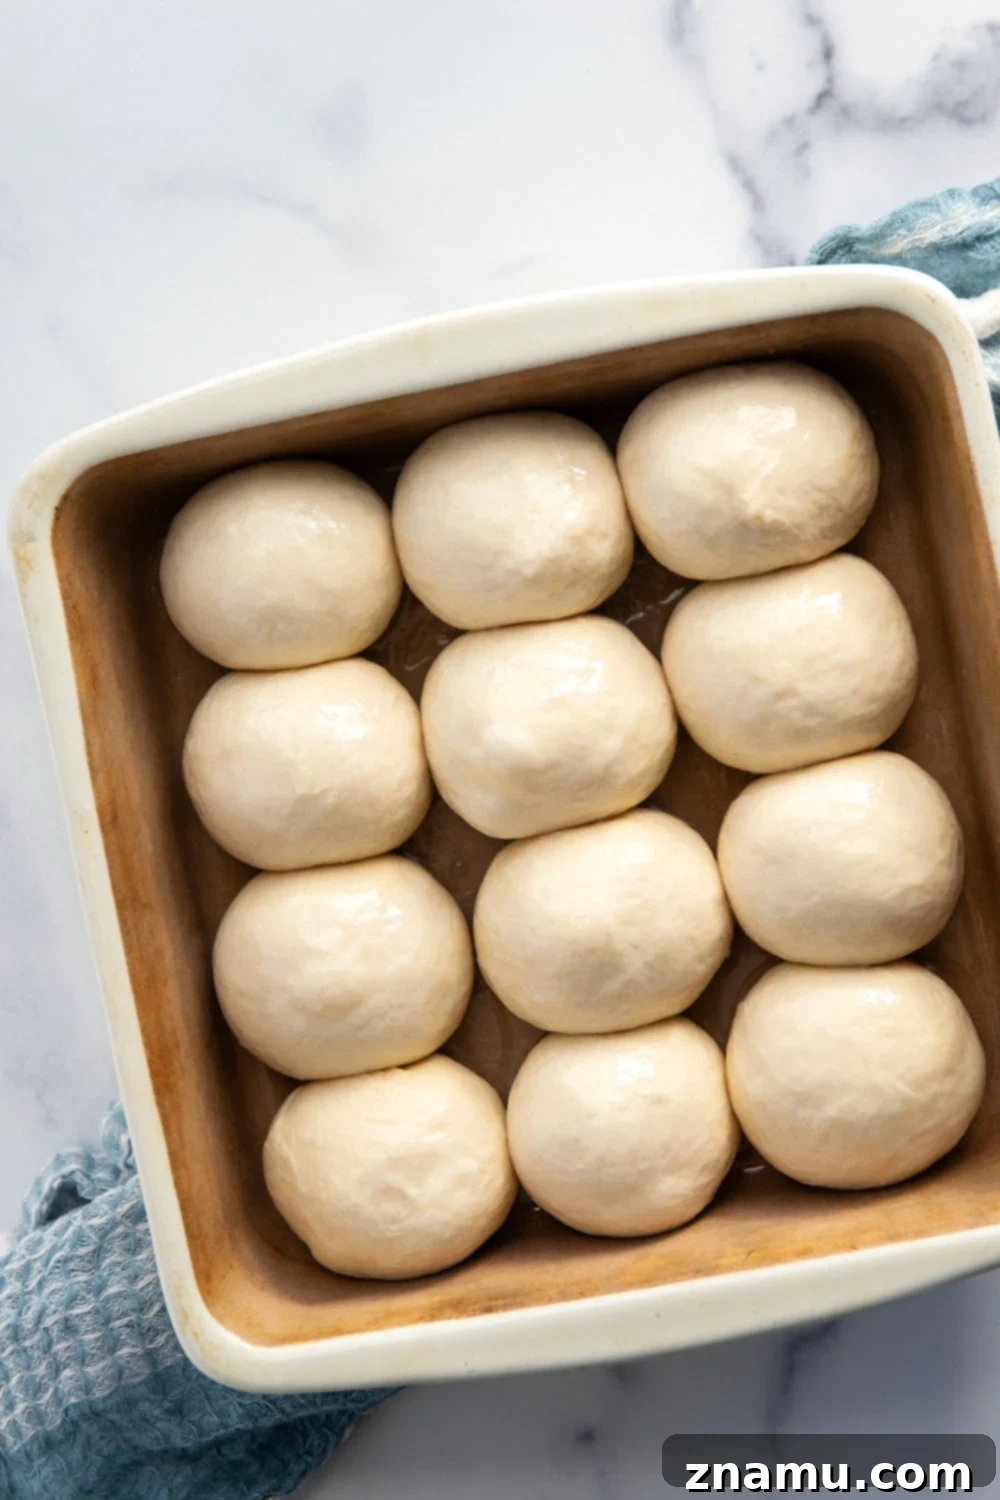
- Lightly grease a 9-inch square baking dish. Punch the risen dough down and divide it into 12 equal pieces. Roll each portion into smooth balls and arrange them in the baking dish. Cover the pan with plastic wrap and refrigerate rolls for 8 hours or up to 16 hours.*
- When ready to bake rolls, remove the pan from the refrigerator and allow rolls to rise at room temperature for 30-45 minutes until they are slightly puffy. Brush the rolls with the egg white wash.
- Preheat oven to 350°F (175°C). Bake dinner rolls at 350°F (175°C) for 25-30 minutes until rolls are a deep golden brown and register 190°F (88°C) on a kitchen thermometer. Cool rolls on a wire cooling rack.
- Serve rolls warm or reheated with butter if desired. Enjoy!
Notes
*To skip the overnight chill step and bake rolls right away after shaping, allow the shaped rolls to rise at room temperature for 45-60 minutes until doubled in size. Then, proceed with the recipe instructions for baking.
Storing Instructions: Store baked dinner rolls in an airtight container at room temperature for up to 4 days. Rolls may also be frozen for up to 2 months. Reheat for best results.
Nutrition
Serving: 1 dinner roll | Calories: 182kcal | Carbohydrates: 32g | Protein: 5g | Fat: 4g | Saturated Fat: 2g | Polyunsaturated Fat: 0.3g | Monounsaturated Fat: 1g | Trans Fat: 0.1g | Cholesterol: 21mg | Sodium: 303mg | Potassium: 54mg | Fiber: 1g | Sugar: 4g | Vitamin A: 108IU | Vitamin C: 0.002mg | Calcium: 10mg | Iron: 2mg
This post was updated with new recipe adjustments and photos on 10/23/25.