
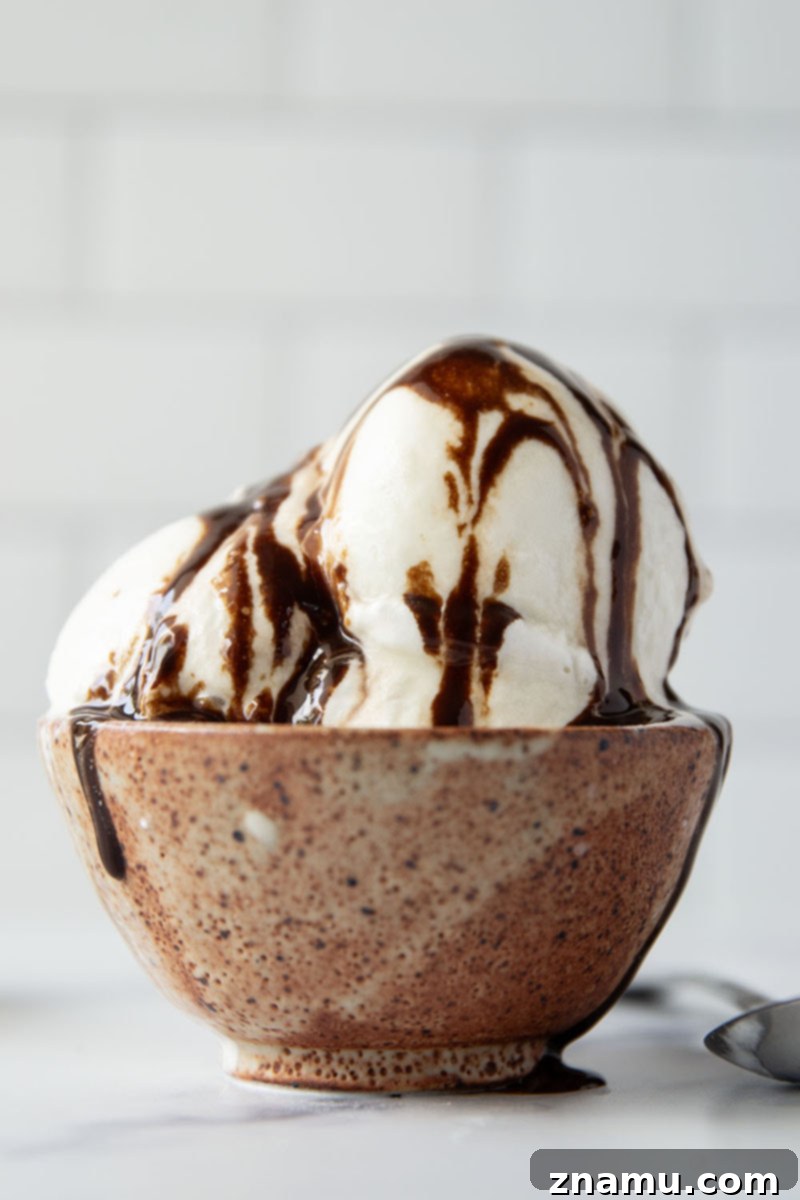
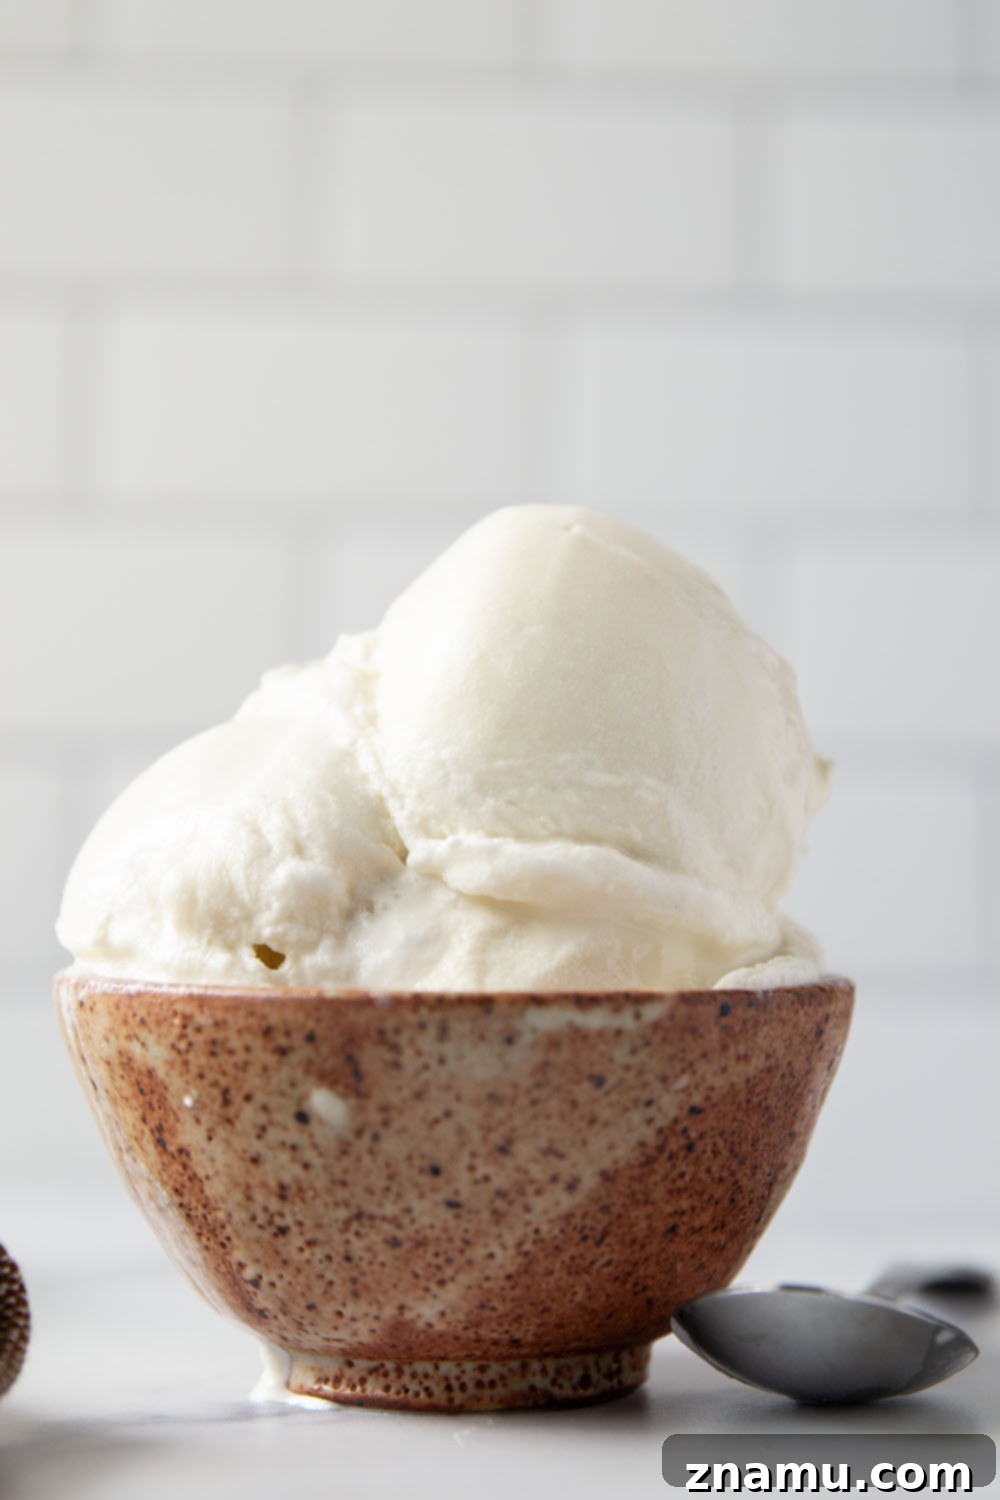
Discover the secret to exceptionally smooth and creamy homemade vanilla ice cream! This easy recipe, requiring just 4 basic ingredients, promises a flavor that far surpasses any store-bought brand. Get ready to load up your bowl with all your favorite toppings and savor pure, delicious perfection.
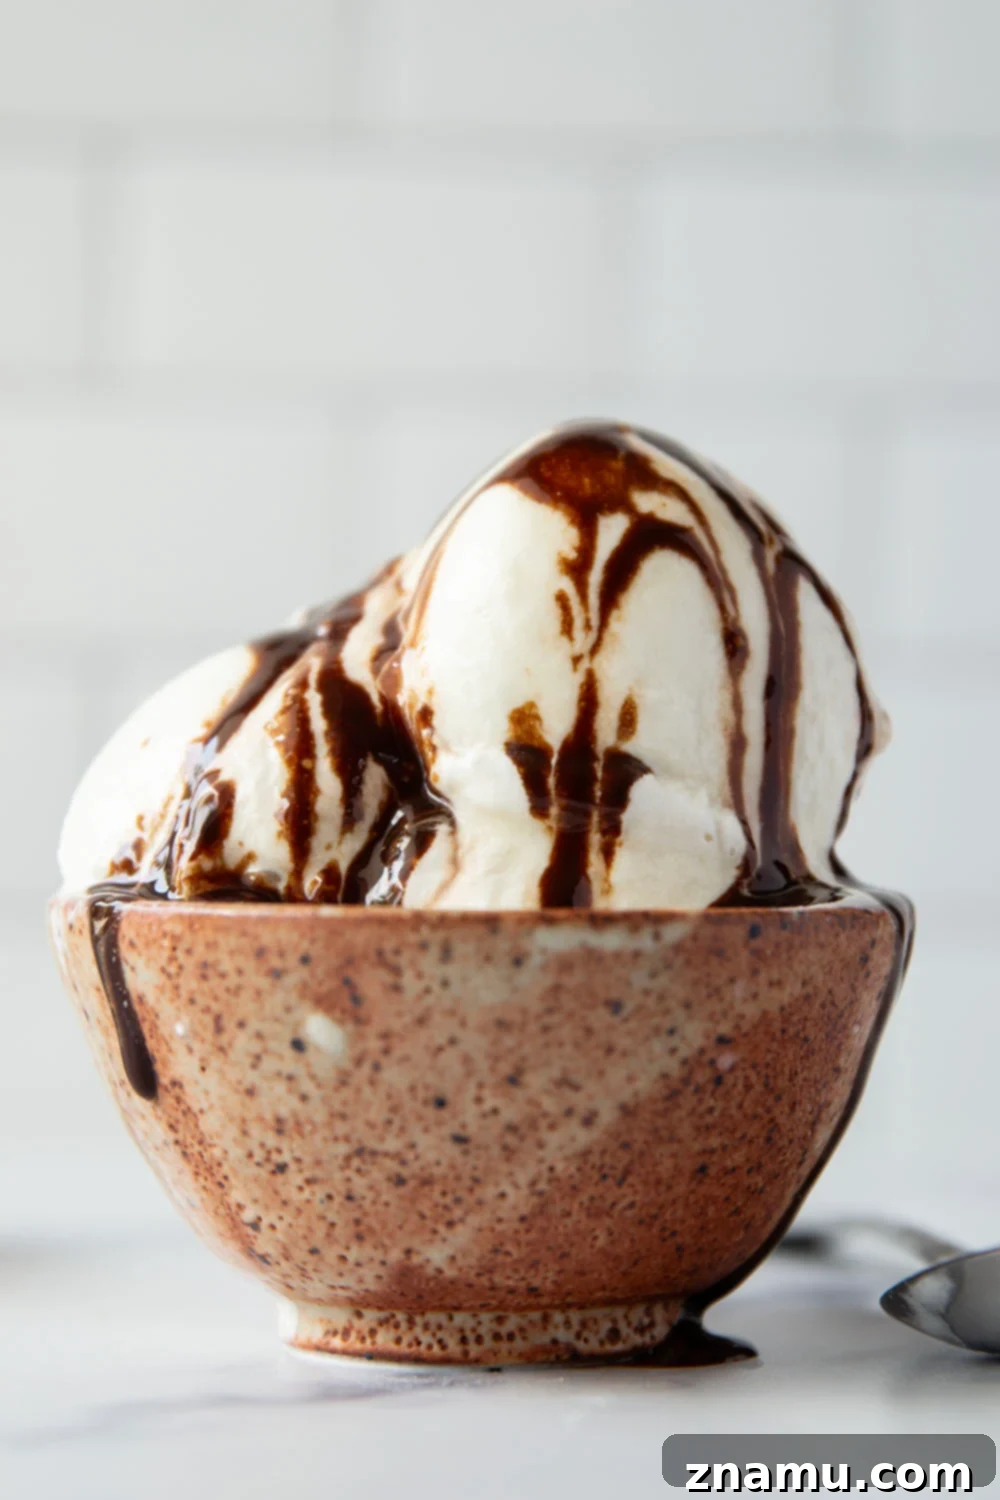
In a world overflowing with countless ice cream flavors readily available in every grocery store, one might wonder if making homemade vanilla ice cream is truly worth the effort. The answer, resounding and unequivocal, is a passionate YES! This isn’t just any vanilla ice cream; it’s a game-changer so incredibly perfect and astonishingly simple to prepare that it will undoubtedly spoil you for any store-bought variety. Consider it a delightful problem to have, a sweet predicament that promises unparalleled indulgence.
Forget complicated techniques or fancy ingredients. This recipe for easy vanilla ice cream focuses on simplicity, allowing the pure, rich flavors of dairy and vanilla to truly shine. We believe that’s precisely how all exceptional vanilla ice cream should be – unpretentious, yet utterly captivating. We’re talking about a mere handful of ingredients, minimal prep time, and you’ll be well on your way to enjoying the best creamy vanilla ice cream you’ve ever tasted.
Why This Homemade Vanilla Ice Cream Stands Out
Our recipe isn’t just easy; it’s designed to deliver an experience that elevates vanilla ice cream from a simple treat to a gourmet delight. Here’s what makes this particular best vanilla ice cream recipe an absolute must-try:
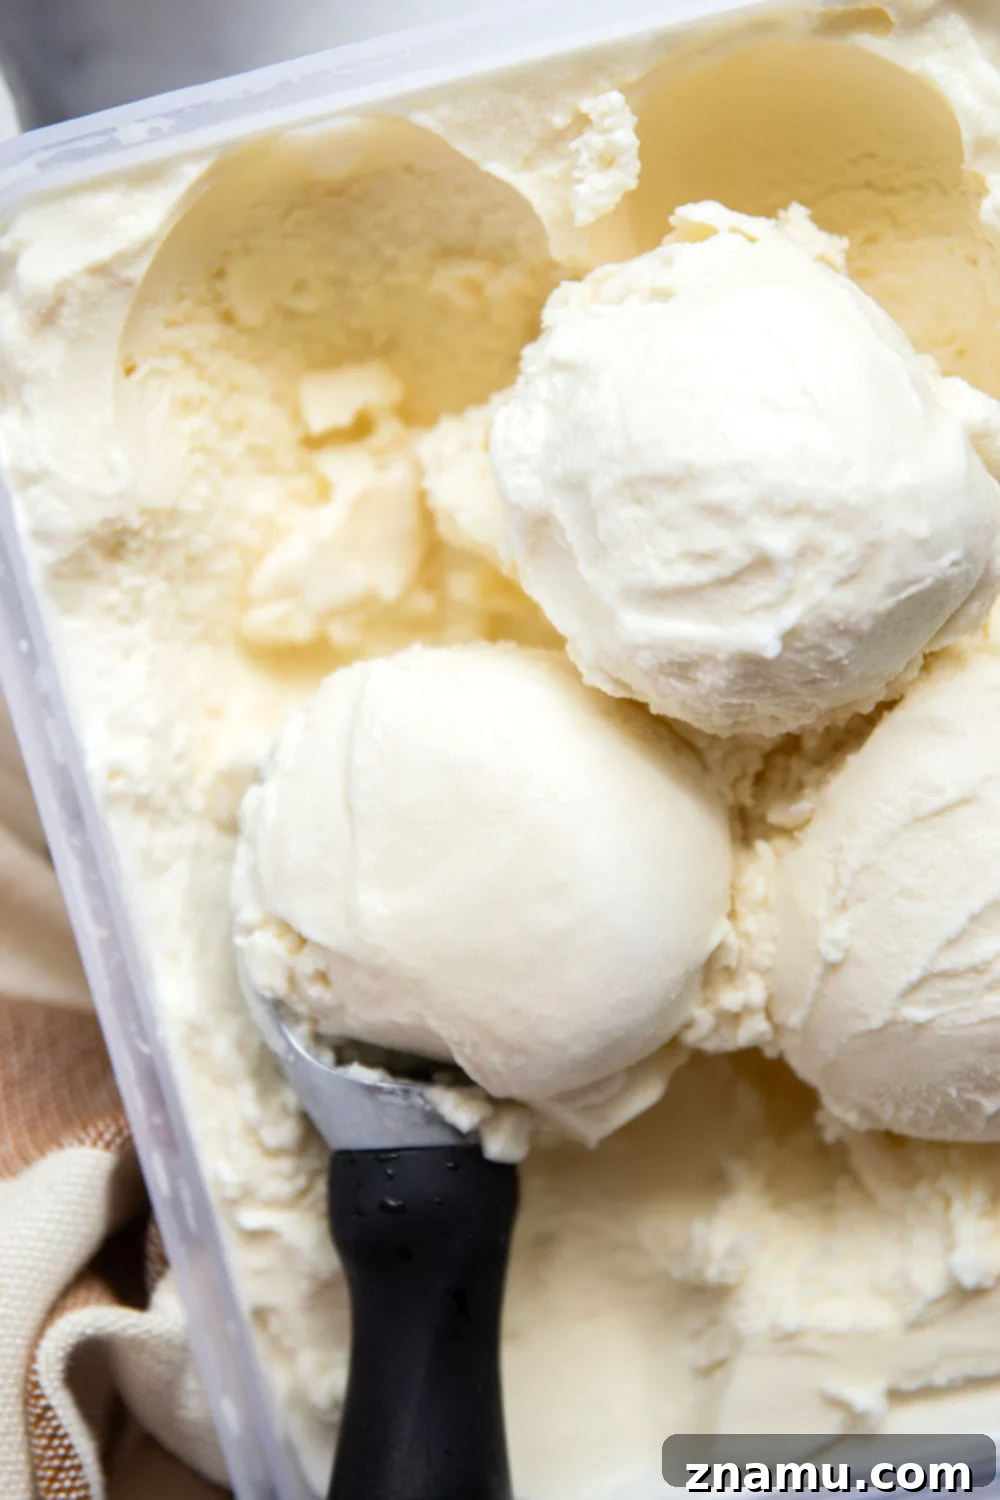
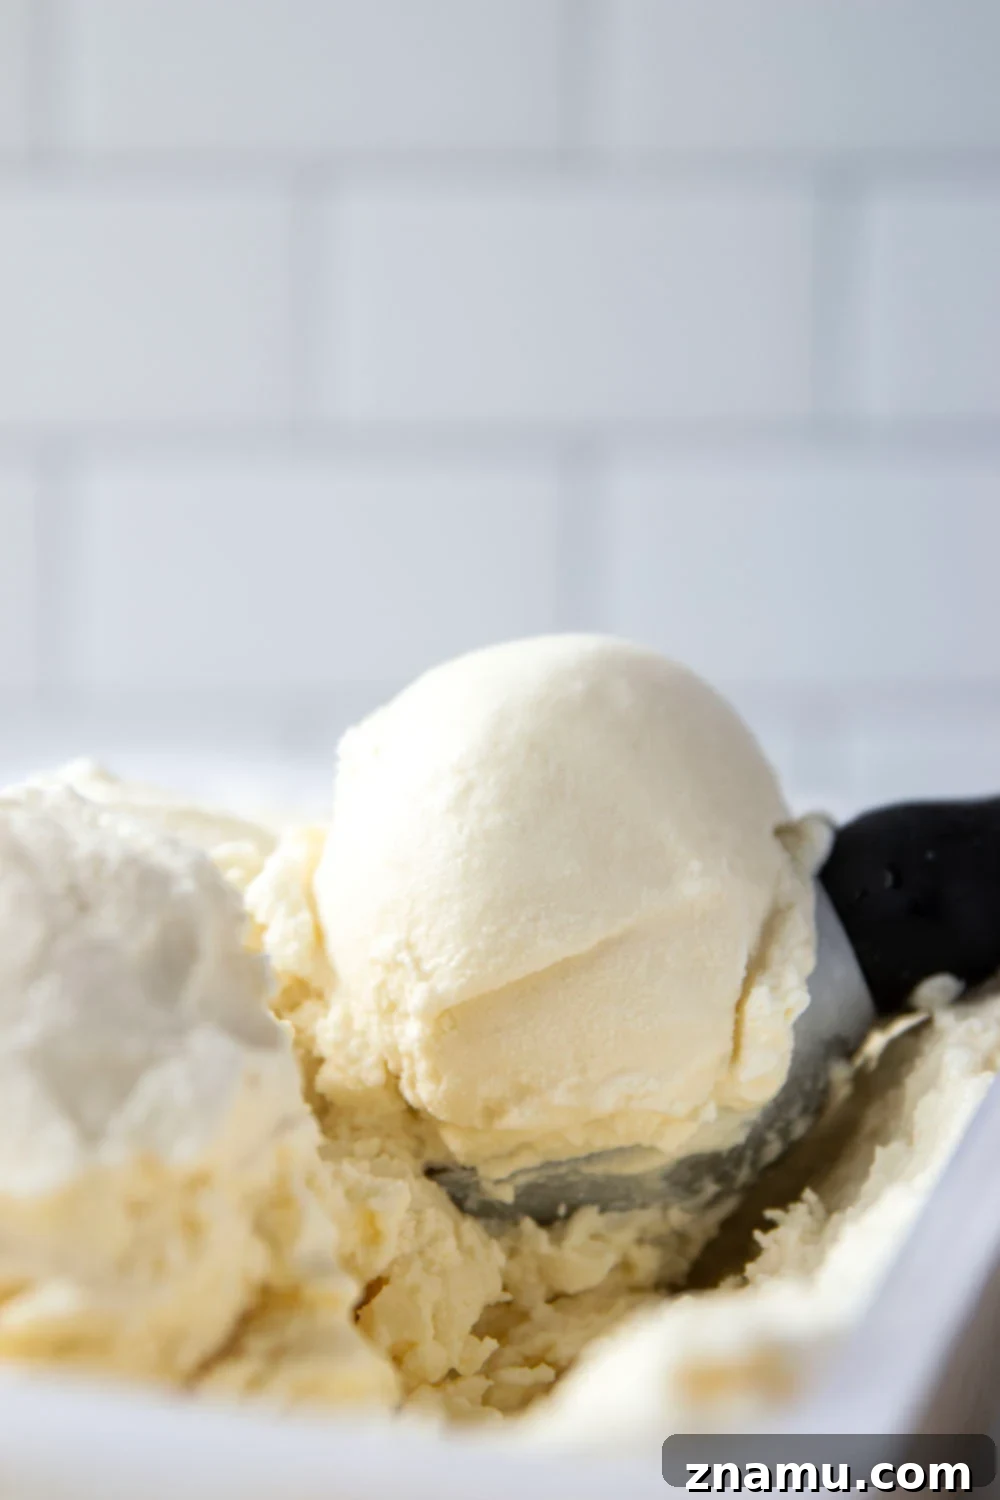
- Unmatched Smooth and Creamy Texture: Achieve that dreamy, melt-in-your-mouth consistency that is the hallmark of truly great ice cream. Our carefully balanced ratio of milk to cream ensures a velvety smoothness you won’t find in typical commercial brands.
- Deep, Rich Vanilla Flavor: We let high-quality vanilla extract take center stage, infusing every spoonful with its aromatic and comforting essence. It’s a flavor that is both classic and intensely satisfying.
- Minimal Prep, Maximum Enjoyment: With just minutes of active preparation, this recipe fits perfectly into even the busiest schedules. Once churned, it stores beautifully in your freezer for up to a month, ensuring you always have a delightful dessert on hand.
The Magic of Minimal Ingredients
You might be surprised to learn that such incredible flavor and texture come from a handful of pantry staples. This truly is a 4-ingredient vanilla ice cream (plus a pinch of salt!) that proves less is often more. Quality ingredients are key here, allowing their natural goodness to shine through:
Ingredients You Will Need:
- 2% or Skim Milk: Provides the foundational liquid and helps achieve the right consistency without being overly heavy.
- Granulated Sugar: Sweetens the ice cream to perfection and plays a crucial role in its smooth texture by preventing large ice crystals from forming.
- Heavy Whipping Cream: The essential component for richness and creaminess. Its high-fat content contributes significantly to the luxurious mouthfeel.
- Vanilla Extract: The star of the show! We recommend using a good quality pure vanilla extract for the most authentic and aromatic vanilla flavor.
- Salt (a pinch): A tiny addition that subtly enhances all the other flavors, bringing out the sweetness and richness of the dairy and vanilla.
Choosing Your Ice Cream Maker
An ice cream maker is indispensable for achieving that signature creamy texture. While many models exist, the principle remains the same: gradually freezing the mixture while continuously churning to prevent large ice crystals. For all our homemade ice cream creations, we rely on a Cuisinart ice cream maker, and it consistently delivers excellent results. Any 2-quart ice cream maker should work wonderfully with this recipe. The most important tip is to always meticulously follow your specific machine’s instructions, especially regarding pre-freezing the bowl or adding the mixture.
Crafting Your Perfect Homemade Vanilla Ice Cream: A Step-by-Step Guide
(The full, printable recipe with precise measurements can be found at the bottom of this post.)
Making this classic vanilla ice cream is a straightforward process. Follow these simple steps for a truly delightful treat:
- Prepare the Sugar-Milk Base: In a small saucepan, combine 1 cup of milk with the granulated sugar. Heat this mixture over medium heat, whisking frequently, until the sugar is completely dissolved. It’s crucial not to let it boil, just warm enough to fully dissolve the sugar, which helps prevent a gritty texture in your final ice cream.
- Chill the Base: Once the sugar is dissolved, remove the saucepan from the heat and allow the milk mixture to cool slightly. Then, transfer it to the refrigerator to chill for at least 1 hour. This chilling step is vital as it brings the mixture down to a cold temperature, which is essential for proper churning and achieving the right consistency in your ice cream maker. By only heating a portion of the milk, we significantly reduce the overall chilling time compared to heating the entire batch.
- Combine Remaining Ingredients: After the sugar-milk mixture is thoroughly chilled, pour it into a medium-sized bowl. Whisk in the remaining milk, heavy whipping cream, vanilla extract, and a pinch of salt until everything is well combined and homogenous.
- Churn the Ice Cream: Transfer this creamy mixture to your ice cream maker. Churn the ice cream according to your machine’s manufacturer instructions. Churning times can vary, but generally, it takes about 20-30 minutes for the mixture to thicken to the consistency of soft-serve ice cream.
- Final Freeze and Serve: You can enjoy your DIY vanilla ice cream immediately for a delightful soft-serve experience. For firmer, scoopable ice cream, transfer the churned ice cream to a 1-quart freezer-safe container, cover it tightly, and freeze for an additional 1-2 hours. This extra freezing time allows the ice cream to harden to the perfect consistency for scooping.
Expert Tips for Unforgettable Results
While this recipe is incredibly simple, a few expert tips can ensure your homemade vanilla ice cream reaches its peak potential every time:
- Maintain the 1:2 Milk to Heavy Cream Ratio: Our recipe specifically calls for a 1:2 ratio of milk to heavy cream. This particular proportion is meticulously balanced to give the ice cream that ideal texture – not overly rich, yet wonderfully silky smooth and satisfying. Deviating too much from this can affect the creaminess.
- Properly Dissolve Sugar in Milk: The initial step of heating only 1 cup of milk with the sugar is crucial. This ensures the sugar fully dissolves, preventing any grainy texture in your finished ice cream. Ensure you whisk constantly until you feel no more sugar crystals at the bottom of the saucepan.
- Don’t Skip the Chilling Step: Allowing the sugar-milk mixture to chill for at least 1 hour (or even longer) before combining with the other cold ingredients is paramount. A well-chilled base ensures that your ice cream maker can work efficiently and consistently, leading to smaller ice crystals and a smoother final product. If the base isn’t cold enough, the ice cream may not churn properly or become icy.
- Follow Your Ice Cream Maker’s Instructions Precisely: Every ice cream maker is a little different. Whether it’s a freezer-bowl model requiring extensive pre-freezing or a compressor model, strictly adhere to your machine’s specific instructions for optimal churning and freezing. This impacts both the quality and safety of your ice cream.
- Understand Freezing Times: The time your ice cream spends in the freezer after churning makes a big difference. If you love soft-serve, enjoy it straight from the machine. For perfectly firm scoops, like those you’d get at an ice cream parlor, commit to the 1-2 hour post-churn freeze. For best results, freeze in a shallow, airtight container to minimize ice crystal formation.
- Quality Vanilla Makes a Difference: Since vanilla is the star, investing in a high-quality pure vanilla extract will significantly elevate the flavor profile of your ice cream. Avoid artificial vanilla if possible. You can also experiment with vanilla bean paste or even scraping a fresh vanilla bean for an intensely fragrant experience.
- Don’t Overfill Your Machine: Always leave some room in your ice cream maker’s bowl. The mixture will expand as it churns and freezes, and overfilling can lead to spills and inefficient churning.
- Store it Right: For the best texture and to prevent freezer burn, store your homemade ice cream in an airtight container. Press a piece of parchment paper or plastic wrap directly onto the surface of the ice cream before sealing the container. This limits air exposure and helps maintain its creamy consistency for longer.
Delightful Serving Suggestions
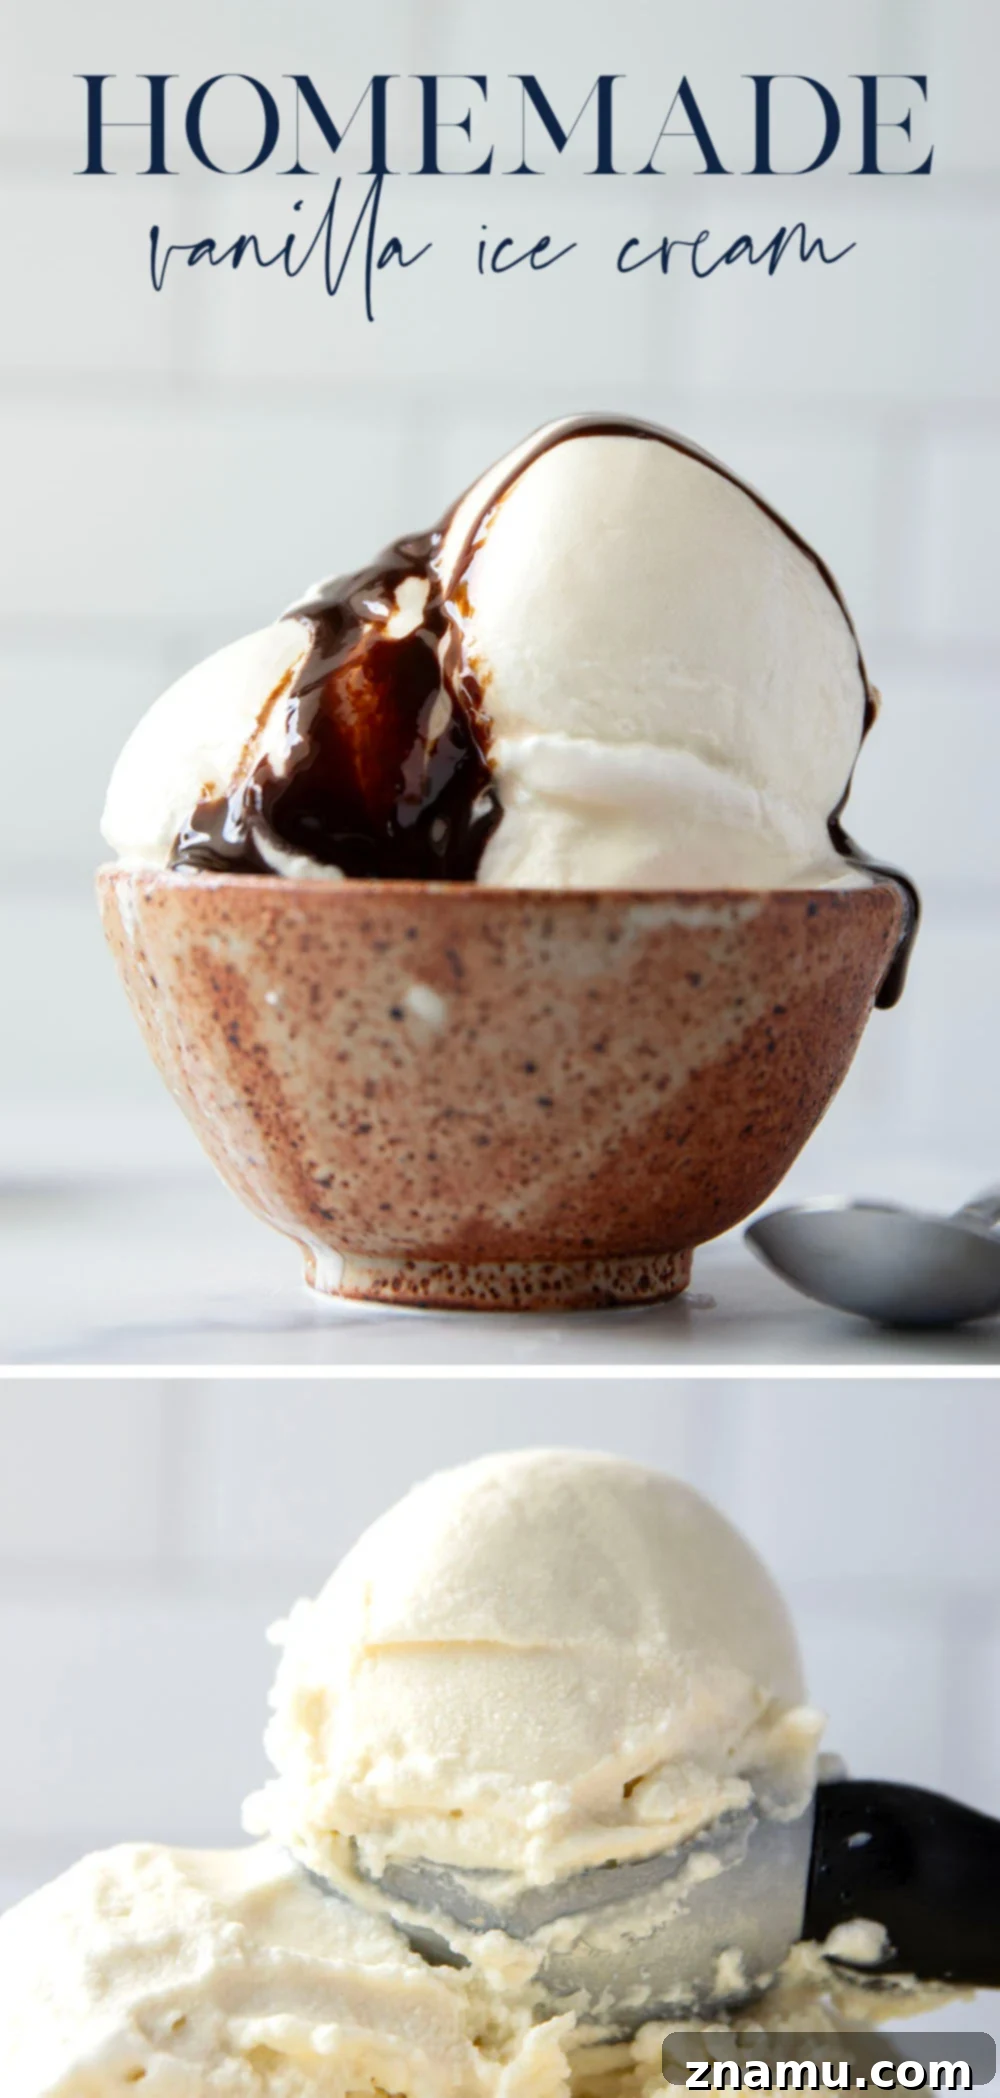
While this rich vanilla flavor ice cream is heavenly on its own, it also serves as a perfect canvas for a myriad of toppings and pairings. Use these ideas to add a little extra pizzazz to your bowl:
- Classic Hot Fudge Sauce: A timeless favorite that perfectly complements the vanilla.
- Silky Chocolate Syrup: Drizzle generously for a simple yet satisfying chocolate boost.
- Sweet Caramel Sauce: Adds a rich, buttery counterpoint to the fresh vanilla.
- Vibrant Fruit Sauces: Strawberry, raspberry, peach, or blueberry sauces bring a refreshing fruity zing.
- Crunchy Toasted Nuts: Almonds, walnuts, or pecans add a textural element and nutty flavor.
- Blend into a Milkshake: Transform it into an irresistible vanilla milkshake with a splash of milk.
- Alongside Baked Goods: Serve a scoop alongside warm fruit crisps, cobblers, or a slice of your favorite pie for an ultimate dessert experience.
- Colorful Sprinkles: A fun and festive addition, especially for kids (and adults!).
- Fluffy Whipped Cream: A dollop of fresh whipped cream never hurts!
- Affogato Style: Pour a shot of hot espresso over a scoop of vanilla ice cream for an elegant Italian dessert.
- Crushed Cookies: Oreos, chocolate chip cookies, or graham crackers make fantastic mix-ins or toppings.
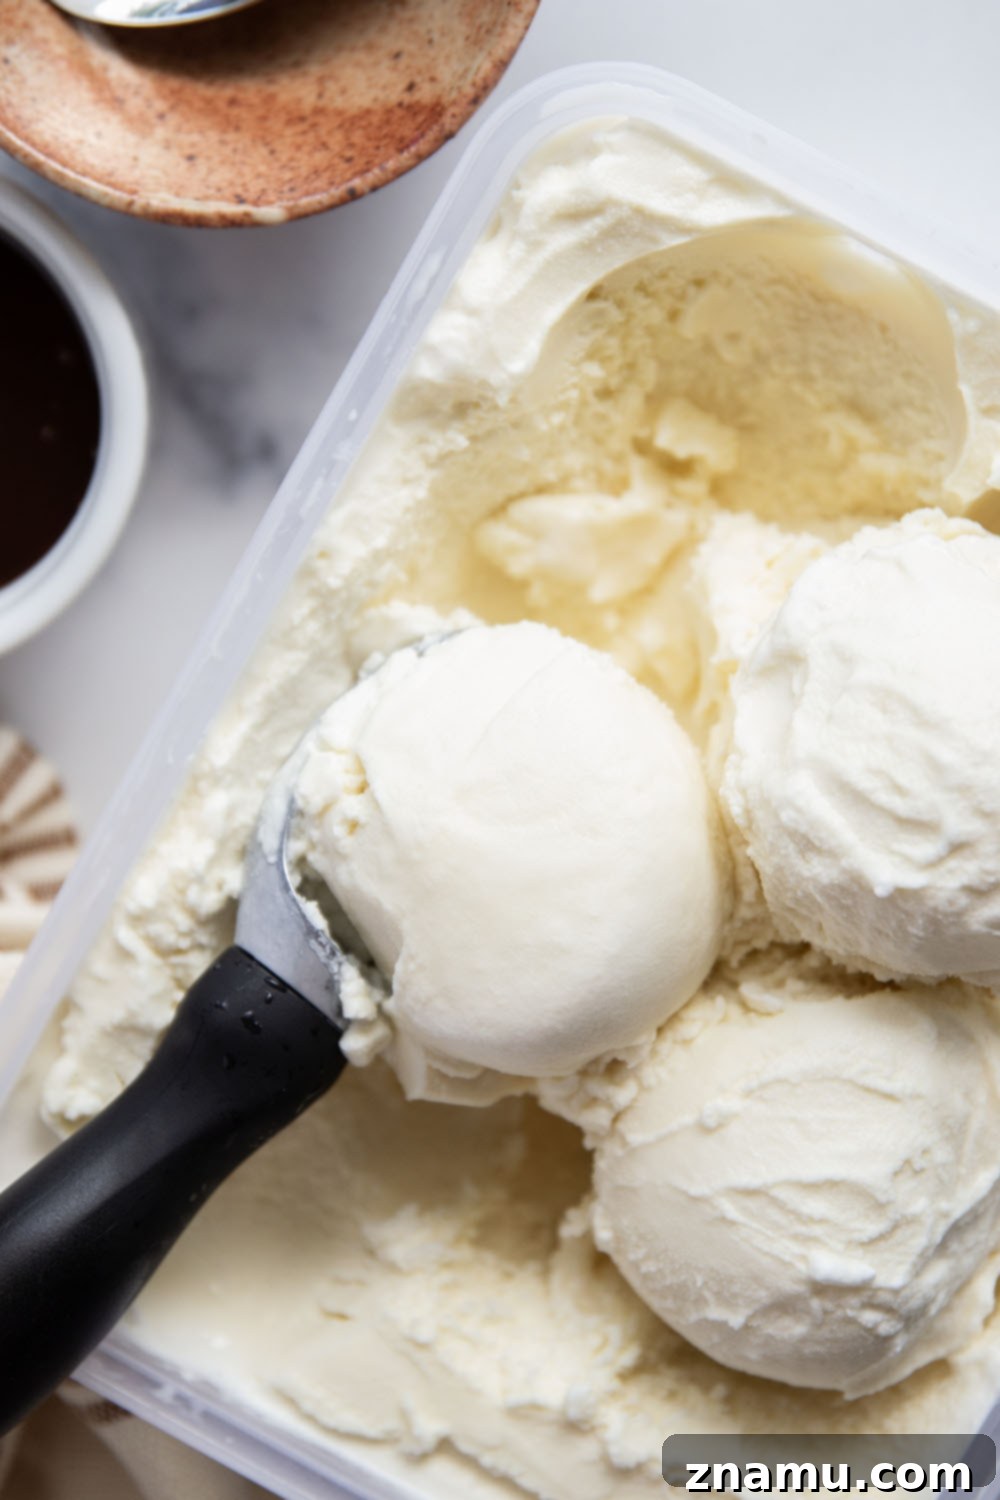
This simple vanilla ice cream recipe is truly a keeper, one you’ll want to revisit again and again. It embodies absolute creamy perfection with just the right amount of fragrant vanilla flavor, proving that the most delicious things don’t have to be complicated. Trust us when we say you’ll be tempted to lick your bowl clean and perhaps even indulge in another scoop (or twenty!).
If you try this recipe, we’d love to hear from you! Leave a comment and a star rating below to share your experience. You can also take a photo and tag it on Instagram with @wholeandheavenlyoven or use the hashtag #wholeandheavenlyoven.
Explore More Irresistible Ice Cream Recipes!
If you loved this vanilla creation, be sure to check out these other fantastic ice cream recipes:
- Mango Pineapple Sorbet
- Toffee Espresso Ice Cream
- Strawberry Crisp Ice Cream
Save To Recipe Box
Saved!
Print
Pin
Homemade Vanilla Ice Cream
This recipe may included paid links. As an Amazon Associate, I earn a commission from qualifying purchases.
Ingredients
- 3 cups 2% or skim milk, divided
- 1 cup granulated sugar
- 1-1/2 cups heavy whipping cream
- 1 tablespoon vanilla extract
- Pinch salt
Instructions
-
Heat 1 cup milk and sugar in a small saucepan over medium heat until sugar is dissolved, whisking frequently (do not allow to boil). Cool milk mixture in refrigerator 1 hour.
-
Once milk-sugar mixture is chilled, pour into a medium bowl and whisk in remaining milk, heavy cream, vanilla, and a pinch of salt.
-
Transfer cream mixture to an ice cream maker and churn ice cream according to manufacturers directions until frozen.
-
Serve ice cream straight out of the maker for a soft-serve style or transfer churned ice cream to a 1-qt container and freeze 1-2 hours for more firm scoops. Enjoy!
Notes
Store ice cream in freezer up to 1 month.
Nutrition
This post was updated with new recipe adjustments and photos on 7/23/25.