
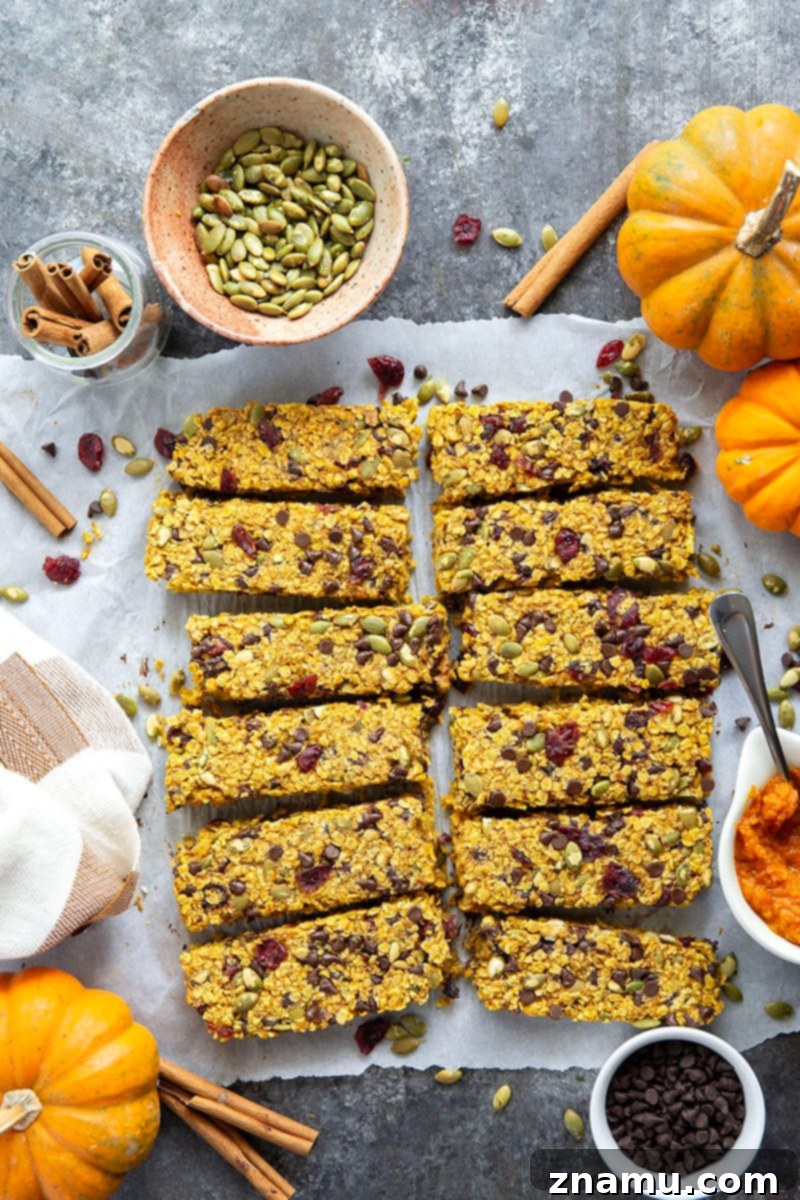
Irresistible Soft & Chewy Pumpkin Granola Bars: Your Go-To Fall Snack!
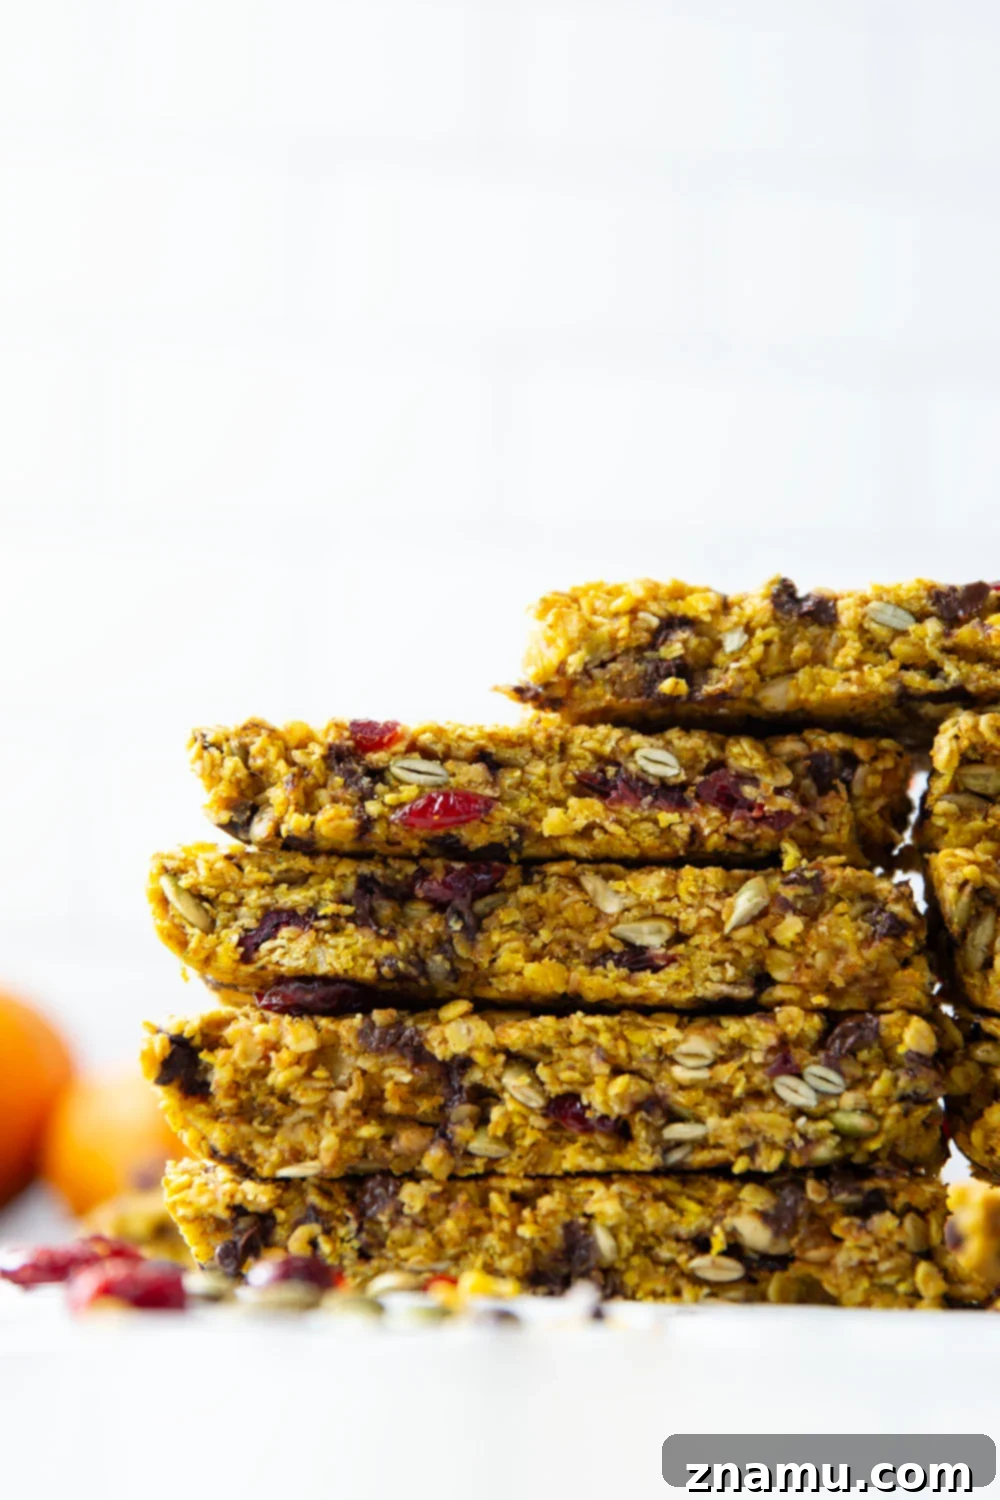
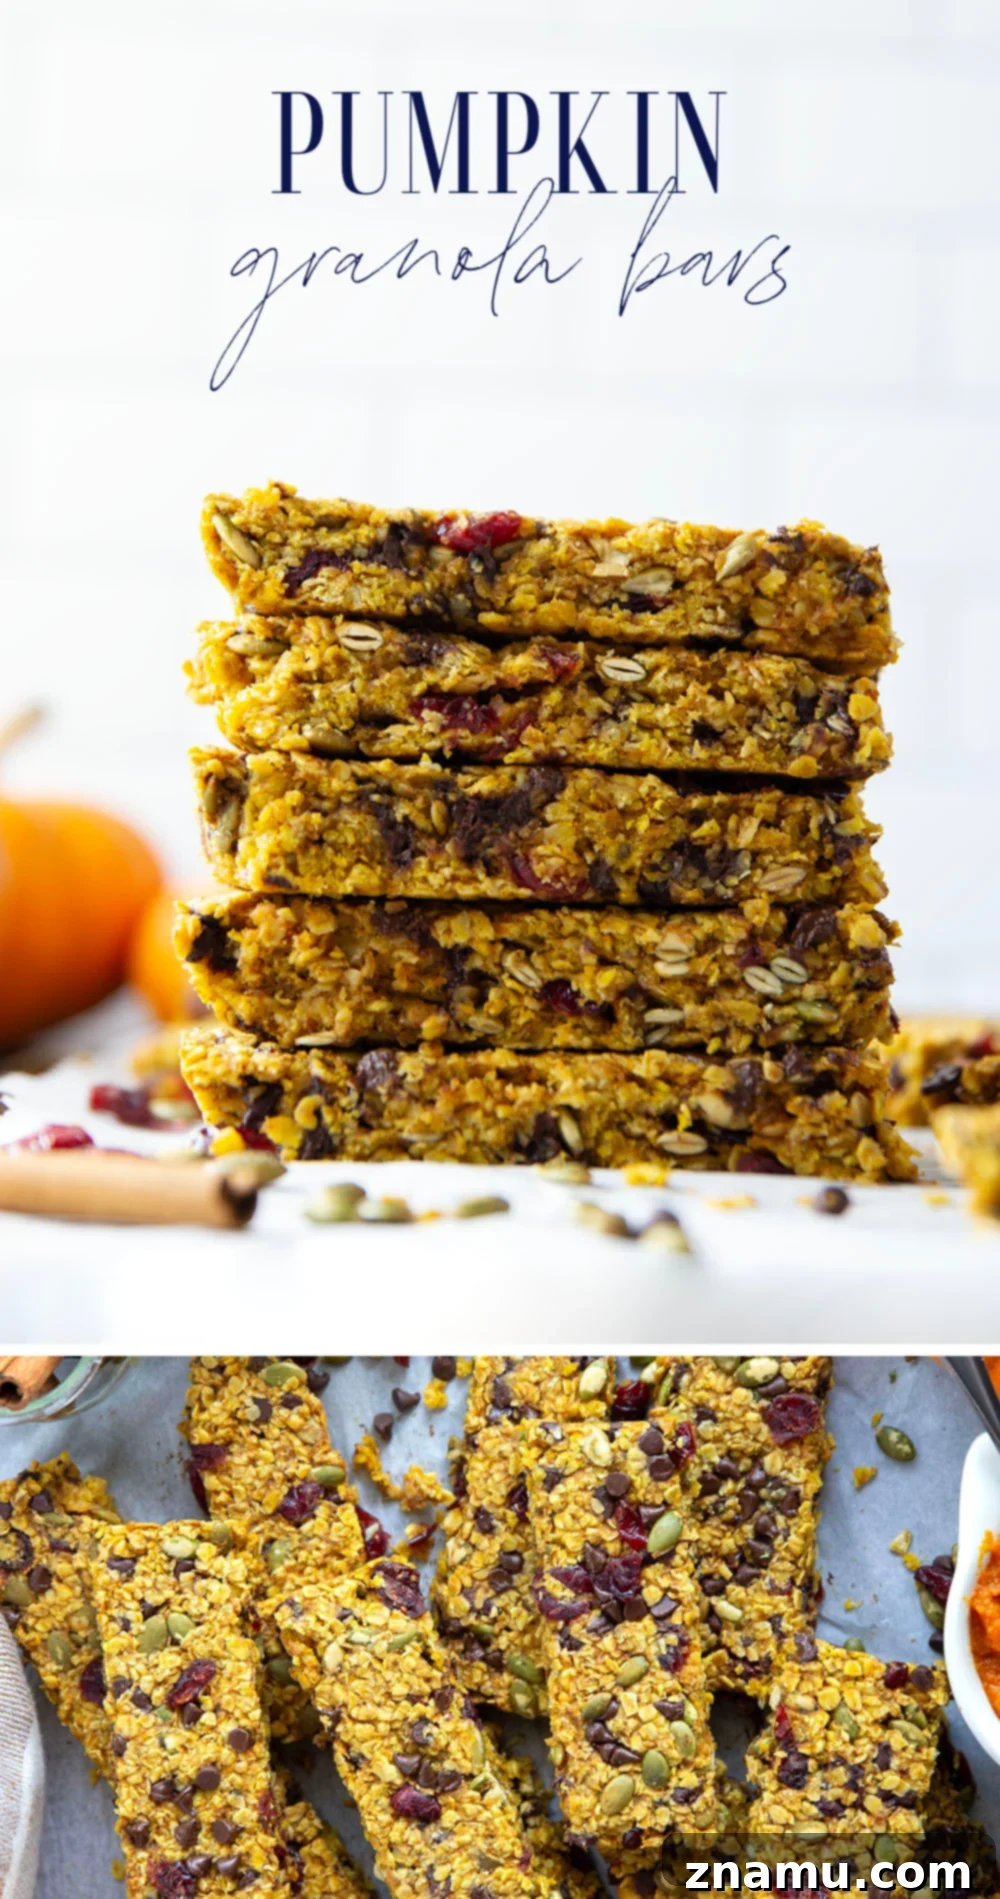
These soft and chewy pumpkin granola bars are packed with gooey chocolate, crunchy pepitas, and sweet dried cranberries. A filling, delightful grab-and-go breakfast or snack that perfectly encapsulates the flavors of fall!
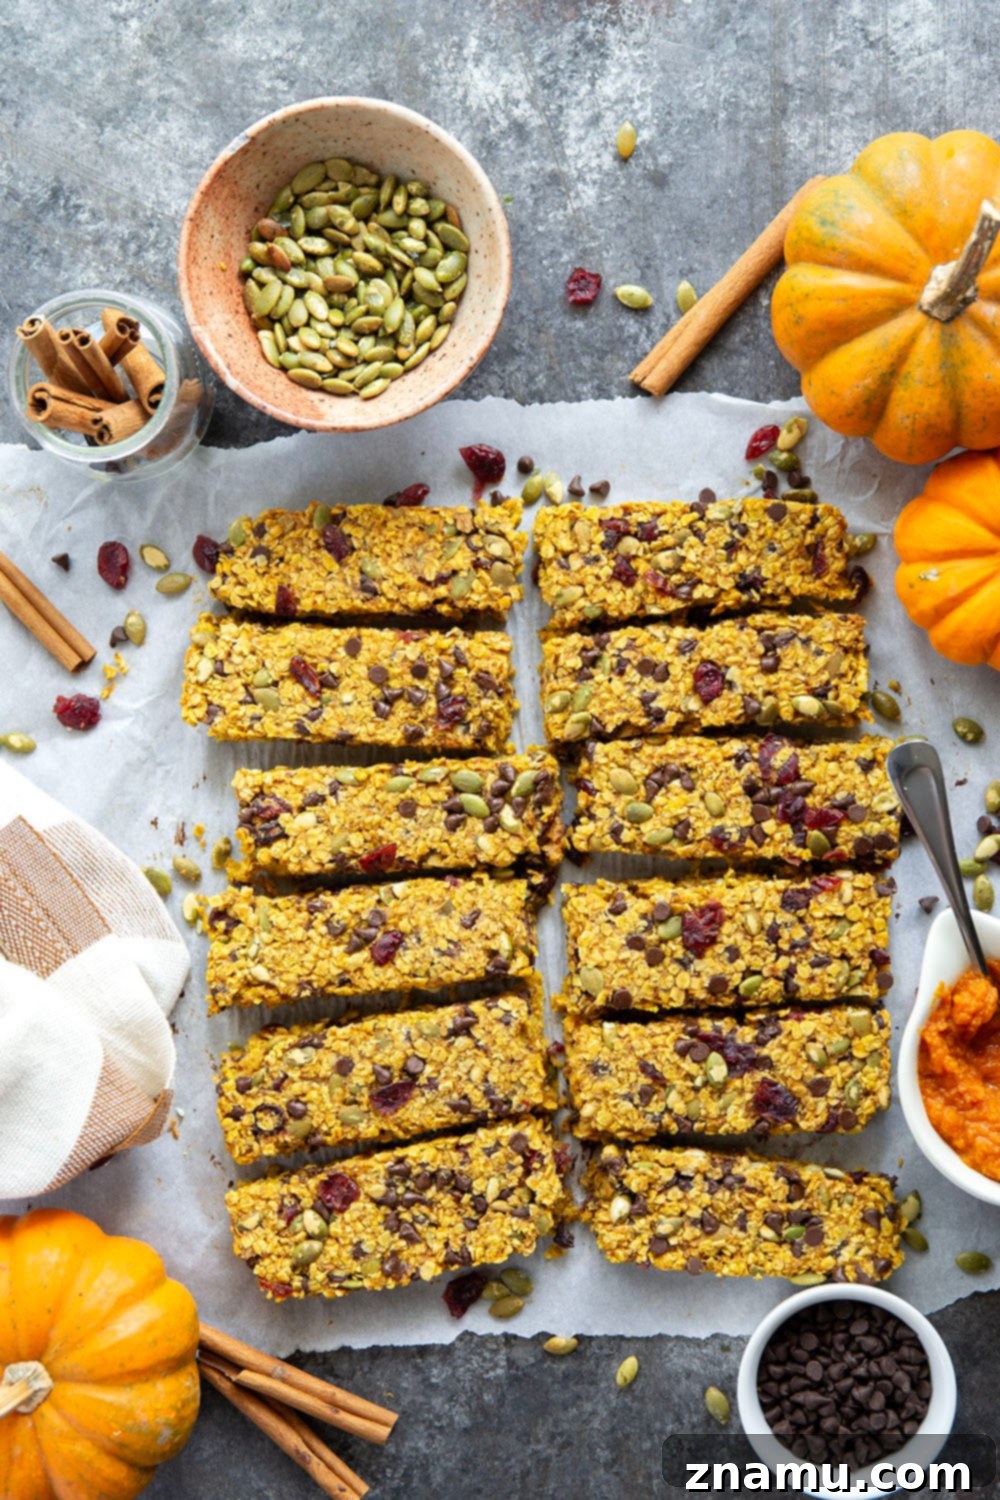
As the leaves begin to change and the air turns crisp, there’s a certain magic that pumpkin season brings. And what better way to celebrate this beloved time of year than with a batch of homemade Pumpkin Granola Bars? Forget those store-bought versions that often disappoint with their dry texture and artificial flavors. Our recipe delivers an unparalleled soft and chewy experience, brimming with authentic pumpkin goodness and a delightful medley of add-ins that will make your taste buds sing.
These aren’t just any granola bars; they are a harmonious blend of textures and tastes. Imagine sinking your teeth into a bar where the chewiness of oats meets the satisfying crunch of pepitas, the sweet burst of dried cranberries, and the irresistible melt of chocolate chips. It’s a culinary adventure in every bite, transforming your breakfast routine or snack time into a moment of pure fall bliss.
Whether you’re looking for a wholesome breakfast on the run, a pick-me-up snack to fuel your afternoon, or a delightful treat to share with loved ones, these pumpkin granola bars are the answer. They’re incredibly easy to make, require minimal effort, and will quickly become a staple in your autumn kitchen. Get ready to fall in love with the ultimate fall breakfast and snack that everyone will adore!
Why These Homemade Pumpkin Granola Bars Will Become Your New Fall Favorite
We’re not exaggerating when we say these granola bars are a game-changer. They seamlessly combine the best elements of a hearty trail mix with the convenience of a portable snack. But what truly sets them apart is their incredible ease of preparation. You’ll be amazed at how quickly you can whip up a batch from scratch.
The entire process, from mixing to baking, takes less than 40 minutes! We’re talking about a mere 10-15 minutes of hands-on prep time, followed by 20-25 minutes in the oven. In under an hour, your kitchen will be filled with the comforting aroma of pumpkin spice, and you’ll have a pan full of delectable, wholesome granola bars ready to enjoy. It’s an excellent investment of your time, yielding delicious returns that you’ll savor throughout the week.
Highlighting the Best Features of Our Pumpkin Granola Bars:
- A **soft and delightfully chewy texture** that never disappoints, making them easy to eat and deeply satisfying.
- An abundance of **warm and aromatic pumpkin spice flavor**, perfectly balanced for that iconic taste of autumn.
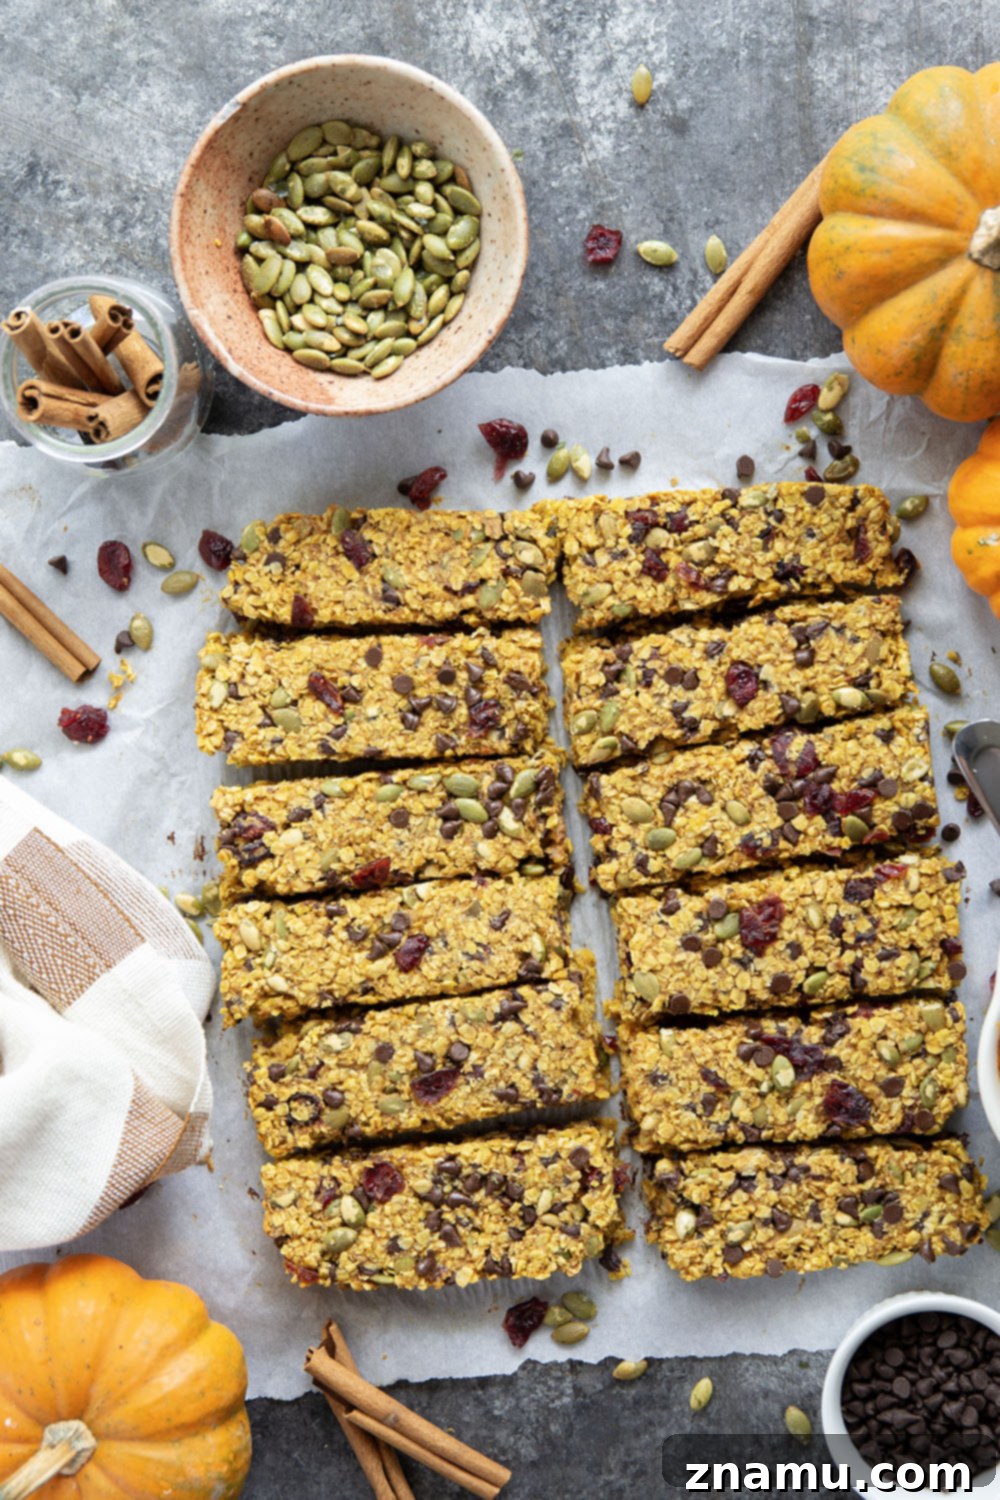
- Generously loaded with vibrant **melted chocolate, crunchy pepitas, and sweet, tangy dried cranberries**, offering an explosion of textures and flavors.
- Effortlessly **mixes up in just one bowl**, minimizing cleanup and maximizing convenience.
- Requires only **a handful of simple, wholesome ingredients** that you likely already have in your pantry.
- **Nutrient-packed** ingredients like oats, pumpkin, and flaxseeds provide sustained energy for busy days.
- An ideal **grab-and-go option** for breakfast, lunchboxes, or a quick energy boost anytime.
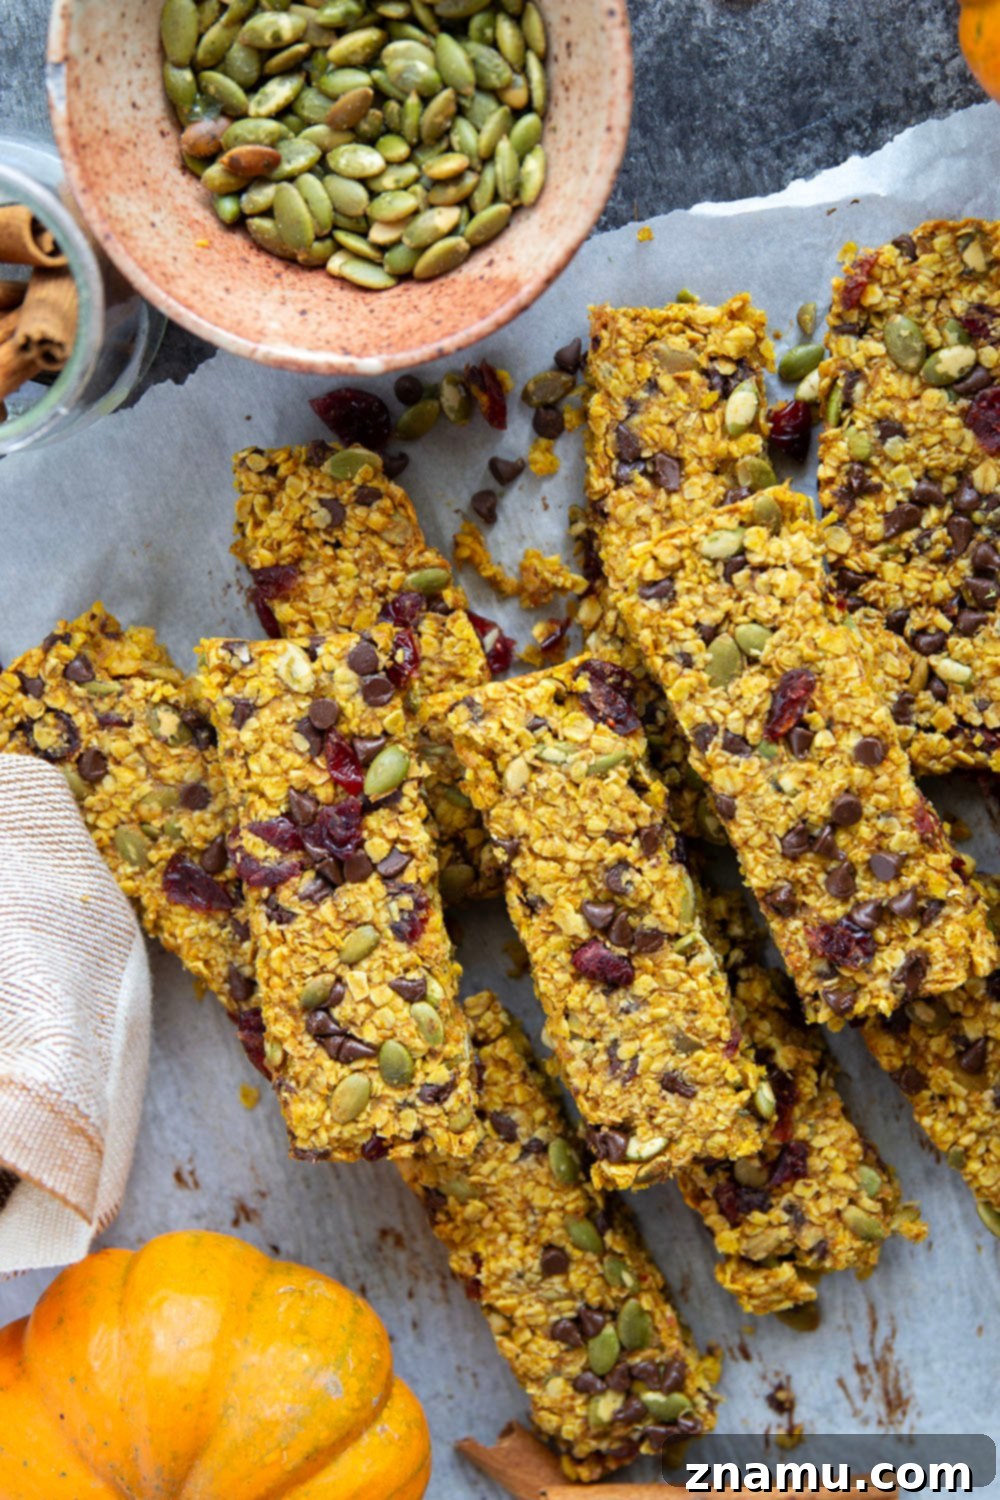
Crafting Your Own Delicious Pumpkin Granola Bars
Making these pumpkin granola bars is a straightforward process that yields impressive results. Even if you’re new to baking, our clear instructions will guide you every step of the way. The beauty of this recipe lies in its simplicity and the ability to customize it to your liking.
The first step involves combining the wet ingredients, creating a flavorful and moist base. Then, the dry ingredients and all those wonderful add-ins are folded in, ensuring every bite is packed with goodness. The mixture is then pressed into a baking pan and baked to golden perfection. The hardest part will be waiting for them to cool completely before slicing!
Essential Ingredients for Your Granola Bars:
The key to these delectable bars lies in a carefully selected blend of ingredients that work together to create the perfect flavor and texture profile. Here’s what you’ll need:
- Pumpkin Puree: The star of the show, providing moisture, natural sweetness, and that unmistakable fall flavor. Ensure you’re using 100% pumpkin puree, not pumpkin pie filling, which contains added sugars and spices.
- Honey: Acts as a natural sweetener and a crucial binding agent, helping the bars hold together and adding a lovely chewiness. Maple syrup can be a suitable alternative if preferred.
- Egg: Contributes to the bar’s structure and helps create that soft, chewy consistency.
- Coconut Oil: Adds richness and moisture, enhancing the overall texture. Ensure it’s melted before adding to the wet ingredients.
- Vanilla Extract: A touch of vanilla elevates all the other flavors, adding depth and warmth.
- Quick-Cooking Oats: The foundation of our granola bars, providing fiber and substance. (More on choosing oats below!)
- Flaxseeds: A nutritional powerhouse, adding healthy fats, fiber, and an extra binding element.
- Pumpkin Pie Spice: The essential blend of cinnamon, nutmeg, ginger, and cloves that defines fall baking.
- Salt: A pinch of salt balances the sweetness and enhances all the flavors.
- Pepitas (Pumpkin Seeds): Offer a delightful crunch and a nutty flavor that complements the pumpkin perfectly.
- Dried Cranberries: Provide a burst of sweet-tart flavor and a pleasant chewiness, adding vibrant color to the bars.
- Semisweet Chocolate Chips: For that irresistible gooey chocolate factor. Mini chips are great for an even distribution of chocolate throughout the bars.
Selecting the Right Oats for Optimal Texture:
The type of oats you choose plays a significant role in the final texture of your granola bars. For these soft and chewy pumpkin granola bars, we highly recommend using quick-cooking oats. Their finer texture helps to bind the ingredients effectively and creates a tender, less crumbly bar without the need for additional flour.
If you only have old-fashioned rolled oats on hand, don’t worry! You can easily transform them into quick-cooking oats. Simply pulse them a few times in a food processor until they are partially chopped and resemble the smaller flakes of quick oats. Be careful not to over-process them into a flour-like consistency, as this will alter the texture of the bars. The goal is to break them down just enough to increase their surface area, allowing them to absorb moisture better and create that desired soft chew.
Expert Tips for Crafting Flawless Pumpkin Granola Bars
While this recipe is incredibly forgiving, a few key tips can ensure your pumpkin granola bars turn out perfectly every time. Following these simple guidelines will help you achieve that ideal soft and chewy texture with ease:
- Always Use 100% Pumpkin Puree: This is crucial for both flavor and moisture. Pumpkin pie filling is a different product altogether; it’s pre-sweetened and spiced, which would throw off the balance of this recipe. Look for cans labeled “100% Pure Pumpkin” or “Pumpkin Puree” to ensure you’re getting the right ingredient.
- Choose the Correct Baking Dish Size: We’ve found that a 9-inch square baking dish yields granola bars with the perfect thickness. This size allows the bars to be substantial enough to hold together while remaining tender and chewy throughout. Using a larger pan might result in thinner, crispier bars, while a smaller one could make them too thick and dense.
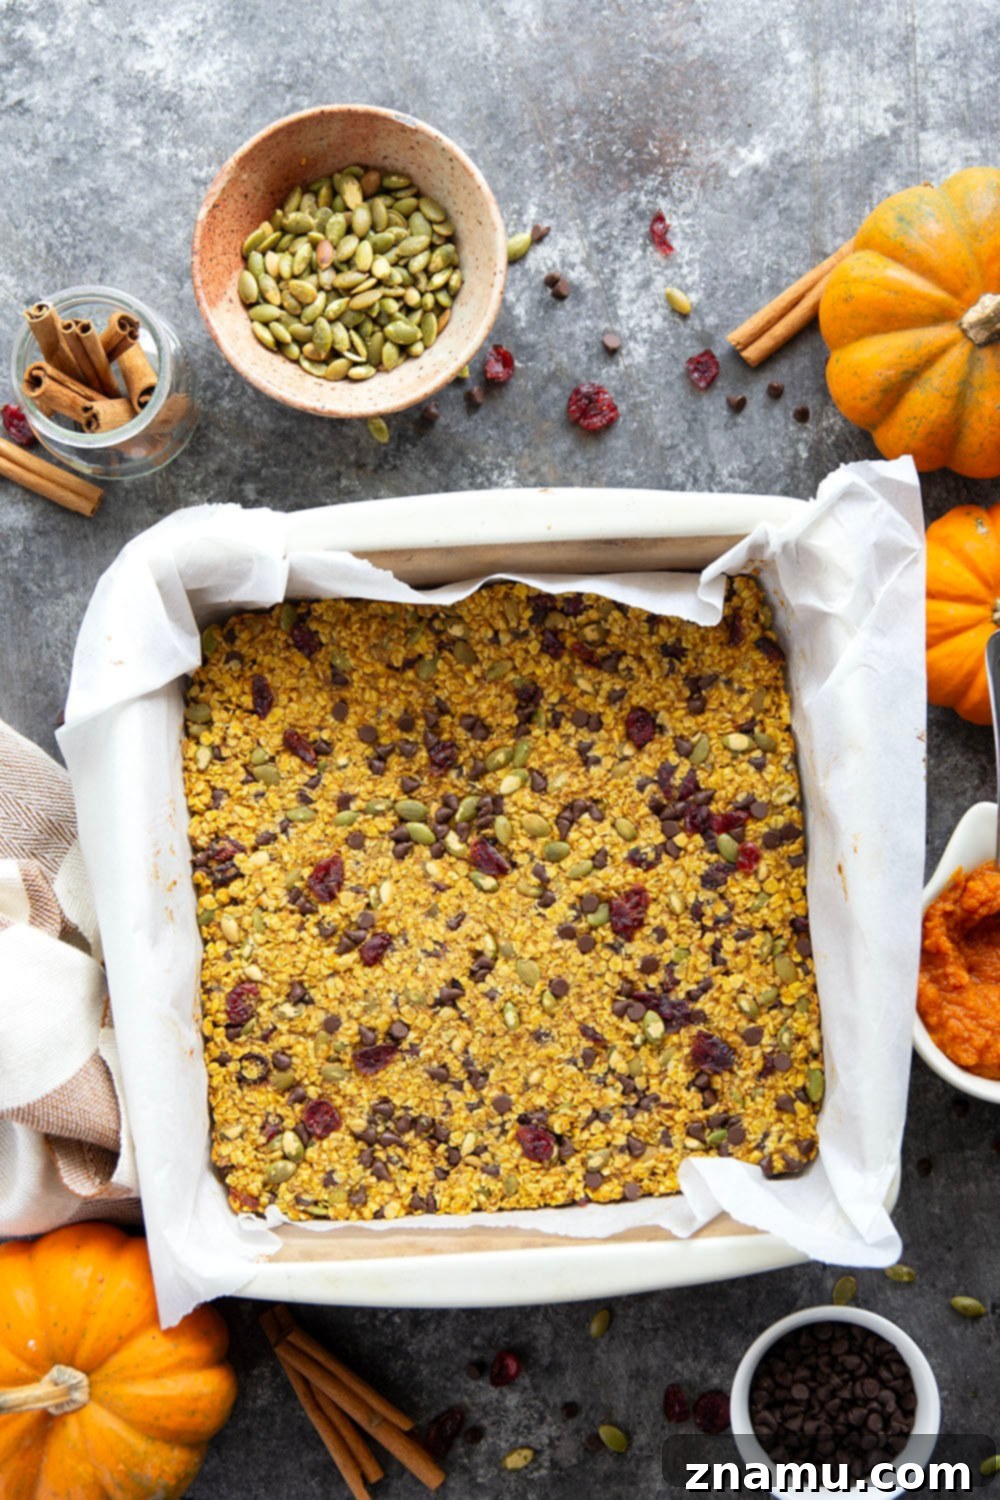
- Line Your Pan with Parchment Paper: This simple step is a game-changer for easy removal. Parchment paper prevents sticking and creates “handles” that allow you to lift the entire slab of baked granola bars out of the pan. This makes slicing them into neat, individual bars incredibly simple and mess-free. Don’t skip this step!
- Bake Until Light Golden Brown: Keep a close eye on your oven. The bars are perfectly done when their edges are a beautiful light golden brown. Overbaking can lead to dry, crumbly bars, while underbaking might result in them not holding their shape properly. The internal temperature of the bars should feel set when lightly pressed.
- Allow Bars to Cool Completely Before Cutting: Patience is a virtue, especially when it comes to granola bars. It’s absolutely vital to let your bars cool entirely on a wire rack before attempting to slice them. Cooling allows the ingredients, especially the honey and oats, to set and firm up. If you cut them while still warm, they will likely crumble apart, making them difficult to handle. For best results, consider chilling them in the refrigerator for 30 minutes to an hour after they’ve cooled to room temperature for the cleanest cuts.
Exciting Recipe Variations to Explore
One of the joys of homemade granola bars is the endless possibilities for customization. Feel free to get creative with these ideas to put your own unique spin on this delicious recipe:
- Experiment with Different Chocolates: While semisweet chocolate chips are a classic choice, consider swapping them for white chocolate chips for a sweeter, creamier contrast to the pumpkin, or dark chocolate chips for a richer, more intense flavor. You could also try milk chocolate or even a blend of different types!
- Introduce Your Favorite Nuts: Replace the pepitas with an equal amount of chopped pecans, walnuts, or almonds for a different nutty flavor and crunch. Toasted nuts will add an even deeper, more complex taste. Sunflower seeds are another excellent option for a nut-free alternative.
- Add a Decadent Glaze or Drizzle: For an extra touch of indulgence, drizzle the cooled bars with a simple powdered sugar glaze (powdered sugar mixed with a little milk or water). A caramel sauce or even melted cream cheese frosting would also be absolutely divine, especially if you’re serving these for a special occasion.
- Swap Dried Fruits: Instead of cranberries, try chopped dried apricots, golden raisins, chopped dates, or even dried cherries for different flavor profiles and textures.
- Boost the Spice: If you love a stronger spice kick, add an extra half teaspoon of pumpkin pie spice, or incorporate a pinch of ground cloves or ginger for an added layer of warmth.
- Include Nut Butter: For an even richer flavor and added protein, a tablespoon or two of almond butter or peanut butter can be added to the wet ingredients, reducing the coconut oil slightly if needed for consistency.
Storing and Freezing Your Delicious Pumpkin Granola Bars
These pumpkin granola bars are not only delicious but also incredibly convenient for meal prepping and enjoying throughout the week. Proper storage will ensure they remain fresh, soft, and flavorful for as long as possible.
Room Temperature Storage: Once completely cooled, store the granola bars in an airtight container at room temperature. They will maintain their soft and chewy texture for up to 4 days. Keep them away from direct sunlight or heat sources to prevent them from becoming too soft or sticky.
Refrigeration: If you prefer a firmer bar or live in a very warm climate, you can store them in an airtight container in the refrigerator for up to a week. The chocolate chips will firm up slightly, and the bars will be wonderfully dense and refreshing.
Freezing for Long-Term Enjoyment: These bars freeze beautifully, making them perfect for batch baking. To freeze, ensure the bars are completely cool. You can wrap individual bars in plastic wrap or parchment paper and then place them in a freezer-safe bag or container. This prevents freezer burn and makes it easy to grab one whenever a craving strikes. They can be frozen for up to 2 months. To thaw, simply remove a bar from the freezer and let it come to room temperature for about 30-60 minutes, or enjoy it slightly chilled for a different experience. Enjoy thawed bars within 4 days.
The Perfect Fall Indulgence
There’s no denying it: these pumpkin granola bars are the quintessential taste of fall, delivering comfort and joy in every soft, chewy bite. They’re not just a treat; they’re a wholesome, satisfying snack packed with incredible texture from all the delightful add-ins. The perfect level of pumpkin spice elevates them, truly capturing the essence of the season.
Prepare to find yourself reaching for these bars constantly! Whether it’s for a quick breakfast to kickstart your day, a convenient snack between meals, or an evening treat, they are sure to satisfy. If you’re not incorporating these into your daily fall routine, you’re truly missing out on something special.
Frequently Asked Questions (FAQ)
Q1: Can I make these granola bars gluten-free?
A1: Yes! Simply ensure you use certified gluten-free quick-cooking oats. All other ingredients in this recipe are naturally gluten-free.
Q2: Can I substitute the honey?
A2: While honey is recommended for its specific binding properties and flavor, you can substitute it with maple syrup for a slightly different flavor profile. The consistency might be a tiny bit different, but it should still work well.
Q3: How do I prevent my granola bars from being crumbly?
A3: The most common reasons for crumbly bars are not packing the mixture firmly enough into the pan before baking, or not allowing them to cool completely before cutting. Ensure you press the mixture down very well, using the back of a spoon or your hands, and be patient with the cooling process!
Q4: Are these bars suitable for kids?
A4: Absolutely! These pumpkin granola bars are a wholesome and delicious snack that kids typically love. You can adjust the chocolate chips to their preference.
Don’t forget to save this incredible recipe using the ‘save to recipe box’ button below! If you try it out, please let us know what you think! Leave a comment and a star rating below to share your experience, or snap a photo and tag it on Instagram with #wholeandheavenlyoven. We love seeing your creations!
More Granola Bar Recipes You’ll Love:
- Banana Peanut Butter Granola Bars
- Blueberry Muffin Granola Bars
- Peanut Butter Chocolate Granola Bars
Save To Recipe BoxSaved!
Print
Pin
Pumpkin Granola Bars
This recipe may included paid links. As an Amazon Associate, I earn a commission from qualifying purchases.
Ingredients
- 1/2 cup pumpkin puree
- 1/2 cup honey
- 1 large egg
- 2 tablespoons melted coconut oil
- 1 teaspoon vanilla extract
- 2-1/2 cups quick-cooking oats
- 2 tablespoons flaxseeds
- 1-1/2 teaspoons pumpkin pie spice
- 1/4 teaspoon kosher salt
- 1/2 cup pepitas
- 1/2 cup dried cranberries
- 1/2 cup mini semisweet chocolate chips
Instructions
-
Preheat your oven to 350°F (175°C). Line a 9-inch square baking pan with parchment paper, allowing some overhang on the sides to create “handles.” This will make it much easier to remove the bars later. Set the prepared pan aside.
-
In a large mixing bowl, combine the pumpkin puree, honey, egg, melted coconut oil, and vanilla extract. Whisk these wet ingredients together until they are smooth and well-combined. Next, add the quick-cooking oats, flaxseeds, pumpkin pie spice, kosher salt, pepitas, dried cranberries, and mini semisweet chocolate chips. Gently fold all the ingredients together with a spatula or spoon until they are just combined. Be careful not to overmix.
-
Transfer the granola bar mixture into the prepared baking pan. Using the back of a spoon or your hands, firmly pack the mixture into an even layer across the bottom of the pan. The more firmly you pack it, the better your bars will hold together. Bake in the preheated oven at 350°F (175°C) for 20-25 minutes, or until the edges are golden brown and the center appears set.
-
Once baked, remove the pan from the oven and place it on a wire cooling rack. Allow the granola bars to cool completely in the pan before attempting to slice them. This step is crucial for the bars to set properly and prevent crumbling. Once fully cooled, use the parchment paper overhang to lift the entire slab out of the pan. Transfer to a cutting board and slice into 12 individual bars. Enjoy your homemade pumpkin granola bars!
Notes
Store your delicious pumpkin granola bars in an airtight container at room temperature for up to 4 days to maintain their freshness and chewy texture. For longer storage, or if you prefer a firmer bar, they can be kept in the refrigerator for up to 1 week. Granola bars also freeze exceptionally well; allow them to cool completely, then store them in a freezer-safe container or individual portions wrapped tightly in plastic wrap for up to 2 months. Thaw at room temperature before enjoying.
Nutrition
This post was updated with new recipe adjustments and photos on 10/1/25.